3.1 Commonly Used Tools
In this chapter, you need to connect to the same LAN as jetbot mini
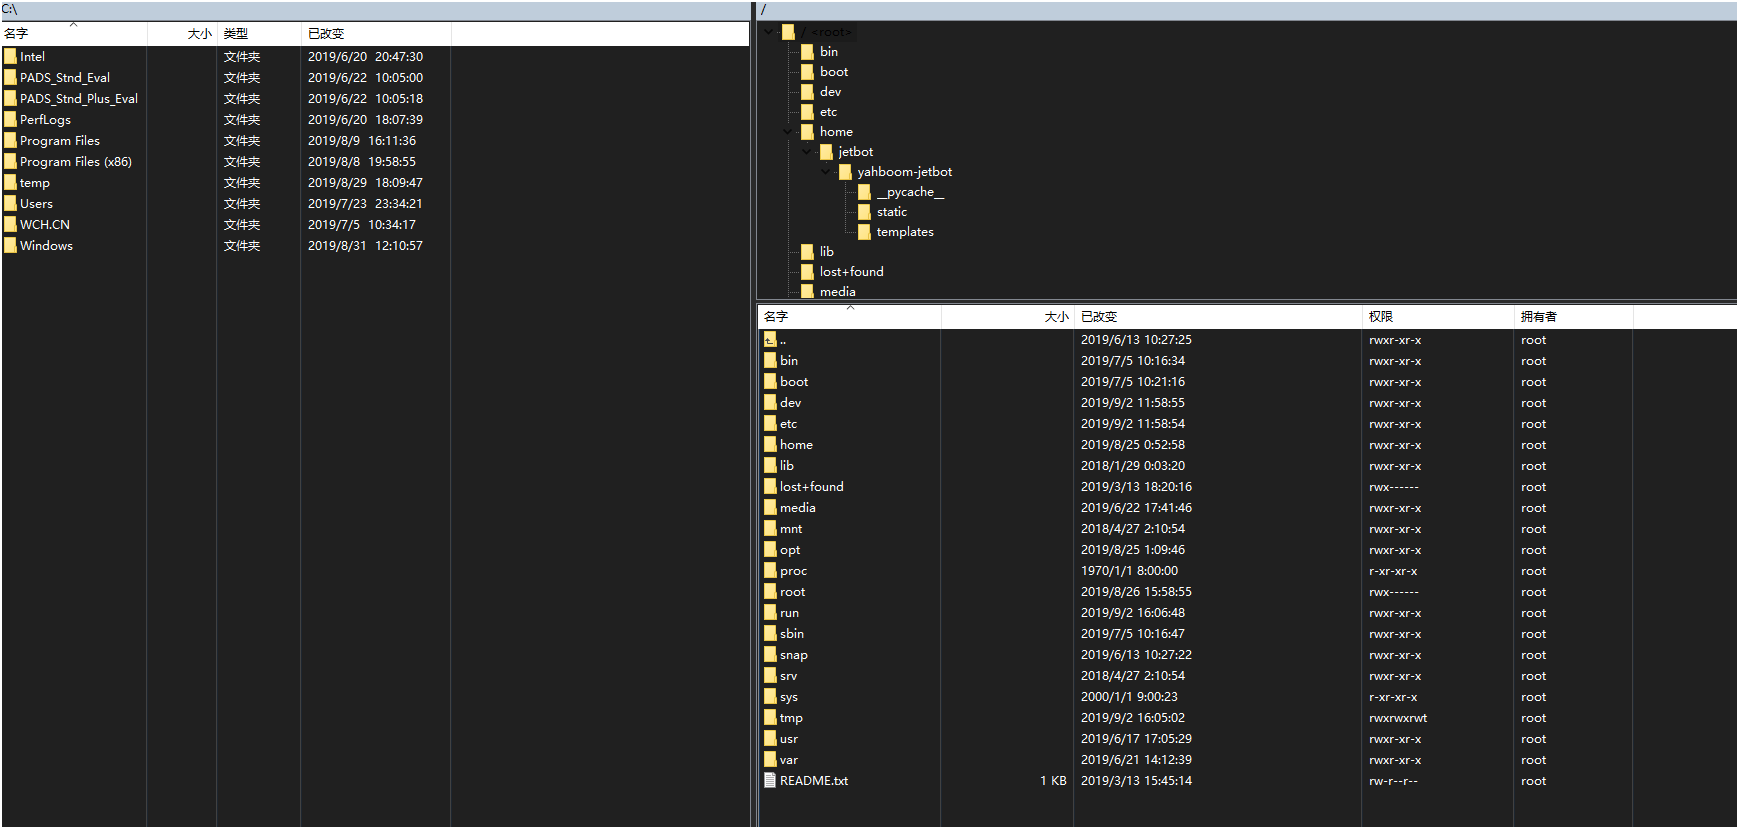
1. PC(Host) side --- WinSCP
Install WinSCP:
Path of package : [JetBot-Mini-Robot-Car] --> [Annex] --> [Tools]---> [WinSCP-5.15.3.exe]
WinSCP is an open-source graphical SFTP client that uses SSH in a Windows environment and supports the SCP protocol. Its main function is to securely transfer files between local and remote computers.
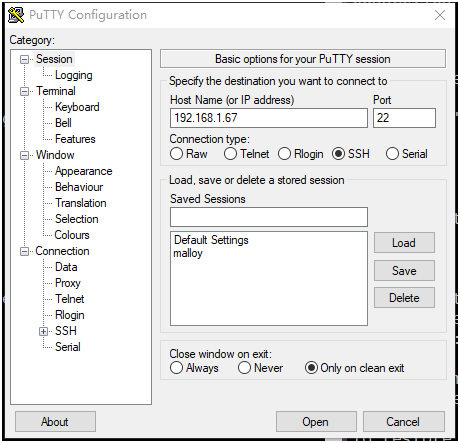
We need to configure the host name IP address, port number, username and password, choose to remember the password and save the connection credentials.
As long as the next time you use, the IP address of the Jetbot Mini in the LAN does not change, we do not need to enter the IP address and password again.
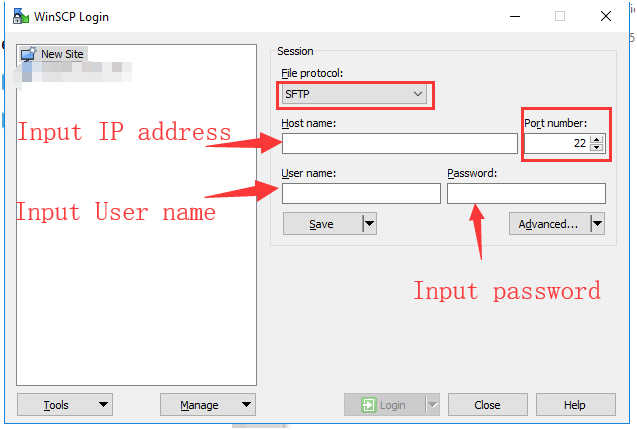
As shown below.

For example: my IP address is 192.168.1.67.
If you use image we provided, the user name :jetson password: yahboom
(The next course is to use this IP address and this image we provided.)
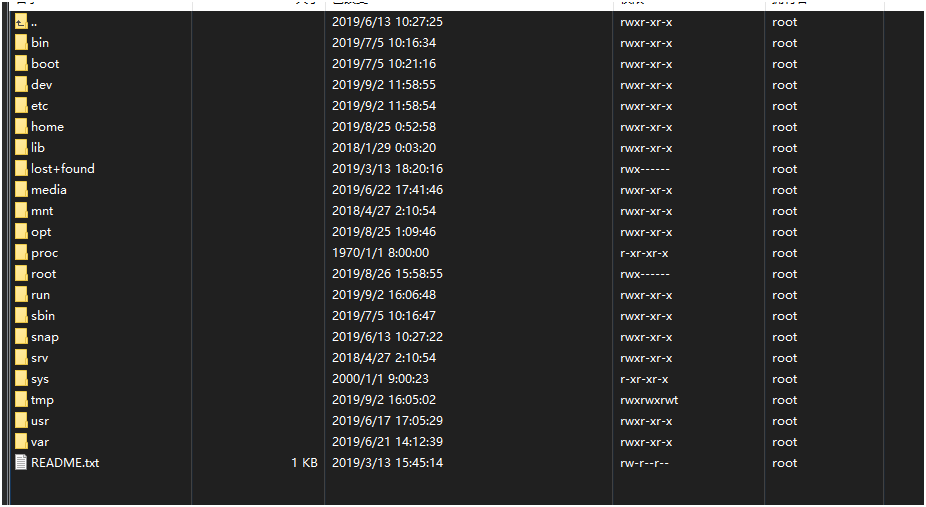
If you need to transfer any file between Windows and the remote Linux file system, just drag and drop to the target folder.
Note: Because WinSCP's encoding format and indentation rules may be inconsistent with your original file, resulting in an error after modification, so please do not modify the file directly here.
2. PC(Host) side --- Putty/Xshell
Install Putty :
Path of package : [JetBot-Mini-Robot-Car] --> [Annex] --> [Tools]---> [PuTTY.exe]
Install Xshell :
Path of package : [JetBot-Mini-Robot-Car] --> [Annex] --> [Tools]---> [xshell-6]
About Putty:
About Xshell:
- Multiple window operations can be performed by copying a conversation or opening a new connection while opening multiple consoles.
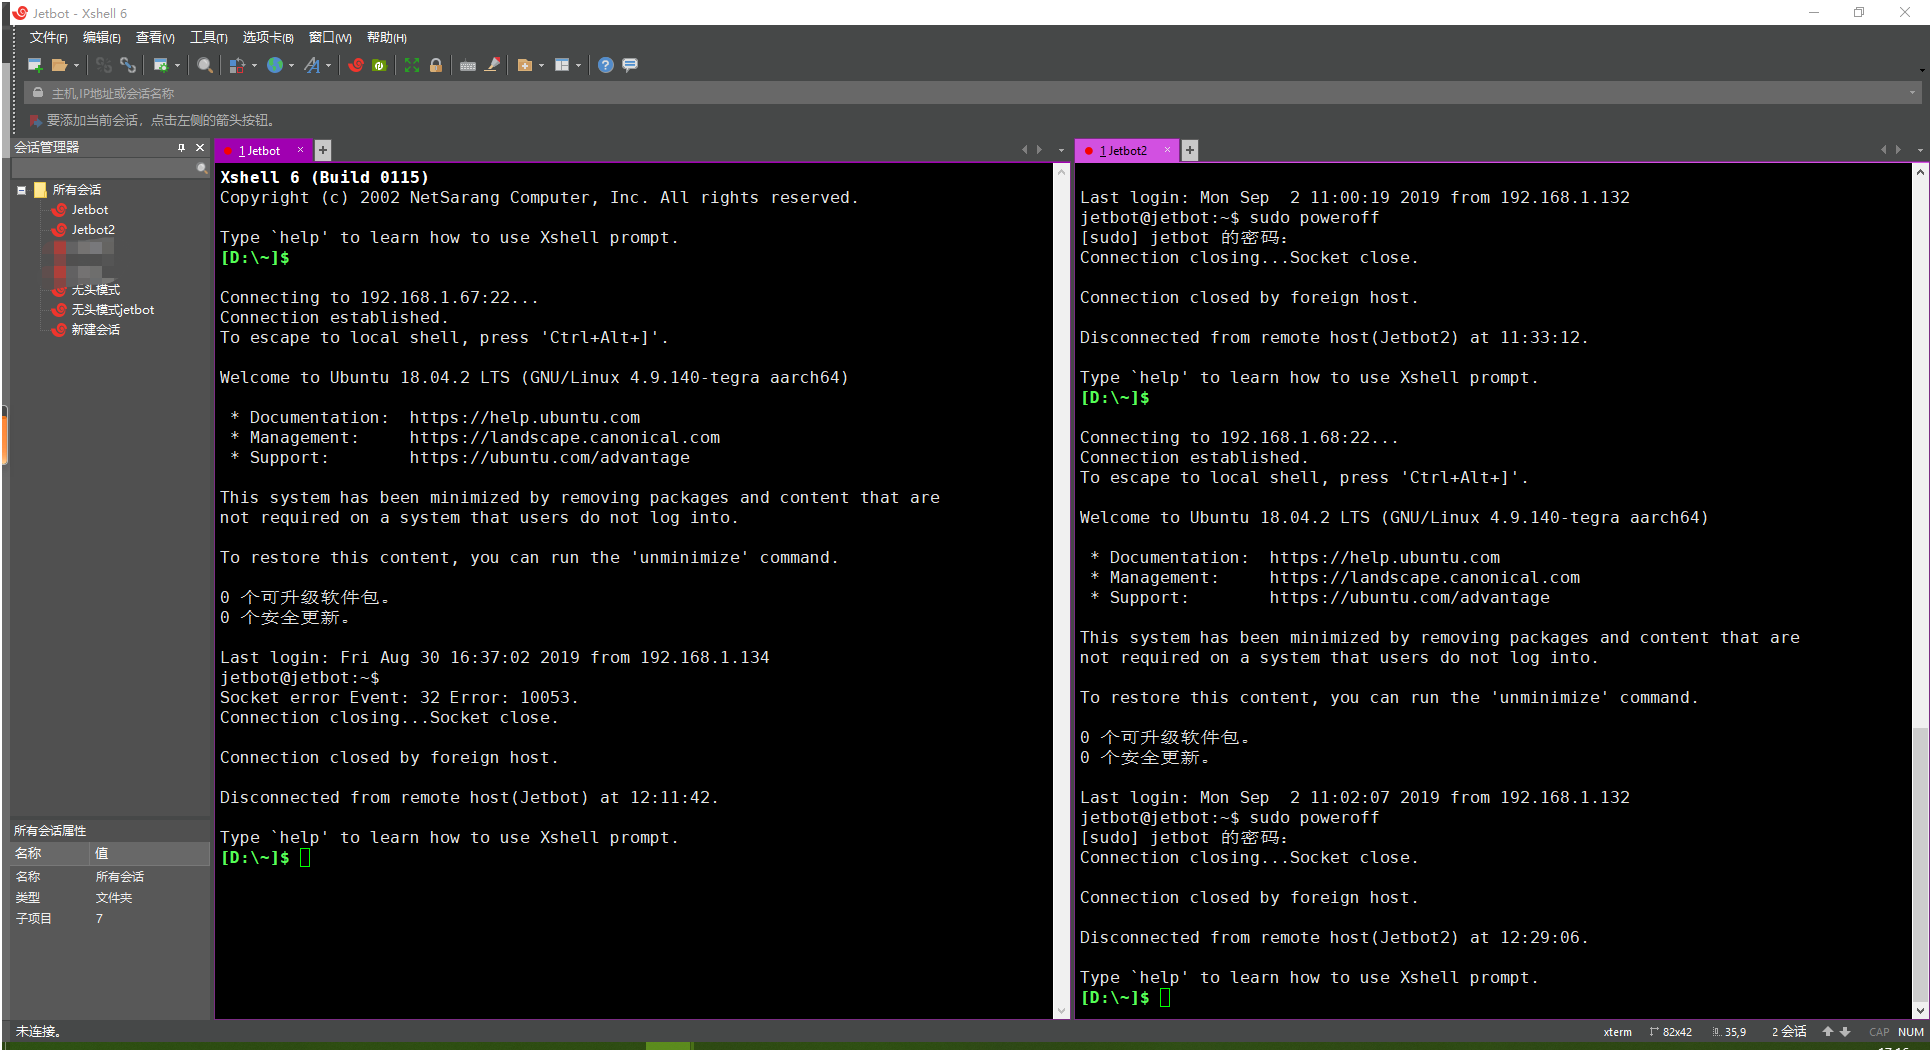
- Ability to record multiple sets of login information, one-click connection.
- Personalized color scheme.
3. PC(Host) side --- VNC
Install VNC :
Path of package : [JetBot-Mini-Robot-Car] --> [Annex] --> [Tools]---> [VNC-Viewer.exe]
If you use image we provided, the user name :jetson password: yahboom,You can directly skip to step 6 and log in to VNC according to the current IP address.
Note that the Software Updater software update is displayed after connecting to the desktop. In order to avoid compatibility problems, it is best not to update
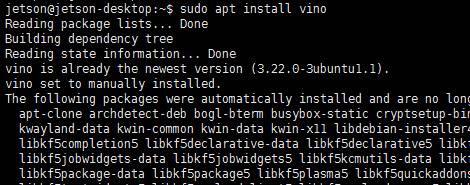
1.Install vino
sudo apt updatesudo apt install vino
2.Set enable VNC service (at this time, you can manually open VNC server)
xxxxxxxxxxsudo ln -s ../vino-server.service /usr/lib/systemd/user/graphical-session.target.wants

Configure VNC server:
xxxxxxxxxxgsettings set org.gnome.Vino prompt-enabled falsegsettings set org.gnome.Vino require-encryption false

Edit org.gnome, Recover the lost "enabled" parameter, enter the command to enter the file, and add the following key content to the back of the file. Save and exit.
xxxxxxxxxxsudo vi /usr/share/glib-2.0/schemas/org.gnome.Vino.gschema.xml

xxxxxxxxxx<key name='enabled' type='b'> <summary>Enable remote access to the desktop</summary> <description> If true, allows remote access to the desktop via the RFB protocol. Users on remote machines may then connect to the desktop using a VNC viewer. </description> <default>false</default></key>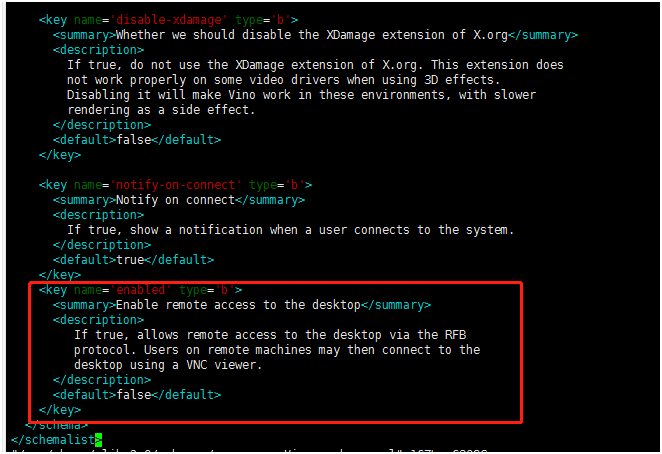
Set to Gnome compilation mode
xxxxxxxxxxsudo glib-compile-schemas /usr/share/glib-2.0/schemas
Now the screen sharing panel works in the unit control center... But that's not enough for vino to run! Therefore, you need to add a program: vino server when the session starts. Use the following command line:
xxxxxxxxxx/usr/lib/vino/vino-server

This is a manual startup. If manual startup is required every time, it will be troublesome. The form of startup and self startup will be set below.
3.Set VNC login password ('the password 'is changed to your own password)
xxxxxxxxxxgsettings set org.gnome.Vino authentication-methods "['vnc']"gsettings set org.gnome.Vino vnc-password $(echo -n 'thepassword'|base64)

4.Restart the machine and verify whether VNC is set successfully
xxxxxxxxxxsudo reboot
5.Set startup and self startup VNC server
VNC server is available only after you log in to Jetson locally. If you want VNC to be automatically available, use the system settings application to enable automatic login.
xxxxxxxxxxgsettings set org.gnome.Vino enabled truemkdir -p ~/.config/autostartvi ~/.config/autostart/vino-server.desktop
Add the following content to the file, save and exit.
xxxxxxxxxx[Desktop Entry]Type=ApplicationName=Vino VNC serverExec=/usr/lib/vino/vino-serverNoDisplay=true
If the system is set to enter the user password before entering the desktop, the above change script will not start until it enters the desktop. It is recommended to set the system to automatically log in to the desktop.
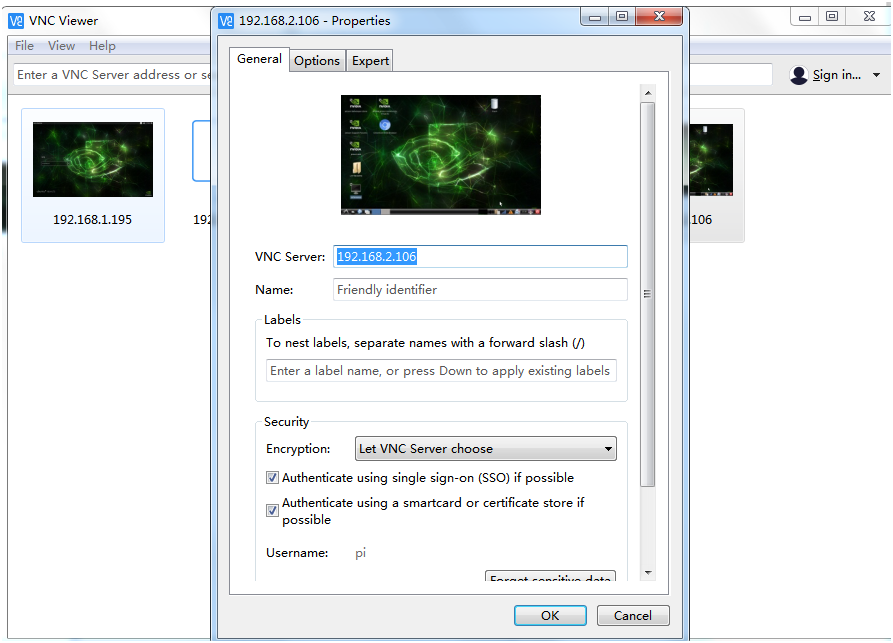
6.Connect to VNC server
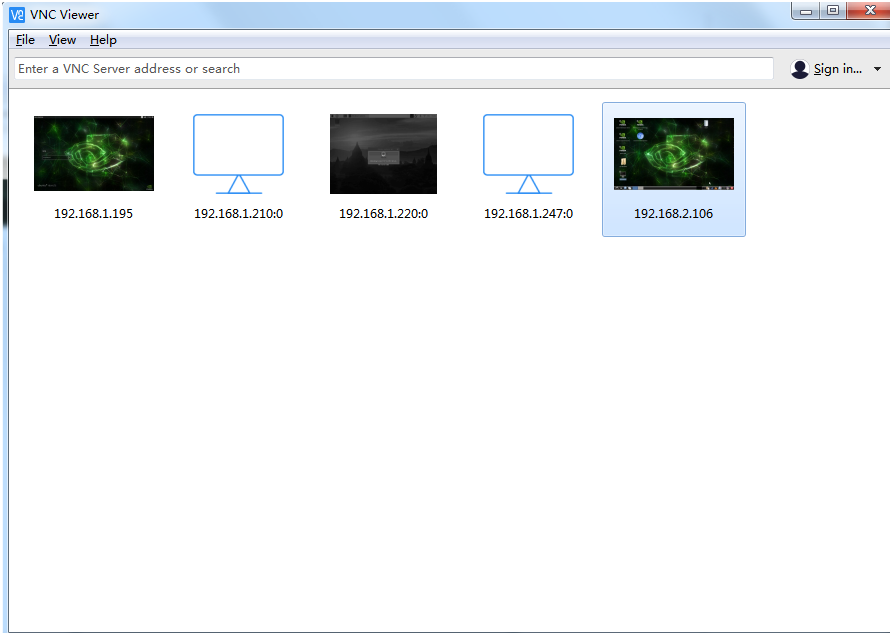
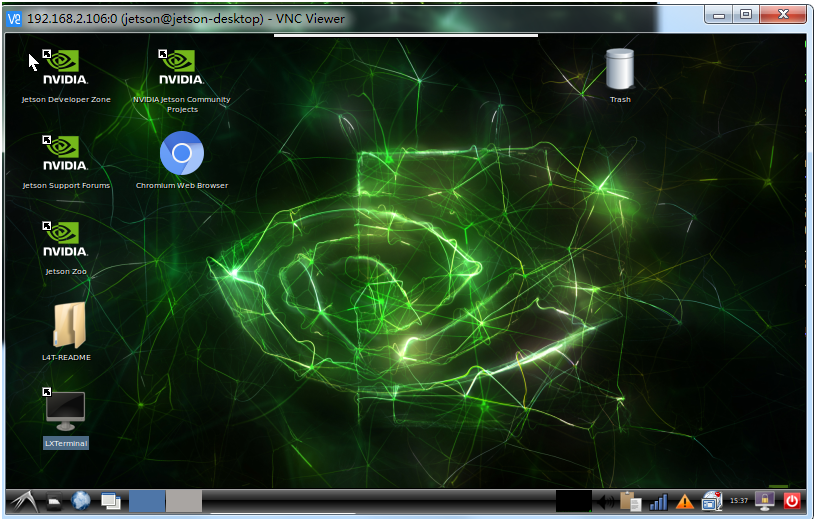
For VNC connection using VNC viewer software, first you need to query the IP address. What I found here is 192.168 2.106. After entering the IP address, click OK, double-click the corresponding VNC user, enter the password, and finally enter the VNC interface.
4. Jetbotmini side - jtop
Input this command to install:
xxxxxxxxxxsudo pip3 install jetson-stats
Input this command to update:
xxxxxxxxxxsudo -H pip install -U jetson-stats
Input this command to run:
xxxxxxxxxxsudo jtop
Input this command to uninstall:
xxxxxxxxxxsudo pip3 uninstall jetson-stats
About Jtop:
Jtop is a system monitoring utility that can run on the terminal to view and control the status of NVIDIA Jetson products in real time.
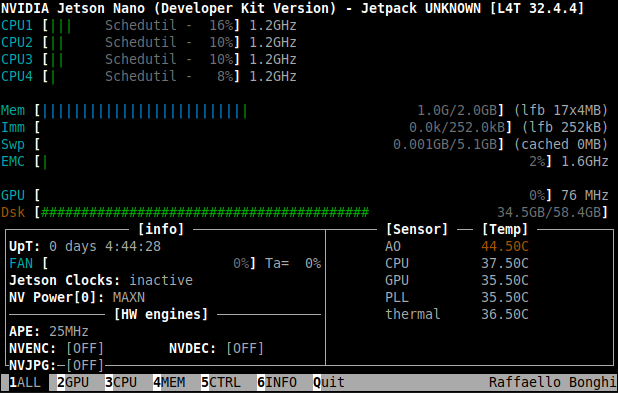
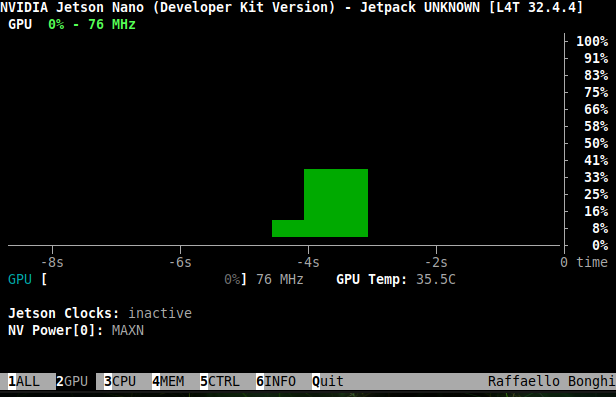
Control Jtop page:
Use the left and right arrow keys on your keyboard to switch between different status display interfaces.
Jtop has four different pages to monitor your Jetbot's running status:
About four interfaces of Jtop:
- ALL: Collect all the information about development board: CPU, Memory, GPU, Disk, Fan and all the status about jetson_clocks, NVPmodel and others status.As shown below.
GPU: About your NVIDIA Jetson's real-time GPU history.
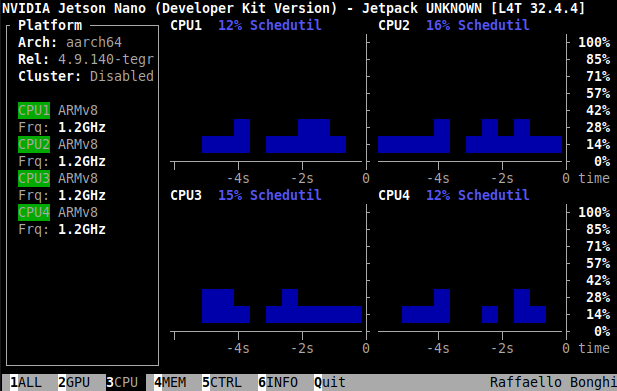
CPU:Display the dominant frequency and occupancy of 4-core CPU
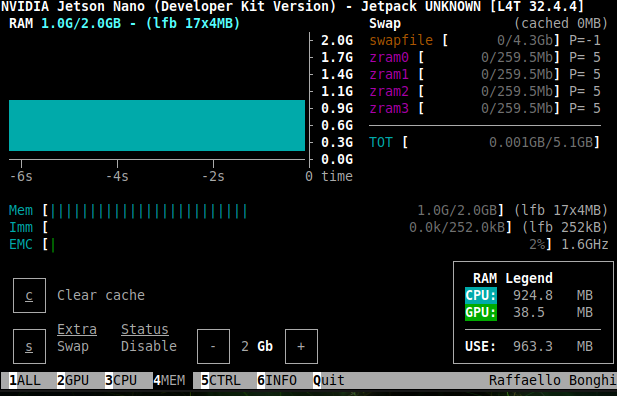
- MEM:Memory status
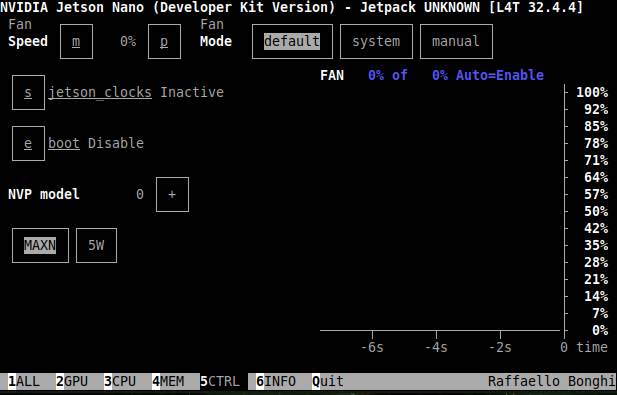
- CTRL:Control your status
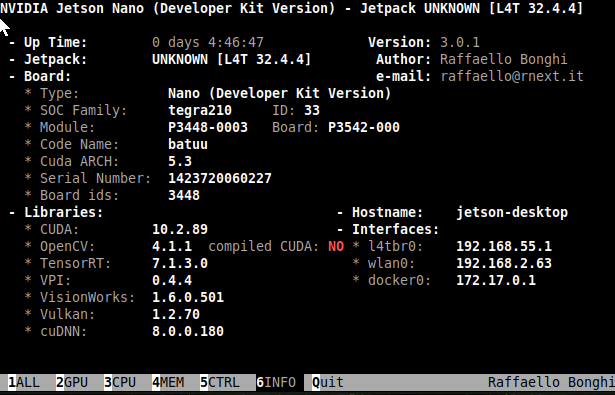
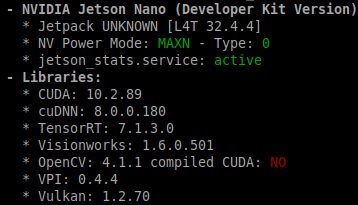
- INFO:Collect all information about library, CUDA, serial number, interface, etc.
About Control Jetbot:
We can use following key on the keyboard to control Jebot Mini.
a: Start/Stop jetson_clocks service(Note: jetson_clocks only starts after 60 seconds)
e: Start/Disable jetson_clocks onboard boot
+/-: Increase and decrease the NVP model
p/m: Increase and decrease speed of fan(But because Jetbot Mini uses a non-shiftable fan, this feature is negligible)
Others function:
Jetson_release:
Display information about the current version of Jetbot Mini environment component version, status, etc.
As shown below:
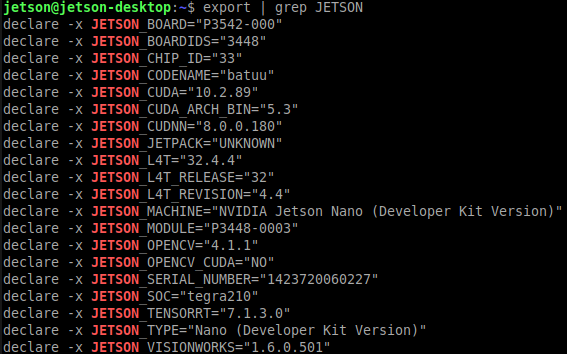
export | grep JETSON:
This script generates a simple environment variable to understand the hardware version of Jetson and the installed Jetpack.
As shown below: