EAI_X3 Radar ROS2
EAI_X3 Radar ROS21、Remap the USB serial port2、terminal test3、rviz2 visual test4、gmapping mapping test
ROS 2 official website:https://docs.ros.org/
equipment:pc;X3
environment:Ubuntu20.04;ROS2(Foxy)
new workspace
mkdir -p X3_ws/srcWhen using this radar, you need to enter the workspace every time you execute a command
xxxxxxxxxxcd ~/X3_wsUnzip the [X3_ws_src.zip] function package and put it into the src folder of the X3_ws workspace, and open the terminal in the workspace
xxxxxxxxxxcolcon build # compilesource install/setup.bash # update environmentNote: Every time you modify the code in the function package, you need to [compile] and then [update environment].
Add the workspace to the .bashrc of the environment variable,
xxxxxxxxxxecho "source ~/X3_ws/install/setup.bash" >> ~/.bashrc1、Remap the USB serial port
Terminal input,
xxxxxxxxxxcd ~/X3_ws/src/ydlidar_ros2_driver-master/startupsudo chmod 777 *sudo ./initenv.shAfter binding, unplug the radar again.
Use the following command to view modified remap
xxxxxxxxxxll /dev/ydlidar

Note: This is not necessarily ttyUSB0, as long as there is /dev/ydlidar, it means that the binding is successful.
2、terminal test
The first step is to start the corresponding radar
xxxxxxxxxxros2 launch ydlidar_ros2_driver ydlidar_launch.pyThe second step is to view the radar data
xxxxxxxxxxros2 topic echo /scan
You should see rplidar scan results in the console

3、rviz2 visual test
xxxxxxxxxxros2 launch ydlidar_ros2_driver ydlidar_launch_view.pyYou should see the radar scan results in rviz2

Note: The topic of [Fixed Frame] coordinate system and [LaserScan] should be consistent with the published ones.
4、gmapping mapping test
The first step is to start the corresponding radar
xxxxxxxxxxros2 launch ydlidar_ros2_driver ydlidar_launch.py The second step is to start gmapping to build a map
xxxxxxxxxxros2 launch sllidar_ros2 gmapping_launch.py ros2 run slam_gmapping slam_gmappingYou should see the mapping result in rviz2
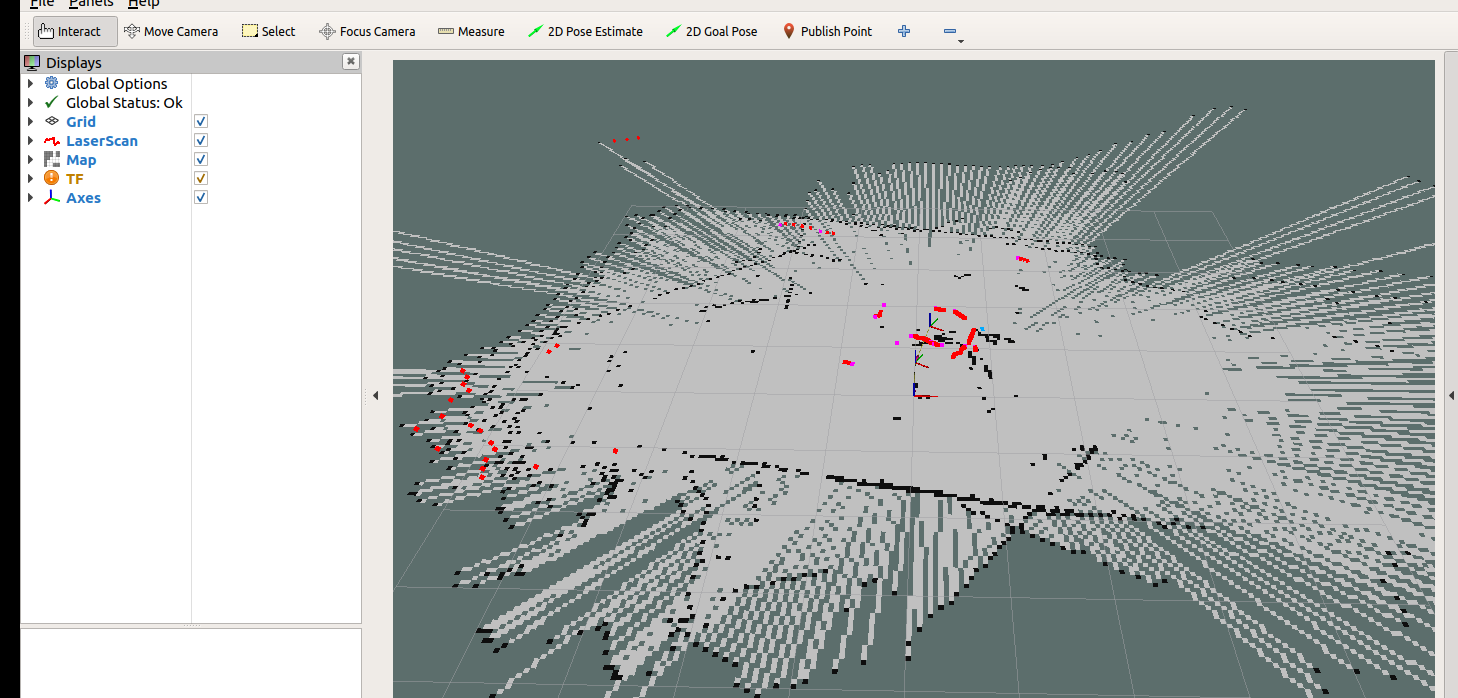
Note: [Fixed Frame] coordinate system, [LaserScan] topic, and [map] topic should be consistent with the published ones.