5 LCD display experiment
5 LCD display experiment 5.1 experimental target 5.2 experimental procedure 5.3 experimental results 5.4 the experiments are summarized
5.1 experimental target
This lesson is mainly for learning microPython control LCD display function.
The present experiments the reference code path is: CanMV\03-Hardware\lcd.py
5.2 experimental procedure
Module factory firmware has been integrated LCD display module, if you download the other firmware, please burn back to the factory firmware and then perform the experiment.
Directly into the lcd and time.
import lcdimport time
Initialize the lcd display.
xxxxxxxxxxlcd.init()
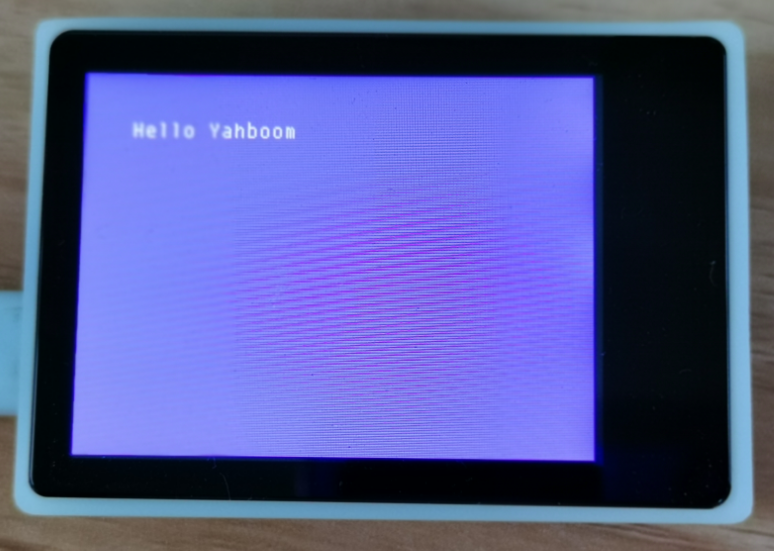
The screen is set to a blue background in the top left of the screen to display the“Hello Yahboom”。
xxxxxxxxxxlcd. clear(the lcd. BLUE)lcd. rotation(0)lcd. draw_string(30, 30, "Hello Yahboom", lcd. WHITE, lcd. BLUE)time. sleep(1)
Wherein, lcd.clear(color)The parameter color to set the color, optional BLACK, black, and NAVY(Navy blue)、DARKGREEN(green)、DARKCYAN, deep blue, and a MAROON(maroon and PURPLE purple and OLIVE(olive)、LIGHTGREY(light gray, the DARKGREY(dark grey), BLUE blue, GREEN, green, CYAN(cyan), RED(red), MAGENTA(Magenta), YELLOW yellow, WHITE, white, ORANGE(orange)、GREENYELLOW(green), PINK(pink)。
lcd.rotation(dir)The parameter dir is set the direction of rotation, dir=0 to the front of the display, dir=1 means that the screen is rotated 90 degrees clockwise, dir=2 means that the screen is rotated clockwise 180 degrees, dir=3 means that the screen is rotated clockwise 270 degrees.
lcd.draw_string(x, y, "contents", color_text, color_background)The parameters x, y represents the text of the starting coordinates, the“contents”represents the display string, color_text represents a string of displayed colors, color_background a string that represents the background color.
time.sleep(1)Represents a delay of 1 second, to ensure there is enough time to display content.
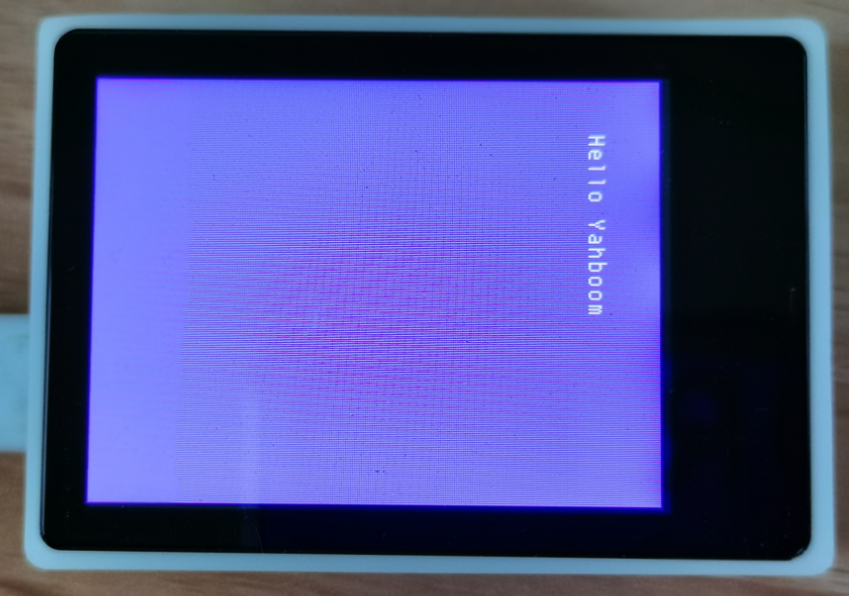
Empty the contents of the screen, and the screen in a clockwise direction to turn 90 degrees, and then display the string content.
xxxxxxxxxxlcd.clear(the lcd. BLUE)lcd.rotation(1)lcd.draw_string(30, 30, "Hello Yahboom", lcd. WHITE, lcd. BLUE)time.sleep(1)
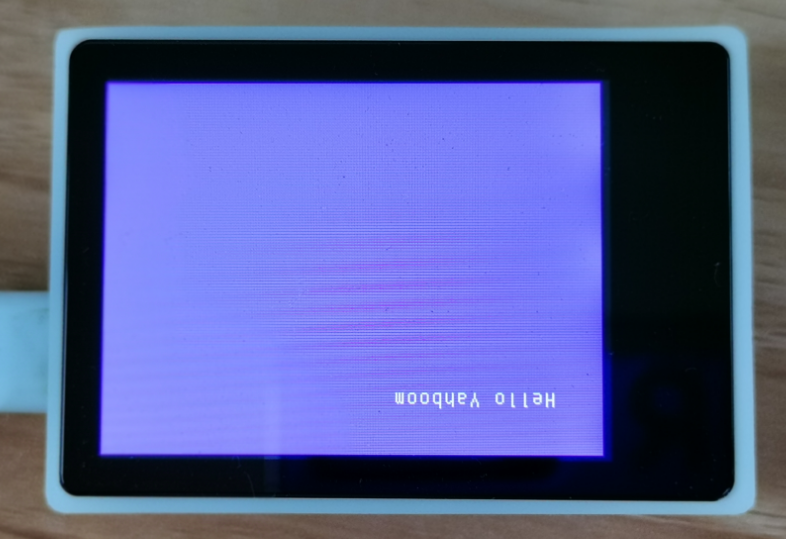
And then the screen in a clockwise direction and then turn 90 degrees, that is, with the original direction 180 degrees, and display the string content.
xxxxxxxxxxlcd.clear(the lcd. BLUE)lcd.rotation(2)lcd.draw_string(30, 30, "Hello Yahboom", lcd. WHITE, lcd. BLUE)time.sleep(1)
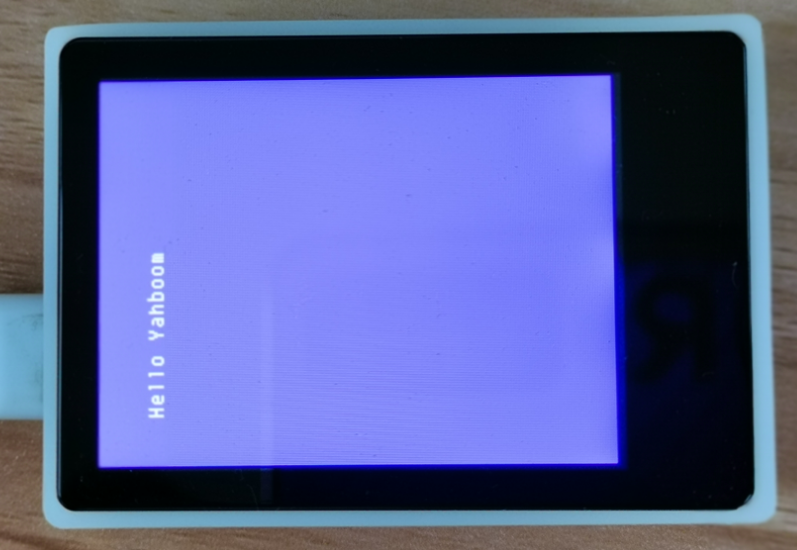
And then the screen in a clockwise direction and then turn 90 degrees, that is, with the original direction of the difference of 270 degrees, and display the string content.
xxxxxxxxxxlcd.clear(the lcd. BLUE)lcd.rotation(3)lcd.draw_string(30, 30, "Hello Yahboom", lcd. WHITE, lcd. BLUE)time.sleep(1)
Finally the screen to restore the default angle, and in the middle of the display string.
xxxxxxxxxxlcd.clear(the lcd. BLUE)lcd.rotation(0)lcd.draw_string(100, 100, "Hello Yahboom", lcd. WHITE, lcd. BLUE)time.sleep(1)
5.3 experimental results
Connect the K210 module to the computer through the microUSB data cable, CanMV IDE click the connect button, after the connection is completed click the Run button to run the routine code. You can also download the code as main.py and run it in the K210 module.
You can see the screen blue background, and the upper left corner of the display“Hello Yahboom”string, a second after the screen is rotated 90 degrees clockwise, and then through a second clockwise rotation to 180 degrees, and then through a second clockwise rotation to 270 degrees, and finally restore the front of the display, and in the middle of the display“Hello Yahboom”string.

5.4 the experiments are summarized
Use CanMV IDE, with the factory firmware write a good MicroPython syntax, initialization of the LCD display is relatively simple, the screen can not only modify the background color, and you can write a custom string, but also a rotating display.