7.2、Install CanMV IDE development software
7.2、Install CanMV IDE development software7.2.1、Download CanMV IDE7.2.2、Introduction to interface functions7.2.3、connect device7.2.4、Temporary running program7.2.5、Boot up and run your own code
7.2.1、Download CanMV IDE
1.The GitHub address of CanMV IDE, download the corresponding software installation package according to your own system, here take win10 as an example:
https://github.com/kendryte/canmv_ide/releases
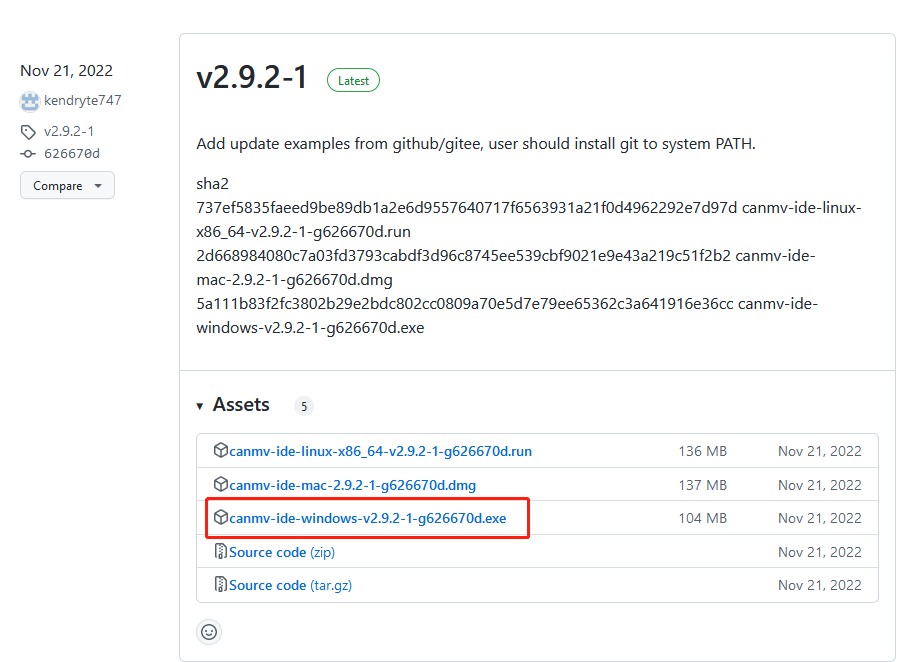
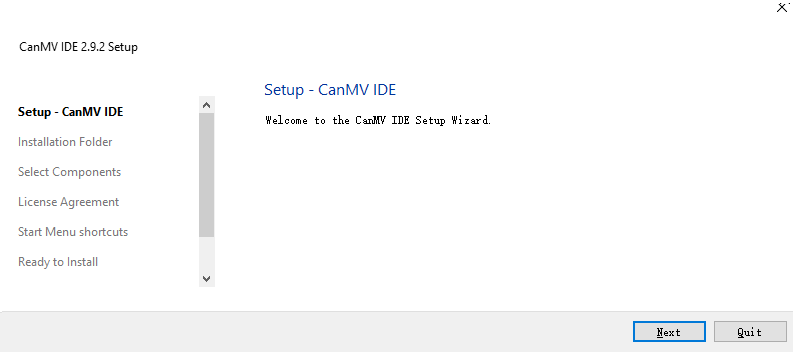
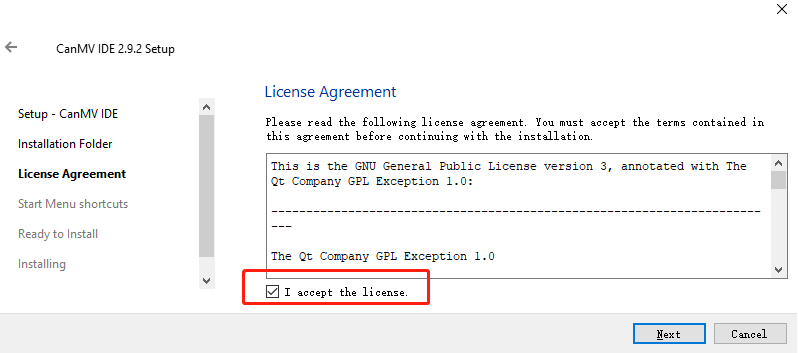
3.After downloading, get the canmv-ide-windows-vx.x.x-gxxxxxx.exe file, double-click to open the installation package
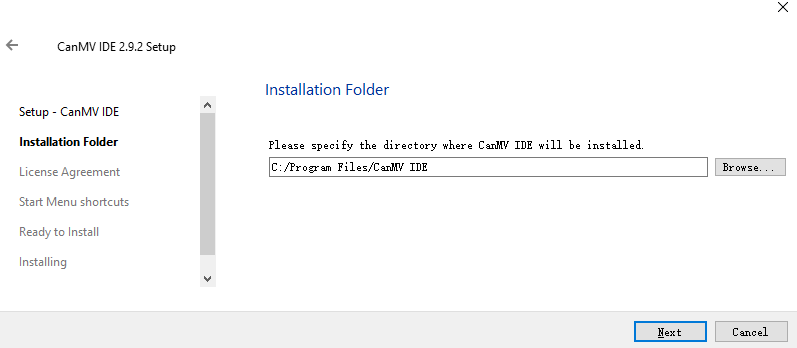
Modify the installation path

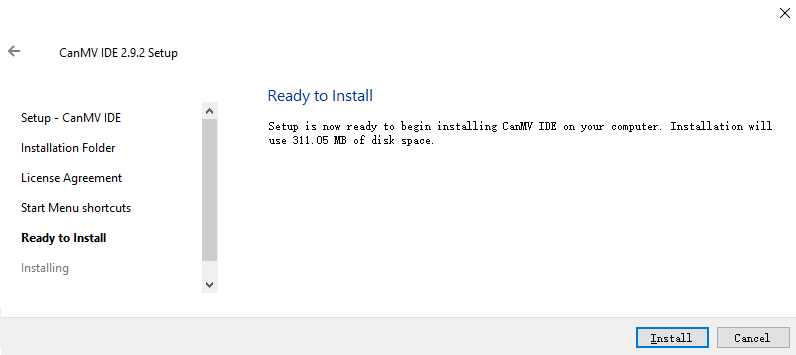
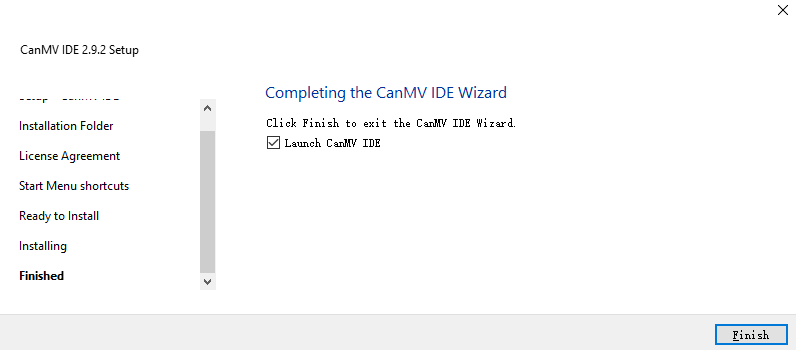
Wait for the installation components to complete。
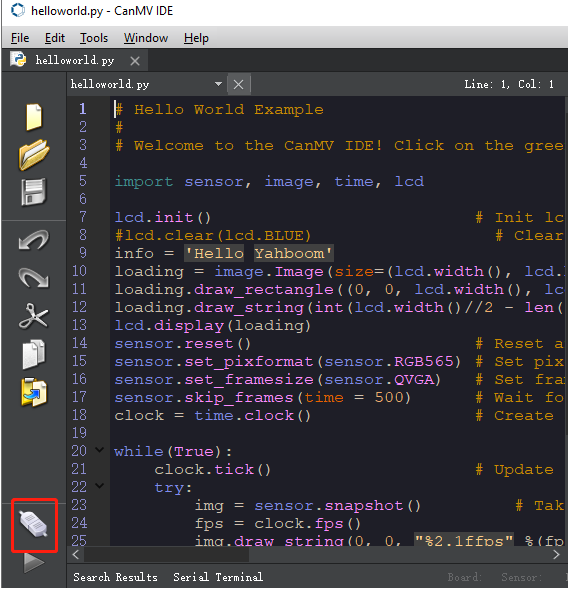
7.2.2、Introduction to interface functions
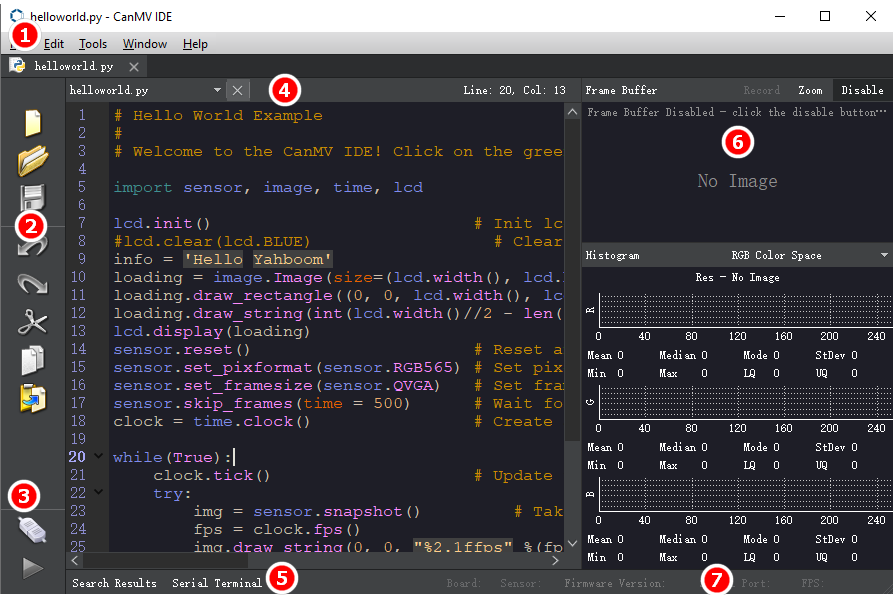
Area ①Menu bar: operate files, use tools, etc.
Area ②Shortcut buttons: Shortcuts for some functions in File and Edit in area ①.
Area ③ Connecting Devices: Connecting devices and program control buttons.
Area ④ Code editing area: Edit the code to be run.
Area ⑤Serial terminal: Display the debugging information printed by the serial port.
Area ⑥ Image Preview: Display the image preview of the camera.
Area ⑦Firmware information: Display the connected serial port number and related information of the firmware.
7.2.3、connect device
Connect the K210 development board to the USB port of the computer through the TYPE-C data cable.
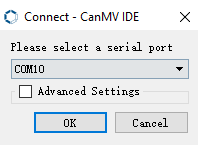
Then click the connect button in the lower left corner of CanMV IDE
Select the serial port pops up, and select the serial port number corresponding to the K210 development board. If there are multiple serial ports, please confirm the corresponding serial port number and then click OK to open.
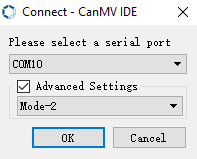
If you cannot connect, you can click Advanced Settings and select Mode-2.
A successful connection will turn the icon into a connected state, and the gray play button will turn green at the same time.

7.2.4、Temporary running program
Note: The program running in this step will be lost and not saved after disconnecting, pressing the reset button or shutting down the machine.
After the connection is complete, you can see that the connection icon in the lower left corner changes to a connected symbol.
If the routine is not open, open File->Example->Basics->helloworld.py

Click the green play button to run the program.

At this time, you can see the LCD displaying the camera image, and the camera image is also displayed in the upper right corner of the IDE.
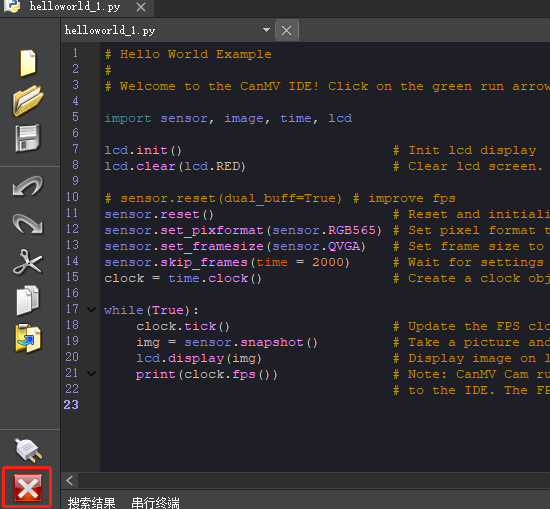
The green play button icon will turn into a red stop button, click once to stop the running program.
7.2.5、Boot up and run your own code
Note: The program in this step will run automatically after power on again.
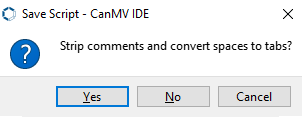
In the case of keeping the connection, click Tools -> Save the currently opened script as (main.py) to CanMV Cam
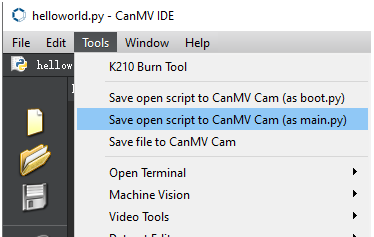
Click Yes to save the program, after completion, disconnect or press the reset button, the program will run automatically.
If a TF card is inserted, the program will be saved to the TF card first, and the main.py file in the TF card will be run first.