4. Buzzer whistle
4. Buzzer whistle 4.1. Experimental goal 4.2. Experiment preparation 4.3. Experimental operation and phenomenon 4.3.1、Check out ROS expansion board4.3.2、Enter the Docker container4.3.3、run program4.4. Program source code
4.1. Experimental goal
Control the buzzer switch on the expansion board, the whistle time is 100ms, 300ms, 1s, etc.
4.2. Experiment preparation
The red box in the picture is the buzzer on the expansion board.
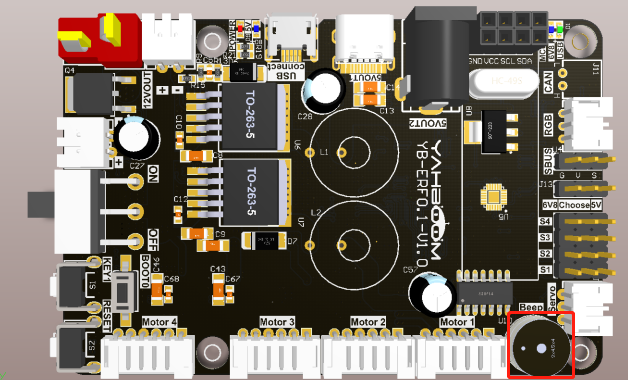
The buzzer on the expansion board is an active buzzer, so it is relatively simple to control, please check the following functions.
Rosmaster_Lib library functions needed to control the buzzer:
set_beep ( on_time )
Parameter explanation: on_time=0: turn off, on_time=1: keep ringing, on_time>=10: turn off automatically after ringing for xx milliseconds (on_time is a multiple of 10).
Return value: None.
4.3. Experimental operation and phenomenon
4.3.1、Check out ROS expansion board
This operation needs to be started in docker. First, we need to make sure that the system has identified the ROS expansion board and run the terminal
xxxxxxxxxxll /dev/myserial
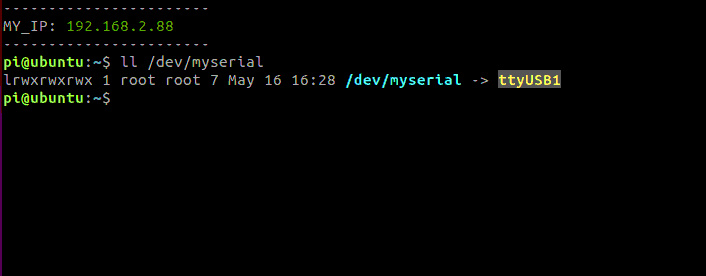
The above content indicates that the system has identified the ROS expansion board. The main thing here is that ttyUSB1 is not absolute, it may also be ttyUSB0 or other, as long as it is a ttyUSB device.
4.3.2、Enter the Docker container
For more information about Docker, please refer to the [07, Docker] tutorial content, enter the following command on the terminal to run the program in Docker
xxxxxxxxxx./run_docker.sh
Then inside docker terminal, we enter Jupyter lab, terminal input
xxxxxxxxxxjupyter lab --allow-root
Open it in a windows or ubuntu browser (must be in the same LAN, 192.168.2.88 is the IP address in the docker container)
xxxxxxxxxxBrowser input: http://192.168.2.88:8889/labenter password: yahboomaccess: jupyter lab
Notes: that the URL here is modified according to the actual IP printed out by the host terminal
4.3.3、run program
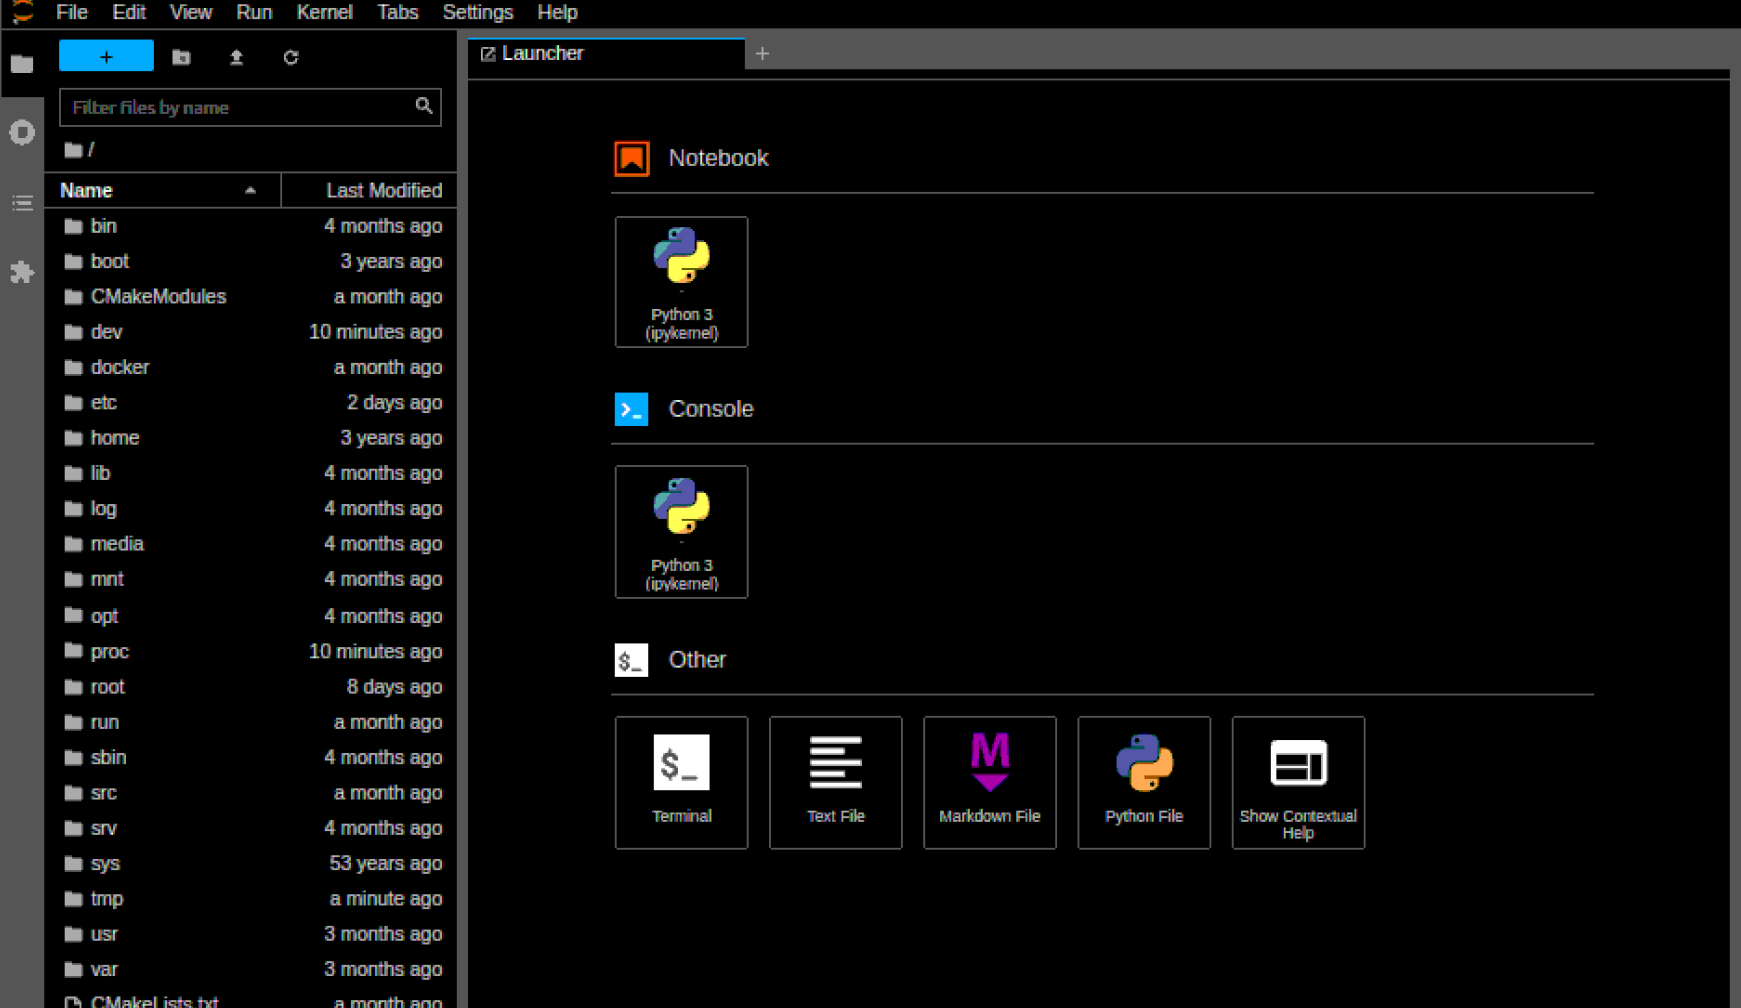
In the jupyter lab interface, double-click to enter /root/yahboomcar ros2 ws/Rosmaster/Sample, double-click to run 4.beep.ipynb, and click step by step

run program
4.4. Program source code
Go to docker, Reference code path:
/root/yahboomcar_ros2_ws/Rosmaster/Sample/4.beep.ipynb