1. Introduction to OpenCV
1. Introduction to OpenCV1.1. Image loading and saving1.2. Camera reading and displaying1.3. Reading and Modifying pixels
Before running the sample program, you need to switch to the directory where the code is located.
After SSH connects the car, it runs at the terminal.
cd ~/yahboomcar_ws/src/yahboomcar_astra/opencv_examples1.1. Image loading and saving
After the car terminal switches to the directory where the code is located, run the program.
xxxxxxxxxxpython3 1_1.py
x
import cv2if __name__ == '__main__': img = cv2.imread('figures/yahboom.jpg') cv2.imwrite("figures/1_1.jpg",img) '''图像读取:cv2.imread(filepath,flags) filepath:要读入图像的完整路径 flags:如何读取图像 cv2.IMREAD_UNCHANGED:保持原格式不变,可以用-1表示; cv2.IMREAD_GRAYSCALE:以灰度模式读入图片,可以用0表示; cv2.IMREAD_COLOR:,读入一副彩色图片,可以用1表示; cv2.IMREAD_UNCHANGED:读入一幅图片,并包括其alpha通道,可以用2表示。图像保存:cv2.imwrite(filepath, img) filepath:保存的图像完整路径 img:要保存的图像 Image read: cv2.imread(filepath,flags) filepath: The full path of the image to be read flags: How to read images cv2.IMREAD_UNCHANGED: The format remains unchanged. The value can be -1. cv2.IMREAD_GRAYSCALE: Read images in grayscale mode, which can be represented by 0. cv2.IMREAD_COLOR:, read a color picture, can be represented by 1; cv2.IMREAD_UNCHANGED: Reads an image and includes its alpha channel, which can be represented by 2. Image save: cv2.imwrite(filepath, img) filepath: Save the full path of the image img: Image to save'''When run, the program reads the figures/yahboom.jpg image and saves the read image as figures/1_1.jpg.
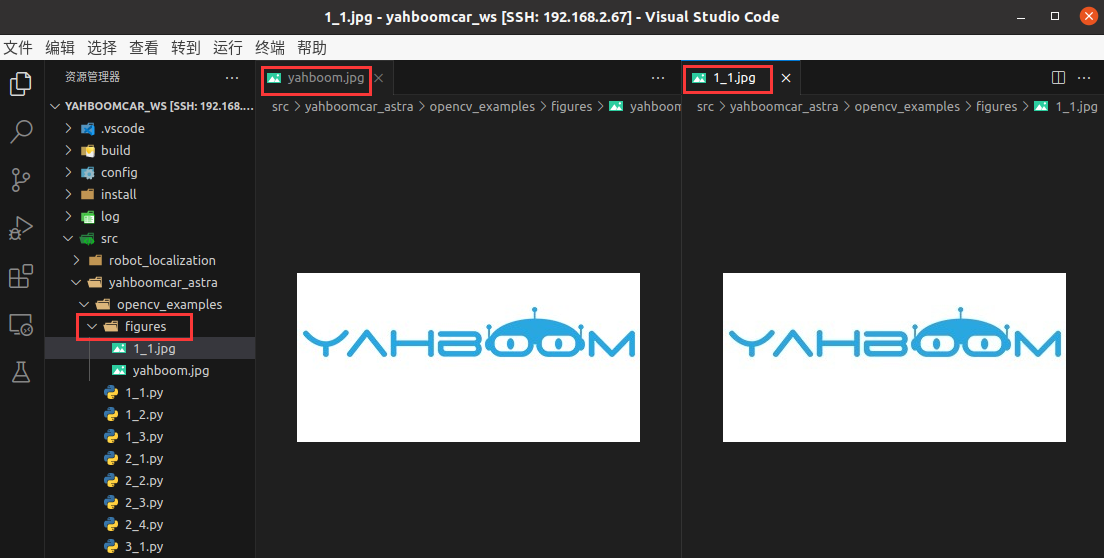
SSH to the car in VSCode, access path.
xxxxxxxxxx/root/yahboomcar_ws/src/yahboomcar_astra/opencv_examples/figuresYou can view the read image yahboom.jpg and the saved image 1_1.jpg:
Note: opencv also has an important function cv.imshow(), which is used for image display. Since the car system has no graphical interface can not use this function to show, so here is not introduced, and will not be used later.
1.2. Camera reading and displaying
Note: This step applies to cars equipped with depth cameras.
After the car terminal switches to the directory where the code is located, run the program.
xxxxxxxxxxpython3 1_2.py
x
import cv2if __name__ == '__main__': frame = cv2.VideoCapture(8) if frame.isOpened(): ret,img = frame.read() cv2.imwrite('figures/1_2.jpg',img) frame.release() '''打开摄像头:cv2.VideoCapture(args[“videoPath”]) 这里参数为8,代表Astra相机; 若参数是视频文件路径则打开视频,如cv2.VideoCapture(“../test.avi”)读取图像数据:ret,img = frame.read() ret:一个bool值,判断是否读回正确的帧 img:该帧的图像数据Open the camera: cv2.VideoCapture(args[" videoPath "]) Here the parameter is 8, representing Astra camera; If the parameter is the video file path, open the video, for example, cv2.VideoCapture("... /test.avi”)Read image data: ret,img = frame.read() ret: indicates a bool value that determines whether the correct frame is read back img: Image data for this frame'''After running, the program reads a frame of camera image data and saves the read frame to figures/1_2.jpg.

1.3. Reading and Modifying pixels
After the car terminal switches to the directory where the code is located, run the program.
xxxxxxxxxxpython3 1_3.py
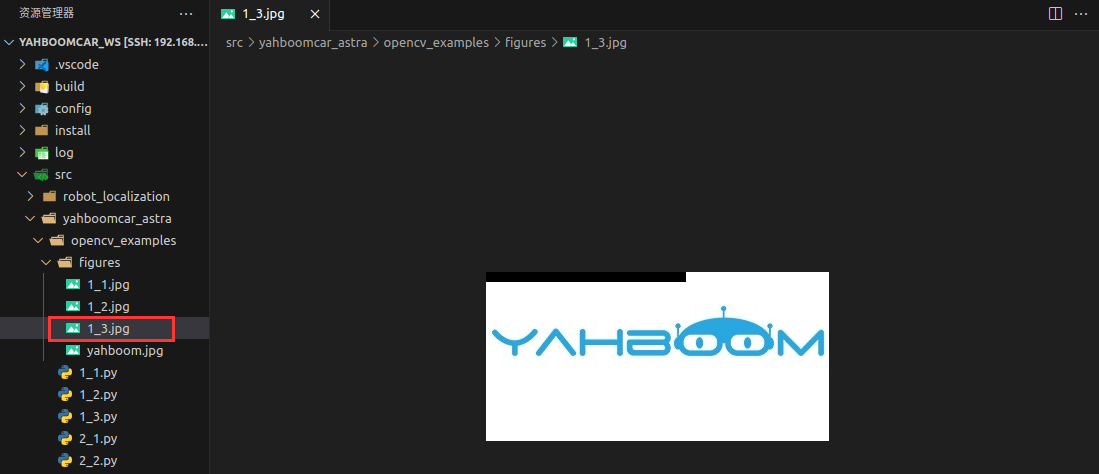
xxxxxxxxxximport cv2if __name__ == '__main__': img = cv2.imread('figures/yahboom.jpg') (b,g,r) = img[100,100] # 读取像素值# Read pixel values print(b,g,r) for i in range(0,10): for j in range(0,200): img[i,j] = (0,0,0) # 修改像素值# Modify pixel values cv2.imwrite("figures/1_3.jpg",img)The terminal outputs the pixel value at the position of coordinates (100, 100).

After saving, some pixels in the upper left corner of the image are changed to black.