2.Write system image
1.How to start Raspberry Pi and supported systems
The Raspberry Pi development board is not equipped with onboard FLASH because it supports SD card booting, so we need to download the corresponding image, burn it on the SD card, and start the system. (This image contains bootloader, kernel, and file system)
Due to its open source nature, Raspberry Pi supports many system types: Raspbian, Arch Linux ARM, Debian Squeeze, Firefox OS, Gentoo Linux, Google Chrome OS, Raspberry Pi Fedora Remix, Slackware ARM, QtonPi, Slackware ARM, WebOS, RISC OS, FreeBSD, NetBSD, Android 4.0 (Ice Cream Sandwich)
We are using the Ubuntu18.04 operating system for this development.
2.Download image file
You can download image fil on Yahboom website.
3.Write system image into TF card
1. Format the SD card
For windows
Before writing the system image, you need to format your SD card. You need to connect the SD card to the computer with a card reader.
You need to use a tool to format the SD card: SDFormatter.exe
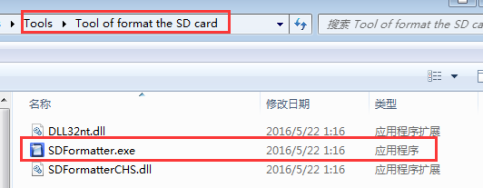
(Note : This software in the Tool of format the SD card folder of Tools folder)
For MAC
You can directly format the SD card using the tool that comes with the computer. After the format is completed, we can see the real memory of the SD card is displayed on the computer.
Finally, We need to Remove the SD card and card reader from the computer.
2. Write image
For Windows
- Insert the formatted SD card into the computer through the card reader.
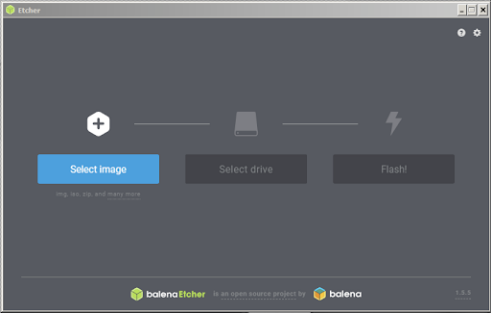
- Click "Select image" and select the compressed image file you downloaded earlier.
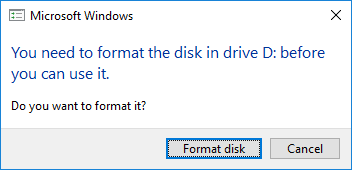
- If need to insert microSD card. If Windows prompts you to use the following dialog, please click “Cancel” (according to this description).
- Click "Select Drive" and select the correct device.
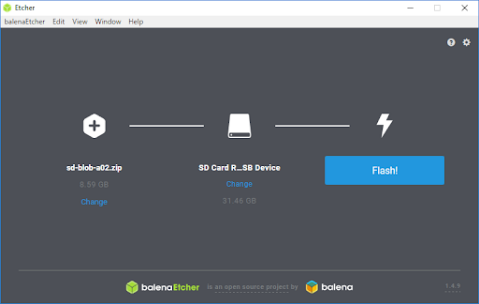
- Click on "Flash!".It will take some times, please wait patiently.
- After the Etcher is complete. If Windows prompts you to use the following dialog, please click “Cancel” (according to this description).

- Physically remove the SD card from the computer.
For MAC
- Do not insert a SD card on your MAC.
- Download and install and start the Etcher software on your PC.
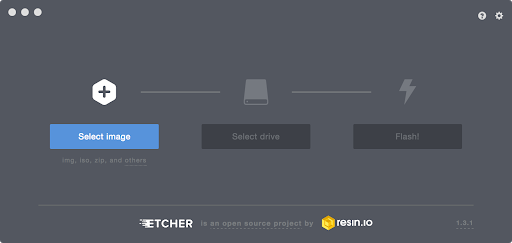
- Click "Select Image" and select the compressed image file you downloaded earlier.
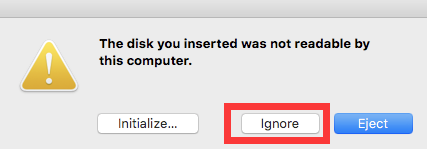
- Insert the SD card. If your Mac displays this window, click “Ignore”.
- If you are not connected to another external drive, Etcher will automatically select the SD card as the target device. Otherwise, click "Select Drive" and select the correct device.
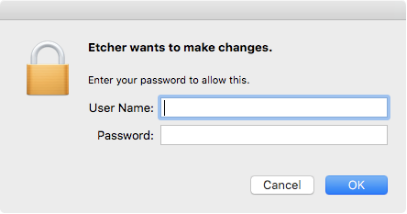
- Click on "Flash!" Your Mac may prompt you for a user name and password before allowing Etcher to continue.
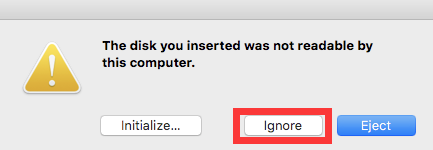
- After the Etcher is finished, if Mac prompts you to use the following dialog, please click “Ignore” (according to this description).
- Physically remove the microSD card from the computer.