Preparation
1. Create a new workspace and compile function packages
Take the creation name rplidar_ws as an example, input following command:
mkdir rplidar_wscd rplidar_wsmkdir srccd srccatkin_init_workspace
Copy the decompressed rplidar_ros function package to the rplidar_ws/src directory.
Then, in the directory of rplidar_ws, use catkin_make to compile.
xxxxxxxxxxcd ~/rplidar_wscatkin_make
After the compilation is passed, add the path of the workspace to .bashrc.
xxxxxxxxxxsudo gedit ~/.bashrc
Copy the following content to the end of the file.
xxxxxxxxxxsource ~/rplidar_ws/devel/setup.bash --extend
2. Bind lidar port name
Open the terminal, input the following command, and copy the rplidar.rules file under the function package to /etc/udev/rules.d.
xxxxxxxxxxcd ~/rplidar_ws/src/rplidar_ros/scriptssudo cp rplidar.rules /etc/udev/rules.d/Then, re-plug the lidar wiring and enter the command ll /dev/rplidar in the terminal.

The above content indicates that the binding is successful. The end is not necessarily 0 and changes according to the order in which the devices are inserted.
3. Test Lidar
Reopen a terminal, input following command to open the lidar and display it in rviz.
xxxxxxxxxx#a1 lidarroslaunch rplidar_ros view_rplidar_a1.launch#a2 lidarroslaunch rplidar_ros view_rplidar_a2m12.launch#a3 lidarroslaunch rplidar_ros view_rplidar_a3.launch#s2 lidar/s2l lidarroslaunch rplidar_ros view_rplidar_s2.launch#c1 lidarroslaunch rplidar_ros view_rplidar_c1.launch
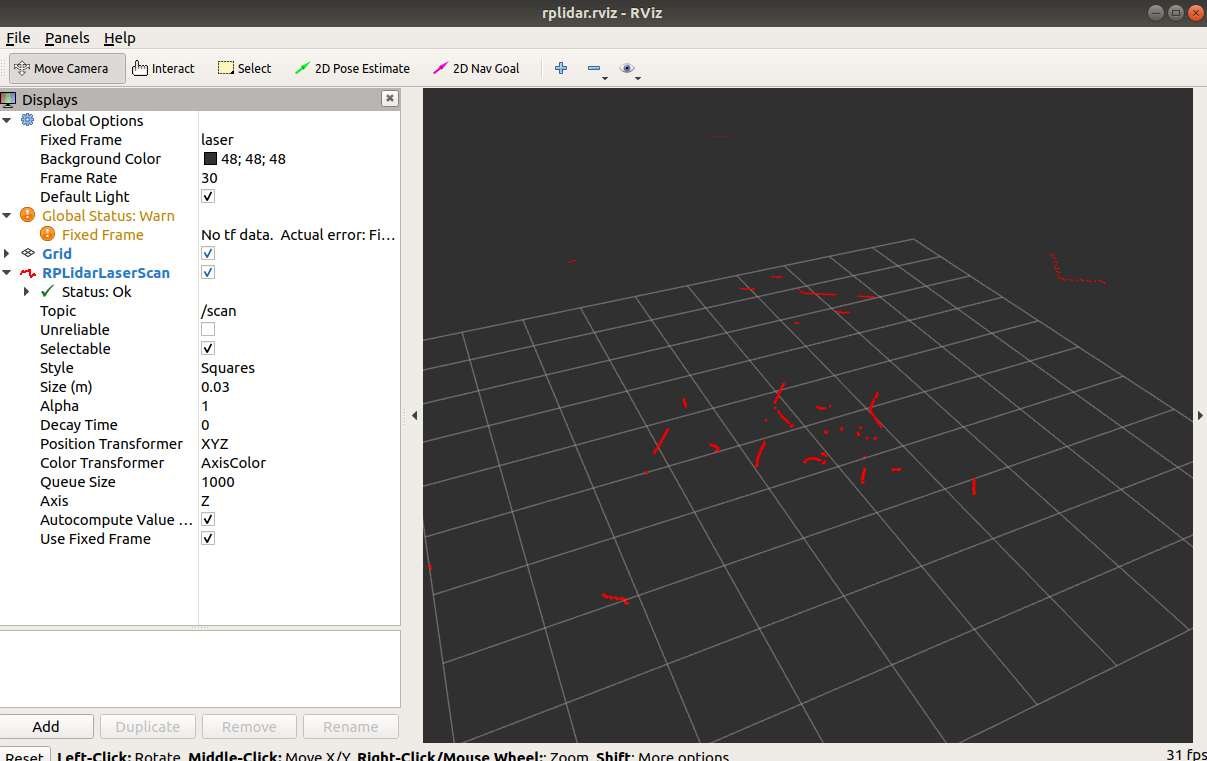
When the above screen appears, it means that all preparations have been completed.