Navigation and avoiding
This chapter needs to be used with a car chassis and other sensors to operate. This is just an explanation of the implementation method. In fact, it cannot be run. It needs to be used with the company's rosmaster-X3 car to achieve this function.
If you need to transplant it to your own motherboard, you need to install other dependency files.
1. Function description
After the program starts, the system will open rviz to display the map.
By setting target points, single-point and multi-point navigation of the car can be achieved.
2. Install Navigation 2 package
Take ros2-foxy as an example, Input following command:
sudo apt install ros-foxy-nav2-* -y
3. Code path
launch source code, the function source code is located in the Yahboom virtual machine file.
xxxxxxxxxx~/ydlidar_ws/src/yahboomcar_nav/launch4. Start
4.1 Start rviz display
Input following command:
xxxxxxxxxxros2 launch yahboomcar_rviz yahboomcar_nav_launch.py
At this time, the map will not be displayed on the screen.
Don't worry about the errors reported by each node topic on the left, because the navigation node has not been started yet.
4.2 Start the lidar
Input following command:
xxxxxxxxxxros2 launch yahboomcar_nav laser_bringup_launch.py
4.3 Start navigation node
Input following command:
xxxxxxxxxxros2 launch yahboomcar_nav navigation_dwb_launch.py
The DWB navigation algorithm is used here.
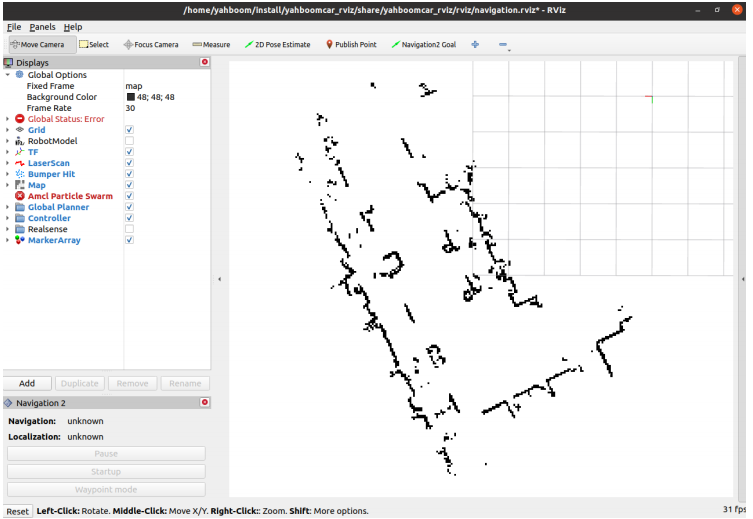
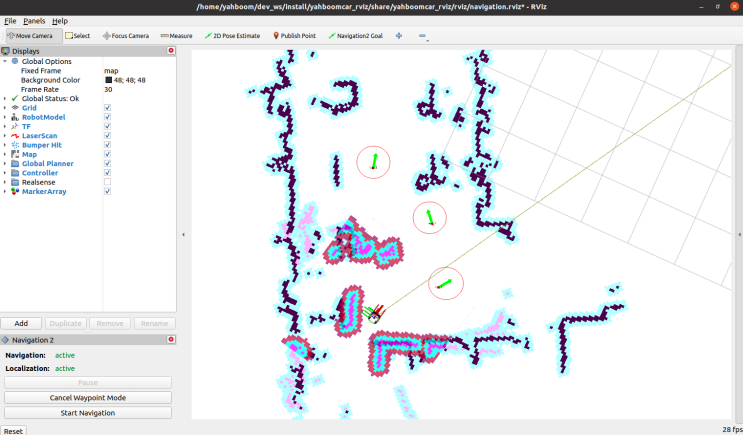
A map will appear in rviz.
Click [2D Pose Estimate] on rviz.
Then compare the position and posture of the car and mark an initial position and posture for the car on the map.
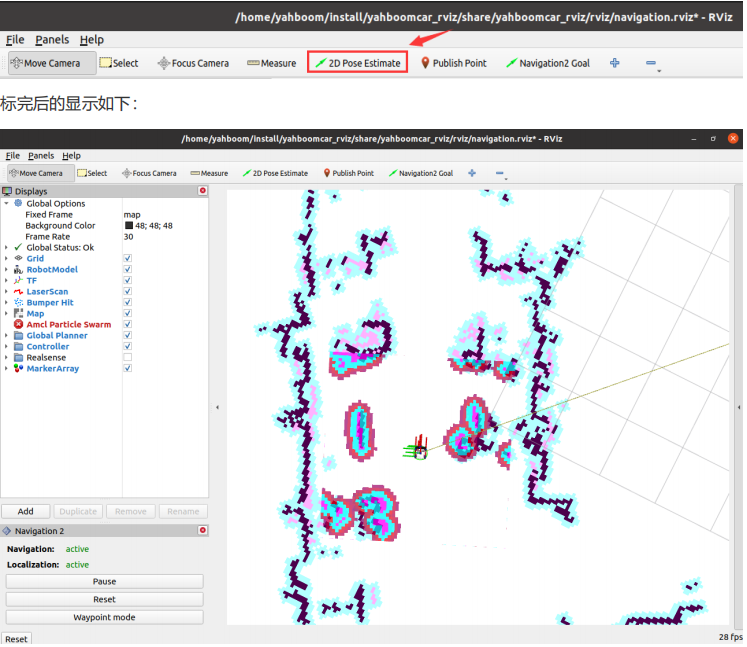
Compare the overlap between the lidar scanning point and the obstacle, and set the initial pose of the car multiple times until the lidar scanning point and the obstacle roughly overlap.
4.4 Single point navigation
After the initial pose is set, you can click [2D Goal Pose] to set a navigation target point, and the car will start single-point navigation.
4.5 Multi-point navigation
After setting the initial pose, click [Waypoint mode] in the lower left corner.
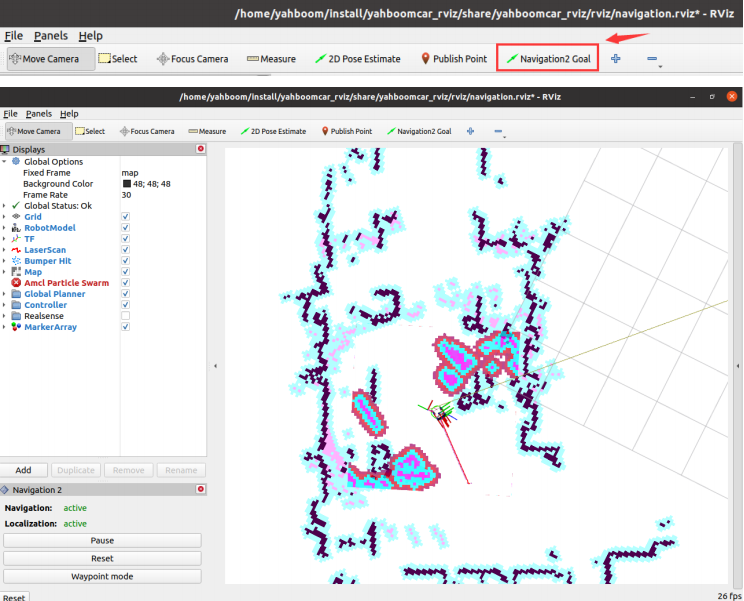
Then, click [Navigation2 Goal] on rviz, and we can mark a target point on the map.
Click [Navigation2 Goal] again to mark the second target point on the map. By continuing the cycle, you can mark multiple target points at once.
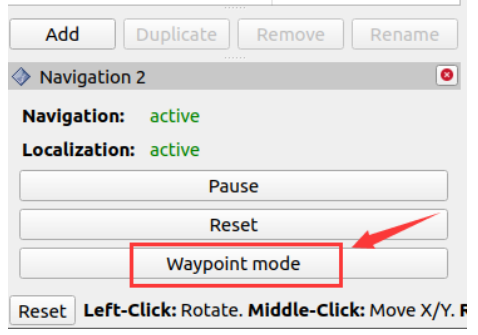
After marking multiple target points, click [Start Navigation] to start multi-point navigation.
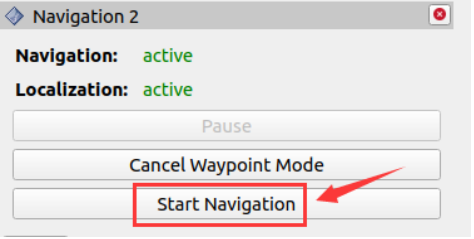
After the multi-point navigation is completed, the car will stay at the last target point.
For some parameters of DWB, you can refer to:
xxxxxxxxxx~/ydlidar_ws/src/yahboomcar_nav/params/dwb_nav_params.yaml