Autoware.ai track point recording
NDT positioning
It needs to be connected to a real car to receive 16-line lidar data before it can be used normally.
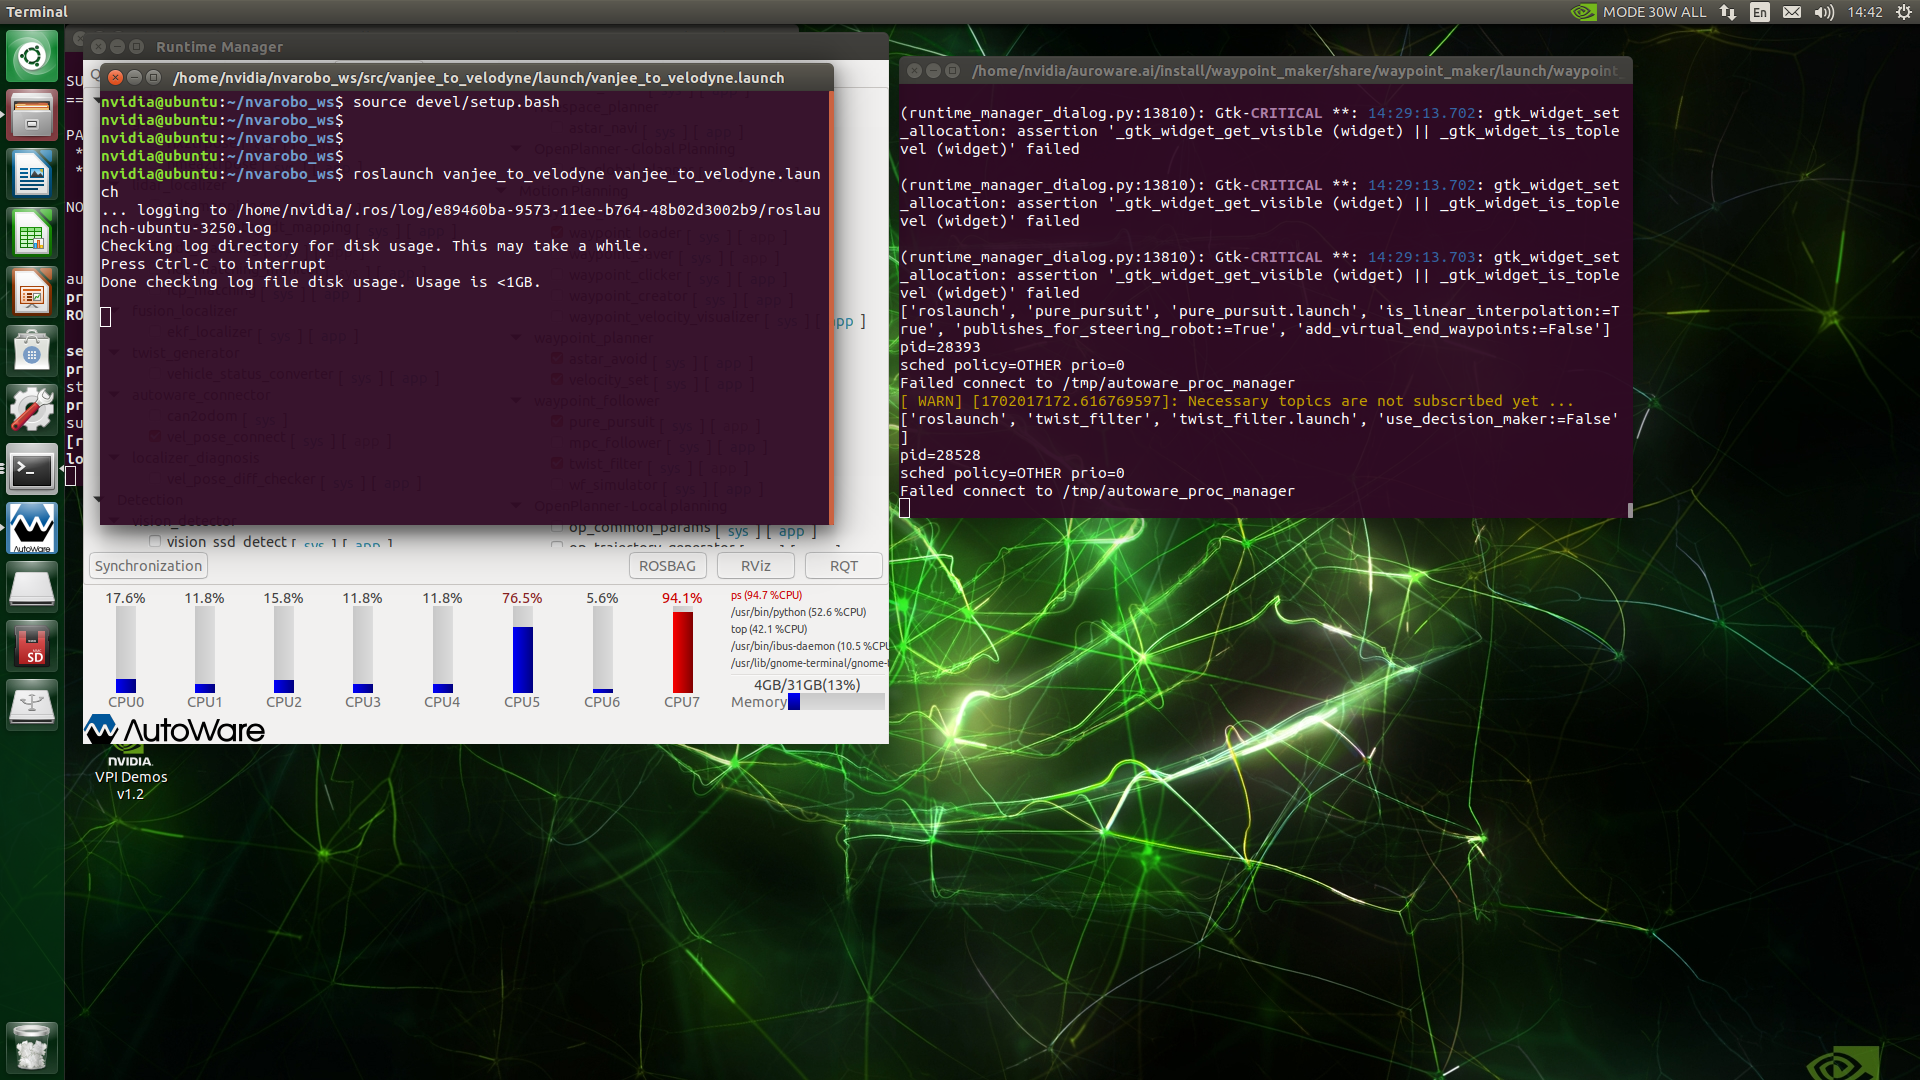
We enter the workspace of the vehicle chassis created in the previous tutorial, open the terminal and enter the following command.
source deve/setup.bashroslaunch vanjee_to_velodyne vanjee_to_velodyne.launch
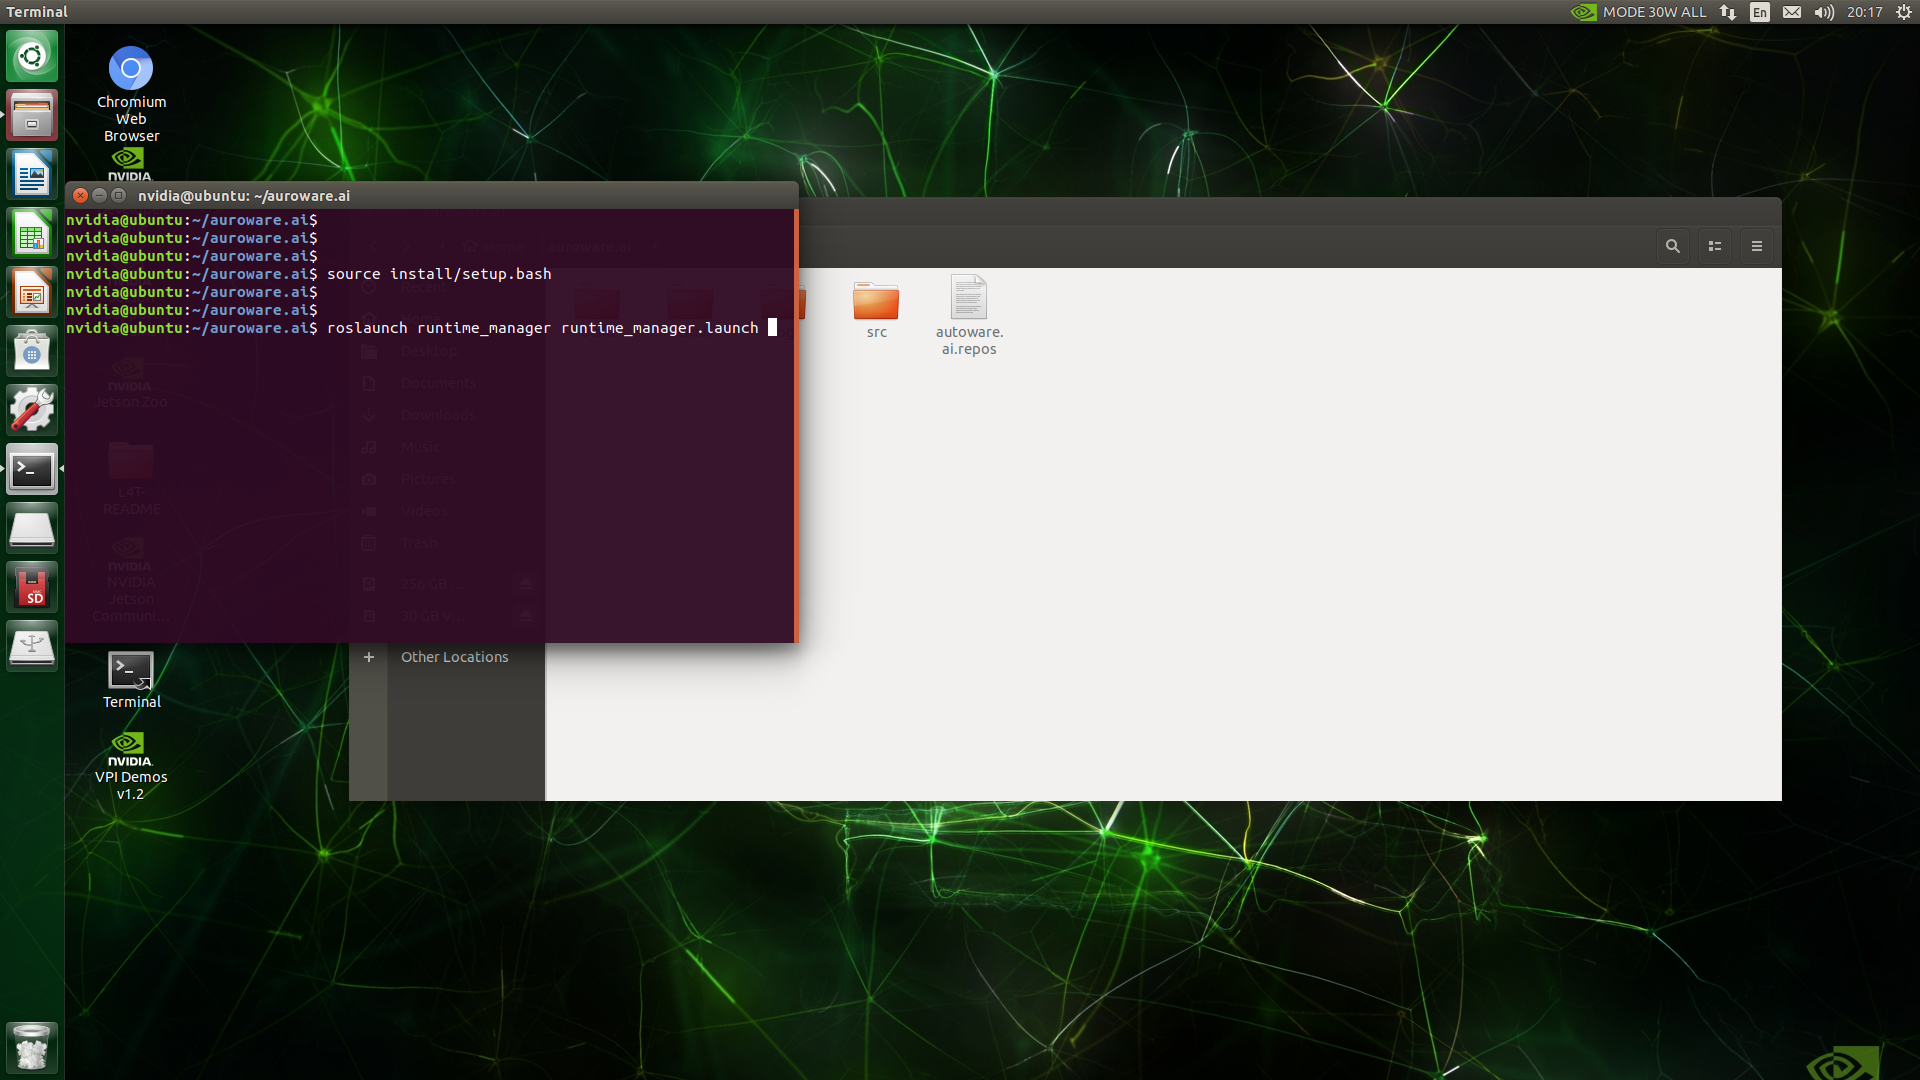
Enter the workspace of autoware.ai, right-click to open the terminal, enter the command in the terminal and press the Enter key.
source install/setup.bashroslaunch runtime_manager runtime_manager.launch
Then follow the steps below.
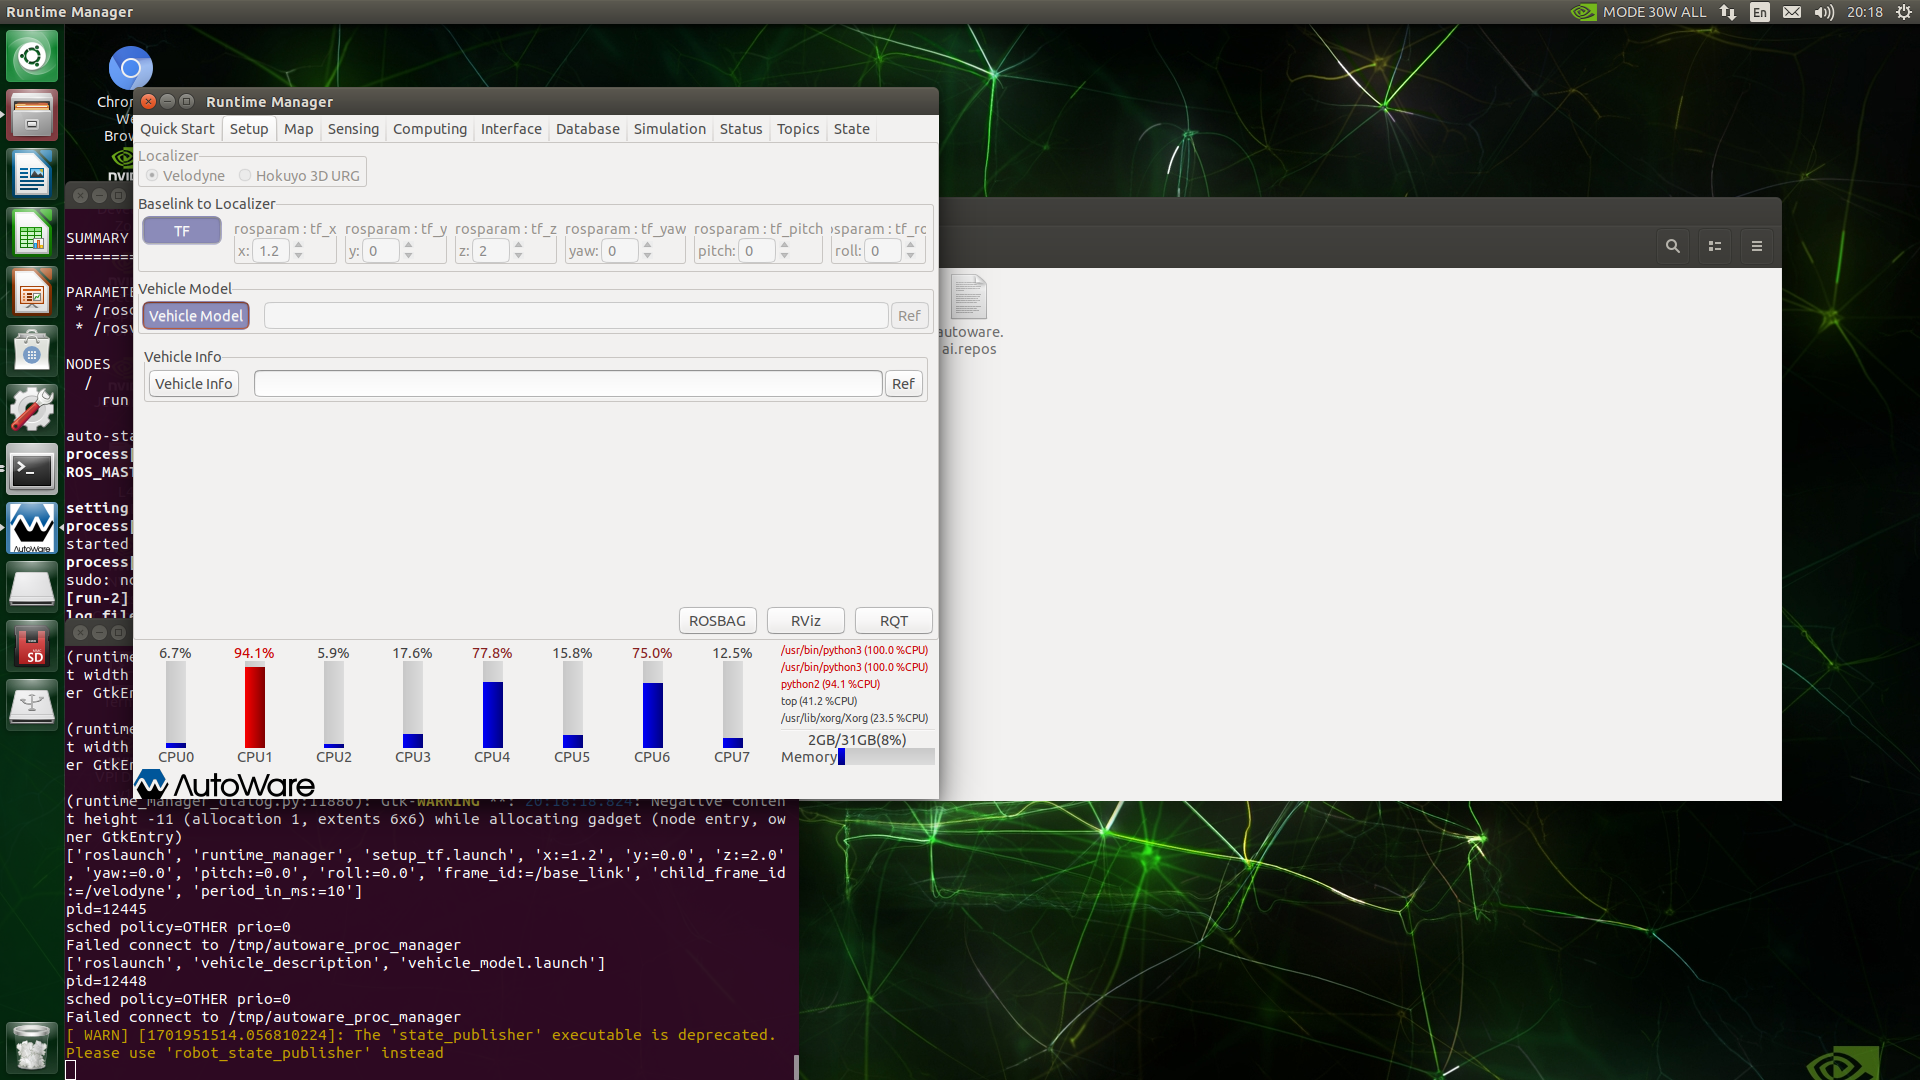
Under the Setup page of autoware, make sure that Velodyne is selected for Localizer, and set the x, y, z, yaw, pitch, and roll values of Baselink to Localizer.It is the relative position relationship between the center point of the radar and the center point of the rear axle of the vehicle body. Then click the TF button, and finally click the Vehicle Model button. If it is empty, a default model will be loaded.
Under the Map page of autoware, click the Ref button to the right of TF to load the launch file with the following path, which is the tf transformation from the /world coordinate system to the /map coordinate system, and finally click TF button.
xxxxxxxxxxautoware.ai/src/autoware/documentation/autoware_quickstart_examples/launch/tf_local.launch
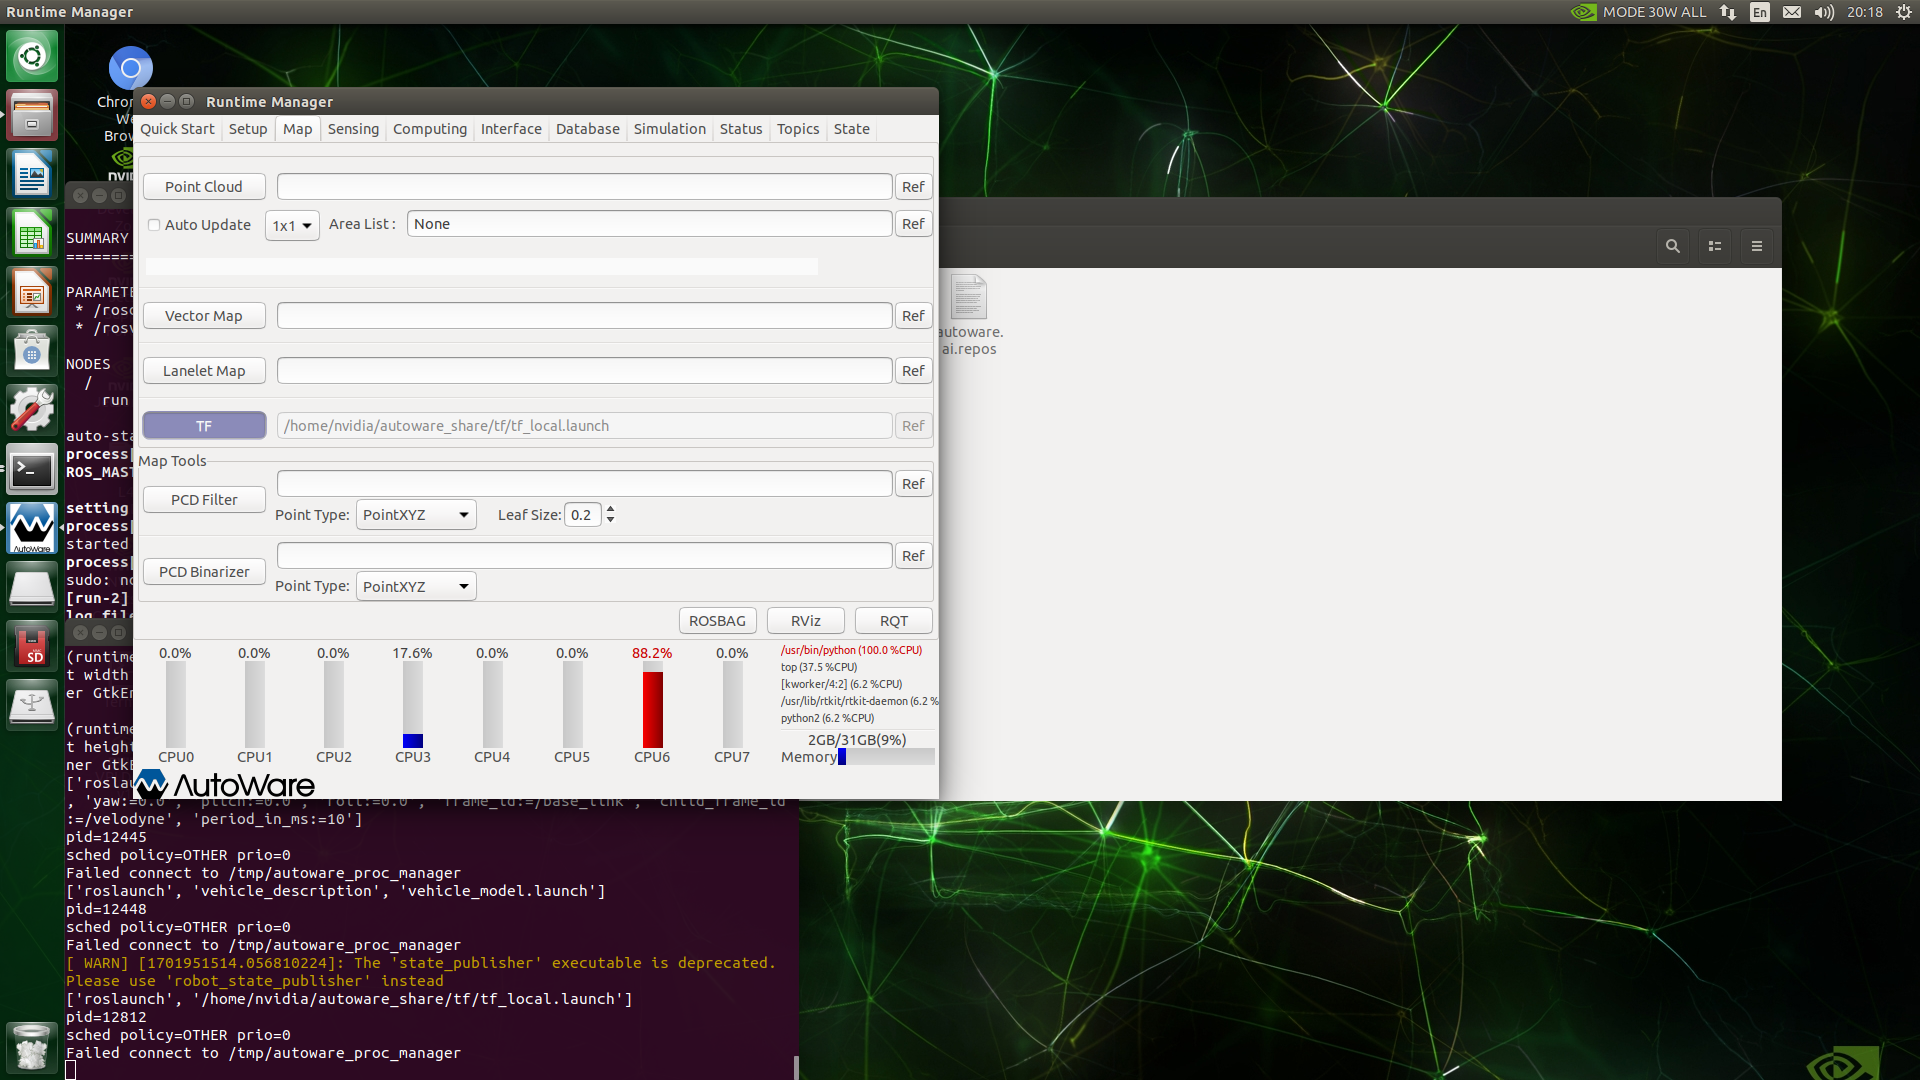
Open the Map menu of autoware, click the Ref button to the right of the Point Cloud button, load the .pcd file you just saved, and click the Point Cloud button. If the progress bar shows OK, the loading is complete, as shown below.

Under the Sensing page of autoware, check voxel_grid_filter.
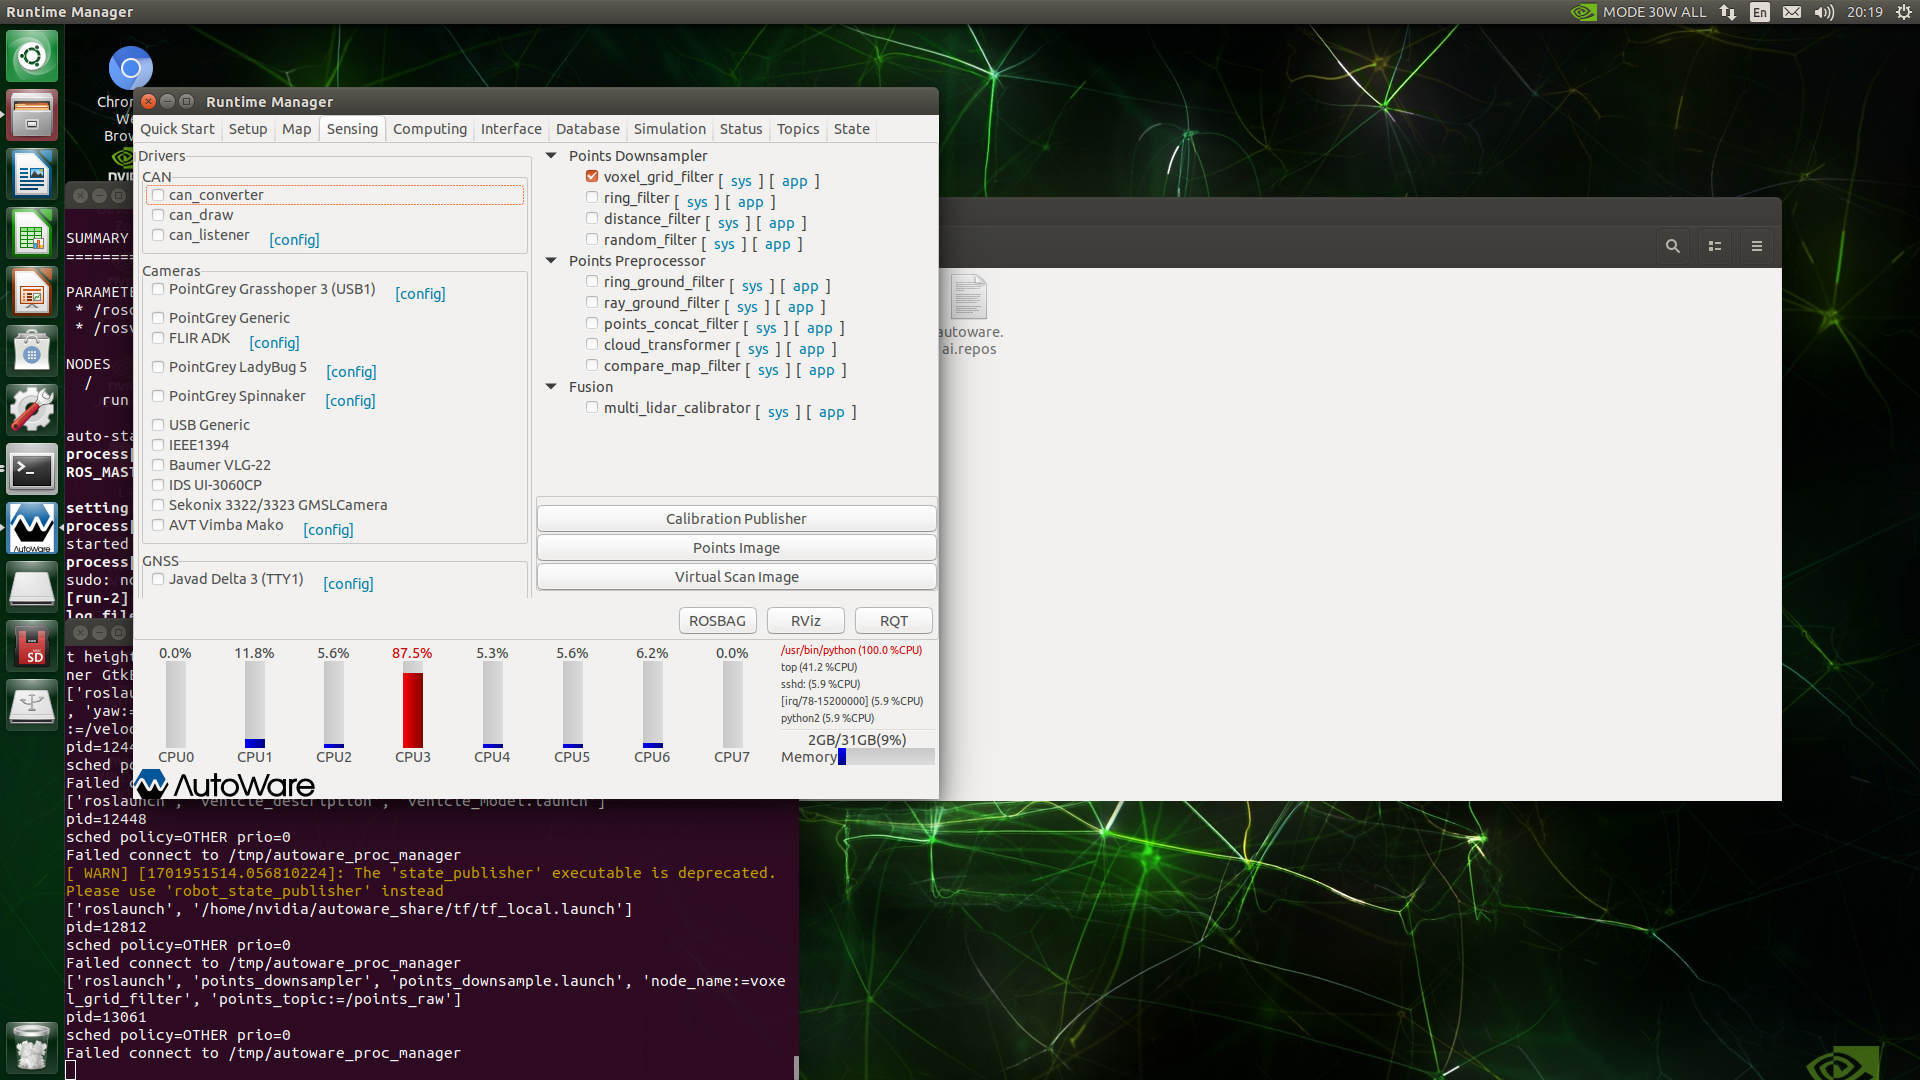
Under the Computing page of autoware, click the app button to the right of nat_matching under lidar_localizer. Use the default parameters. If there is a GPU, select pcl_anh_gpu for the Method Type, that is, use the GPU for construction. Graph calculation, if there is no GPU, select ppl_generic, click the Close button, and finally check nat_matching.

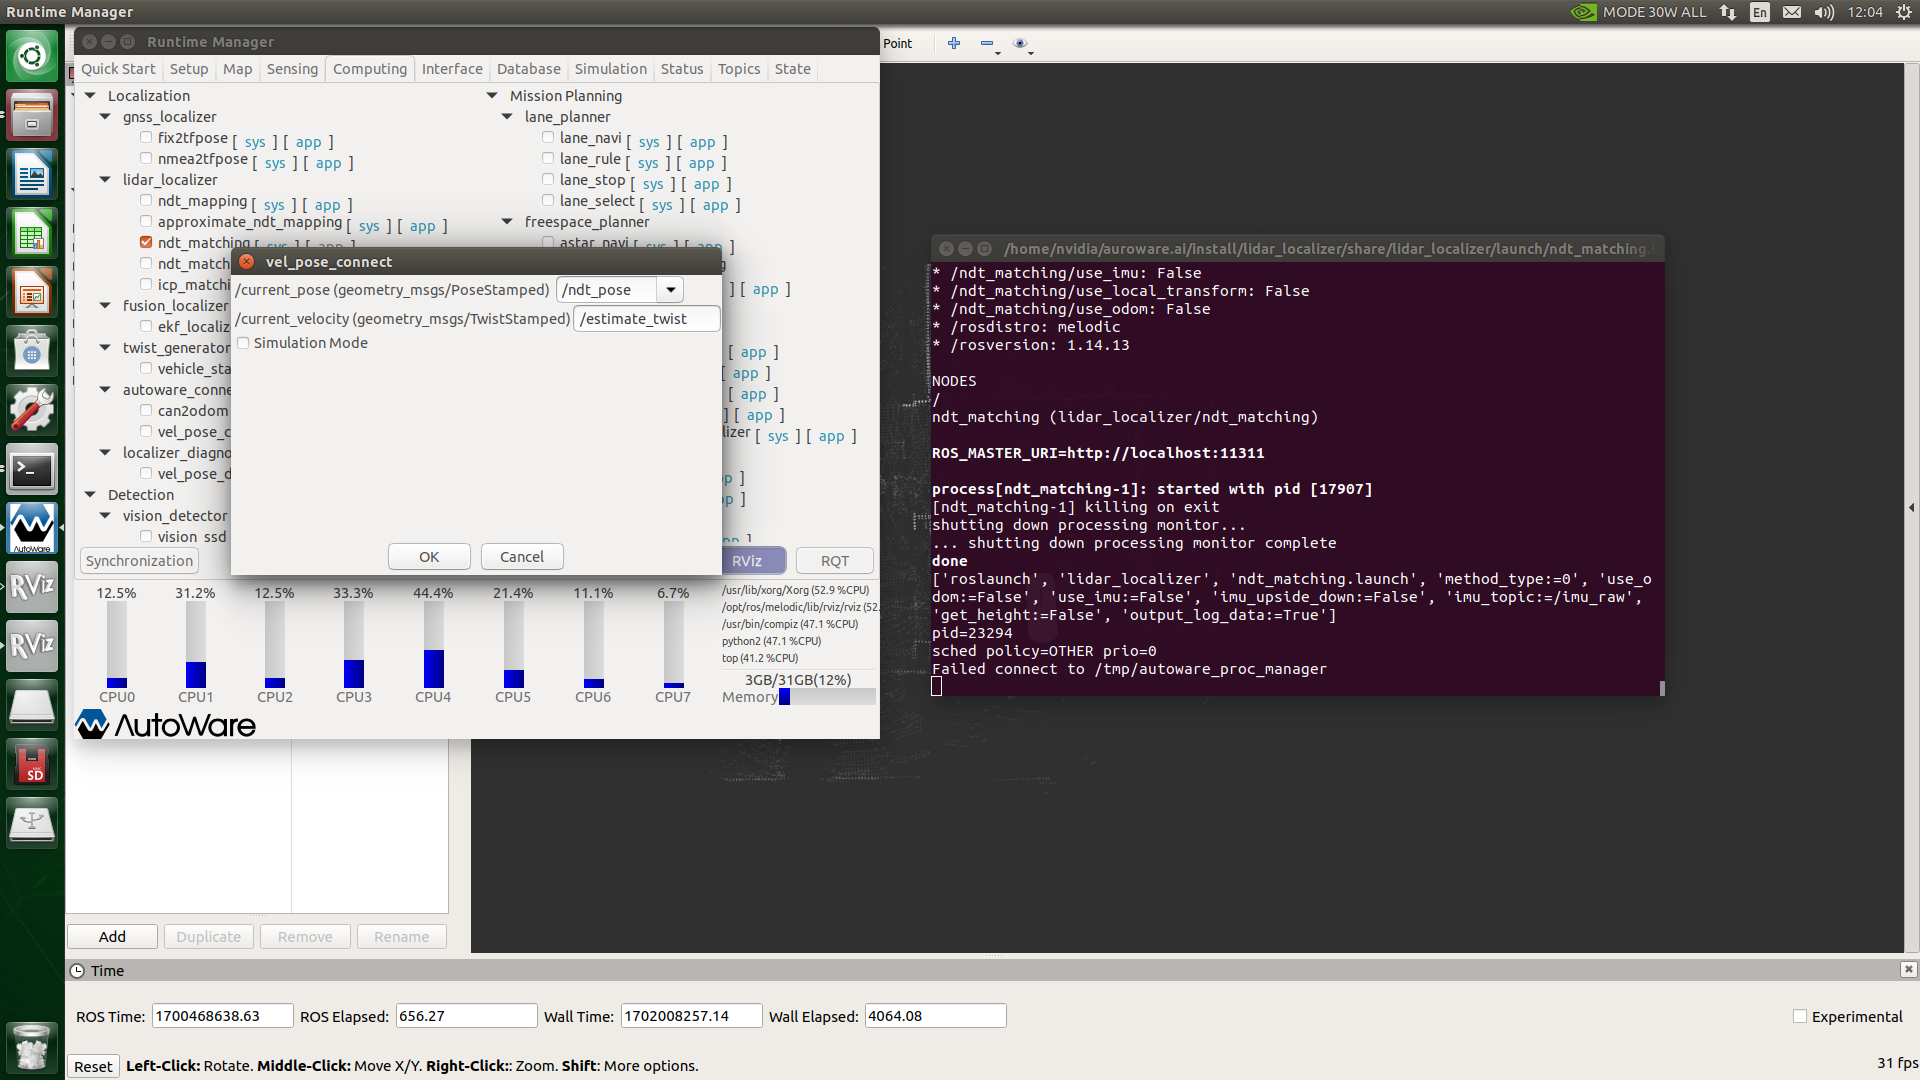
Under the Computing page of autoware, click the app button on the right side of vel_pose_connect under autoware_connector. Use the default parameters. We are locating online so there is no need to check Simulation Mode. Click the ok button. Finally check vel_pose_connect.

Click the Rviz button at the bottom right of the interface to start the Rviz visual interface. If the vehicle is at the starting position of mapping, it will normally be automatically positioned successfully. (Try to have the vehicle at the starting position of mapping, so that the positioning efficiency and positioning success rate will be higher.)
Record track points
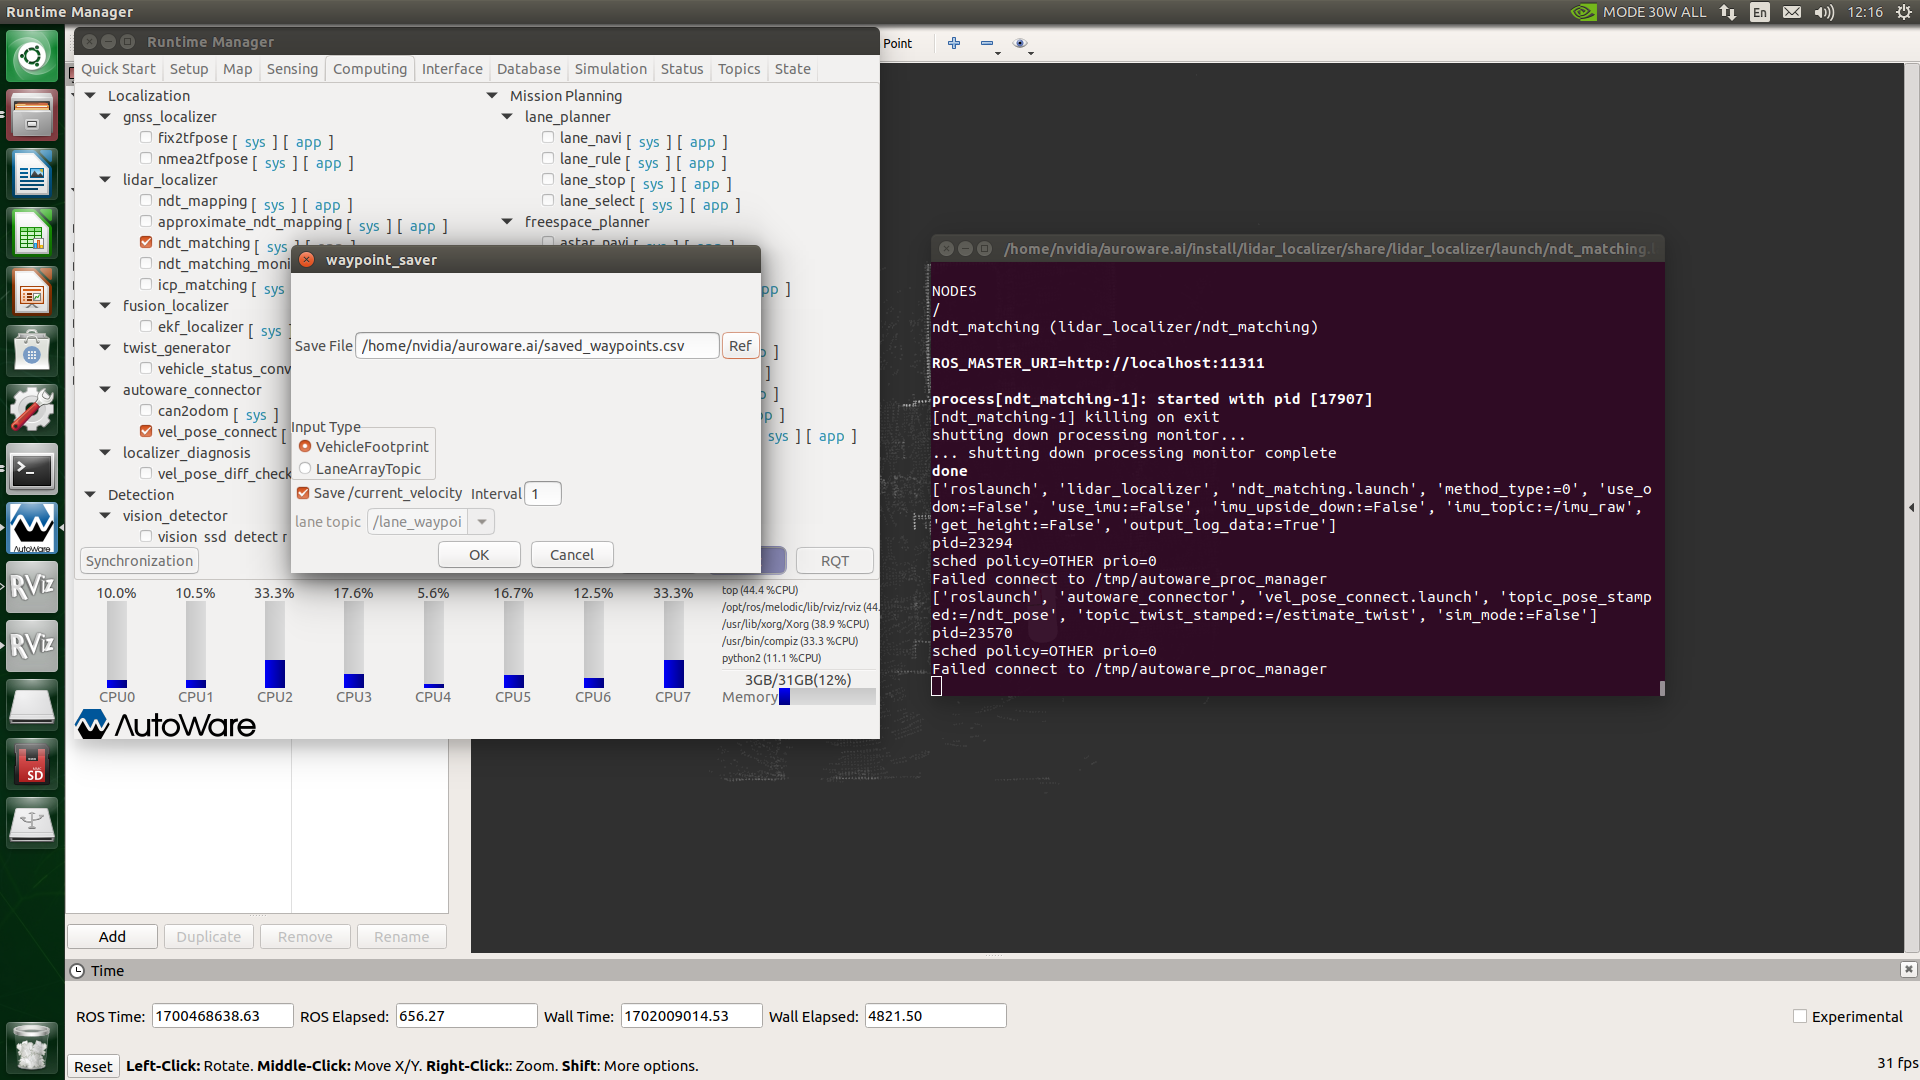
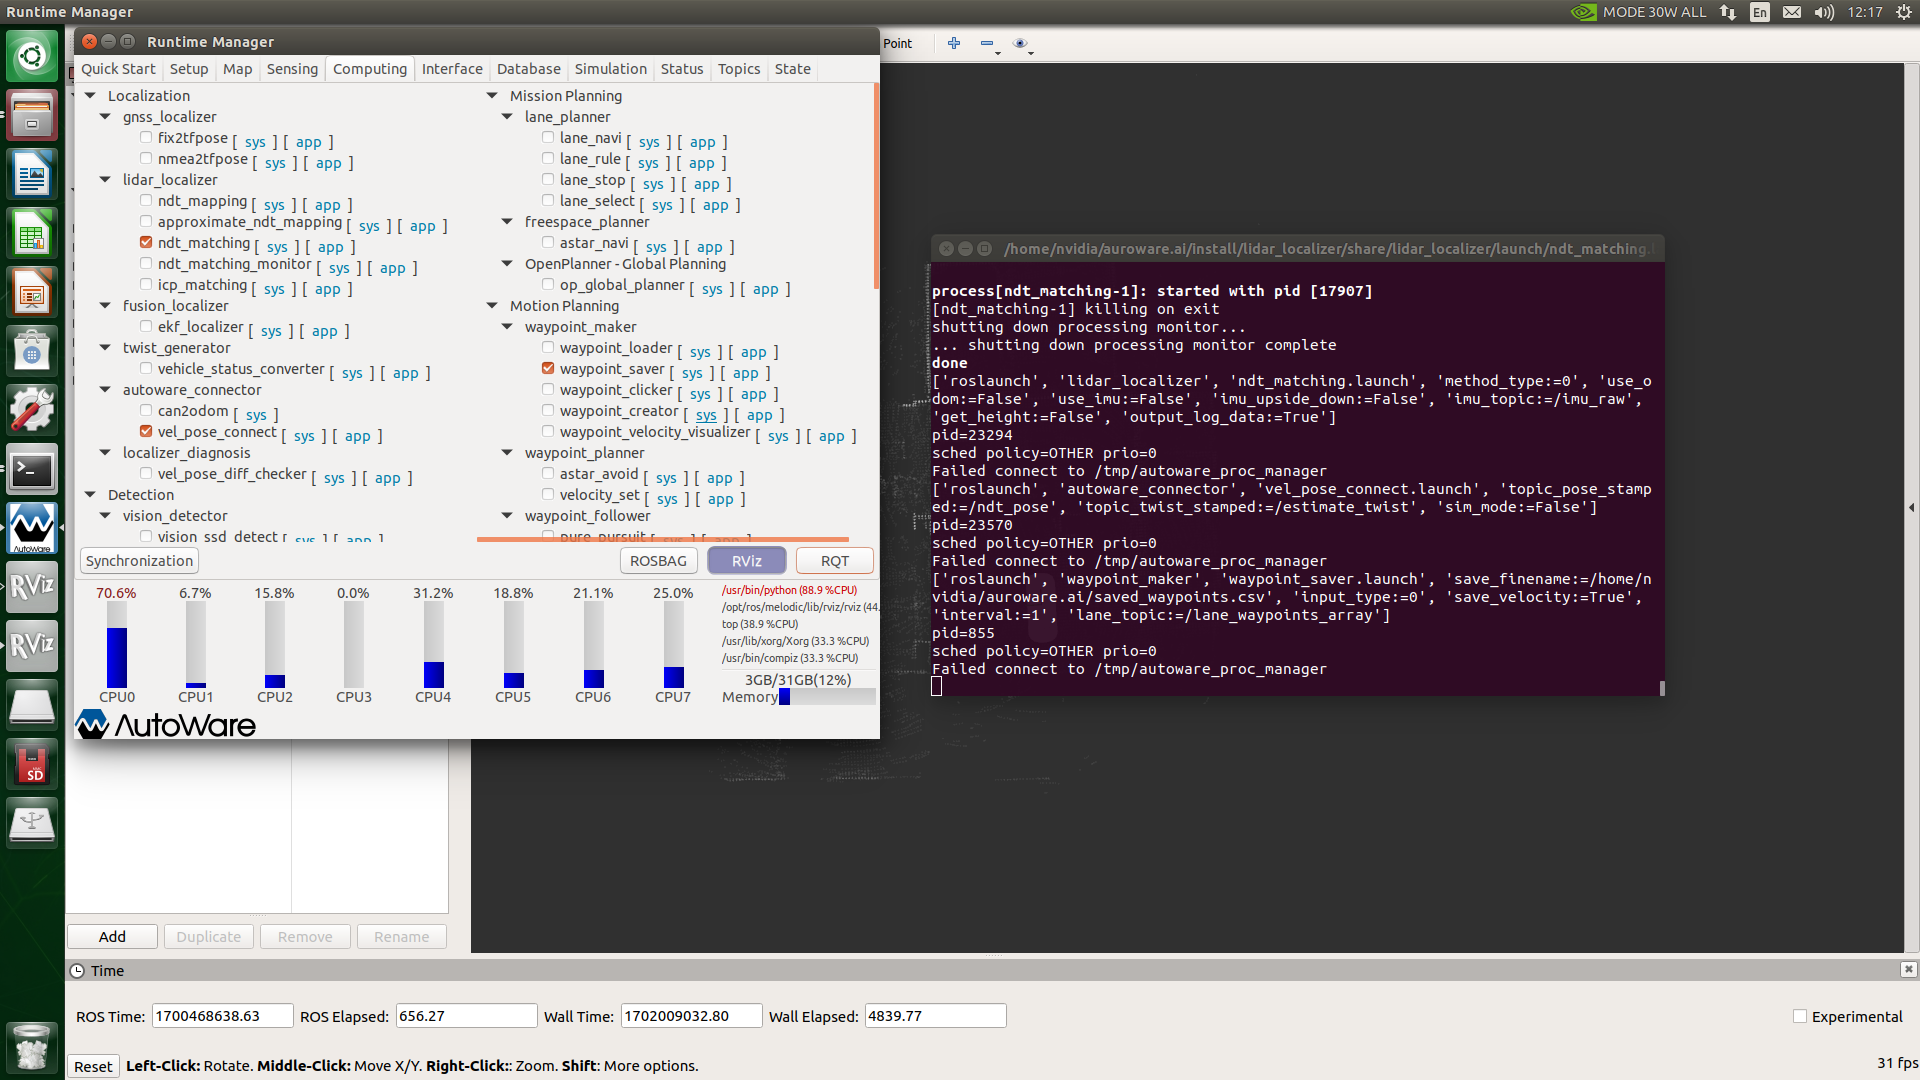
Under the Computing page of autoware, click the app button on the right side of waypoint_saver under waypoint_maker. Click the Ref button in the pop-up interface to determine the saving path and name of the track point. Check Save/current_velocity to save the car's speed to the track point. , the following Interval parameter indicates the sampling interval, the default is 1 meter, click OK and check waypoint_saver
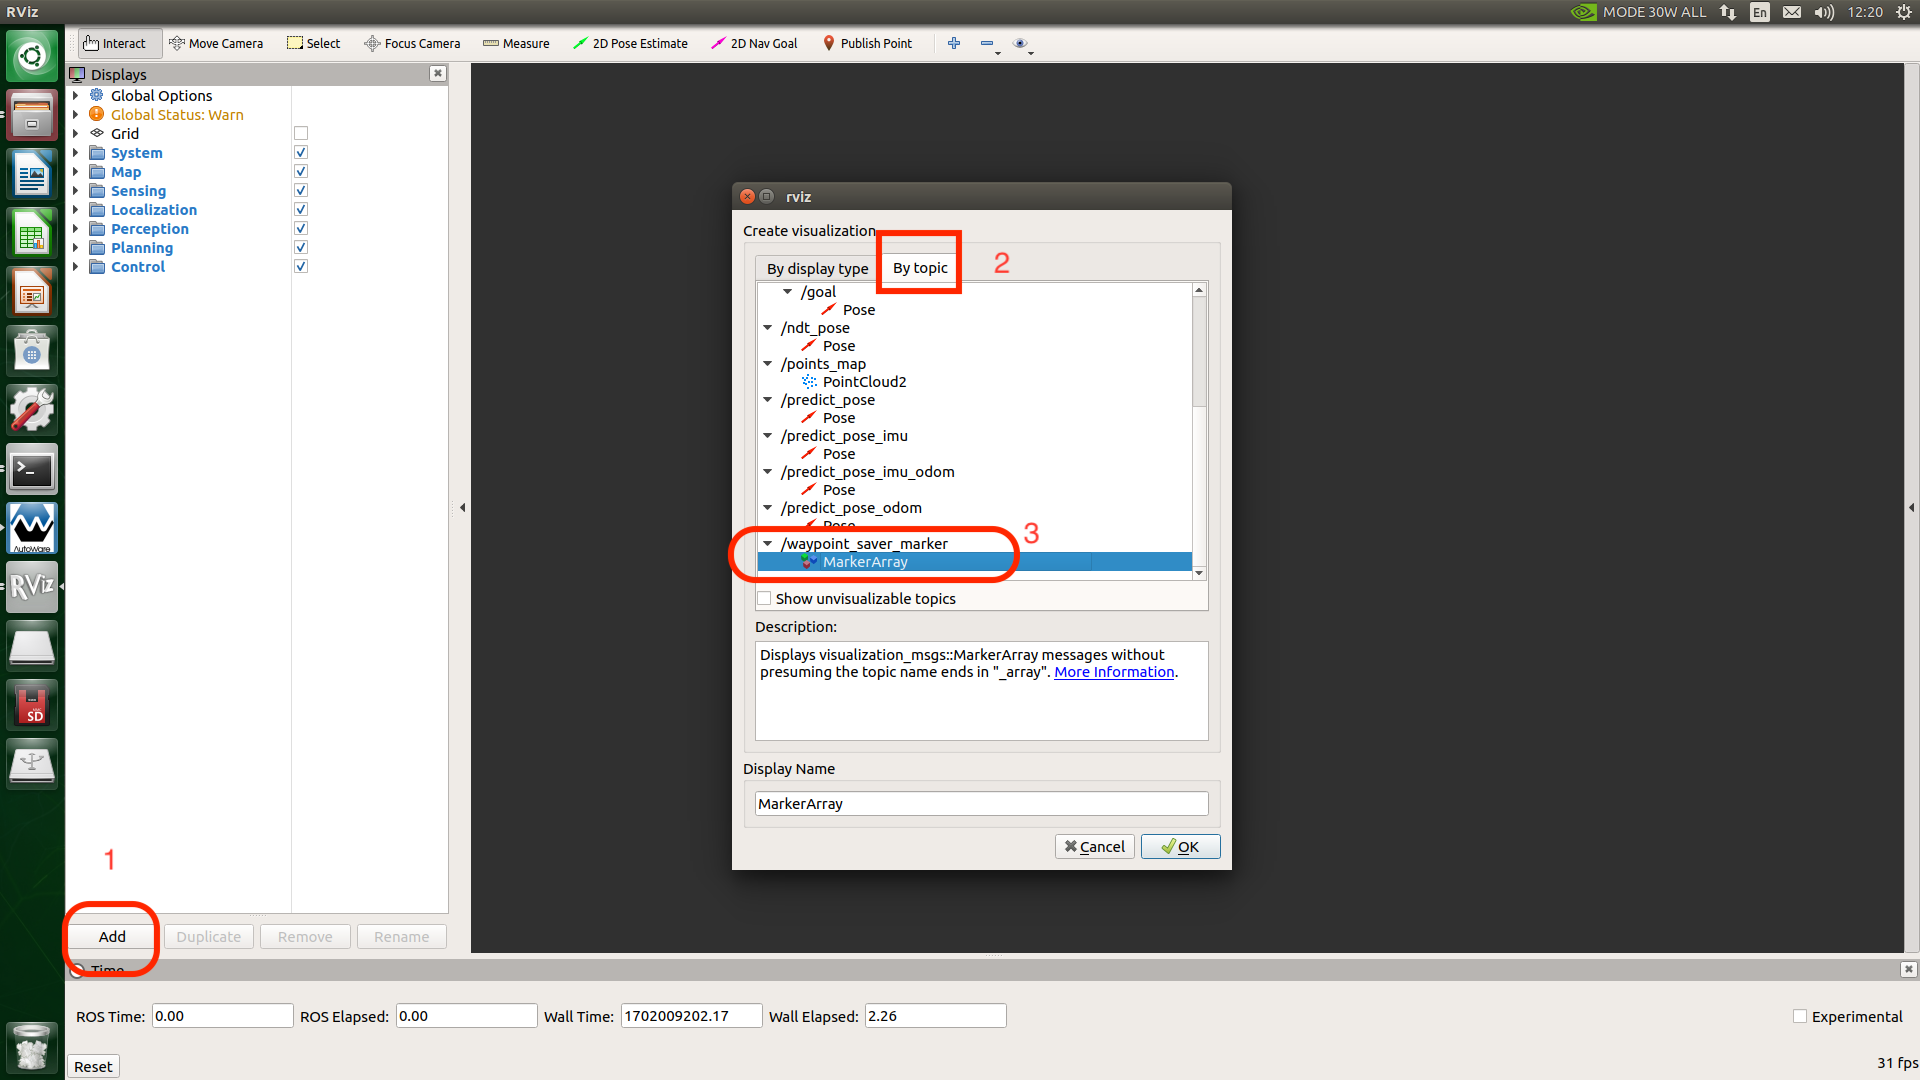
Click rviz to set as shown below to display track points.
Then drive around the site and walk around. At this time, the track line will be recorded. For example, the picture below.

After recording the route, go to the Computing page of autoware and uncheck waypoint_saver to automatically save the track point data. Find the track point file under the specified path.