Install JupyterLab
1.Introduction to JupyterLab
JupyterLab is an interactive development environment and the next generation product of Jupyter Notebook. It integrates more features, supports plugin extensions, and can be run and operated through web pages. It is simple, convenient, and powerful, making it a very worthwhile code editing tool.
2.Switch to root user
Installing jupyterlab requires the use of a root user, and the root user of the system does not have a password by default and cannot be switched.
Therefore, a password needs to be set for the root account before it can be used.
Note: The password set for root here must be remembered, preferably consistent with the user's password, so as not to be easily forgotten
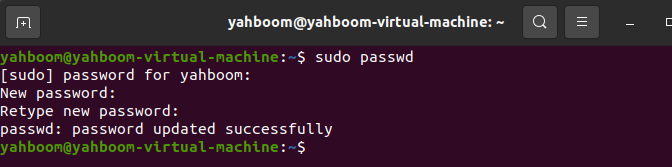
- Enter the following command to set the password for root, and then enter the same password twice to confirm.
sudo passwd
2.Switch to root user
xxxxxxxxxxsudo su
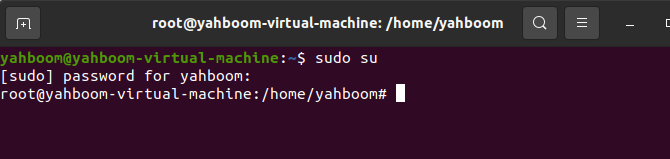
From the above figure, it can be seen that the user has switched to root.
And the $symbol before the editing command has changed to a # symbol.
3. Install JupyterLab
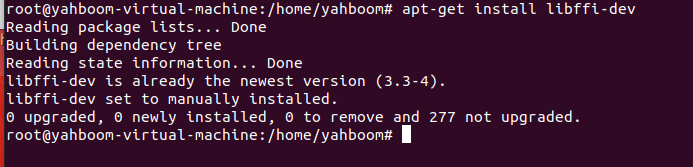
1.Install ffi library
xxxxxxxxxxapt-get install libffi-dev
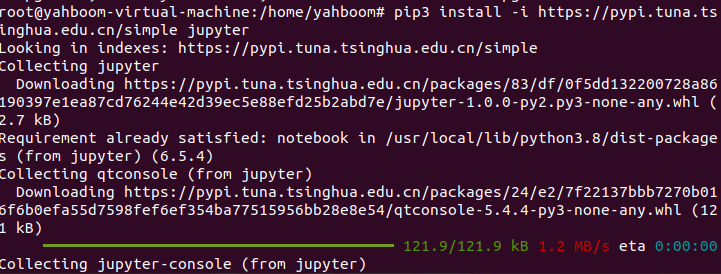
2.Install jupyter
xxxxxxxxxxpip3 install -i https://pypi.tuna.tsinghua.edu.cn/simple jupyter
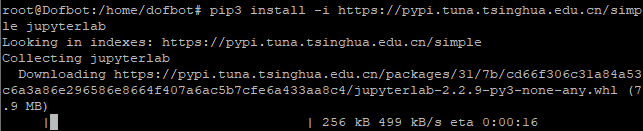
3.Install jupyter lab
xxxxxxxxxxpip3 install -i https://pypi.tuna.tsinghua.edu.cn/simple jupyterlab
4.Switch back to regular users after installation is completed
xxxxxxxxxxsu jetson

4.Configure JupyterLab
1.Generate configuration file
xxxxxxxxxxjupyter notebook --generate-config

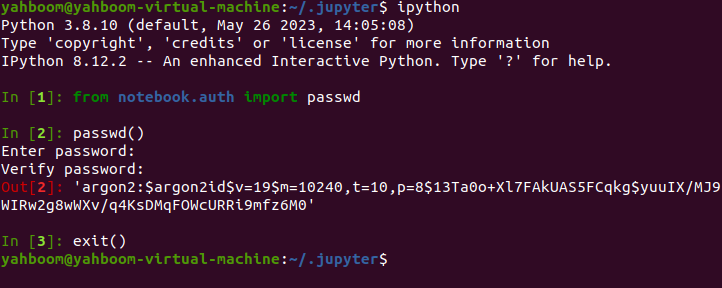
Use iPhone to generate the login password for jupyterlab. ipython In [1], enter: from notebook.auth import passwd
In [2], enter: passwd()
Then, enter the same password twice and press enter to confirm. Note that the password here is used to log in to the jupyterab interface. For ease of memory, it can be kept consistent with the user's password.
Then the system will output the ciphertext of the password and copy it as a whole. The ciphertext generated by each password may be different.
Please copy the actual output ciphertext.
In [3], enter: exit()
3.Compile the configuration file for jupyter
nano ~/.jupyter/jupyter_notebook_config.py
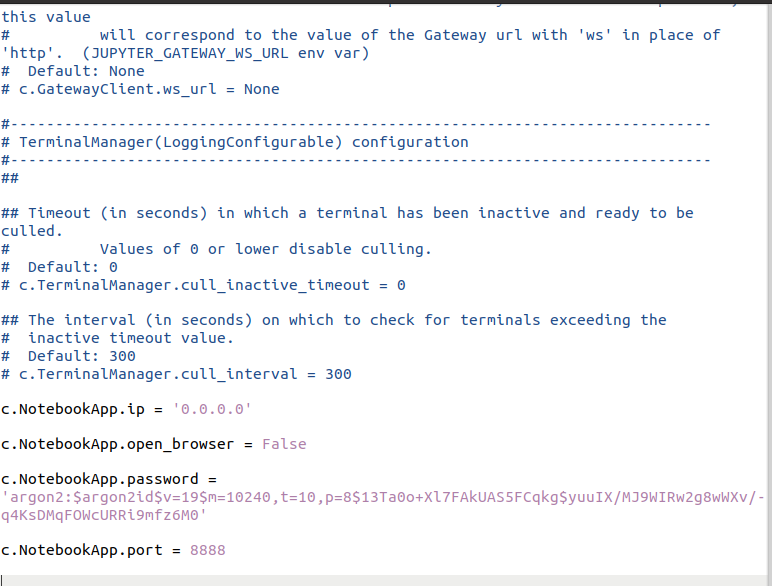
Go directly to the back and add the following content:
c.NotebookApp.ip = '0.0.0.0'
c.NotebookApp.open_browser = False
c.NotebookApp.password = The entire password ciphertext
c.NotebookApp.port = 8888
Finally, save with Ctrl+S and exit with Ctrl+X.
5. Install the jupyteralab plugin
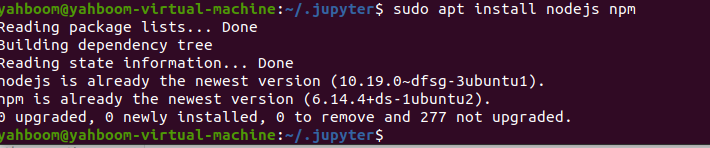
- Install nodejs and npm
xxxxxxxxxxsudo apt install nodejs npm
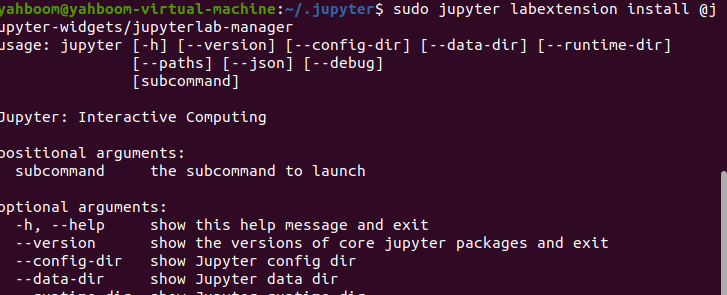
2.Install the jupyter widget extension.
Due to the need for download and compilation, it takes a long time to run and may cause errors. If an error occurs, run the installation again.
xxxxxxxxxxsudo jupyter labextension install @jupyter-widgets/jupyterlab-manager
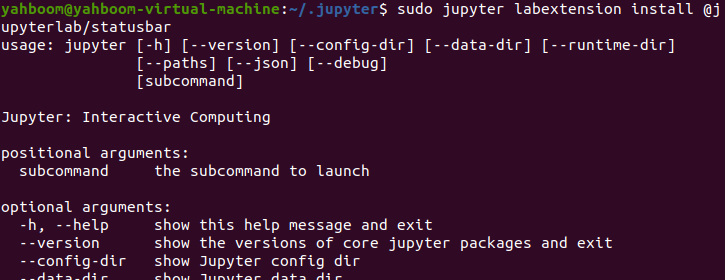
- Install the Statusbar plugin
xxxxxxxxxxsudo jupyter labextension install @jupyterlab/statusbar
- The installation of jupyterlab has been completed at this point.
6. Start jupyterlab
- Enter the directory where you want to run the code, taking entering the root directory as an example.
- Open jupyterlab, open the terminal, and enter the following command
xxxxxxxxxxjupyter lab
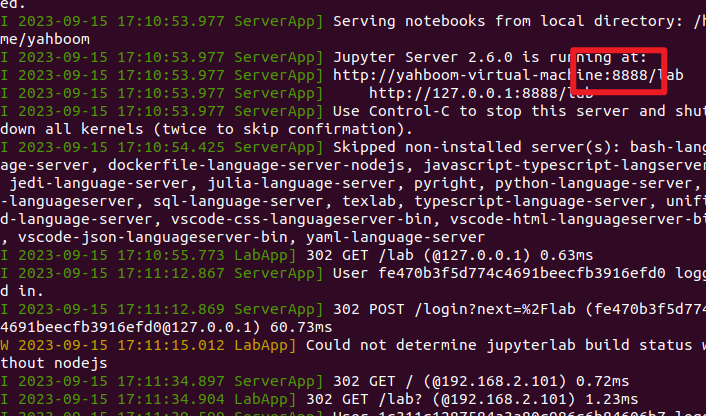
This port number is the one we need to access, which defaults to c. in the previous jupyter configuration file The port number referred to by NotebookApp. port.
If an additional jupyteralab service is opened, the port number will automatically+1, which can distinguish different jupyteralab services.
7. Remote access to jupyterlab
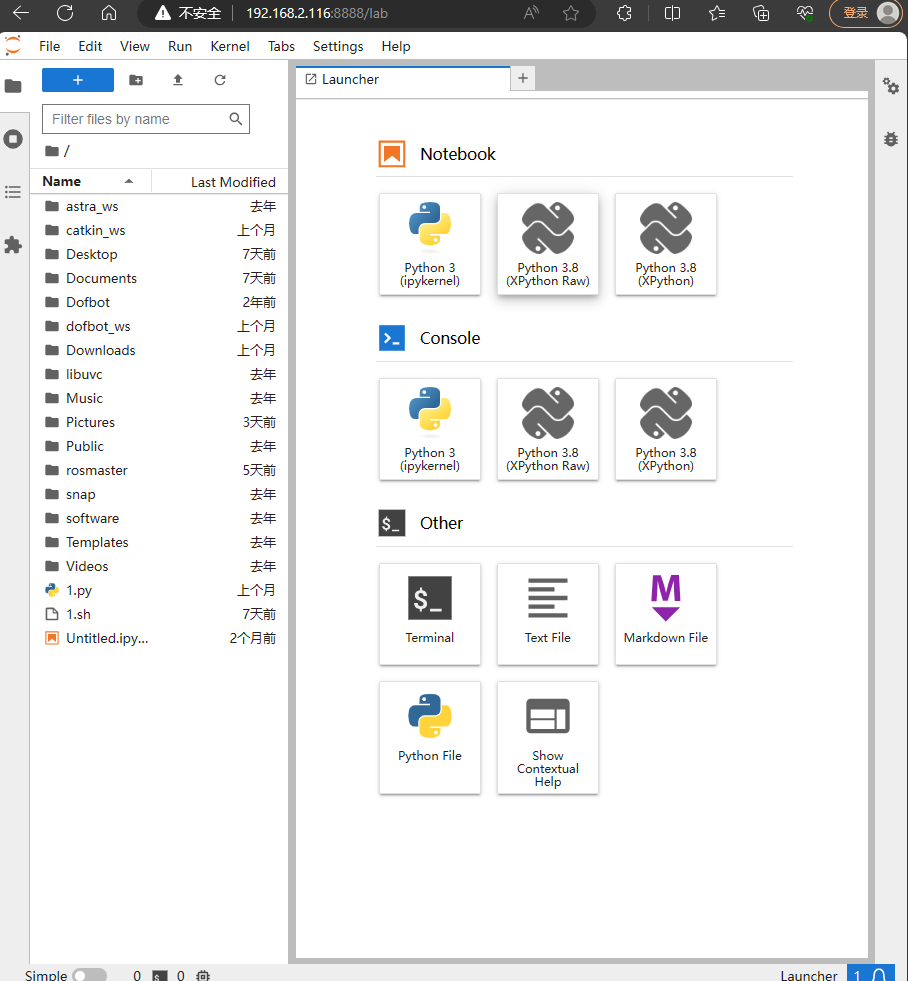
Open a browser on the computer (Chrome or Firefox browser is recommended), and then enter the IP: port number of the virtual machine. Taking IP 192.168.2.116 and port 8888 as an example.
The interface for jupyterlab will pop up and require a password to be entered. Simply fill in the login password for jupyterlab that has been set up above.

- Upon seeing the following interface, it indicates that the remote login to jupyterlab has been successful, and a new Python 3 program can be created to run.
8. Exit jupyterlab
Press Ctrl+C twice on the terminal where jupyterab was just opened to exit jupyterab.