Network Configuration
Network Configuration1. WiFi connection2. Turn on hotspot3. Hotspot/WiFi starts automatically after booting
Network configuration mainly introduces WiFi connection and hotspot opening.
1. WiFi connection
Graphical interface
Using the Raspberry Pi graphical desktop system, we can connect to the corresponding WiFi by clicking the network icon in the upper right corner of the menu bar.
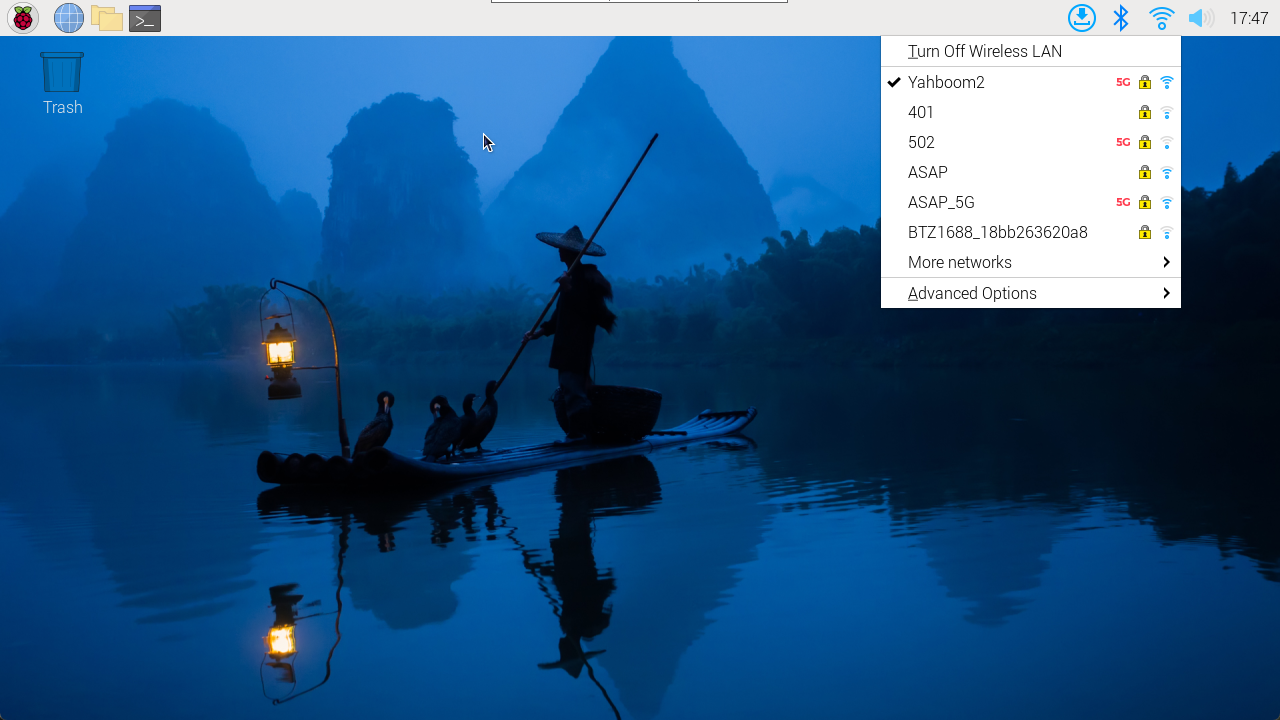
Note: If the region is not set, you need to set the region before connecting to the network for the first time before you can configure the network.
Command Line
For systems without a graphical interface, you can configure the network through the command line.
xxxxxxxxxxNote: You need to use the raspi-config tool to set the WLAN country/region first, and then use the command line to configure the network.
Use the raspi-config tool: enter sudo raspi-config in the terminal
Set WLAN country:
Localization Options → WLAN Country → CN China → OK
After completing the above option settings, select Finish to exit the raspi-config tool.
View WiFi enabled status command: nmcli radio wifi
Turn on WiFi status command: nmcli radio wifi on
Turn off WiFi status command: nmcli radio wifi off
Find network command: sudo nmcli dev wifi list
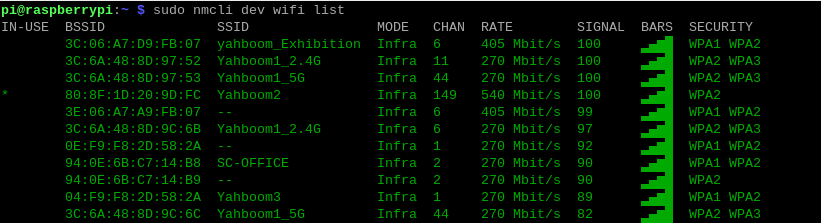
Connect to the network command: sudo nmcli --ask dev wifi connect <example_ssid>

xxxxxxxxxxNote: If it is displayed that you do not have permission to operate, please add sudo in front of all commands.
The above information prompt appears indicating that the WiFi connection is successful!
2. Turn on hotspot
Using the Raspberry Pi graphical desktop system, we can create a hotspot by clicking the network icon in the upper right corner of the menu bar.
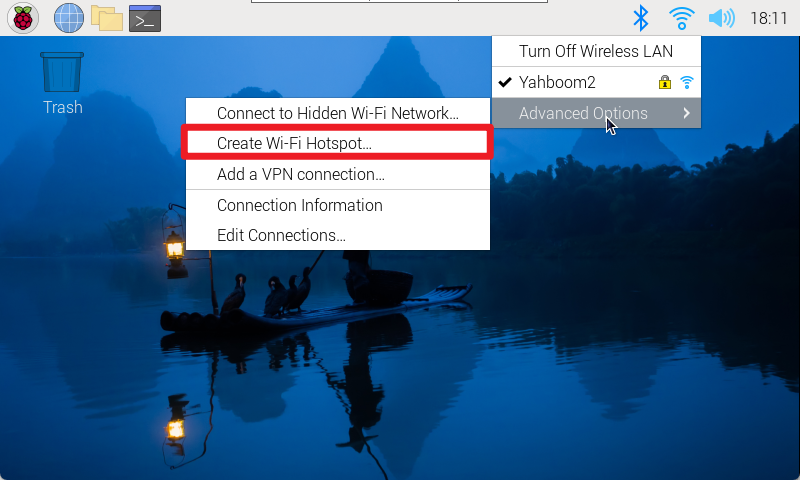
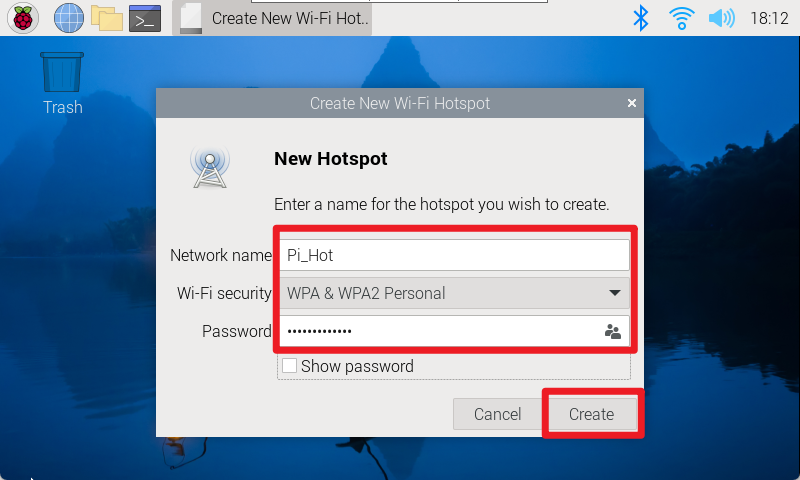
After the creation is successful, you can use your mobile phone to view the hotspot!
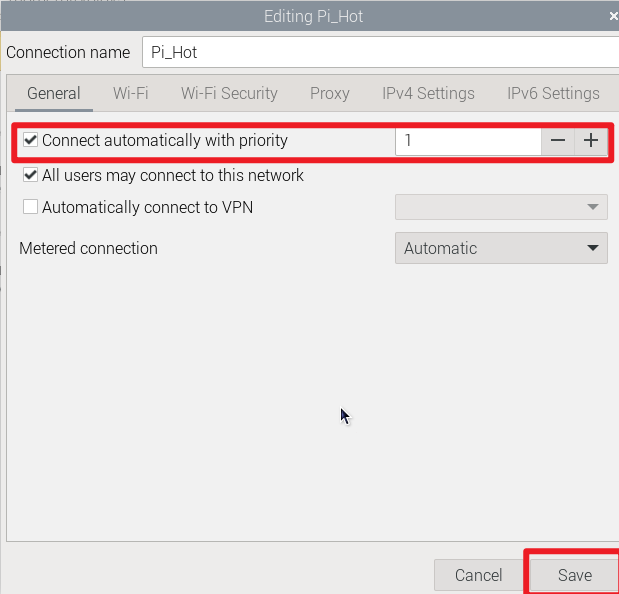
3. Hotspot/WiFi starts automatically after booting
We can set up the Raspberry Pi system to connect to WIFI or turn on a hotspot by modifying the priority of the network settings.
xxxxxxxxxxThe higher the priority number, the better the connection method will be!