Using MIPI camera
Using MIPI cameraConfigure cameraUse cameraPreview cameraPhotographrpicam-stillVideorpicam-vidError resolutionWeb page preview cameraRun scriptWeb access
The Raspberry Pi 5 combines the previous CSI and DSI interfaces into two dual-purpose CSI/DSI (MIPI) ports.
Configure camera
When using a Raspberry Pi camera or a third-party camera, you can modify the camera configuration according to the following table:
| Camera module | File located at: /boot/firmware/config.txt |
|---|---|
| V1 Camera (OV5647) | dtoverlay=ov5647 |
| V2 camera (IMX219) | dtoverlay=imx219 |
| HQ Camera (IMX477) | dtoverlay=imx477 |
| GS camera (IMX296) | dtoverlay=imx296 |
| Camera module 3 (IMX708) | dtoverlay=imx708 |
| IMX290 and IMX327 | dtoverlay=imx290,clock-frequency=74250000 or (both modules share the IMX290 kernel driver; for the correct frequency, see the module vendor's instructions) dtoverlay=imx290,clock-frequency=37125000 |
| IMX378 type | dtoverlay=imx378 |
| OV9281 series | dtoverlay=ov9281 |
If you are not using the official Raspberry Pi camera, you can modify the config.txt file as shown in the table and add the dtoverlay content to the /boot/firmware/config.txt file.
xxxxxxxxxxsudo nano /boot/firmware/config.txt

For example: Raspberry Pi uses IMX219 camera, connect the camera to the Raspberry Pi J4 interface, and then modify the /boot/firmware/config.txt file:
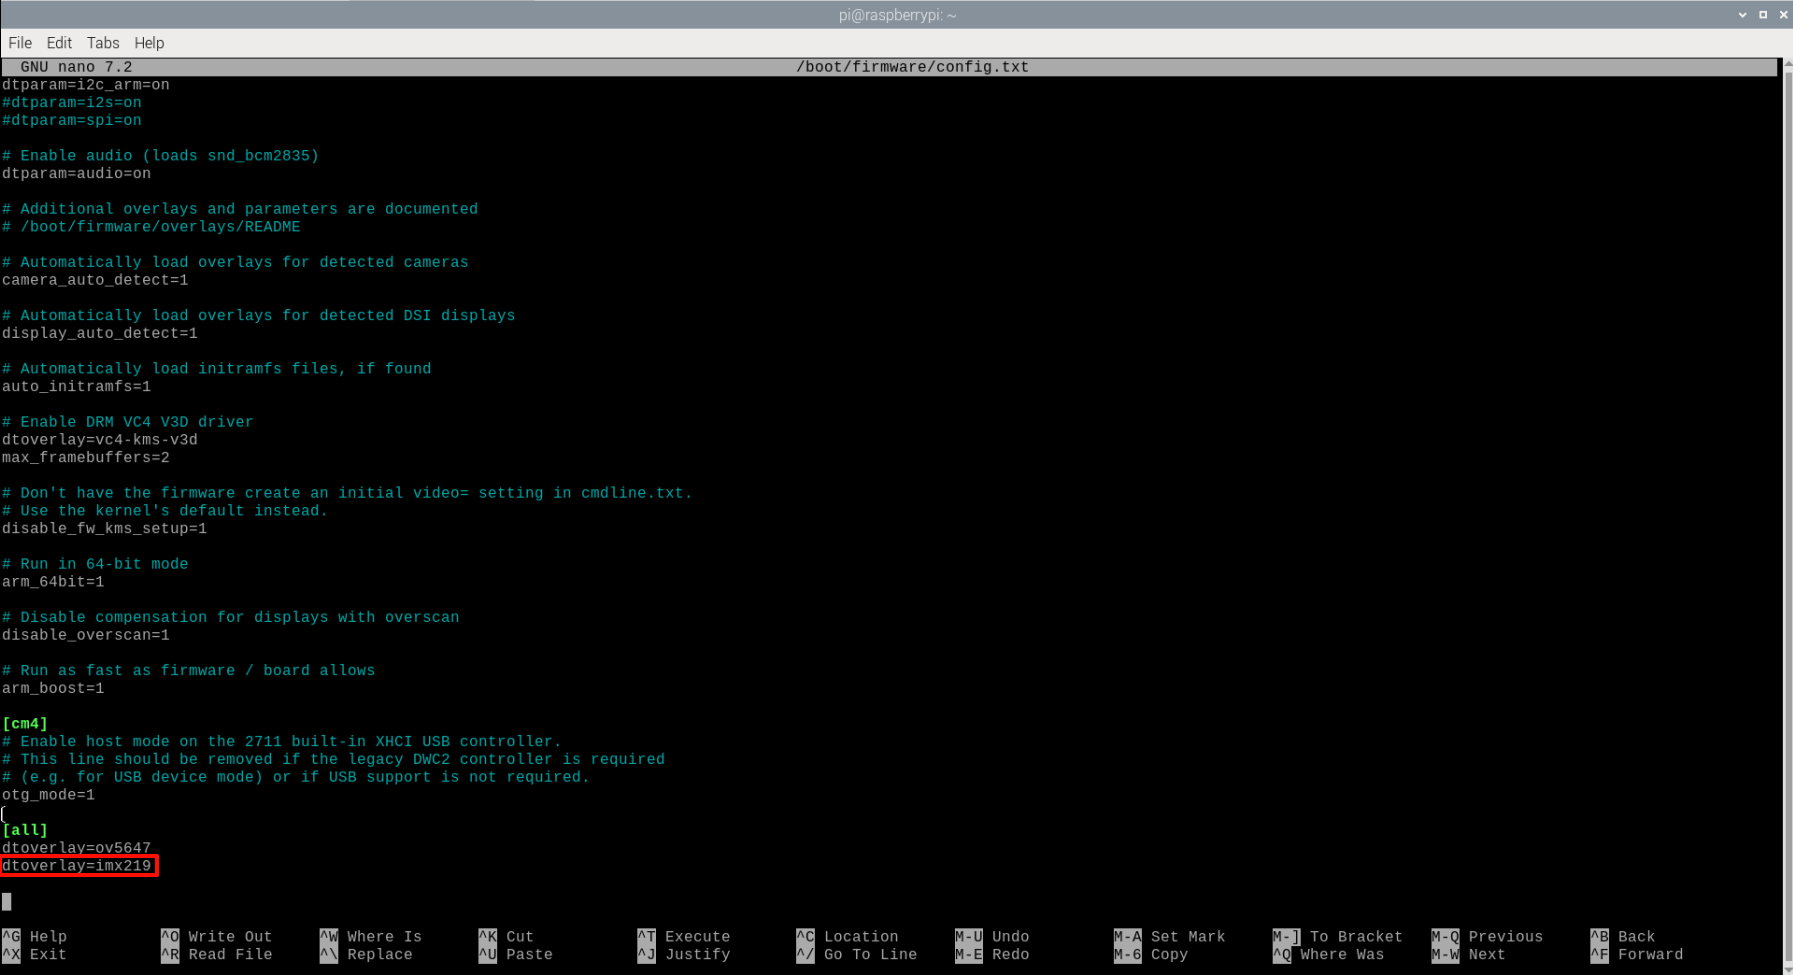
xxxxxxxxxxTo use the IMX219 camera, it needs to be connected to the J4 interface of Raspberry Pi 5 for recognition!
Modify the configuration file and restart to take effect!
Use camera
Preview camera
rpicam-hello
Entering this command in the terminal will display the preview window for about 5 seconds.
rpicam-hello -t 0
Running this command in the terminal will always display the preview window. You can use the window close button and Ctrl+C to exit!
Photograph
rpicam-jpeg -o test.jpg
Display a preview for 5 seconds, then capture the image and save it as a test.jpg file
rpicam-jpeg -o test.jpg -t 2000 --width 640 --height 480
Show a preview for 2 seconds, then capture and save the image as a test.jpg file, with the image having a width of 640 pixels and a height of 480 pixels.
rpicam-still
This command can be used to save files in different formats:
xxxxxxxxxxrpicam-still -e png -o test.pngrpicam-still -e bmp -o test.bmprpicam-still -e rgb -o test.datarpicam-still -e yuv420 -o test.data
Raw image capture
xxxxxxxxxxrpicam-still -r -o test.jpg
Time-lapse shooting
Capture images continuously at intervals of 2 seconds for a total capture duration of 30 seconds, and save each image as a file name similar to image0001.jpg:
xxxxxxxxxxrpicam-still -t 30000 --timelapse 2000 -o image%04d.jpg
Video
rpicam-vid
Commands for video recording using the camera module on the Raspberry Pi.
Example: Record 10 seconds of video and write to test.h264 file
xxxxxxxxxxrpicam-vid -t 10000 -o test.h264
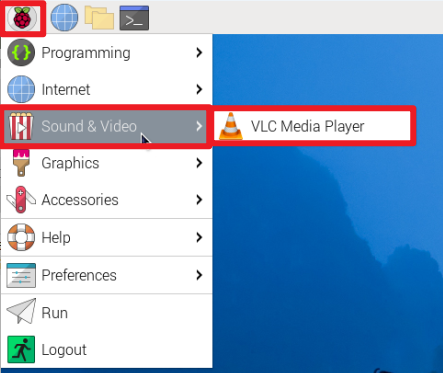
play video
xxxxxxxxxxvlc test.h264
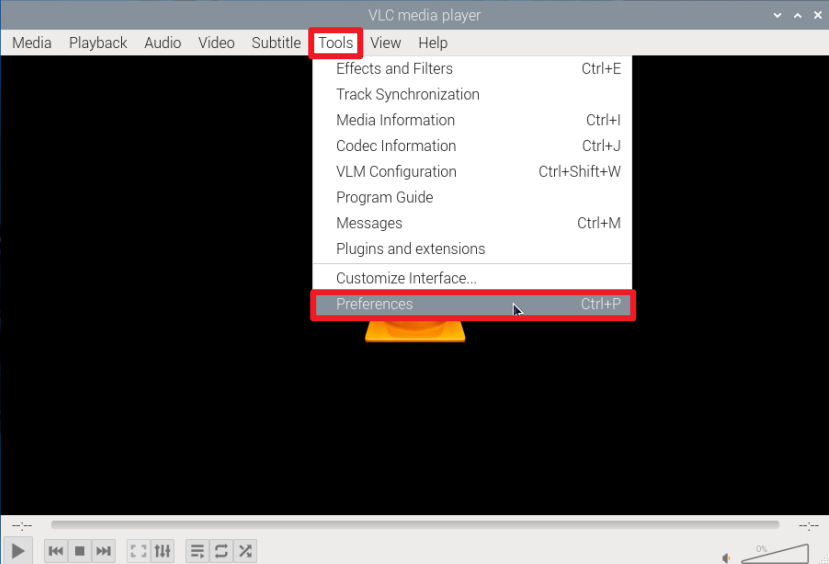
Note: If the test.h264 file cannot be played and an error occurs, please try the following method to solve it.
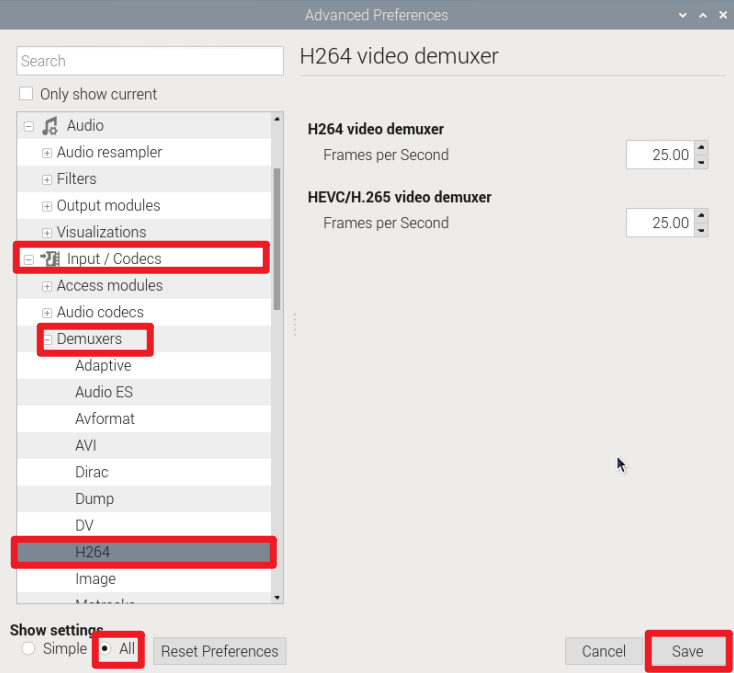
Error resolution
Modify the frame rate of H264 playback per second
Web page preview camera
Use Python script files to preview camera images on web pages.
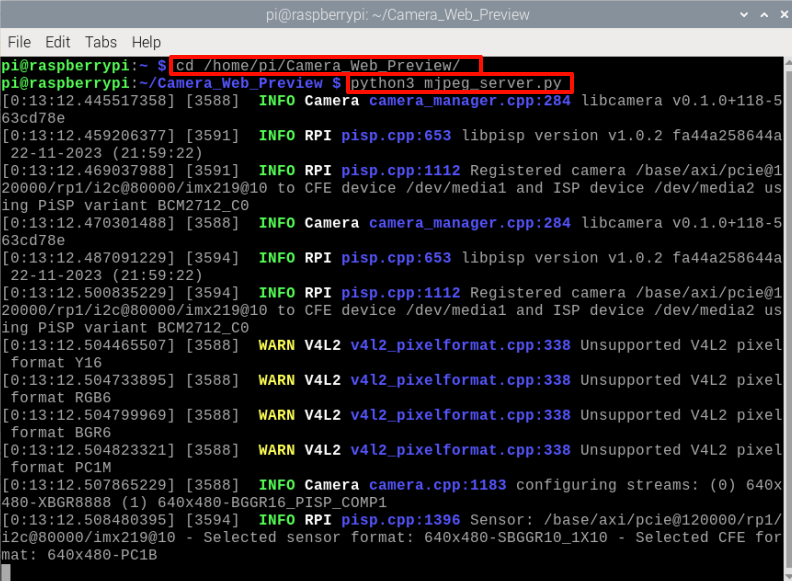
Run script
Code path:/home/pi/Camera_Web_Preview/
xxxxxxxxxxcd /home/pi/Camera_Web_Preview/python3 mjpeg_server.py
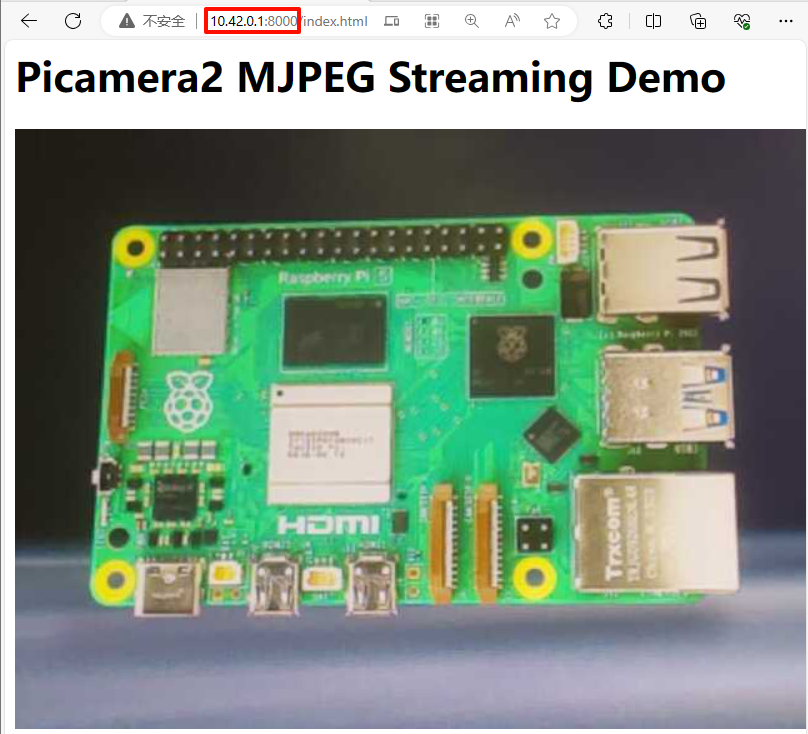
Web access
Devices under the same LAN can enter
xxxxxxxxxxExample:Raspberry Pi IP: 10.42.0.1Web access: 10.42.0.1:8000
xxxxxxxxxxIf you want to set up auto-start at boot, you can search for information online and set the script file to auto-start at boot!