tag identification
Quick use
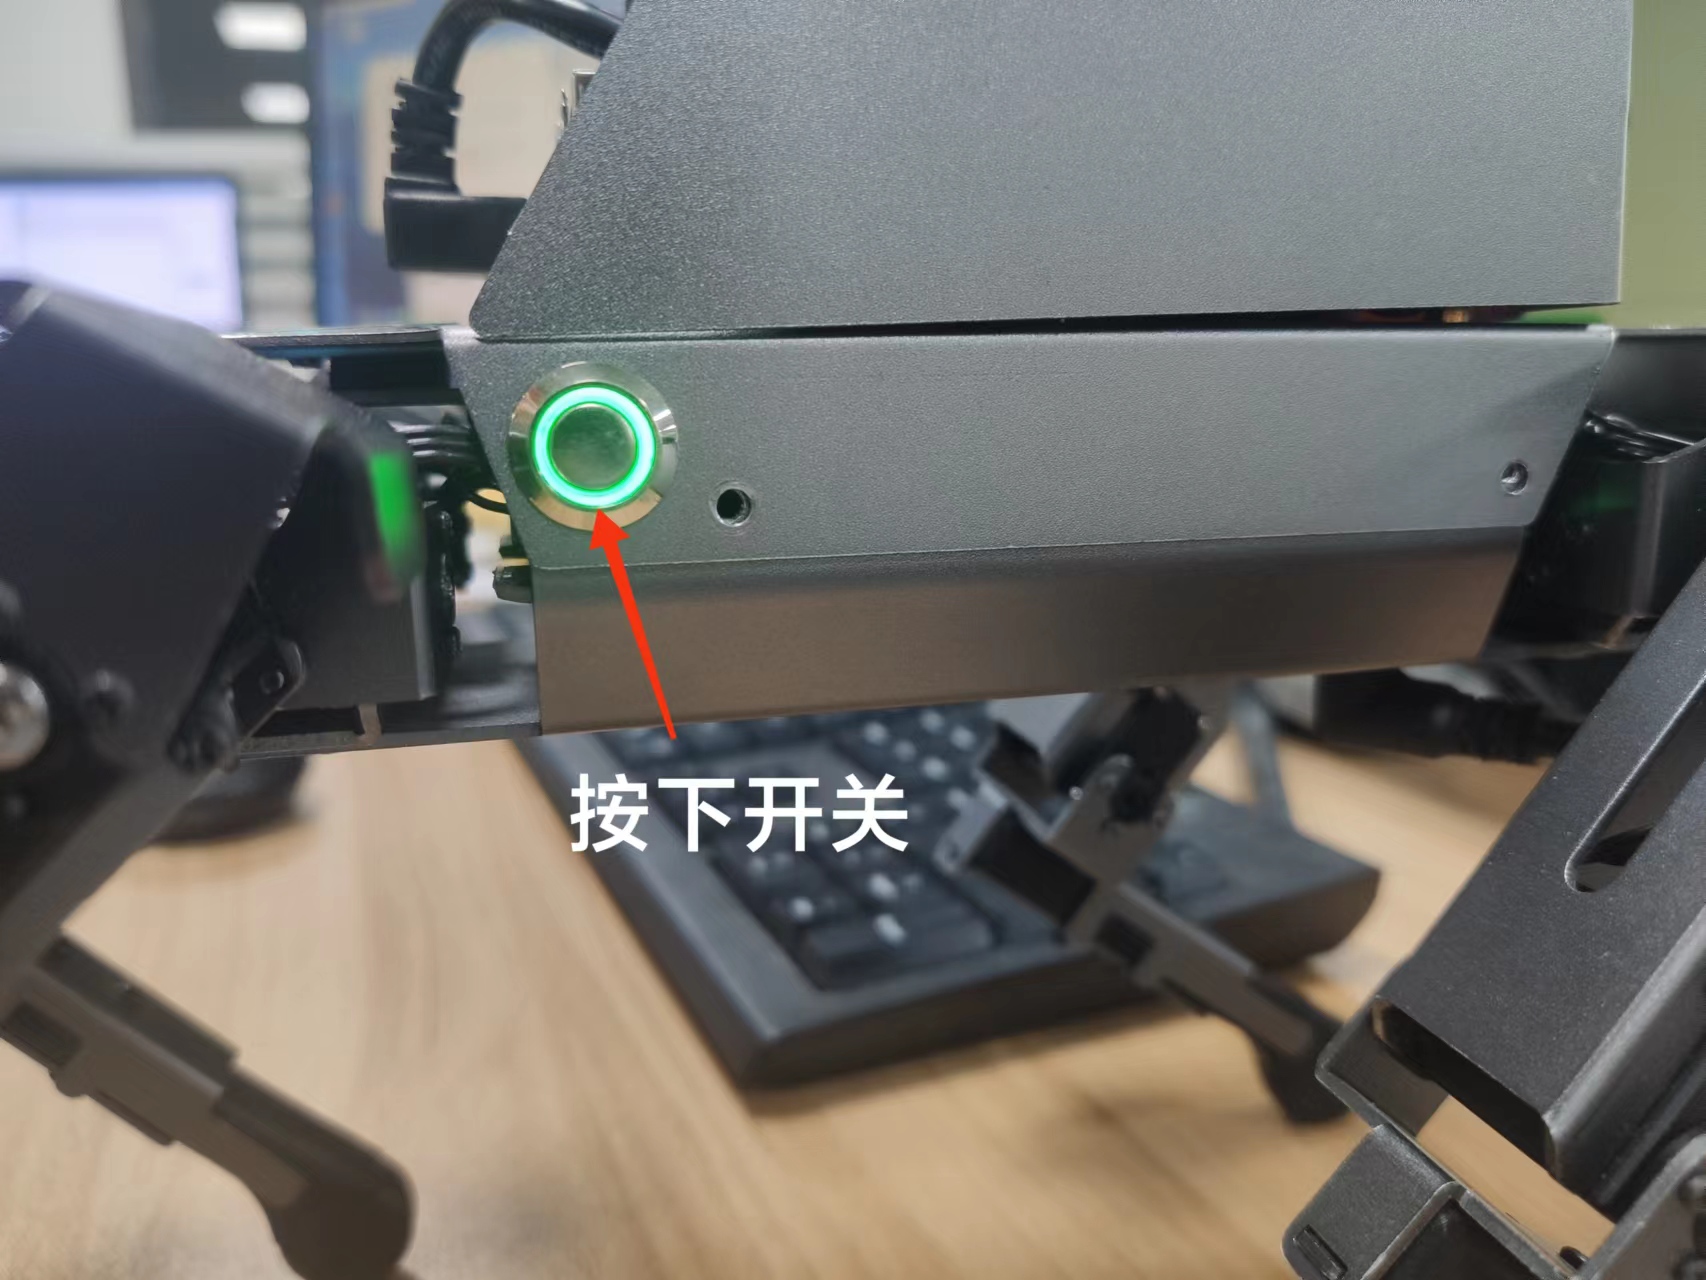
1. Power on DOGZILLA
First, we turn on the switching power supply of the mechanical dog and start the mechanical dog
After starting, we can view the IP address on the small screen of the robot dog.
2. Start DOGZILLA chassis
PI4 version steps:
Then use the ssh terminal to connect to the robot dog.
Note: The IP address used when writing this tutorial: 192.168.2.102 User name: pi Password: yahboom The actual IP address shall prevail when used.
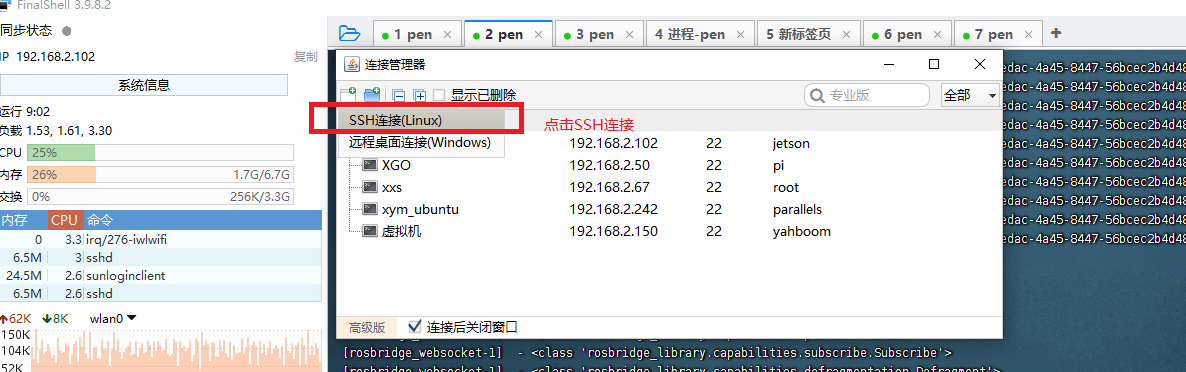
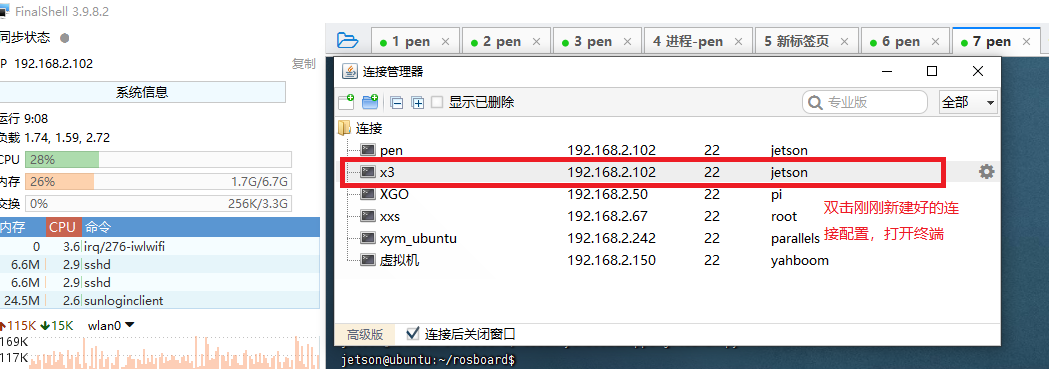
Open the shell tool. The shell tool I use here is FinalShell. Enter username, password, port, connection name and other information.

Select ssh connection to create a new ssh connection
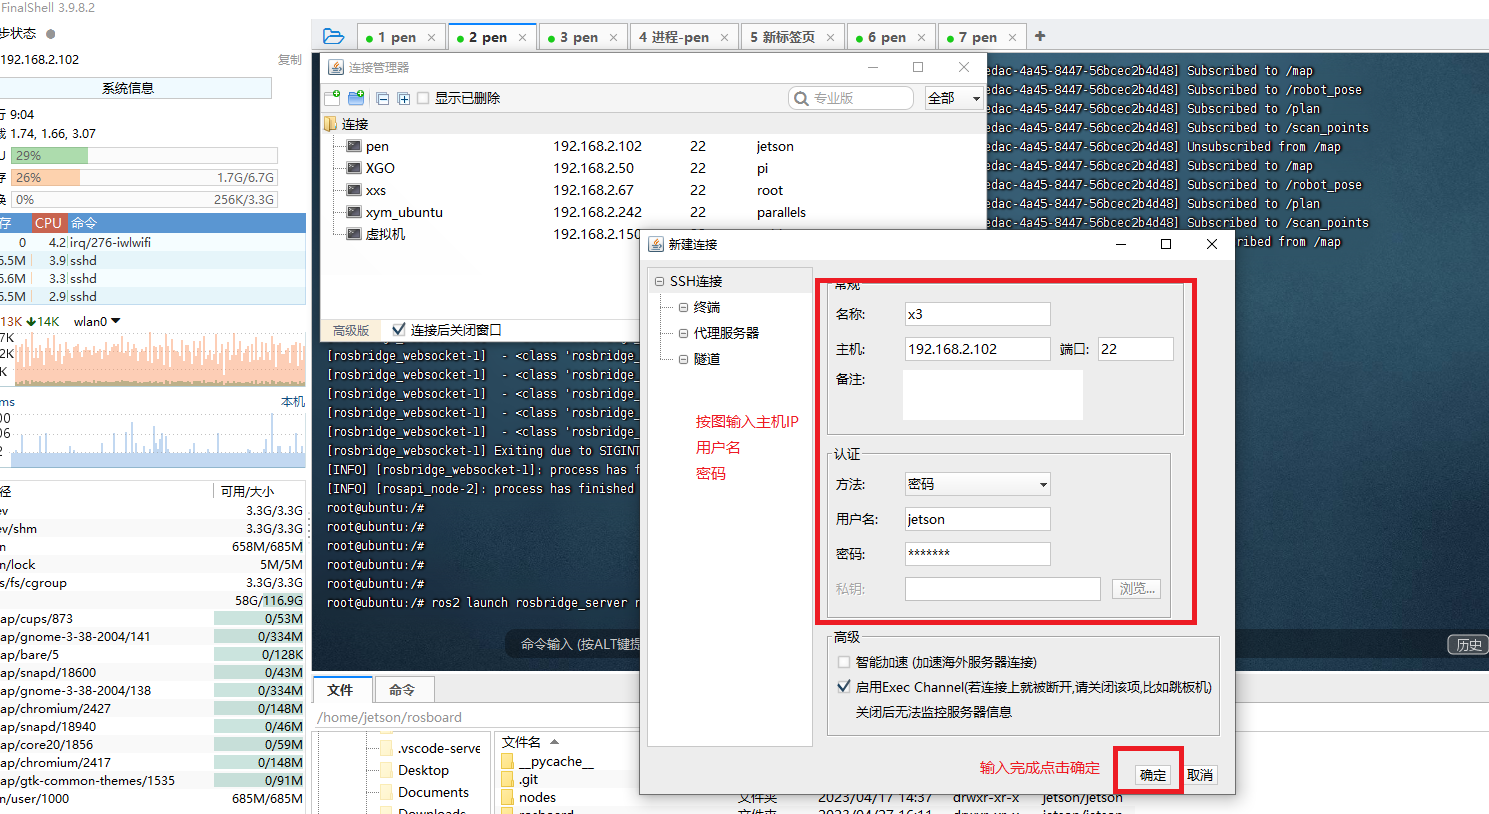
Here the username is pi, the password is yahboom, and the ip address is the IP address of the real robot dog.
Select the ssh connection you just created here.
Enter the command in the terminal to start the chassis task.
xxxxxxxxxxsudo systemctl restart YahboomStart.service

PI5 version steps:
After the mechanical dog is started, use the vnc software to remotely connect to the mechanical dog through the IP address on the OLED (For specific steps, please see "Remote Login Operation").
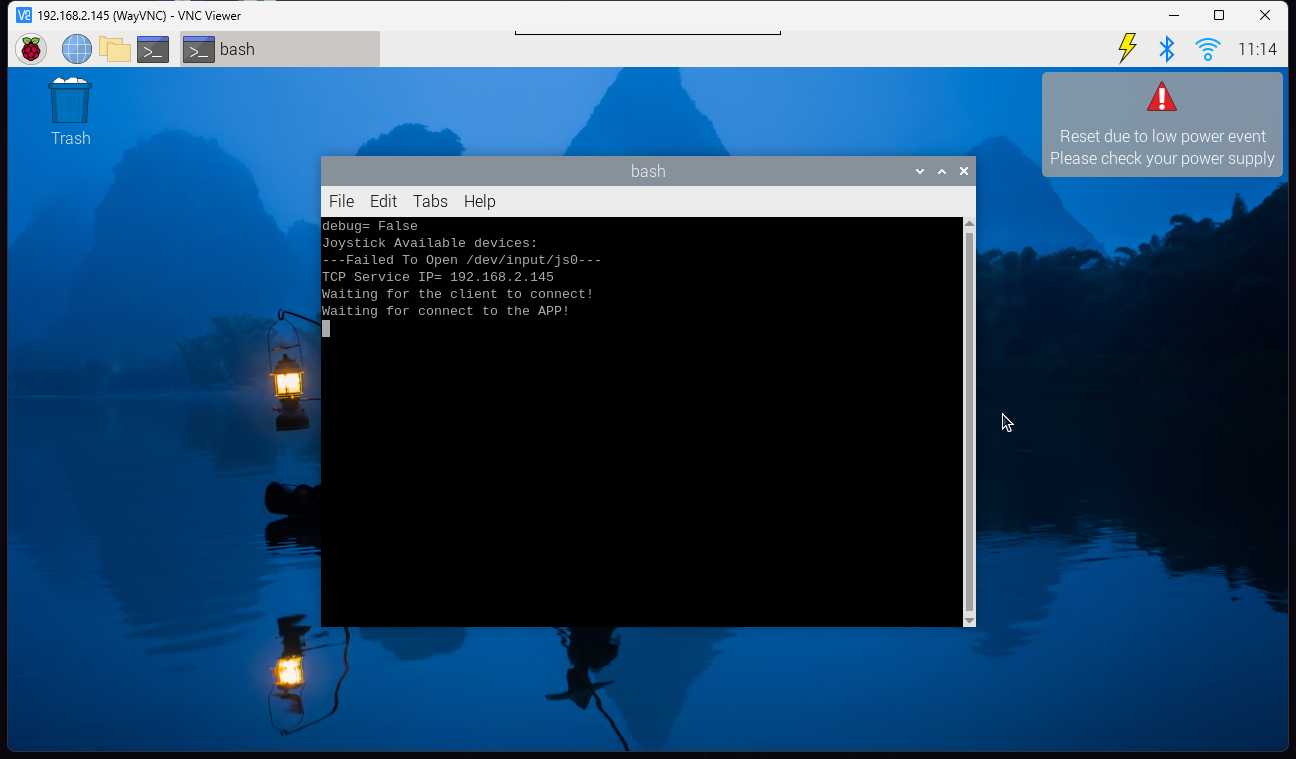
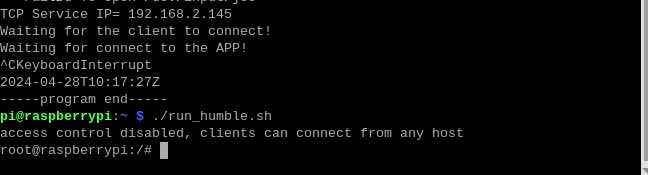
Then ctrl+c closes the large program and enter the following command to enter docker:
xxxxxxxxxx./run_humble.sh
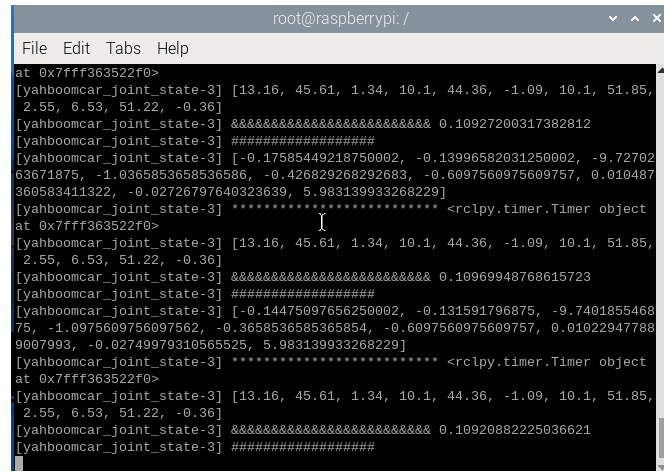
Then enter the following commands in the docker terminal to start the car radar, imu, and mechanical dog joint status nodes.
xxxxxxxxxxros2 launch bringup Navigation_bringup.launch.py
3. Start the image publishing node
PI4 version steps:
First enter two commands in the terminal
xxxxxxxxxxexport PATH=/home/pi/opencv_install/bin:$PATHexport LD_LIBRARY_PATH=/home/pi/opencv_install/lib:$LD_LIBRARY_PATH
Then enter the following command in the terminal
xxxxxxxxxxcd cartographer_ws2/
xxxxxxxxxxsource install/setup.bash

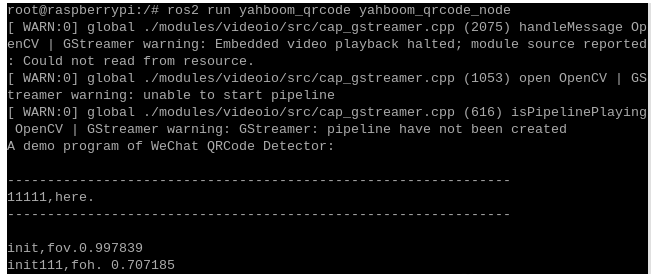
Then enter the following command
xxxxxxxxxxros2 run yahboom_qrcode yahboom_qrcode_node

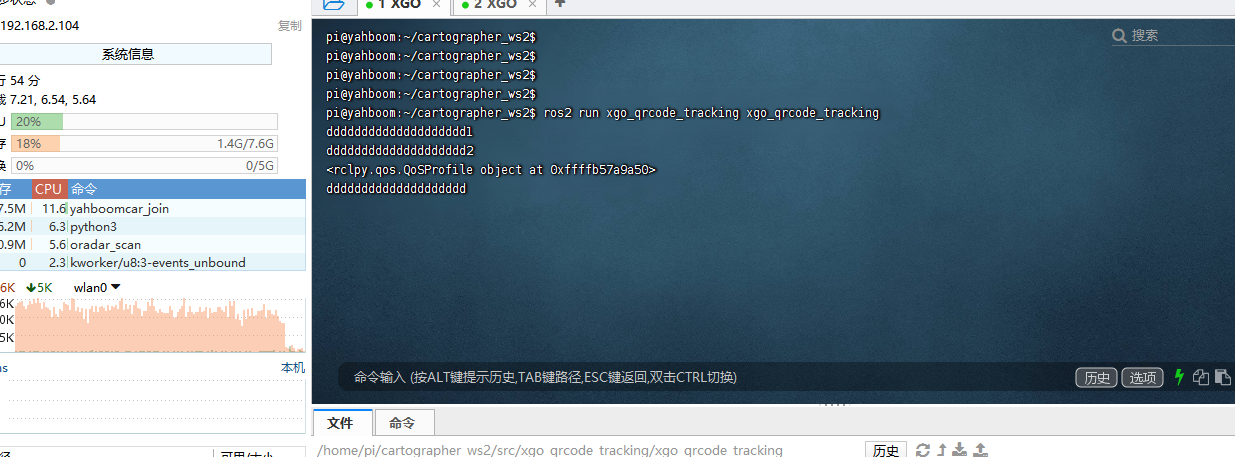
Reopen a terminal and enter the command:
xxxxxxxxxxcd cartographer_ws2/source install/setup.bashros2 run yahboom_qrcode_tracking yahboom_qrcode_tracking
PI5 version steps:
Enter in the root directory of the Raspberry Pi and enter the same terminal
xxxxxxxxxxdocker psdocker exec -it id /bin/bash
Then enter the following command
xxxxxxxxxxros2 run yahboom_qrcode yahboom_qrcode_node
Reopen the same docker terminal and enter the command:
xxxxxxxxxxros2 run yahboom_qrcode_tracking yahboom_qrcode_tracking
5. Set the recognition color through the web interface
The steps are the same for PI4 and PI5 versions:
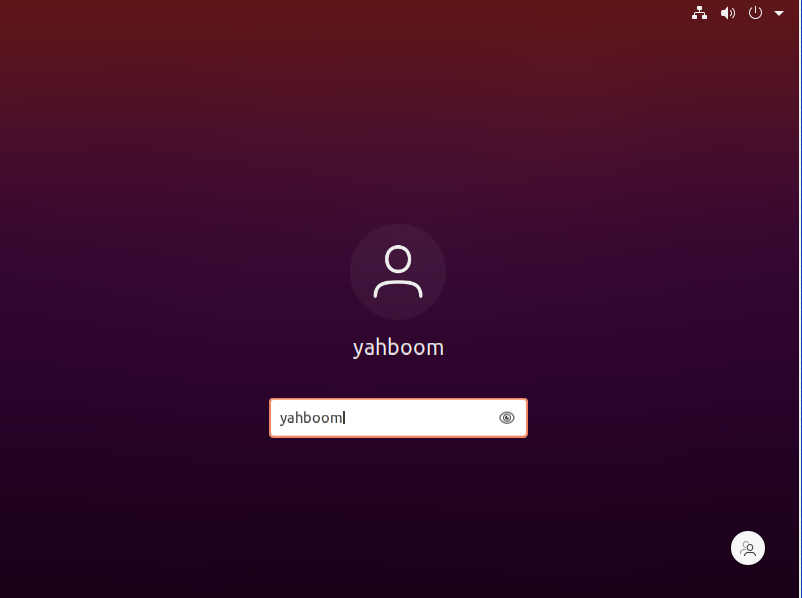
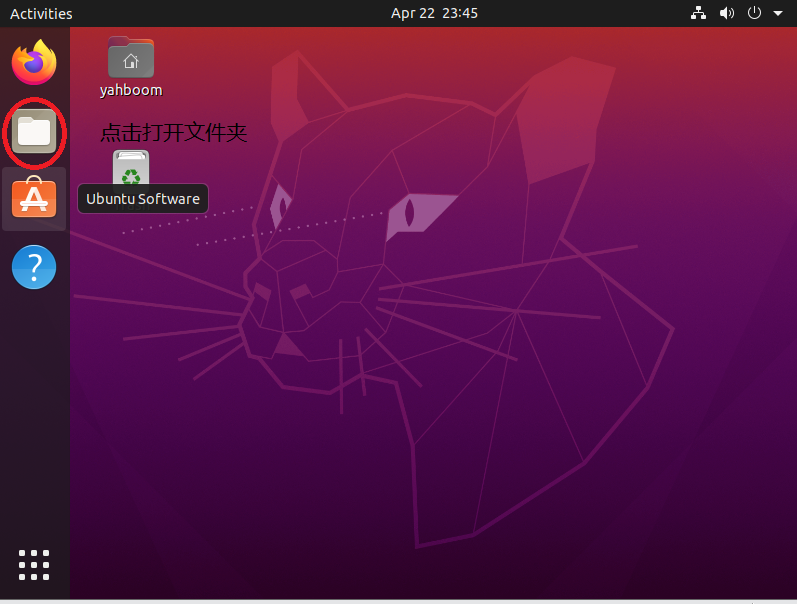
Open the virtual machine and enter the user name yahboom and the password yahboom.
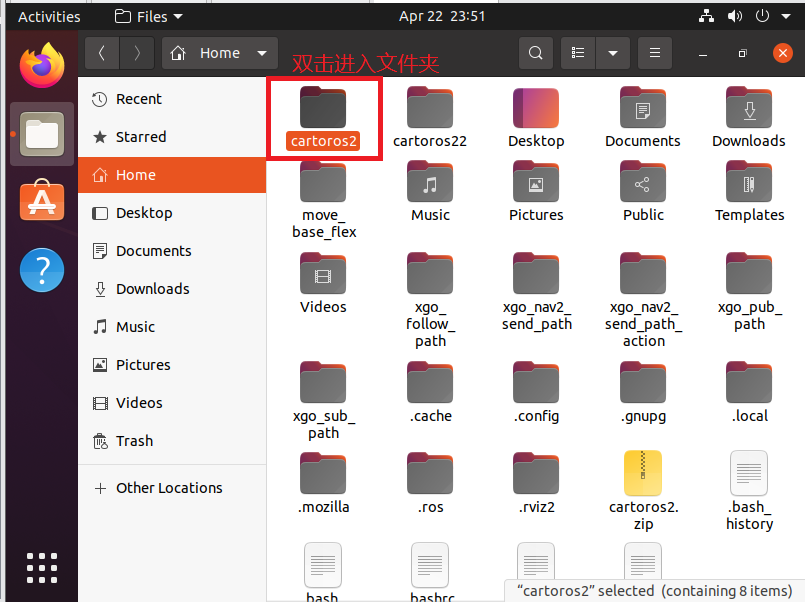
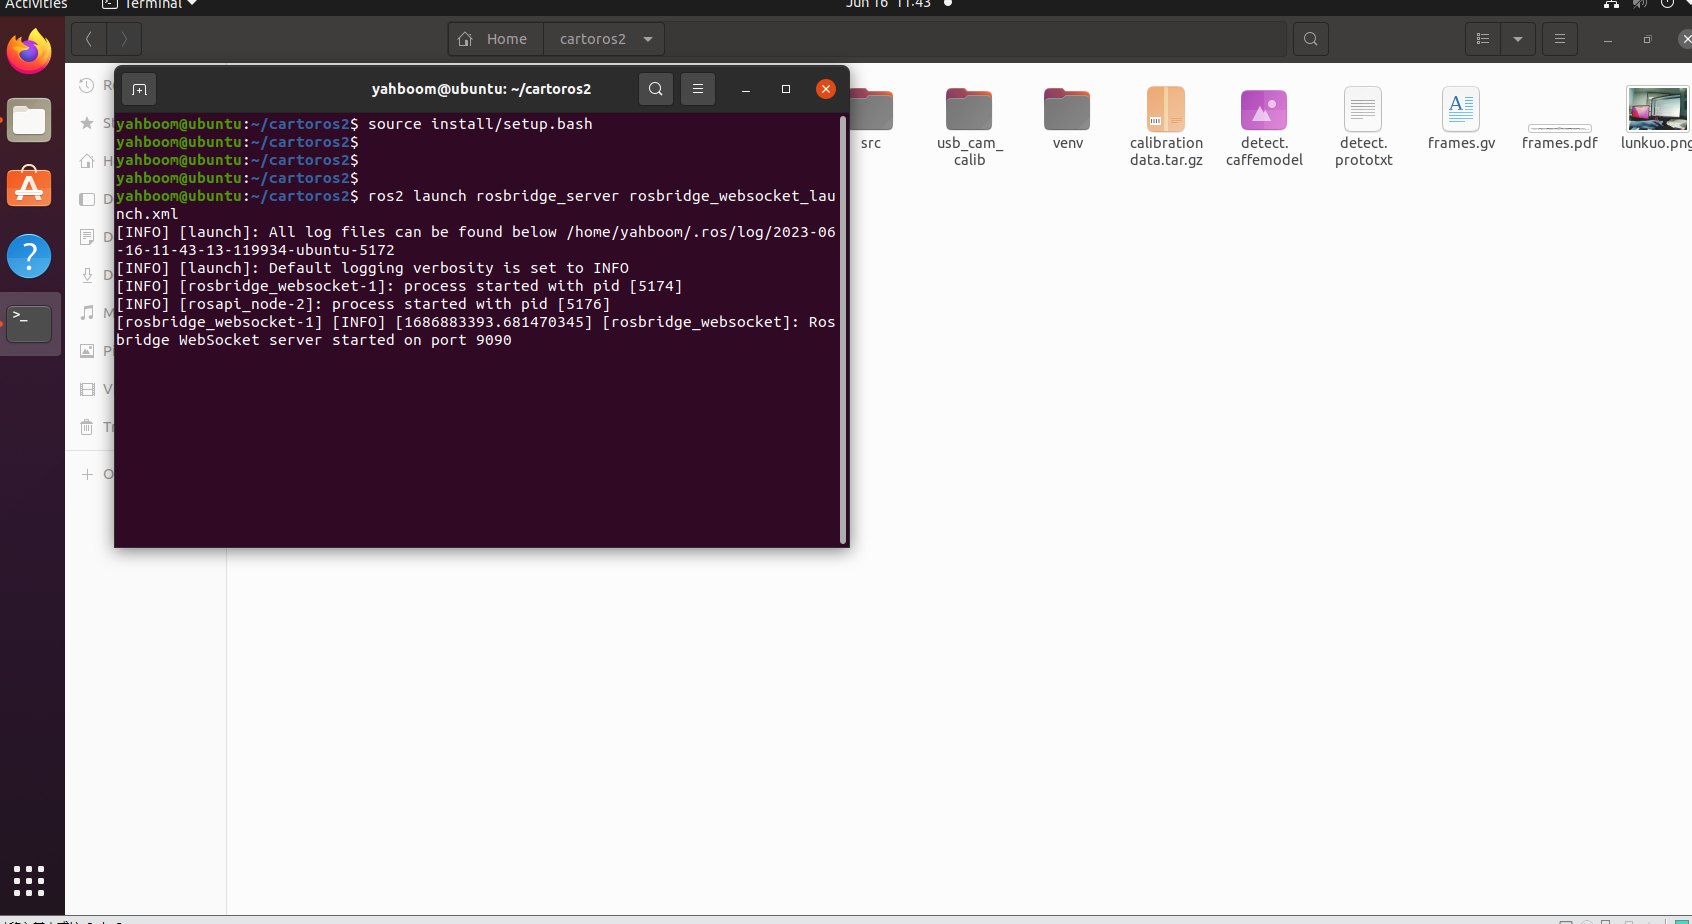
Click on the folder to open the cartoros2 folder.
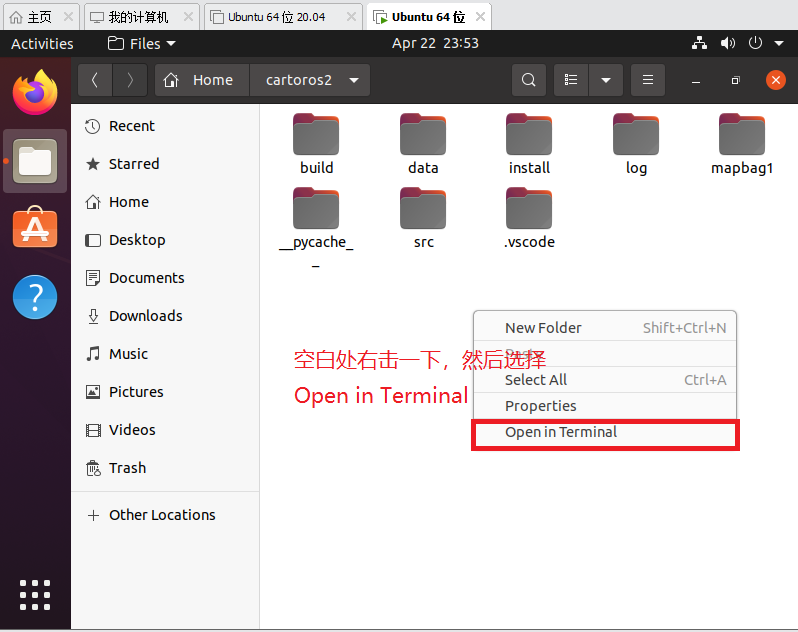
Open the terminal under the folder
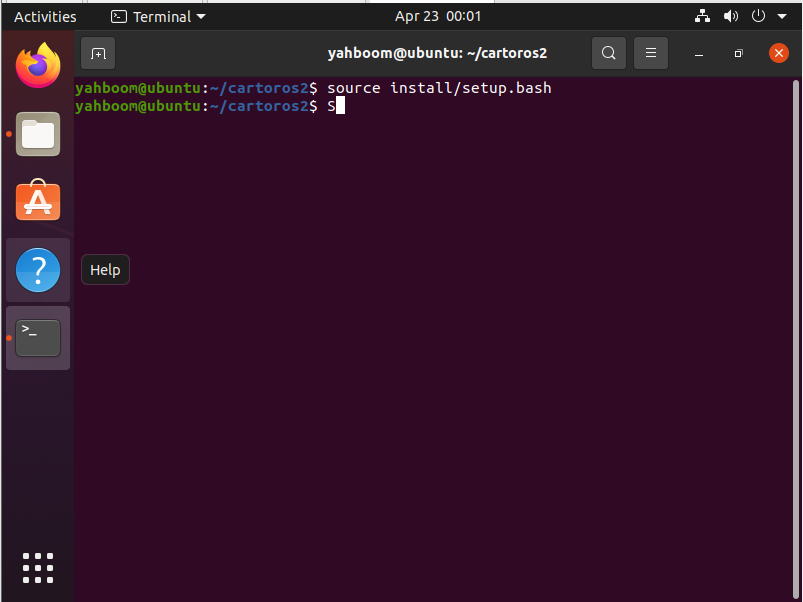
Then enter the following command
xxxxxxxxxxsource install/setup.bash
Then start rosbridge and enter the following command
xxxxxxxxxxros2 launch rosbridge_server rosbridge_websocket_launch.xml
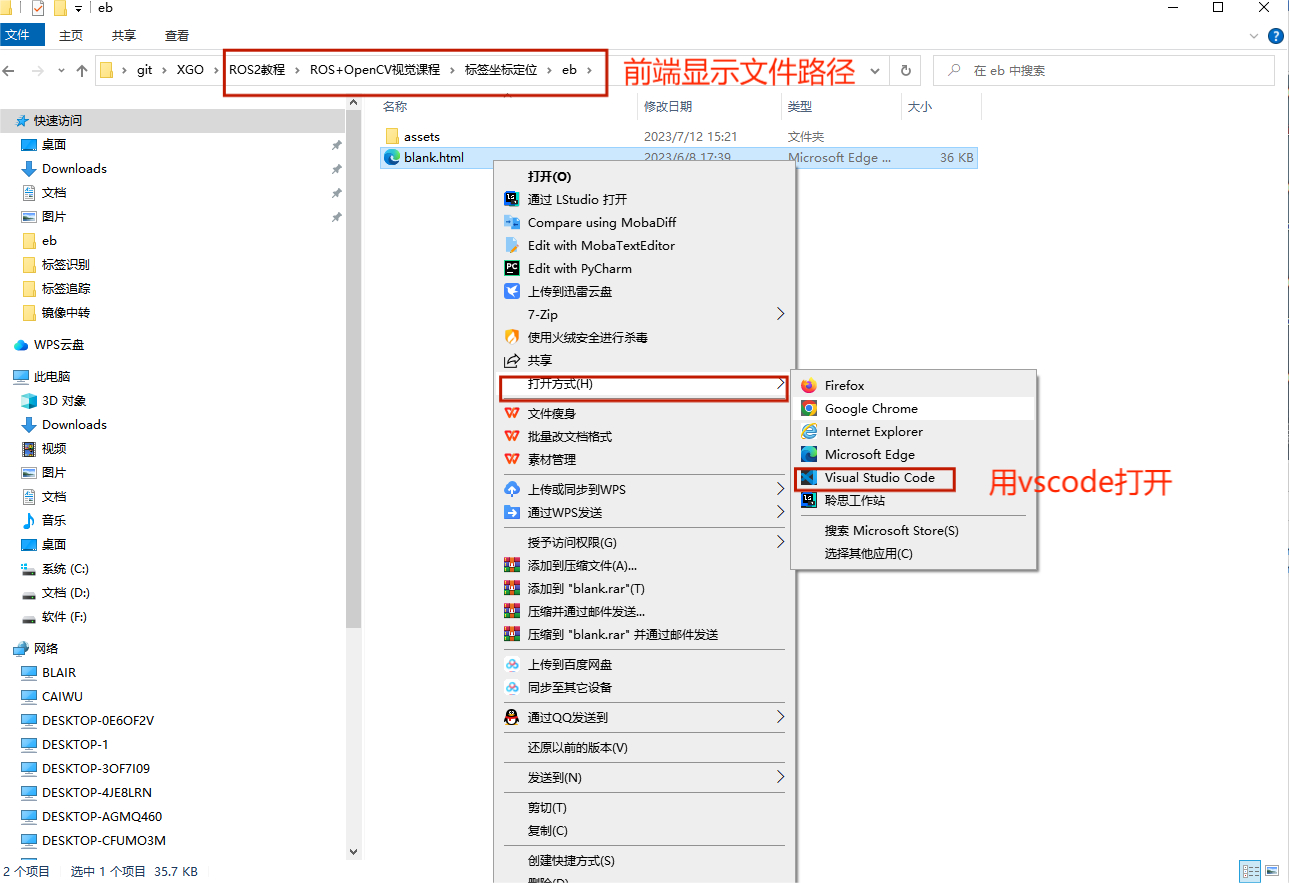
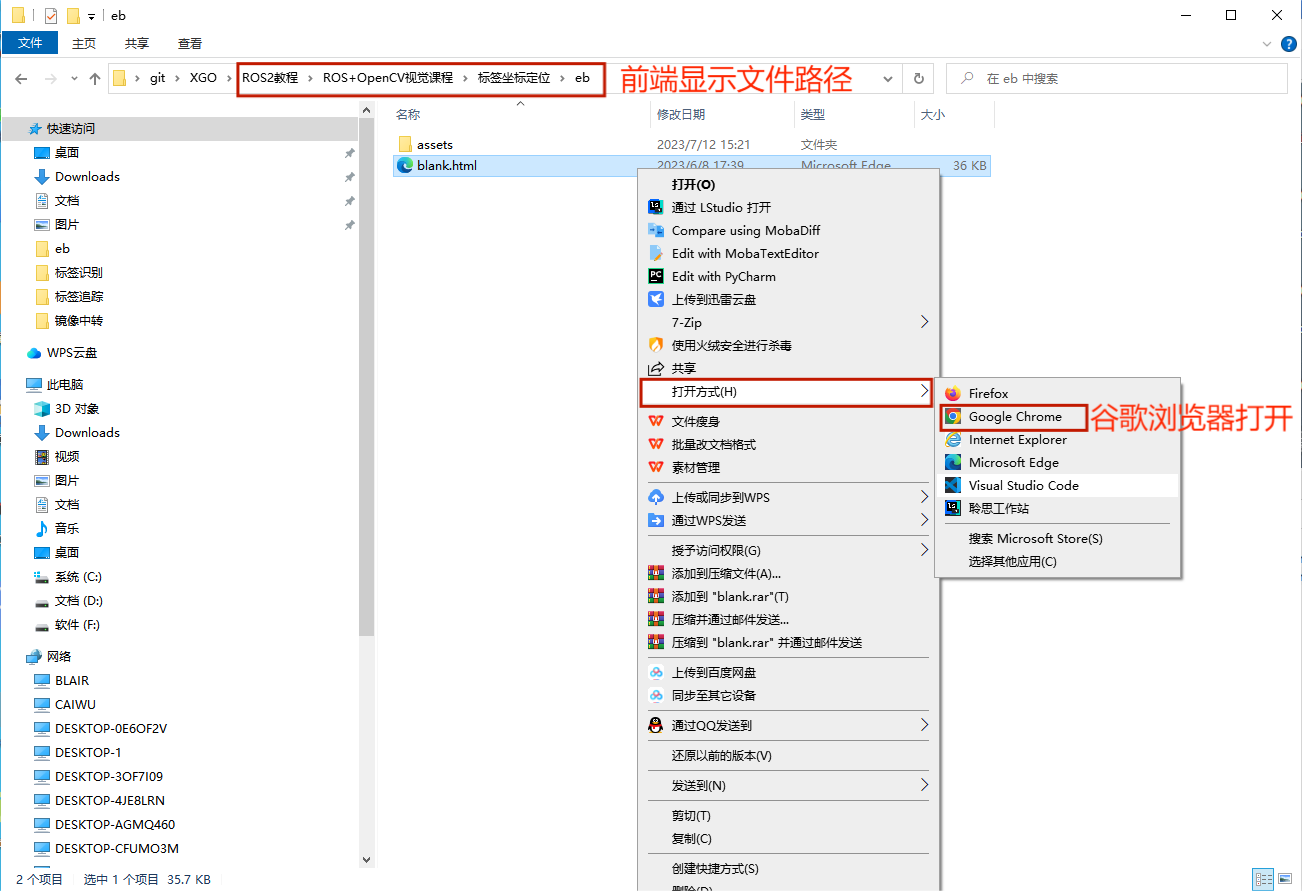
Find the blank.html file in the eb folder in the updated directory of this tutorial and open it with Google Chrome.
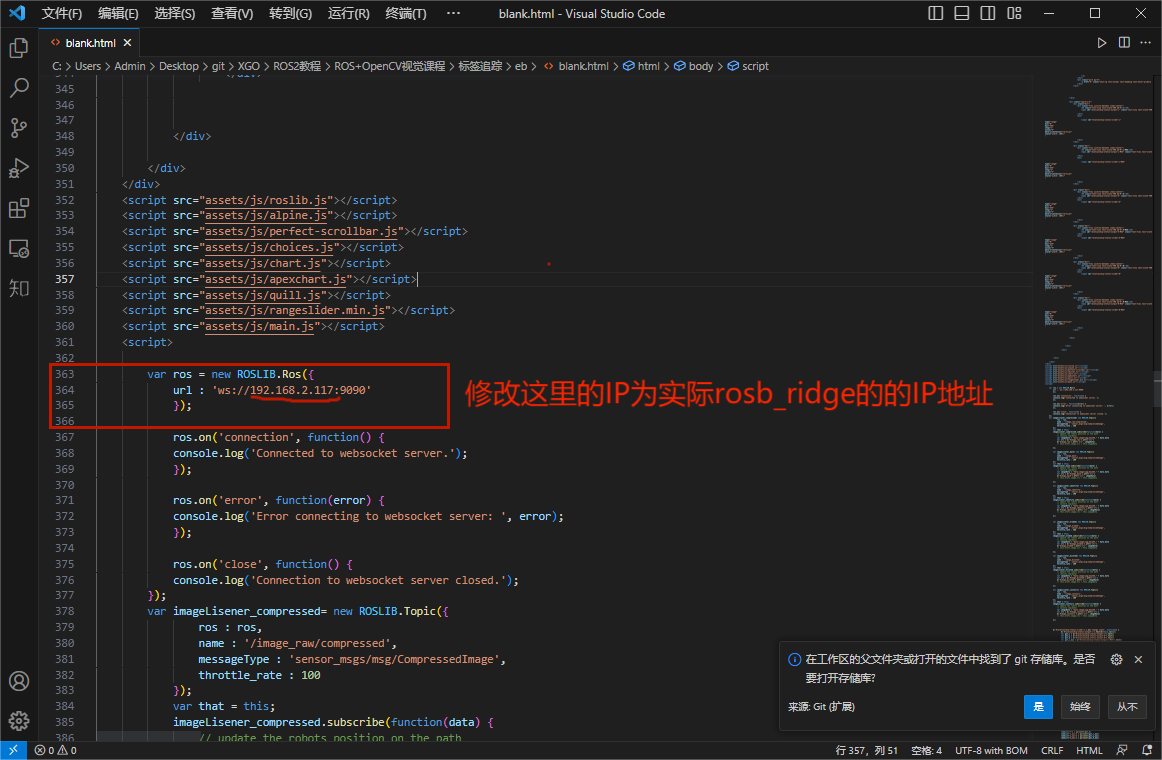
Note: The IP address of rosbridge needs to be set here. Obtain the IP address of the virtual machine, then open the blank.html file, modify the IP address of line 363 and save it, as shown in the figure below.
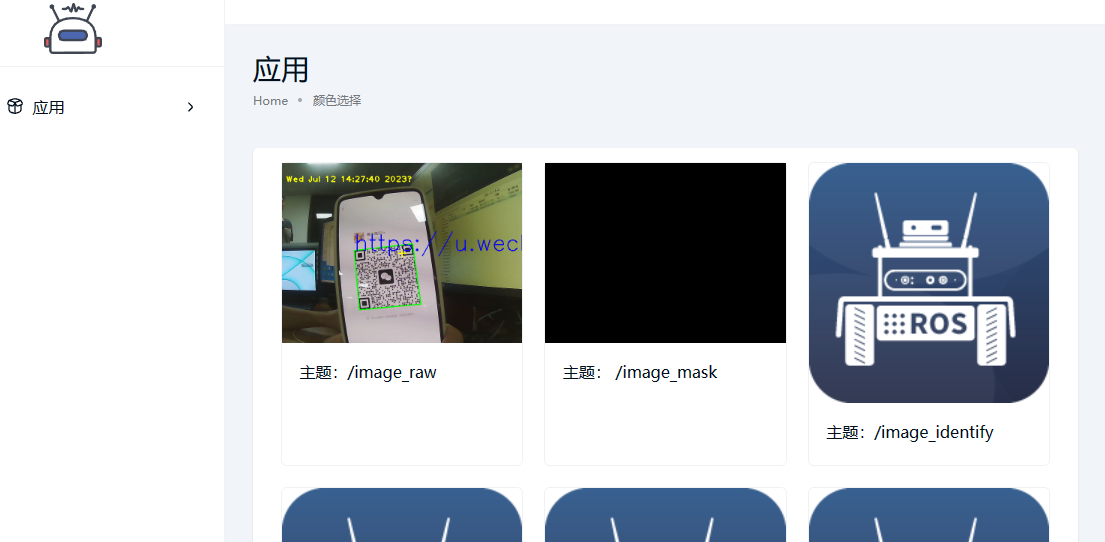
As shown in the picture below, use your mobile phone to display a QR code. Here is the WeChat QR code. You can see the picture transmitted by the camera and the recognized QR code data.
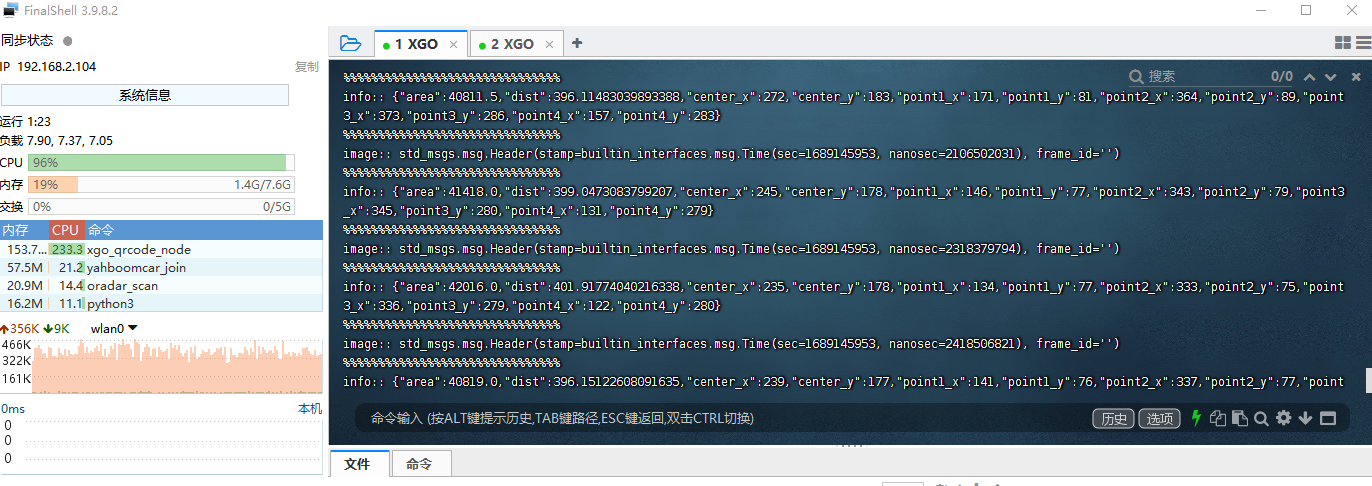
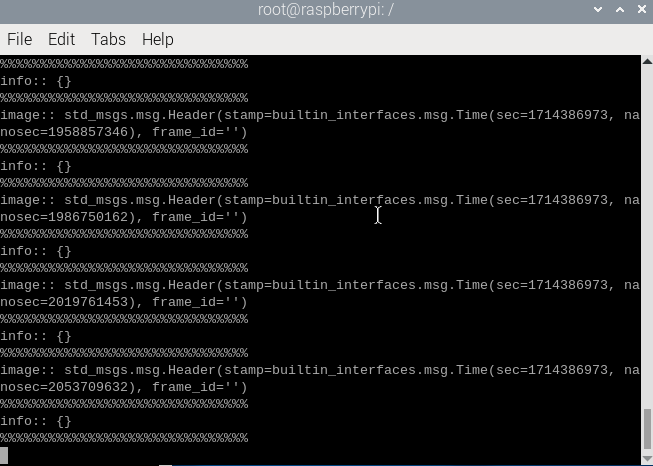
You can see the printed QR code data in the finalshell terminal, where (center_x, center_y) is the center position of the QR code, (point1_x, point1_y), (point2_x, point2_y), (point3_x, point3_y), (point4_x ,point4_y) are the four fixed point coordinates of the QR code.