Object recognition and tracking
Note: The VM and ROS-wifi image transfer module must be consistent with the microROS control board ROS_DOMAIN_ID and set the value to 20. You can check [MicroROS control board Parameter configuration] to set the microROS control board ROS_DOMAIN_ID. Check the tutorial Connecting to MicroROS Agents to see if the ids are the same.
1、Program function specification
After the program starts, select the object that needs to be tracked by the mouse, press the space bar, and the PTZ steering gear of the car enters the tracking mode. The head of the car will follow the tracked object and always ensure that the tracked object remains in the center of the picture.
2、Operation procedure
2.1、activate
Enter docker, terminal type,
ros2 run yahboom_esp32ai_car mono_Tracker
If the Angle of the camera is not at this Angle, please press CTRL+C to end the program and run again, this is because the network delay causes the Angle of sending the steering gear to lose packets
If the camera picture image appears upside down, you need to see 3. Camera picture correction (must see) document itself correction, the experiment is no longer described.
2.2、recognize
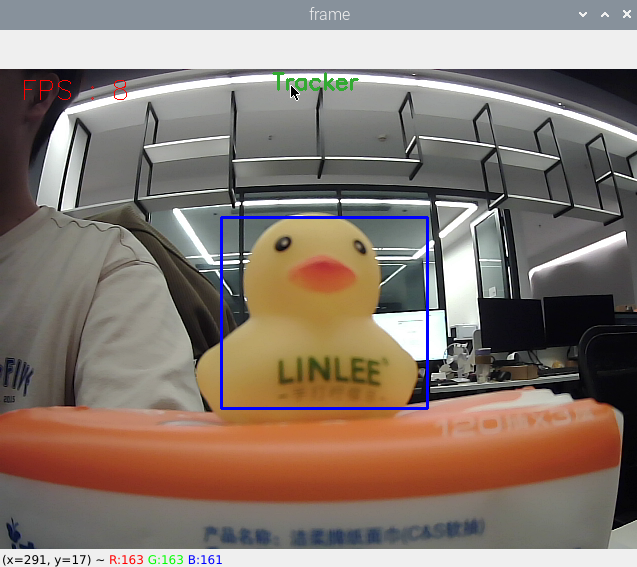
After startup, enter the selection mode, select the location of the target with the mouse, as shown in the figure below, release it to start recognition.
Keyboard key control:
[r]:To select the mode, use the mouse to select the area to identify the target, as shown in the figure above.
[q]:Exit procedure.
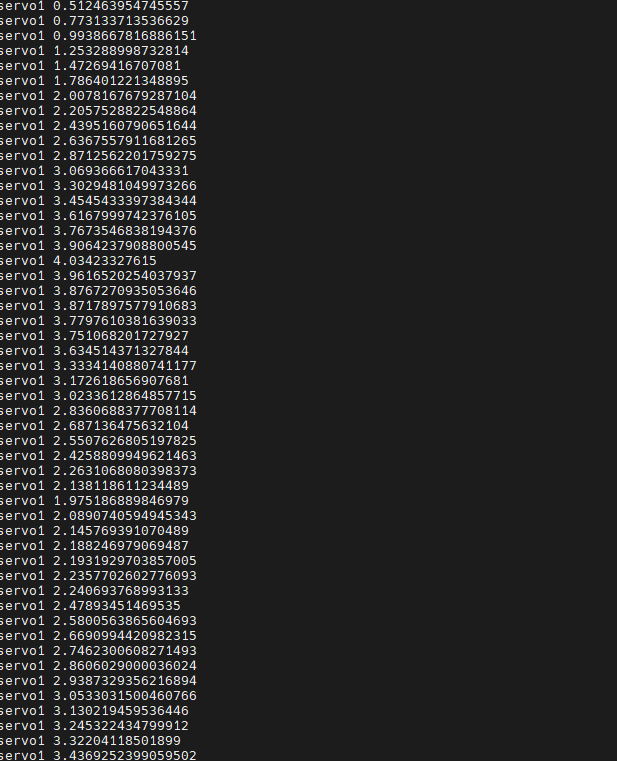
[Space bar]:Target tracking; Move the target slowly while following, moving too fast will lose the target.
Press the space to see the motion Angle calculated by the pid.
You can also debug PID parameters using dynamic parameter adjuster, terminal input,
xxxxxxxxxxros2 run rqt_reconfigure rqt_reconfigure
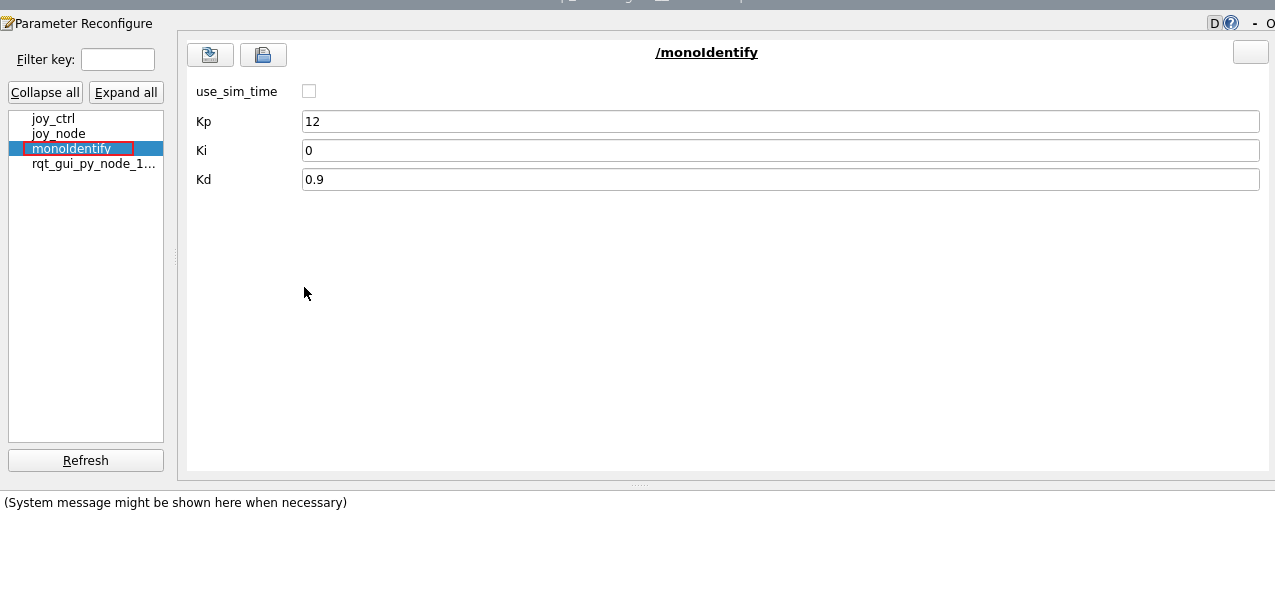
The adjustable parameters include PID parameters of the car head. After modifying the parameters, click "refresh" to refresh the data.
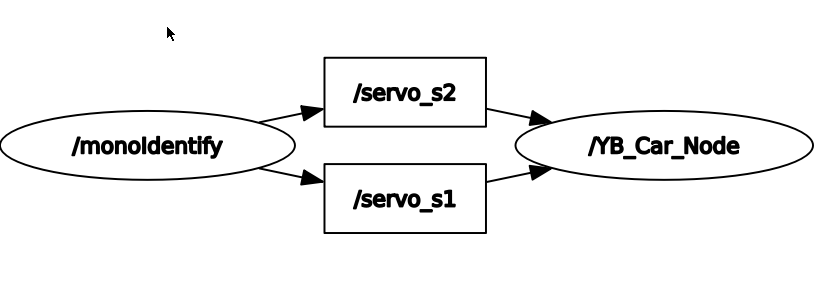
2.3、View the node topic communication graph
You can view the topic communication between nodes by running the following command,
3、Core code
The principle of functional implementation is similar to color tracking, which is to calculate the rotation Angle of s1 and s2 steering gear according to the central coordinates of the target, and then release it to the chassis, and part of the code is put under,
xif len(contours) != 0: areas = [] for c in range(len(contours)): areas.append(cv.contourArea(contours[c])) max_id = areas.index(max(areas)) max_rect = cv.minAreaRect(contours[max_id]) max_box = cv.boxPoints(max_rect) max_box = np.int0(max_box) (color_x, color_y), color_radius = cv.minEnclosingCircle(max_box)
center_x = targEnd_x / 2 + targBegin_x / 2center_y = targEnd_y / 2 + targBegin_y / 2width = targEnd_x - targBegin_xhigh = targEnd_y - targBegin_yself.point_pose = (center_x, center_y, min(width, high))if self.Track_state == 'tracking': if self.circle[2] != 0: threading.Thread(target=self.execute, args=(self.circle[0], self.circle[1])).start()
[x_Pid, y_Pid] = self.PID_controller.update([point_x - 320, point_y - 240]) if self.img_flip == True: self.target_servox -= x_Pid self.target_servoy += y_Pid else: self.target_servox -= x_Pid self.target_servoy += y_Pid if self.target_servox >= 45: self.target_servox = 45 elif self.target_servox <= -45: self.target_servox = -45 if self.target_servoy >= 40: self.target_servoy = 40 elif self.target_servoy <= -90: self.target_servoy = -90