SBUS Pair and connect devices
SBUS Pair and connect devices1.Install the model aircraft remote control battery2.BUS receiver connection expansion board3.Pair connected devices4.SBUS Receiver Indicator Status Explanation
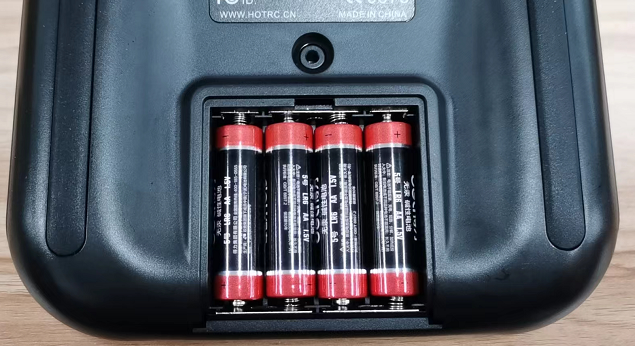
1.Install the model aircraft remote control battery
First slide down the battery compartment cover of the model aircraft remote control to open, then install four AA batteries into the battery compartment of the model aircraft remote control in the order of the positive and negative poles of the battery compartment, and then close the battery compartment cover.
Install the battery as shown below:
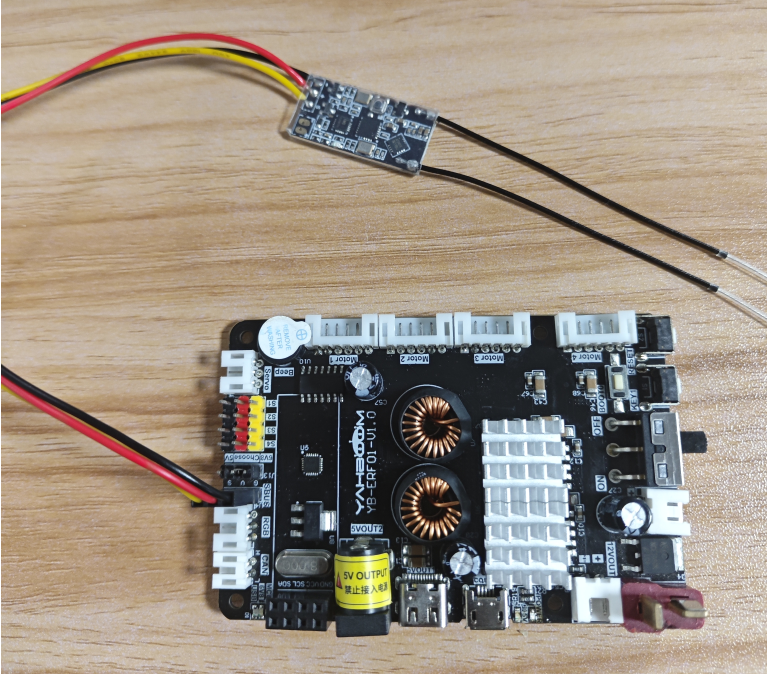
2.BUS receiver connection expansion board
For the convenience of demonstration, a ROS expansion board is used to connect the SBUS receiver. Please pay attention to aligning the silk screen of the SBUS receiver to connect to the SBUS interface on the expansion board. G represents the ground GND, V represents the power supply VCC, and S represents the signal.
3.Pair connected devices
①Power the SBUS receiver. At this time, the LED indicator on the SBUS should flash slowly.
②Press and hold the pairing button on the SBUS receiver for about 1 second. If you see the LED flashing quickly, it means it has entered the pairing state.
③Turn on the power of the model aircraft remote control, and the model aircraft remote control will automatically pair with the SBUS receiver when it is turned on.
④After successful pairing, the LED indicator on the SBUS receiver is always on.
Notice:
The model aircraft remote control and SBUS receiver only need to be paired once. They will be automatically connected next time they are turned on, and there is no need to pair them again.
It cannot enter the pairing state when it is connected (the LED light is always on).
4.SBUS Receiver Indicator Status Explanation
The LED light is always on: the device is connected.
The LED light flashes slowly: the device is not connected.
LED light flashes quickly: pairing status.