09. oled prints the status of the Raspberry Pi
09. oled prints the status of the Raspberry Pi1. Learning objectives2. Experimental preparation3. Core code analysis4. Experimental phenomenon
1. Learning objectives
Use the 12832oled screen to display the status of the Raspberry Pi.
2. Experimental preparation
- As shown in the figure below, the expansion board needs to be connected to the Raspberry Pi first, and the oled needs to be connected and then turned on.
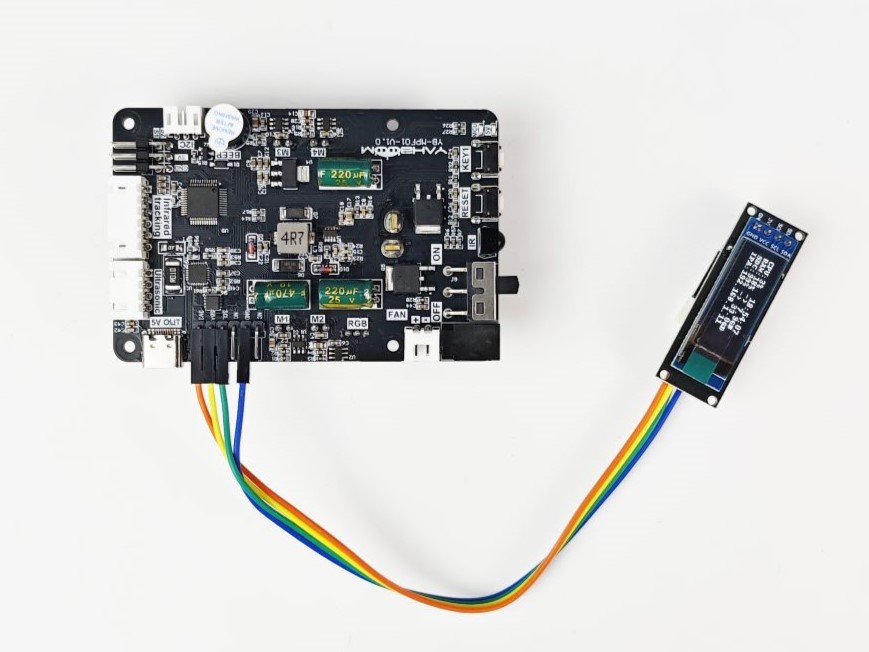
- After the Raspberry Pi is turned on, put the software directory in the home directory of the Raspberry Pi pi user
3. Core code analysis
begin()
Function explanation: Initialize OLED, return True if successful, return False if failed
xxxxxxxxxxclear()
Function explanation: Clear the display. refresh=True refreshes immediately, refresh=False does not refresh.
xxxxxxxxxxgetCPULoadRate()
Function explanation: read CPU usage
xxxxxxxxxxgetSystemTime()
Function explanation: read system time
xxxxxxxxxxgetUsagedRAM()
Function explanation: read memory usage and total memory
xxxxxxxxxxgetUsagedDisk()
Function explanation: read TF card space usage / TF card total space
xxxxxxxxxxgetLocalIP()
Function explanation: get local IP
xxxxxxxxxxadd_text(start_x, start_y, text, refresh=False)
Function explanation: add characters. start_x start_y indicates the starting point. text is the character to be added. refresh=True refreshes immediately, refresh=False does not refresh.
xxxxxxxxxxadd_line(text, line=1, refresh=False)
Function explanation: Write a line of text. refresh=True refresh immediately, refresh=False do not refresh. line=[1, 4]
xxxxxxxxxxrefresh()
Function explanation: Refresh OLED, display content
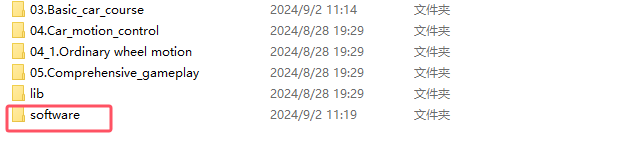
Source code path: project_demo/03.Basic_car_course
4. Experimental phenomenon
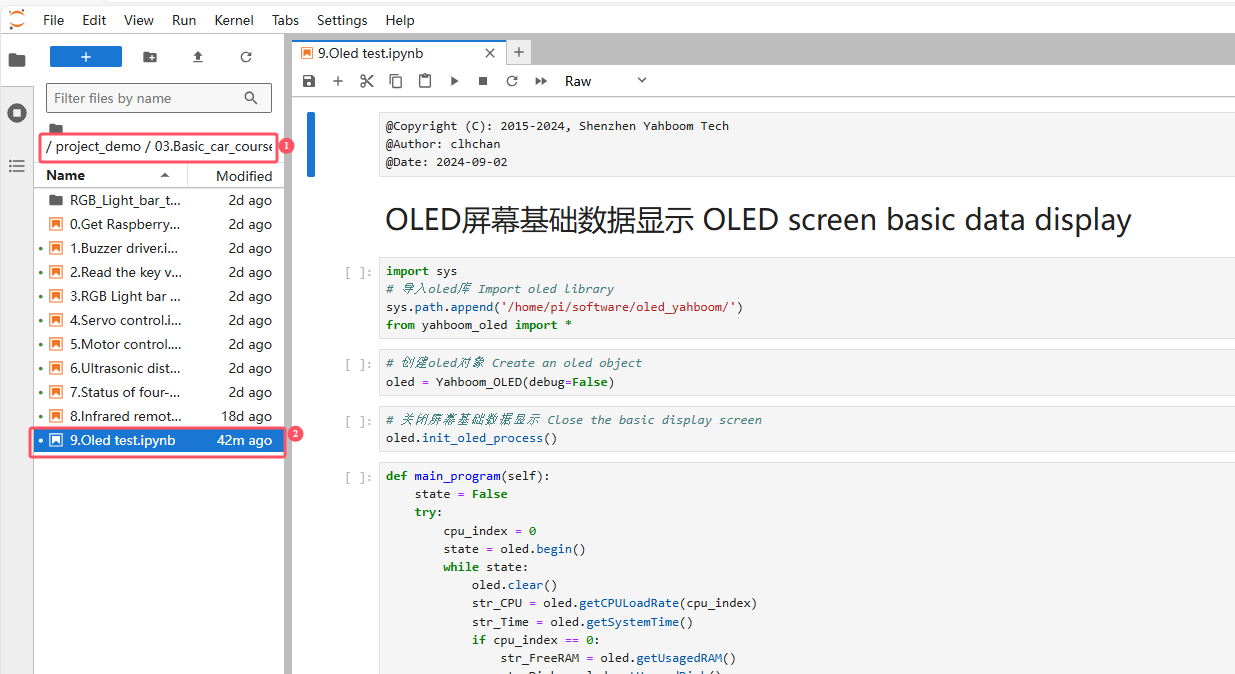
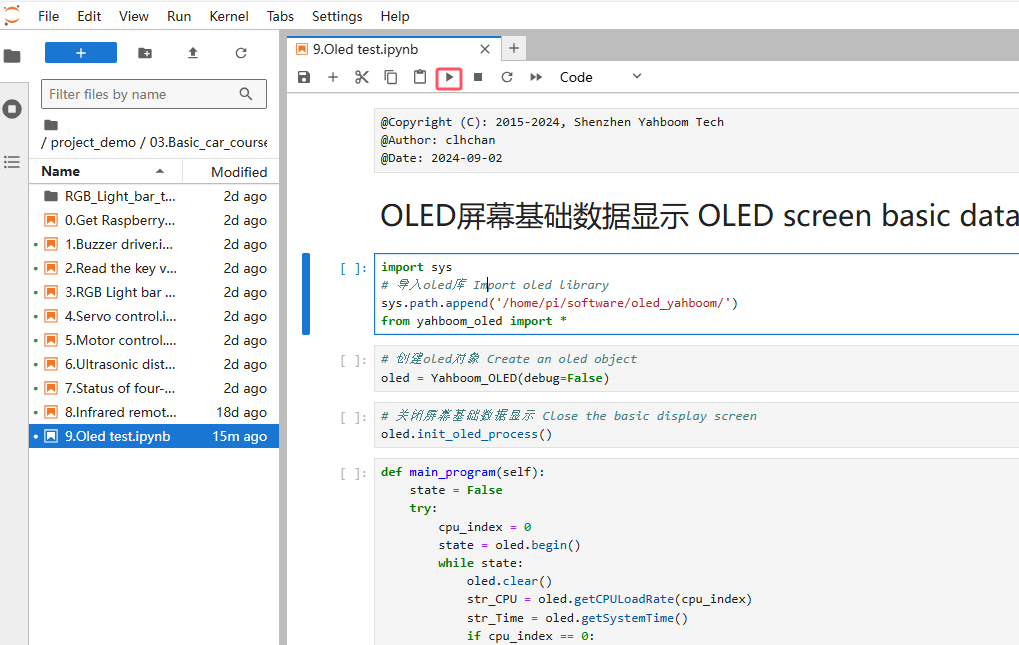
Turn on the robot, open the computer browser to enter the Jupyter lab editor
Enter the source code path, double-click the code to be run
Restart the kernel and clear all outputs
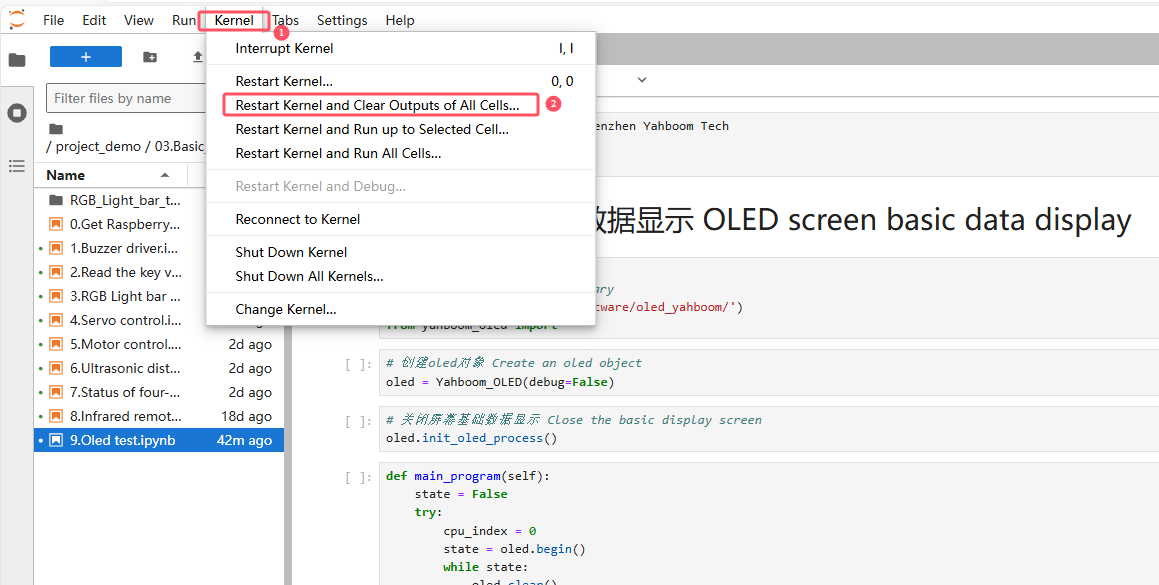
Click the first code block, then click the run button to start running one by one
After the program runs, as the code blocks run, the oled screen will display the status information of the Raspberry Pi.