1. Software environment configuration
1. Software environment configurationBuild the development environment of Raspberry Pi Pico 2 under WindowsInstall ARM GCC COMPLIERInstall CMAKEInstall Visual StudioINSTALL PYTHON3Install GITGet the SDK and examples for Pico 2Raspberry Pi Pico 2 Windows Development Environment - Compile and Build Projects in Command Line
Build the development environment of Raspberry Pi Pico 2 under Windows
Preparation
ARM GCC compiler.exe file
CMake download msi file
Build Tools for Visual Studio 2019
Python 3 download exe (Windows installer)
Git download Git for Windows downloads
Download the executable installers of these five packages, and then install all five packages on Windows
Install ARM GCC COMPLIER
You can download the version you need from the ARM GCC complier official website, or get it from the attachment of the document
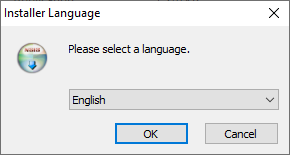
Select the installation language as Chinese
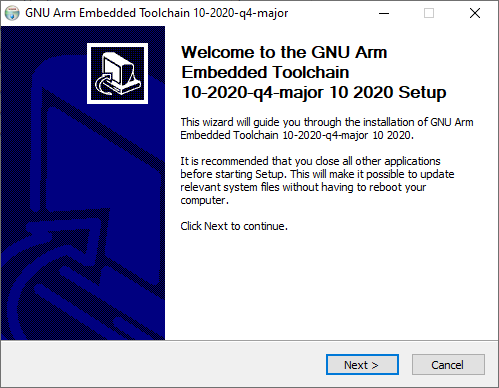
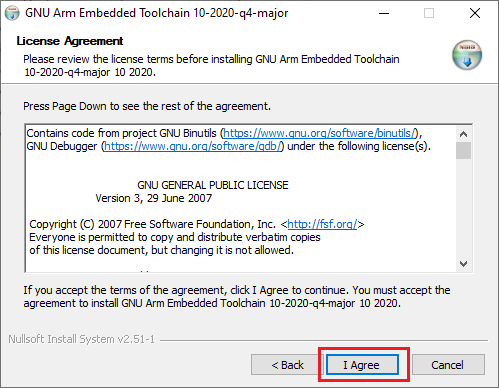
Follow the prompts to install
Select the installation path
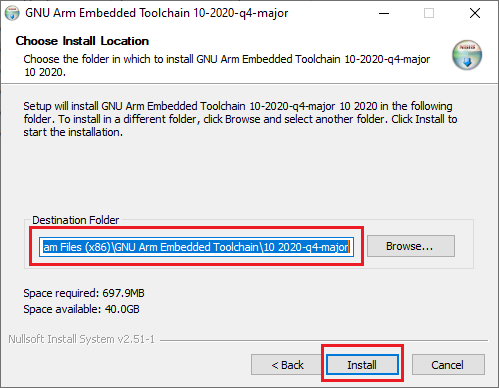
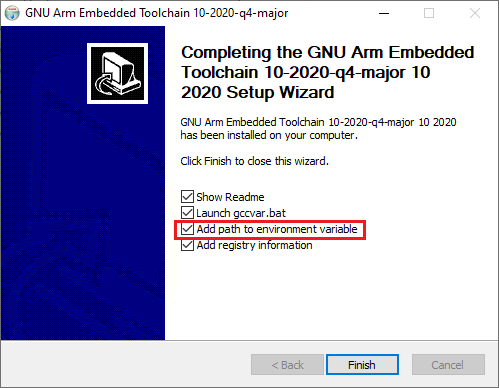
During the installation process, when prompted, check the box to request the path to the ARM compiler as an environment variable in the Windows shell
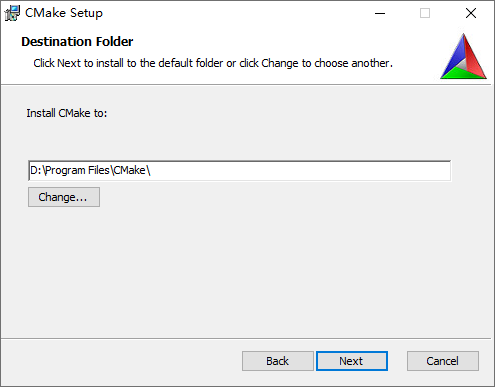
Install CMAKE
cmake official website: https://cmake.org/download/
You can also get the installation package from the attachment of the document
Click Next according to the prompt. It is recommended to turn off the antivirus software before installation
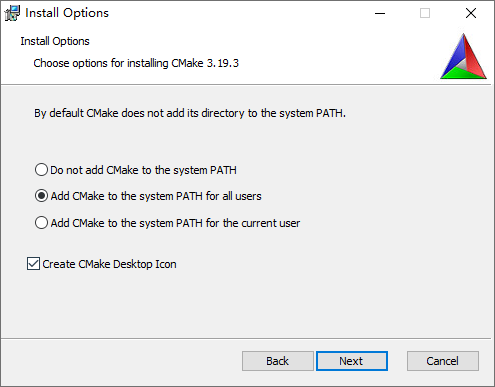
During the installation process, the installer will prompt to add CMake to the system path of all users Check 1 and 2
Select the installation path
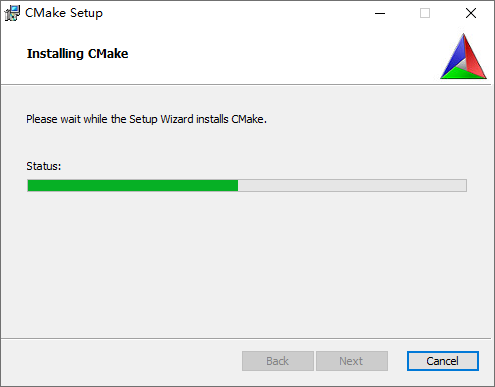
Installation completed, restart to take effect
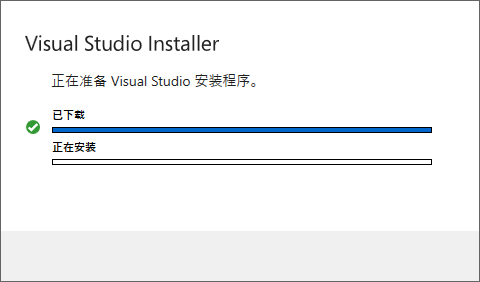
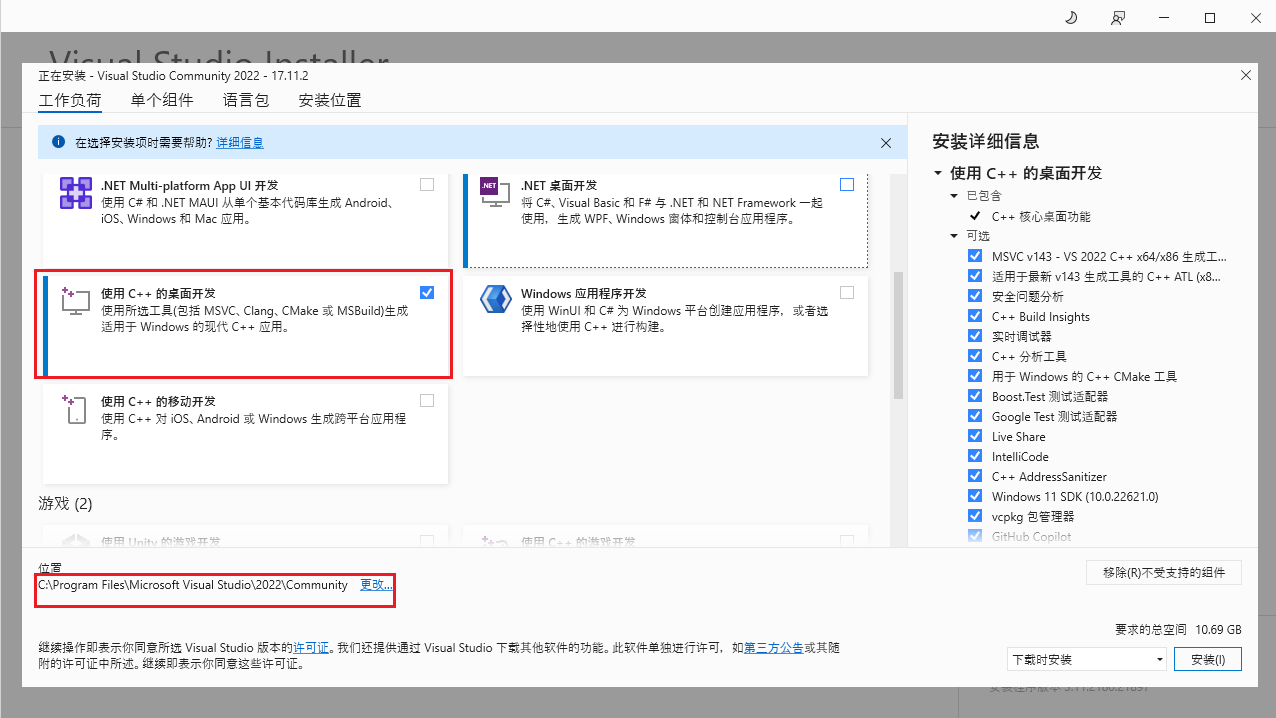
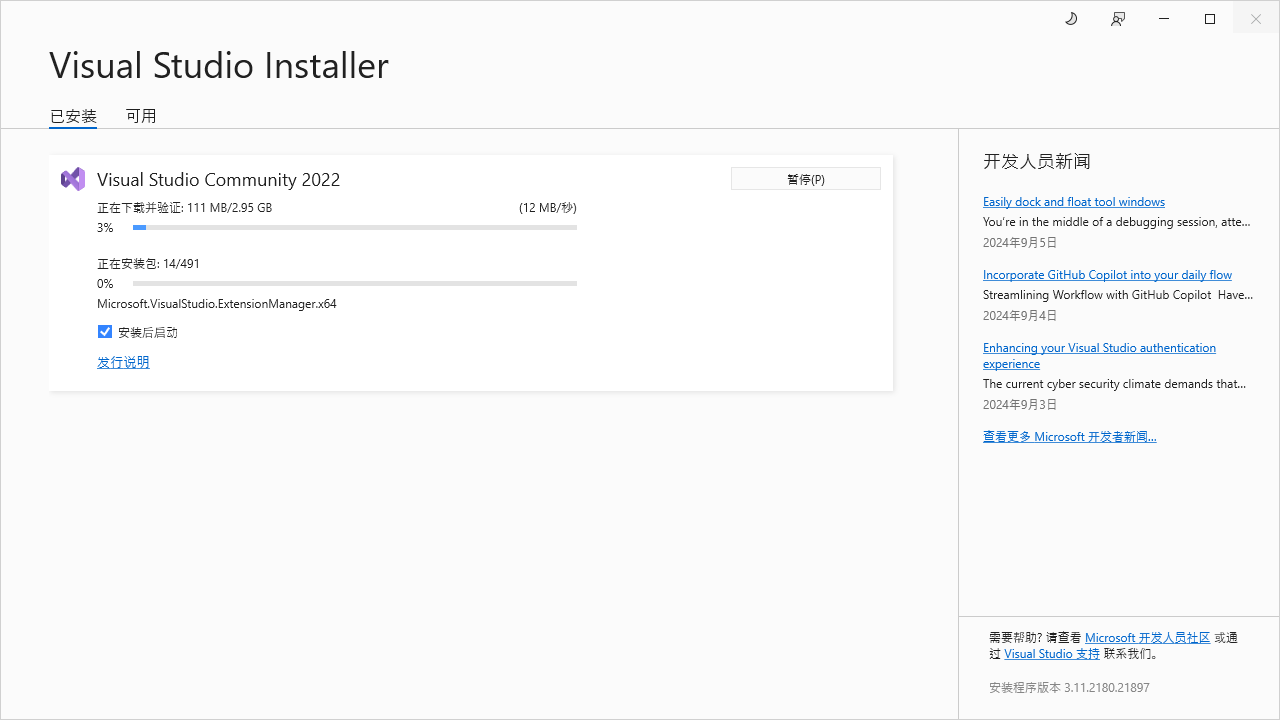
Install Visual Studio
Visual Studio official website: https://visualstudio.microsoft.com/zh-hans/downloads/, you can also get the installation software in the attachment of the document, here take VS2022 as an example.

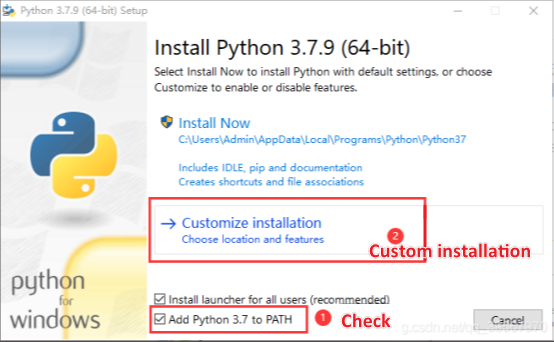
INSTALL PYTHON3
During the installation process, follow the prompts of the installer to add Python 3.7 to the system path for all users.
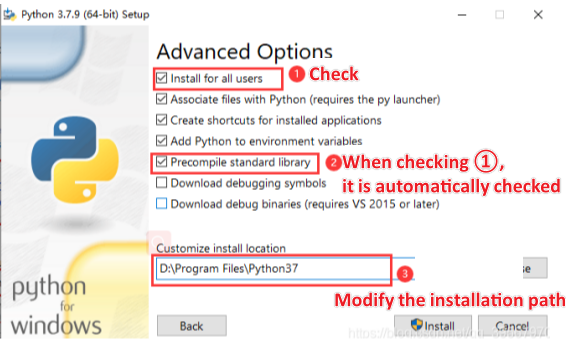
Additionally, when installing Python, select Customize installation, click Optional Features, and then select Install for all users under Advanced Features. You should also disable the maximum path length when prompted at the end of the Python installation.
Install GIT
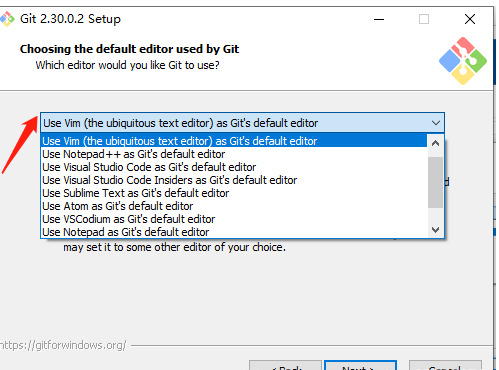
When installing Git, you should make sure to change the default editor from vim, see the image below. The default configuration is fine
Get the SDK and examples for Pico 2
The following source code can be obtained in the provided materials.
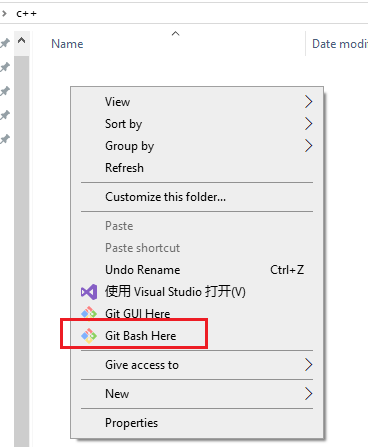
Create a folder, right-click it and select Git bash Here
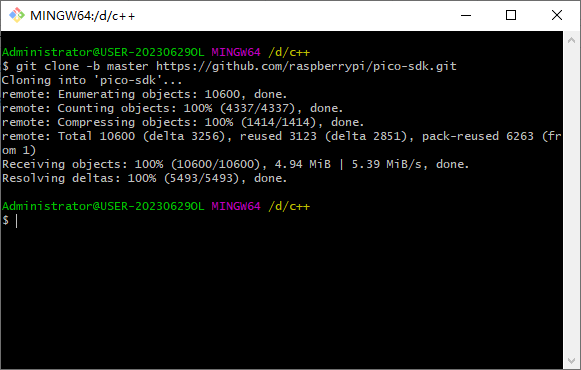
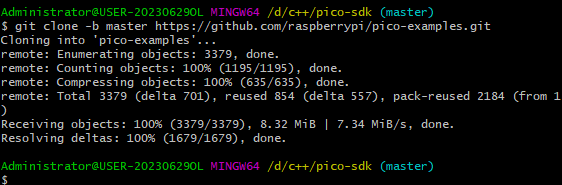
In the command box that appears, enter
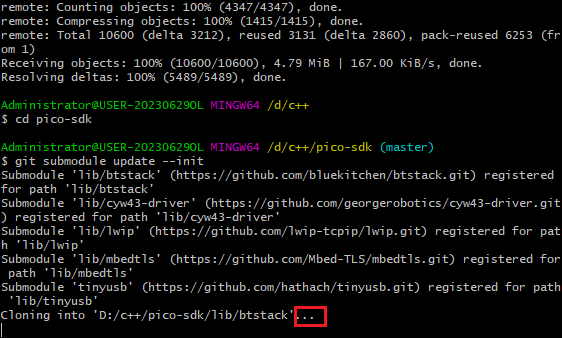
git clone -b master https://github.com/raspberrypi/pico-sdk.gitcd pico-sdkgit submodule update --initcd ..git clone -b master https://github.com/raspberrypi/pico-examples.git
Open the pico-sdk folder and proceed to the next step (this step takes a long time)
Installation routine
Extension: You can download it manually from Github. The link is as follows (this method is said to be feasible online, but it has not been verified and is only for reference)
https://github.com/raspberrypi/pico-sdk
https://github.com/raspberrypi/pico-examples
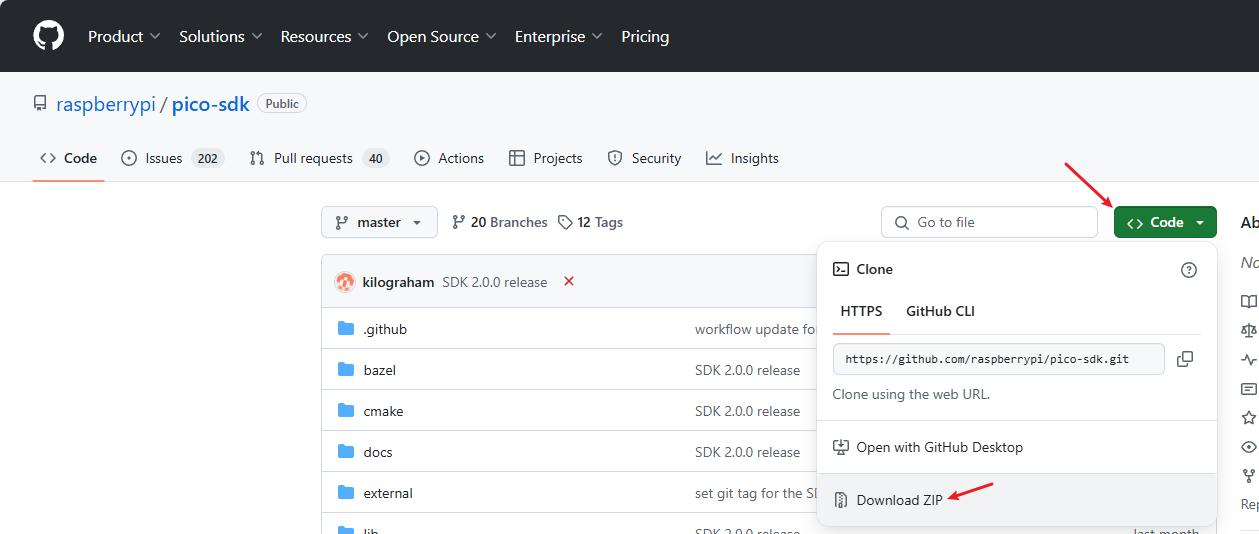
After downloading and unzipping, delete the -master after the folder name
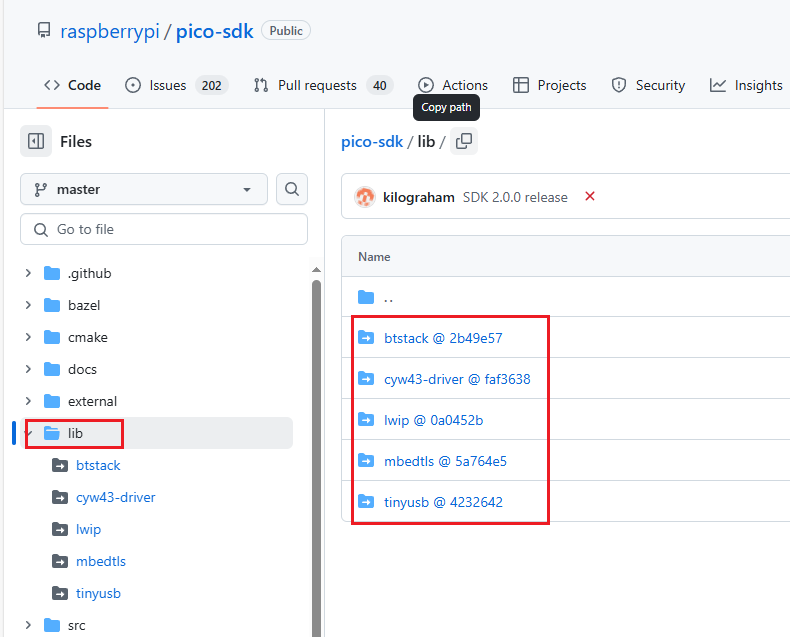
Note that the previous git submodule update The --init command clones a tinyusb file to the lib path of the SDK, so if you download it yourself, you also need to download tinyusb and put it in this path.
Raspberry Pi Pico 2 Windows Development Environment - Compile and Build Projects in Command Line
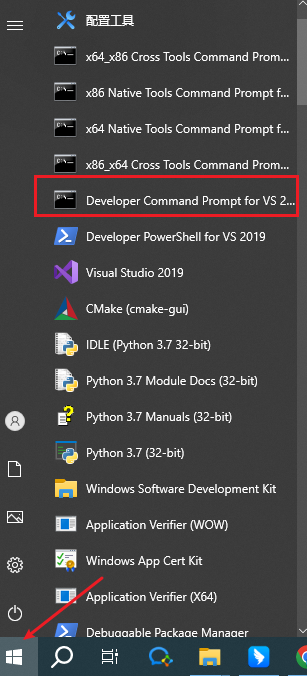
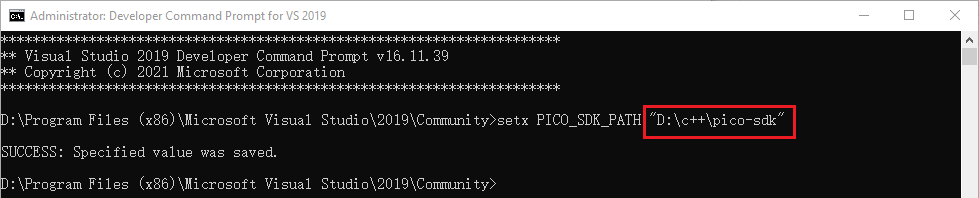
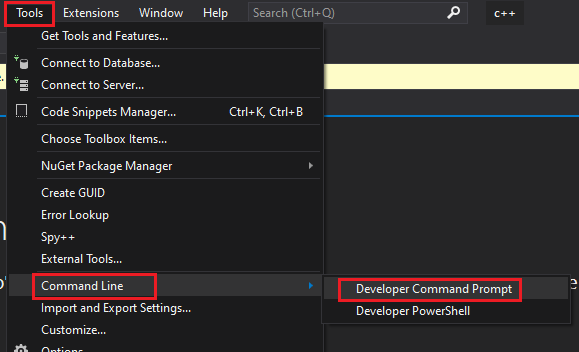
Configure SDK Path Open a Developer Command Prompt window from the Windows menu by selecting Windows > Visual Studio 2022 > Developer Command Prompt Menu.
Then set the SDK path as follows: setx PICO_SDK_PATH “…pico-sdk” Close the window after successful setting
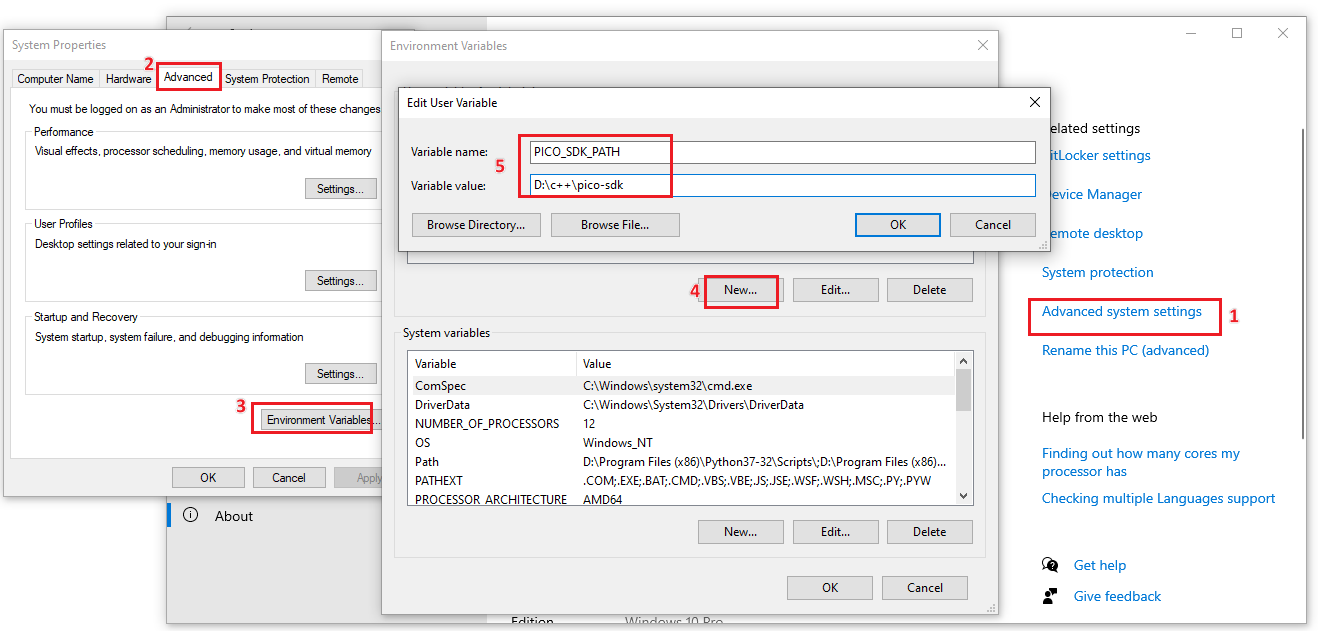
You can also set environment variables through this step
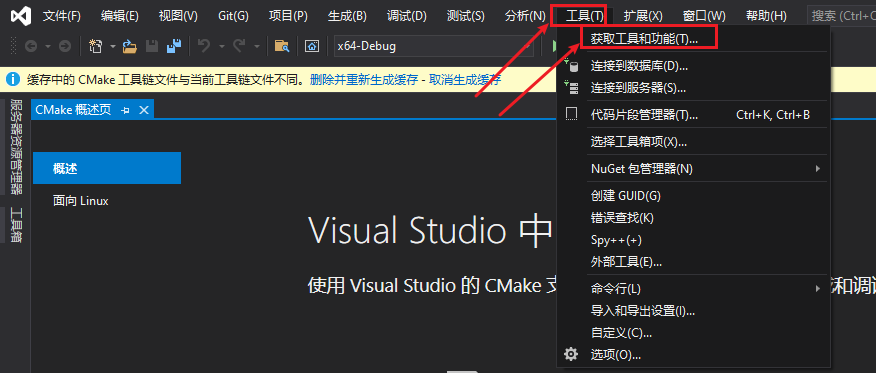
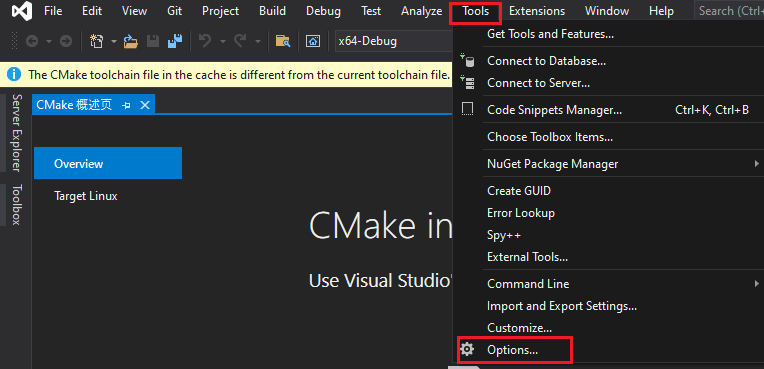
Use Visual Studio 2022 in the path where Pico SDK is saved Open

You can go to Tools(工具)->Get tools and features(获取工具和功能)->Language pack(语言包)->Select English(英语), then click Modify(修改).
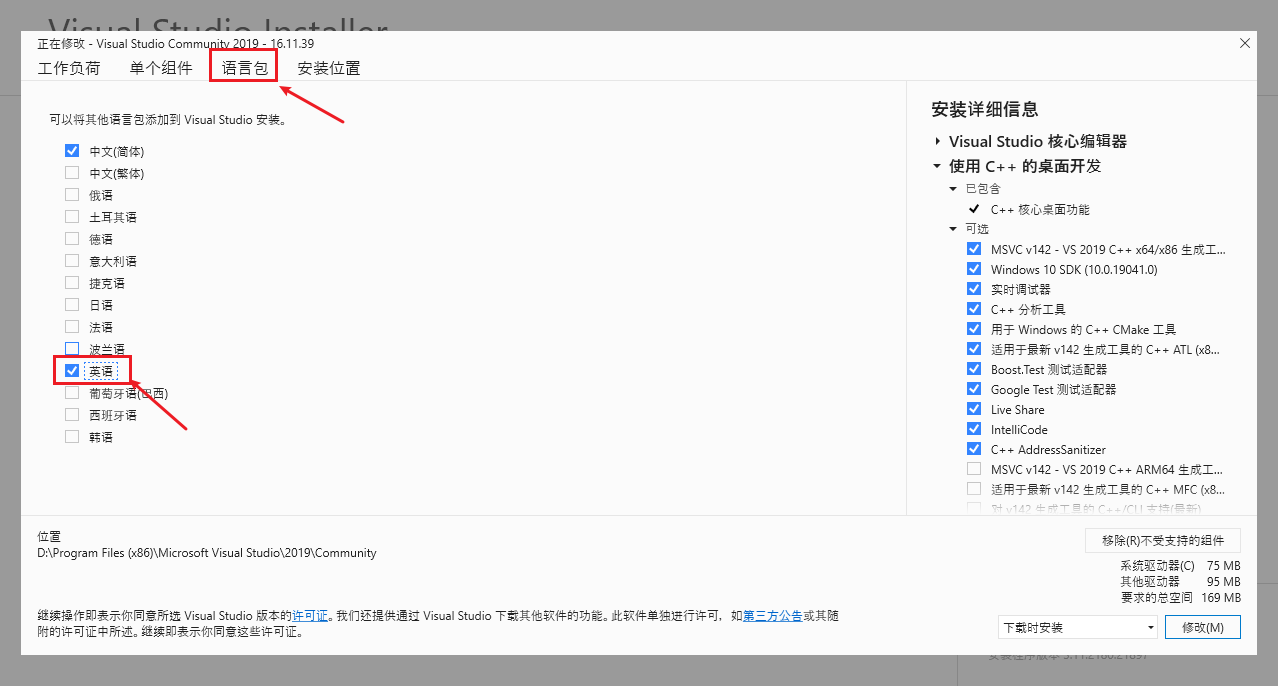
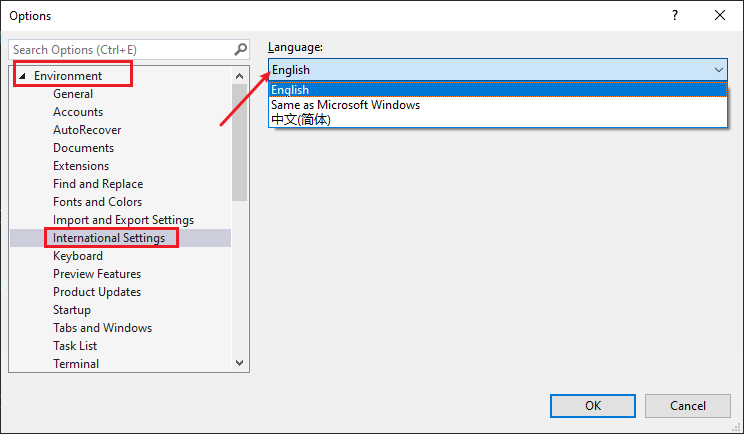
Click OK and restart the software.
Find the command line in the tool, open the developer command prompt, if the output prompts an error, ignore it first, and try the following steps to see if it works
Enter the following commands in the opened command line
xcd pico-examplesmkdir buildcd buildcmake -DPICO_BOARD=pico2 -DPICO_PLATFORM=rp2350 -G "NMake Makefiles" ..#If it shows that the SDK path cannot be found, run the following command ../pico-sdk is the actual path of your SDKcmake -DPICO_BOARD=pico2 -DPICO_PLATFORM=rp2350 -DPICO_SDK_PATH=../pico-sdk -G "NMake Makefiles" ..nmake
Wait for the compilation to complete

After the compilation is completed, find the corresponding compiled files bin elf u2f in the bulid folder. Drag the u2f in the above file into the disk recognized by Pico 2 (Note: When burning for the first time, it is an empty code. Pico 2 can directly recognize the disk when connected to USB. When there is an executable program in it, you need to press and hold the BOOTSEL button and then connect USB) After dragging in, the disk is disconnected and execution begins (the blink compiled file used here has the LED on the board flashing)