Object recognition
By calling yolov4-tiny through opencv for object recognition detection, most object names can be recognized.
1. Code path
Code path:
xxxxxxxxxx~/dofbot_ws/src/dofbot_basic_visual/scripts/06.Object_Recognition/06.Object_Recognition.ipynb
2. File configuration
First, we need to import the yolov4-tiny network model structure cfg file, network weights file, and the txt file of the classification name of the COCO dataset. (Here we directly use the yolo4 official dataset and model)
3. Target detection
3.1 Build model network structure
First, use the cv2.dnn.readNet() function to construct the CSPDarknet53 network structure, pass in the model structure cfg file, and the network weights file. Opencv provides several methods for supporting image classification, detection, and segmentation for neural network modules, automatically implementing pre-processing and post-processing of input images. Here, the target detection module cv2.dnn_DetectionModel() is used to pass in the network model.
xxxxxxxxxxself.net = cv2.dnn.readNet('yolov4-tiny.cfg', 'yolov4-tiny.weights')self.model = cv2.dnn_DetectionModel(self.net)3.2 Target detection method
xxxxxxxxxxclassids, scores, bboxes = self.model.detect(image, confThreshold, numsThreshold)Parameters:
frame: Input image
confThreshold: Confidence threshold used to filter the selection box, minimum confidence for target detection
numsThreshold: Custom threshold in non-maximum suppression
Return value:
classIds: Category index
confidences: Confidence, the probability that the detection box belongs to a certain category
boxes: Detection box information, upper left corner coordinates (x, y), box width and height (w, h)
3.3 Set model input parameters
xxxxxxxxxxself.model.setInputParams(size=(320,320), scale=1/255)size means scaling the input image to the specified size. The larger the size, the better the detection effect, but the slower the detection speed. scale means the scaling size of the pixel value.
4. Main code
Import various libraries and model files
#!/usr/bin/env python# coding: utf-8import Arm_Libimport cv2 as cvimport threadingfrom time import sleepimport ipywidgets as widgetsfrom IPython.display import displayfrom Object_recognition import Object_recognition_identifyObject recognition function
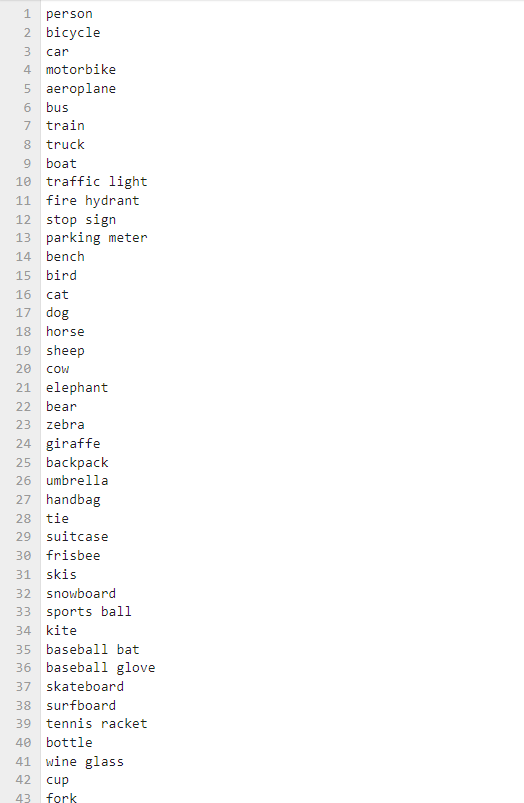
def detect_image(self, image): classids, scores, bboxes = self.model.detect(image, 0.5, 0.3) for class_id, self.score, bbox in zip(classids, scores, bboxes): self.x, self.y, self.w, self.h = bbox self.class_name = self.classes[class_id] cv2.rectangle(image, (self.x,self.y), (self.x+self.w,self.y+self.h), (255,255,0), 2) cv2.putText(image, self.class_name, (self.x,self.y+self.h+20), cv2.FONT_HERSHEY_COMPLEX, 1, (0,255,0), 2) cv2.putText(image, str(int(self.score*100))+'%', (self.x,self.y-5), cv2.FONT_HERSHEY_COMPLEX, 1, (0,255,255), 2) return imageObject name list:
Main thread
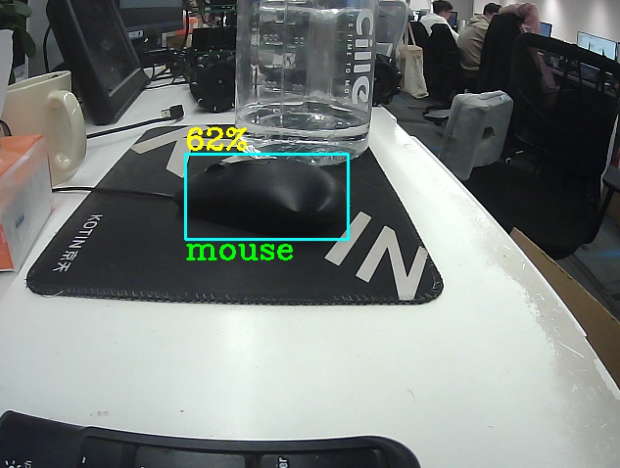
xxxxxxxxxxdef camera(): # 打开摄像头 Open camera capture = cv.VideoCapture(0) # Loop execution when the camera is opened normally while capture.isOpened(): try: _, img = capture.read() img = cv.resize(img, (640, 480)) img = ob_re.detect_image(img) if model == 'Exit': cv.destroyAllWindows() capture.release() break imgbox.value = cv.imencode('.jpg', img)[1].tobytes() except KeyboardInterrupt:capture.release()Program Click the Run Entire Program button on the Jupyterlab toolbar, then scroll to the bottom to see the camera component display.

At this time, put the recognizable object into the camera screen, and the object name can be framed and displayed.

If you need to exit the program, please click the [Exit] button.