Installation of Jupyter lab and Jetcham
Pre-use instructions
This tutorial is for self-built images. If you use the YAHBOOM version of the image, this part has been installed and can be ignored
Introduction to JupyterLab
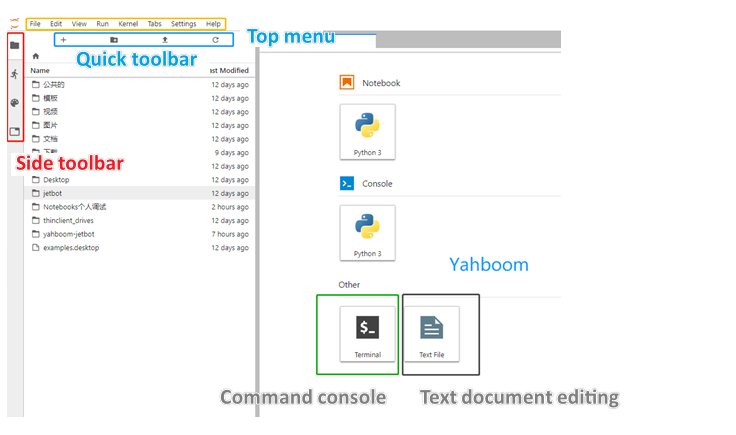
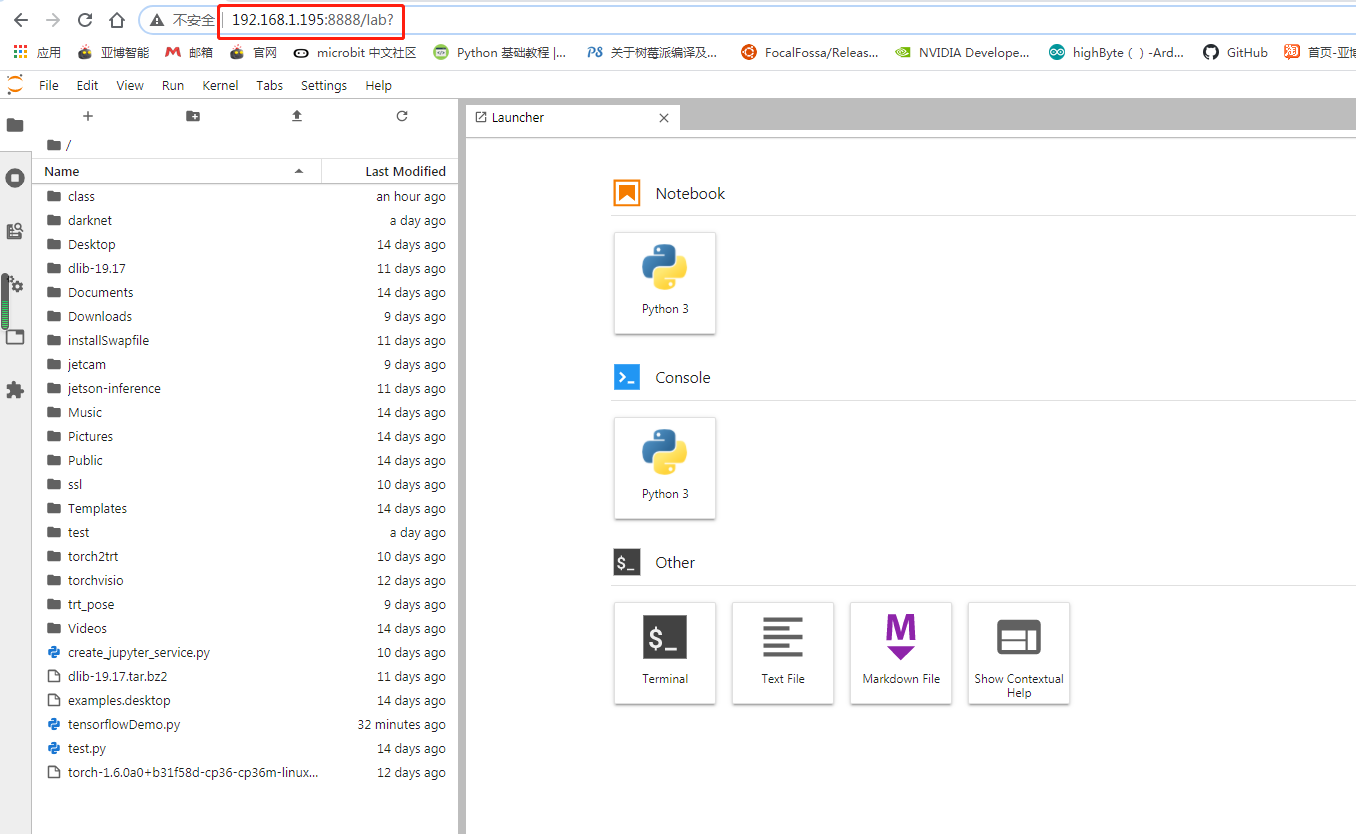
The JupyterLab interface is a dashboard that provides access to interactive iPython notebooks, as well as the folder structure of Jetbot and a terminal window into the Ubuntu operating system. The first view you will see includes the menu bar at the top, the directory tree in the left sidebar, and the main workspace that initially opens to the "launcher" page.
For complete details on all functions and menu operations, see the JupyterLab interface:
https://jupyterlab.readthedocs.io/en/stable/user/interface.html
Document. Here are some key features that will be particularly useful in this course:
- File Browser:
The file browser in the left sidebar allows navigation of the Jetson Nano file structure. Double-clicking a notebook or file opens it in the main workspace.
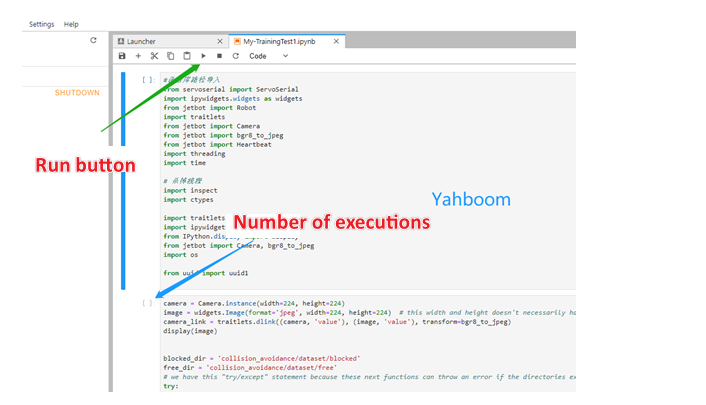
- iPython Notebooks:
The interactive notebooks used in this course have a ".ipynb" file extension. When you double-click a notebook from the file browser, it will open in the main workspace and its process will begin. Notebooks consist of text and code "cells". When a code cell is "run", either by clicking the Run button at the top of the notebook or the keyboard shortcut [CTRL] +[ENTER], the code block in the cell is executed and the output (if any) is displayed below the notebook. To the left of each executable cell, there is an "execution count" or "prompt number" in parentheses. If a cell takes more than a few seconds to run, you will see an asterisk mark there, indicating that the cell has not yet finished executing. When processing of that cell is completed, a number will be displayed in parentheses.
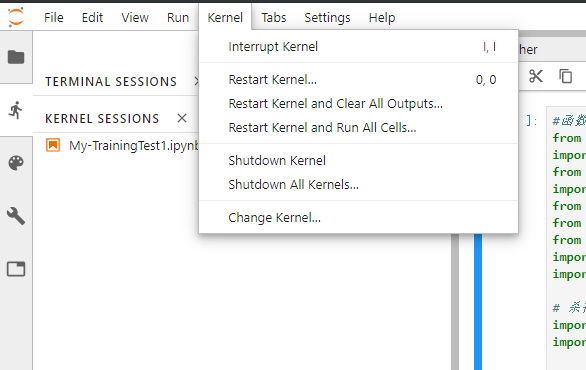
- Kernel Operations:
The kernel of each running notebook is an independent process that runs user code. Kernels are automatically started when you open a notebook from the file browser. The kernel menu on the main menu bar contains commands to close or restart kernels, which you will need to use periodically. After the kernel is closed, no code cells can be executed. When you restart the kernel, all memory is lost due to imported packages, variable assignments, etc.
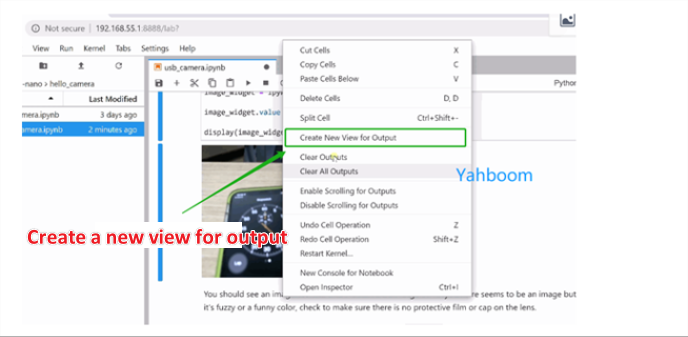
Cell Tabs:
You can move any cell to a new window tab in the main workspace by right-clicking the cell and selecting "Create New View for Output". This allows you to continue scrolling down the JupyterLab notebook while still watching a specific cell. This is particularly useful in cells that contain camera views!
- Terminal Window:
You can work directly in the terminal window of JetbotUbuntu OS through Jupyter Remote Login. From the Launcher page, click the Terminal icon under "Other". To bring up the Launcher page, if it is no longer visible, click the "+" icon at the top of the left sidebar.
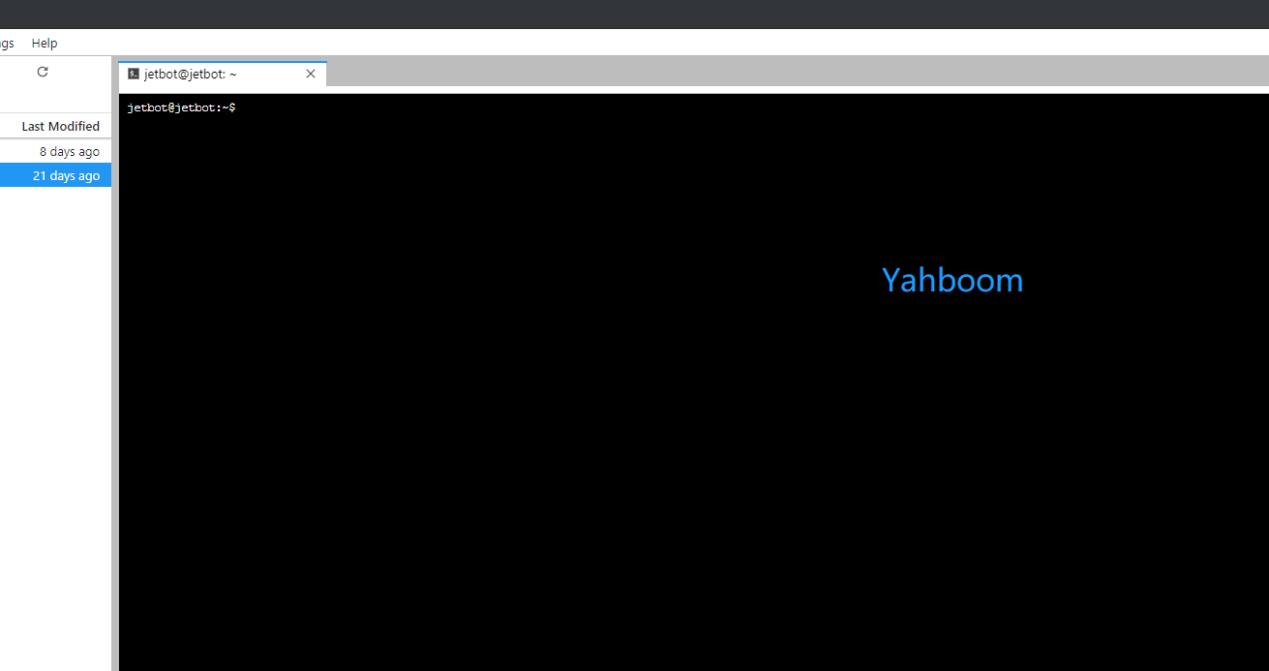
To log in to JupyterLab, enter IP:8888 in the browser web input terminal
After a brief introduction, let's install it quickly (the configured image does not need to be installed. Jupyterlab has been started after booting. You can directly log in to the web page according to the IP and password. The password is yahboom)
Install nodejs and npm
xsudo apt-get updatesudo apt install nodejs npm
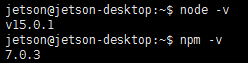
However, the version installed directly using the above command is relatively low. If you want to install the jupyterlab plug-in later, you may get an error. You can check the version. At least the 12.3.0 version of node
xxxxxxxxxxnode -vnpm -v
Install the n module, use this module to update or specify the version of node to install
xxxxxxxxxxnpm install -g n
First explain the function of this module, the following command to understand first, no need to operate
Clear npm cache: npm cache clean -f
Install n module: npm install -g n
Install the official stable version: n stable
Install the latest official version: n latest
Install a specified version: n 11.6.0
View the installed node version: n
View the current node version: node -v
Delete the specified version: n rm 7.5.0
Okay, after understanding the function of the n module, install the corresponding version of node, or install the latest version, such as the following,
xxxxxxxxxxsudo n latest
After installation, node -v Check the version. If the version has not changed, you can try to restart it. If it still has not changed, execute
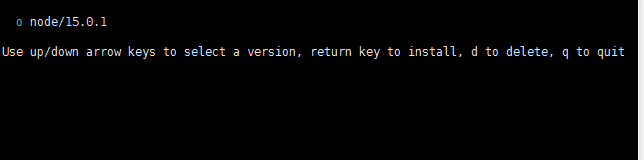
xxxxxxxxxxsudo n
A screen will appear, where you can see the name of the node version we installed. For example, here is v15.0.1. Use the up and down arrow keys to control the cursor to select this version, then press Enter to install the image, and then check the version. If it still does not change, generally restart it.
Install jupyterlab: (ignore warnings, and execute multiple times if failed)
sudo pip3 install jupyter jupyterlab
sudo jupyter labextension install @jupyter-widgets/jupyterlab-manager
sudo jupyter labextension install @jupyterlab/statusbar
Generate the corresponding configuration file: (If a file reports a permission problem, you can try to grant permissions with sudo chmod 777)
xxxxxxxxxxjupyter lab --generate-config
Set the password to enter the notebook (you will need to set it twice here, the second time is to confirm the password you entered):
xxxxxxxxxxjupyter notebook password
When you log in to use the notebook for the first time, you need to enter the password you set here to enter. Please remember the current password!
Install jetcam
JetCam is an easy-to-use Python camera interface for the NVIDIA Jetson. Use the Accelerated GStreamer plugin for Jetson to work with a variety of USB and CSI cameras. Easily read an image as a numpy array image = camera.read(). Set the camera to running = True to attach a callback to a new frame. JetCam makes it easy to prototype AI projects in Python, especially in the Jupyter Lab programming environment installed in JetCard.
Next, start the installation:
xxxxxxxxxxgit clone https://github.com/NVIDIA-AI-IOT/jetcamcd jetcamsudo python3 setup.py install
Detailed usage and functions can be viewed at https://github.com/NVIDIA-AI-IOT/jetcam