9.3 Orin series write system
The SSD in the robot kit has been written with the system image file of the robot. Unless there are special circumstances, there is no need to follow this tutorial to write the image.
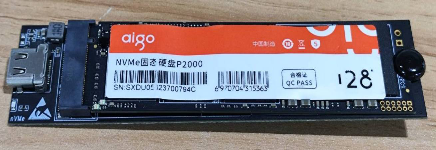
If you need to write the image system, you need to prepare an additional M.2 SSD Enclosure. This tutorial uses a 128G SSD as a demonstration. The actual SSD model and capacity shall be subject to the actual SSD received.
Step
Remove the nvme (solid state drive) from the jetson Orin Nano or jetson Orin NX.

Insert the SSD into the M.2 SSD Enclosure.
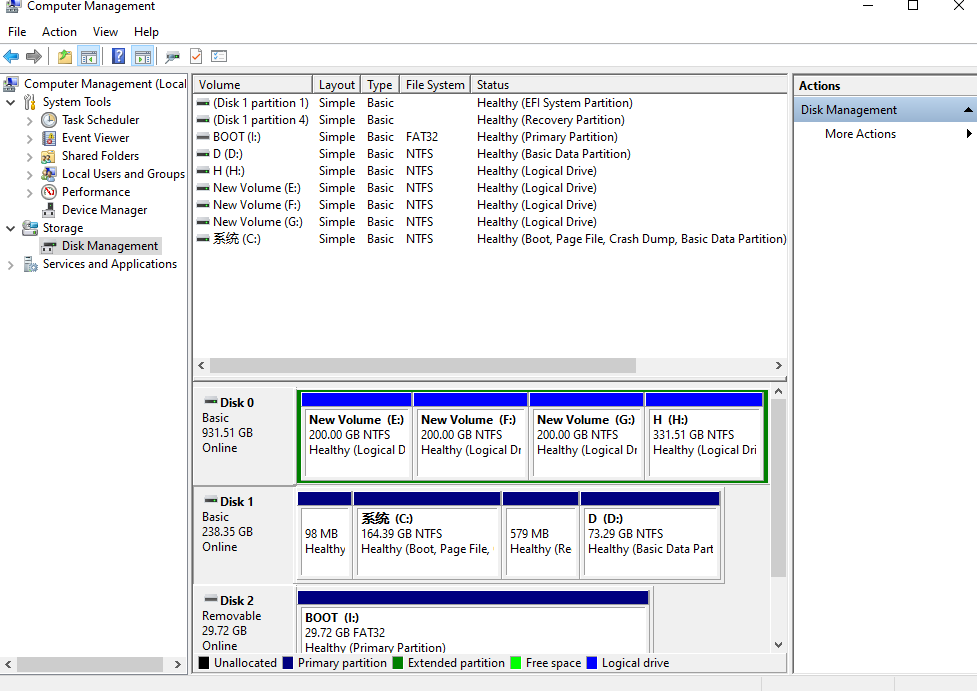
Connect the M.2 SSD Enclosure to the computer via USB. If there is nothing in nvme, you can skip formatting and go directly to step 5. If there is something in nvme, please format it first, use DiskGenius.exe to format the nvme system, or use the disk management tool in the computer to format it.
Note: You must select the correct drive letter for nvme
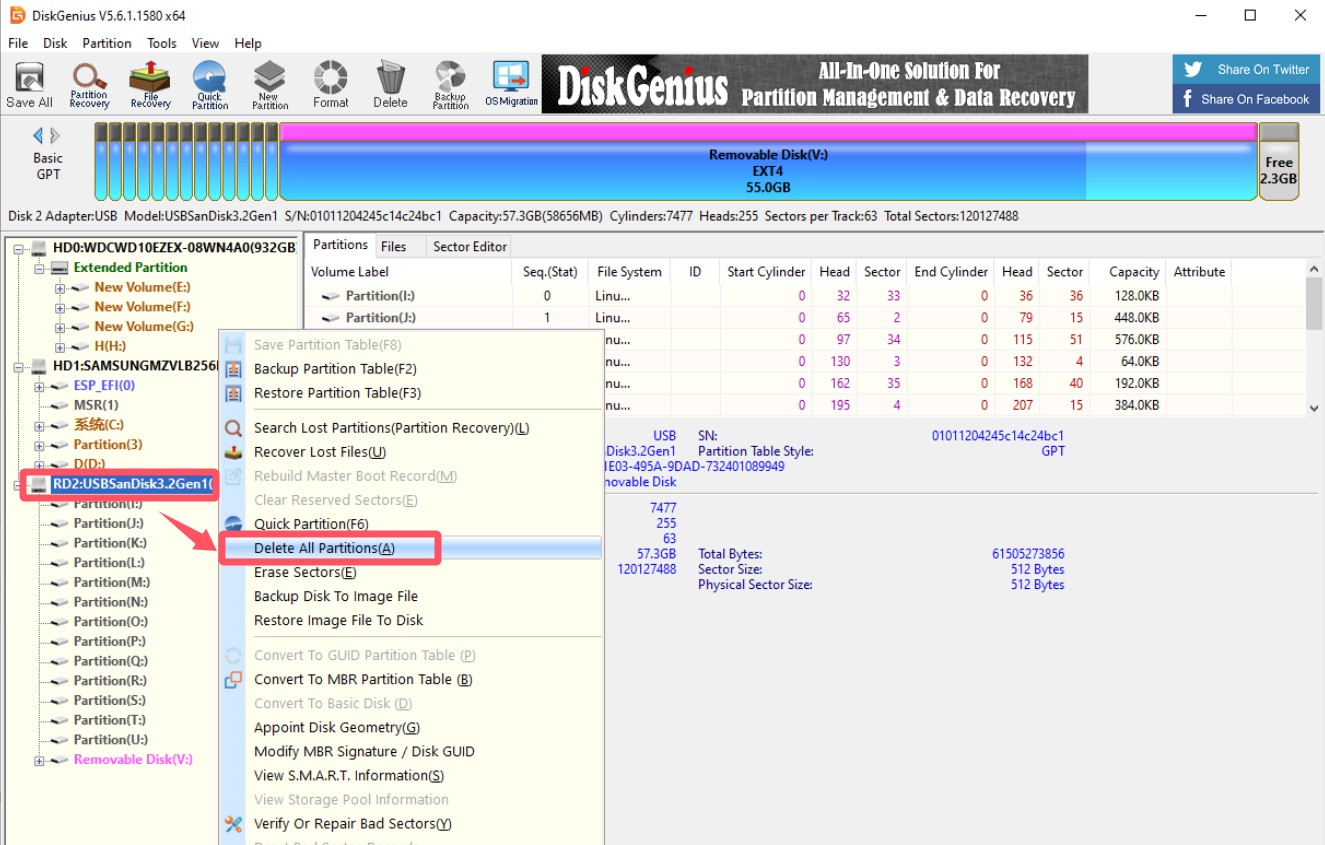
Use DiskGenius tool.

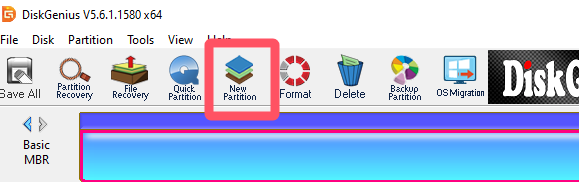
Use DiskGenius.exe to delete all redundant partitions on nvme.
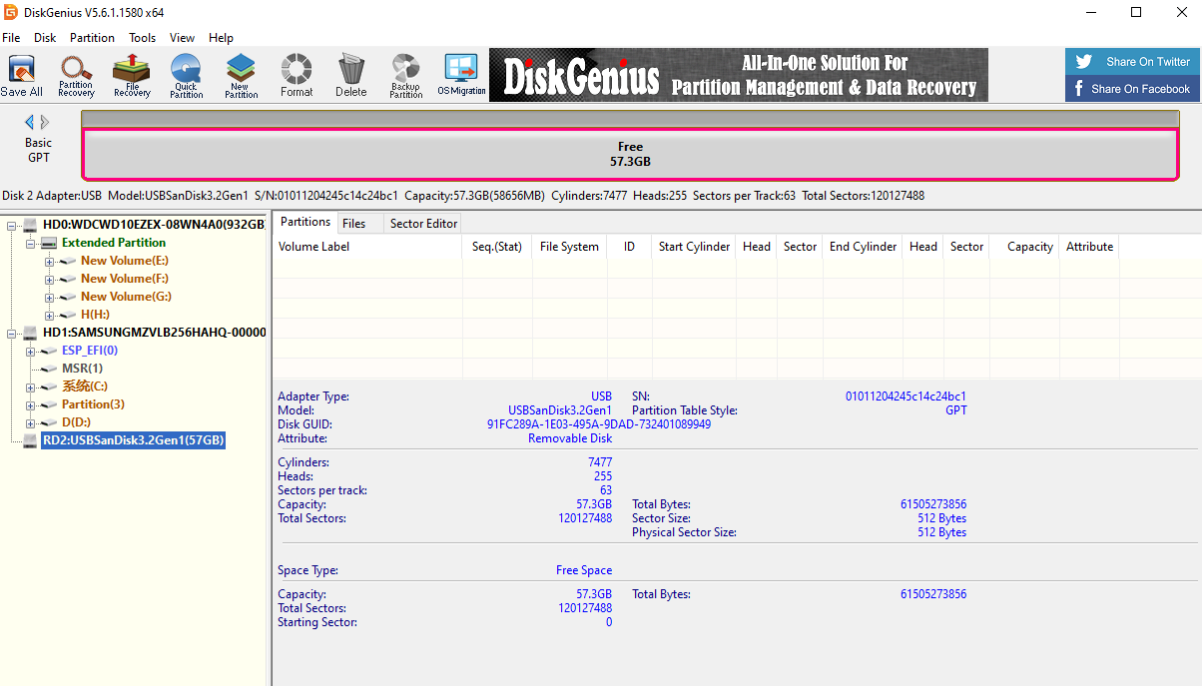
After successful deletion, you can see the solid state memory space.
If the SSD is formatted but not partitioned, the burning tool cannot read the drive letter, so you need to use the partition tool to partition it. Create a new partition so that the computer can correctly identify it.
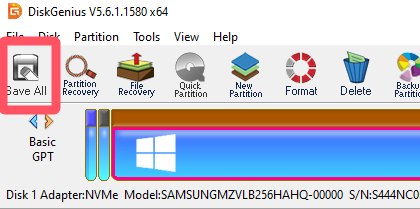
If there is a message pop-up, just click OK, and then click Save Changes, as shown below.
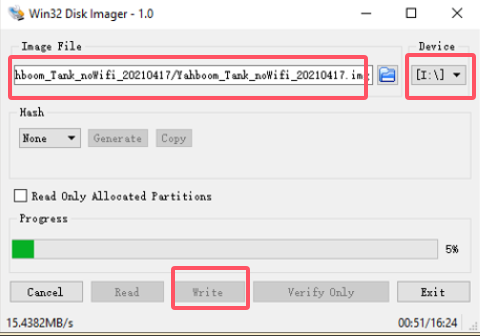
Open the Win32DiskImager tool.

It has been partitioned, select the image, select the drive letter, and click write, as shown in the figure.
Wait for the image to be written, insert nvme back into the jetson orin Nano or jetson orin NX, and it will boot successfully after powering on for a while.