Getting Started with OpenCV
Getting Started with OpenCV1.1, Image reading and saving1.2, Camera reading and display1.3、Pixel reading and modification
Before running the sample program, you need to switch to the directory where the code is located. After SSH connects to the car, run in the terminal,
xxxxxxxxxxcd /home/sunrise/yahboomcar_ws/src/yahboomcar_astra/opencv_examples1.1, Image reading and saving
After the car terminal switches to the directory where the code is located, run the program,
xxxxxxxxxxpython3 1_1.py
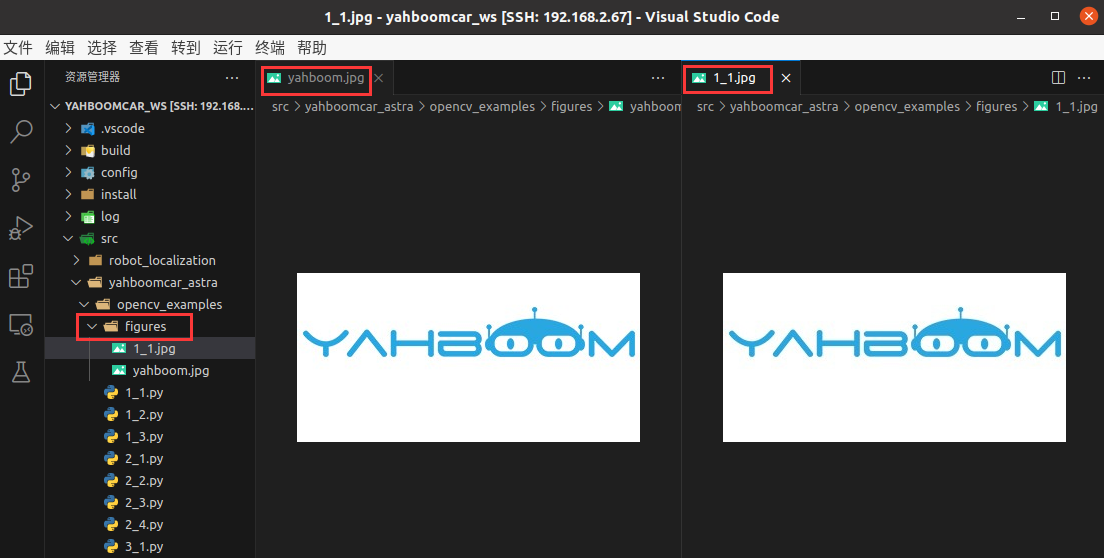
ximport cv2if __name__ == '__main__':img = cv2.imread('figures/yahboom.jpg')cv2.imwrite("figures/1_1.jpg",img)
'''Image reading: cv2.imread(filepath,flags)filepath: the full path to read the imageflags: how to read the imagecv2.IMREAD_UNCHANGED: keep the original format unchanged, can be represented by -1;cv2.IMREAD_GRAYSCALE: reads in a grayscale image, which can be represented by 0;cv2.IMREAD_COLOR: reads in a color image, which can be represented by 1;cv2.IMREAD_UNCHANGED: reads in an image including its alpha channel, which can be represented by 2.Image saving: cv2.imwrite(filepath, img)filepath: the full path of the saved imageimg: the image to be saved'''After the program is run, it will read the figures/yahboom.jpg image and save the read image as figures/1_1.jpg.
In VSCode, SSH to the car and enter the path,
xxxxxxxxxx/home/sunrise/yahboomcar_ws/src/yahboomcar_astra/opencv_examples/figuresYou can view the read image yahboom.jpg and the saved image 1_1.jpg:
[Note] There is also an important function cv.imshow() in opencv for image display. Since the car system does not have a graphical interface and cannot use this function for display, it will not be introduced here and will not be used later.
1.2, Camera reading and display
Note: This step is applicable to the car equipped with a depth camera.
After switching to the directory where the code is located in the car terminal, run the program,
xxxxxxxxxxpython3 1_2.py
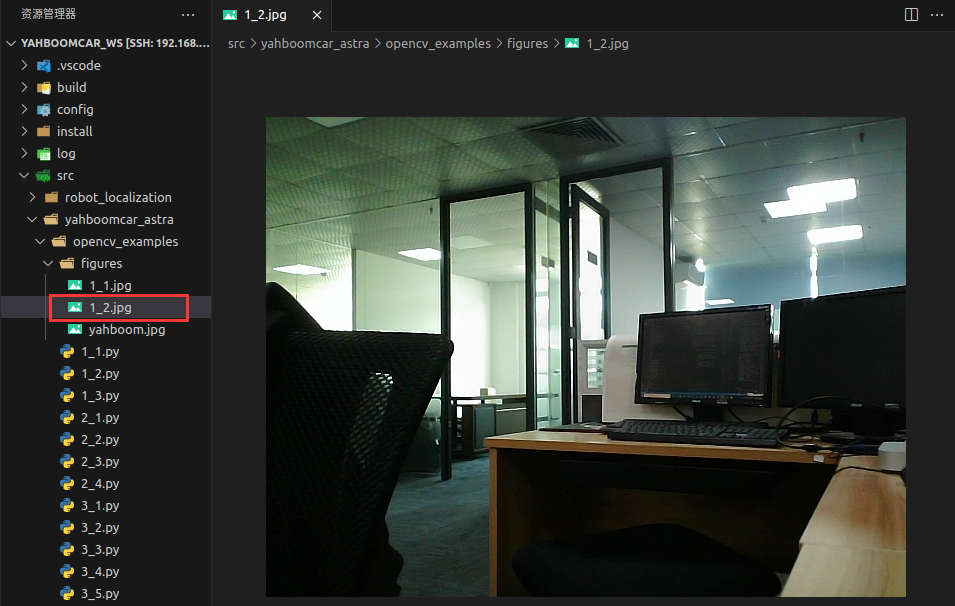
xxxxxxxxxximport cv2if __name__ == '__main__':frame = cv2.VideoCapture(8)if frame.isOpened():ret,img = frame.read()cv2.imwrite('figures/1_2.jpg',img)frame.release()
'''Open the camera: cv2.VideoCapture(args["videoPath"])The parameter here is 8, representing the Astra camera;If the parameter is a video file path, open the video, such as cv2.VideoCapture("../test.avi")Read image data: ret,img = frame.read()ret: a bool value to determine whether the correct frame is read backimg: image data of this frame'''
After running, this program will read a frame of camera image data and save the read frame to figures/1_2.jpg.
1.3、Pixel reading and modification
After switching to the directory where the code is located in the car terminal, run the program,
xxxxxxxxxxpython3 1_3.py
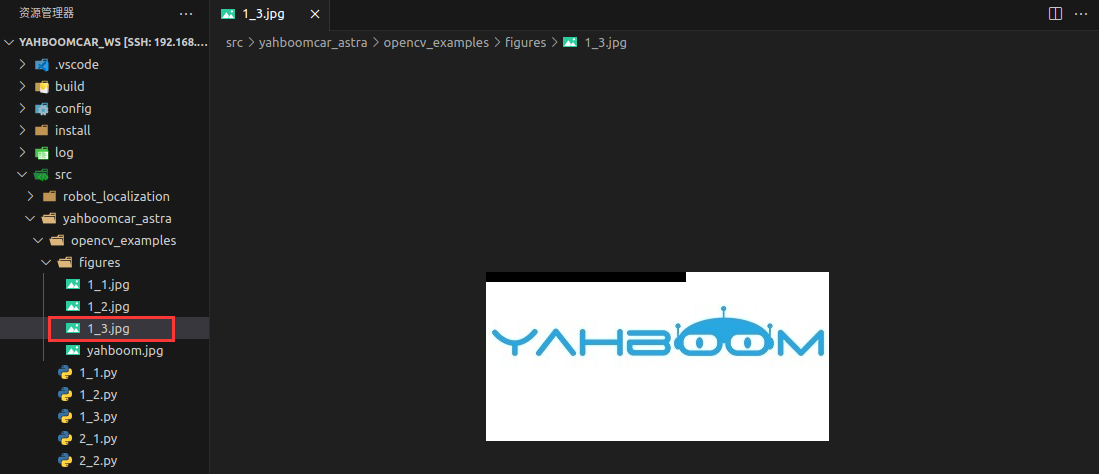
xxxxxxxxxximport cv2if __name__ == '__main__':img = cv2.imread('figures/yahboom.jpg')(b,g,r) = img[100,100] # Read pixel valueprint(b,g,r)for i in range(0,10):for j in range(0,200):img[i,j] = (0,0,0) # Modify pixel valuecv2.imwrite("figures/1_3.jpg",img)The terminal outputs the coordinates (100, 100) position,

And the pixels in the upper left corner of the saved image are changed to black: