yolov5 environment setup
1 What is YOLO?
YOLO is the acronym for 'You only look once' and is an algorithm for object detection that divides an image into a grid system. Each cell in the grid is responsible for detecting objects or objects whose physical center point falls within the network itself. YOLO is one of the most famous object detection algorithms due to its speed and accuracy.
2. What is YOLO V5
YOLO V5 is an open source version of YOLO by Ultralytics and is completely implemented based on PyTorch, which has brought good news to a large number of AI personnel. While we are still amazed by the various operations and rich experimental comparisons of YOLOv4, YOLOv5 has brought stronger, real-time and more accurate target detection technology.
Faster and more real-time According to the official numbers, the current version of YOLOv5 has a fastest inference time of 0.007 seconds per image, that is, 140 frames per second (FPS). On the CPU, the inference time per image is as fast as 7ms, which means 140 frames per second (FPS)! Far greater than the human eye's requirement of 20 frames. In contrast, YOLOv4 can only reach 50 frames under the same conditions. On the GPU, the FPS is higher, up to 400.
Smaller (less memory) The weight file size of YOLOv5 is only 1/9 of that of YOLOv4.
Shorter training time YOLOv5 under a single V-100 GPU
This chapter is suitable for self-build of the official image of Raspberry Pi 5B. If you are using the YAHBOOM version of the image, this tutorial can be ignored.
Required hardware: one Raspberry Pi 5B The hardware is the Raspberry Pi 5B 4G version, and the python version is 3.11
Install PyTorch
Official download link: https://download.pytorch.org/whl/torch_stable.html
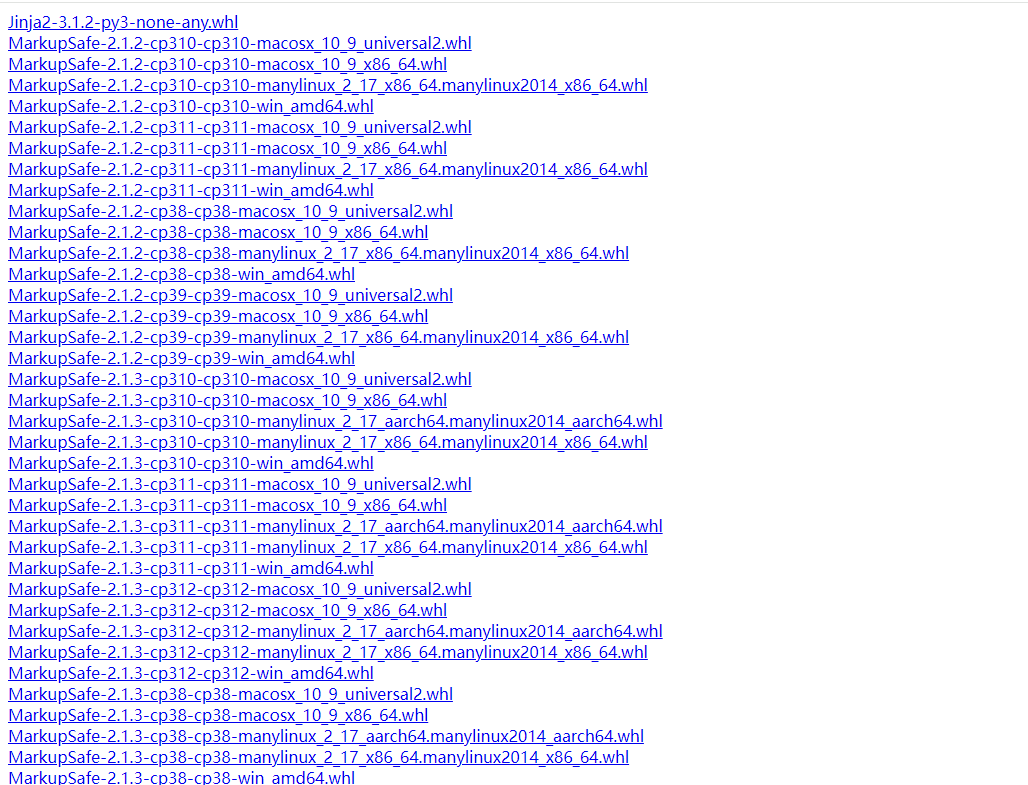
If you download it yourself, you need to find the corresponding torch and torchvision versions.
This experiment downloads torch-2.1.2-cp311-cp311-manylinux_2_17_aarch64.manylinux2014_aarch64.whl and torchvision-0.16.2-cp311-cp311-linux_aarch64.whl
The above two files can be obtained from the attachment and transferred to the Raspberry Pi via winSCP
Installation command:
xxxxxxxxxxpip3 install torch-2.1.2-cp311-cp311-manylinux_2_17_aarch64.manylinux2014_aarch64.whlpip3 install torchvision-0.16.2-cp311-cp311-linux_aarch64.whl
After the installation is complete, update numpy
xxxxxxxxxxsudo pip3 install numpy --upgrade --ignore-installed
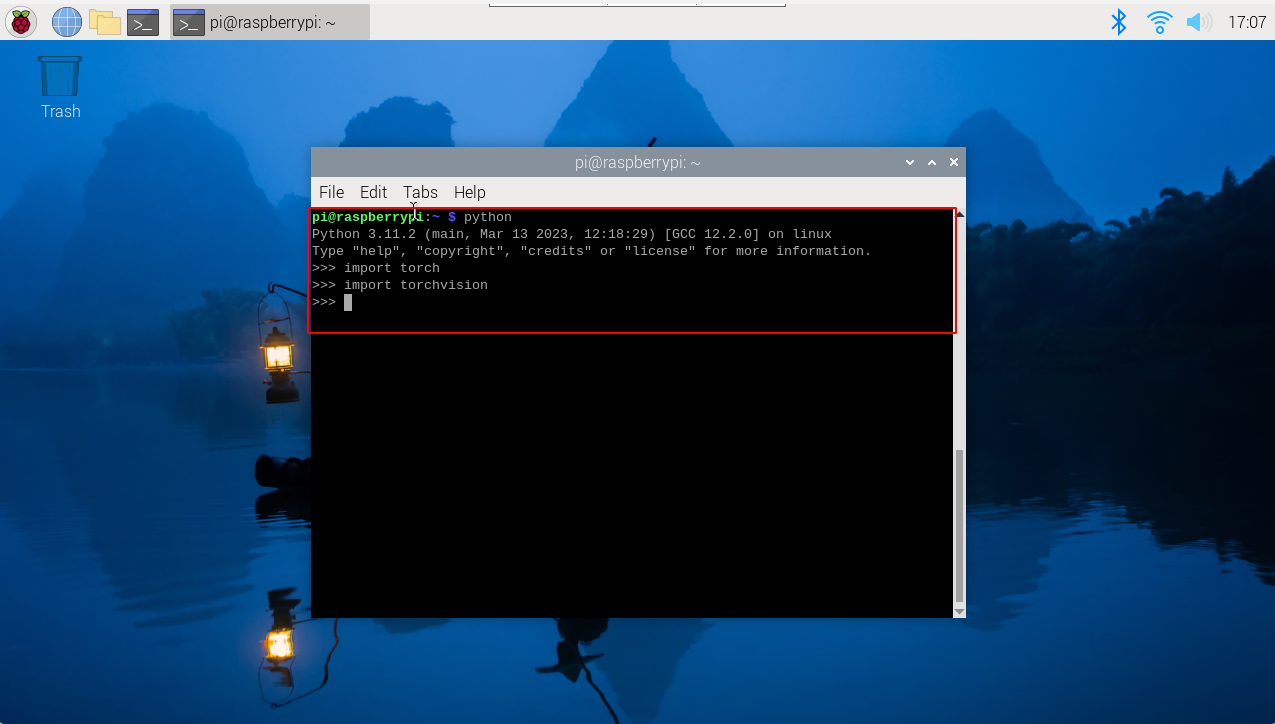
Verify whether the installation is successful
If there is no error message when running as shown below, it means the installation is successful
Download the source code of yolov5
Get it from the attachment and upload it to the Raspberry Pi via winscp
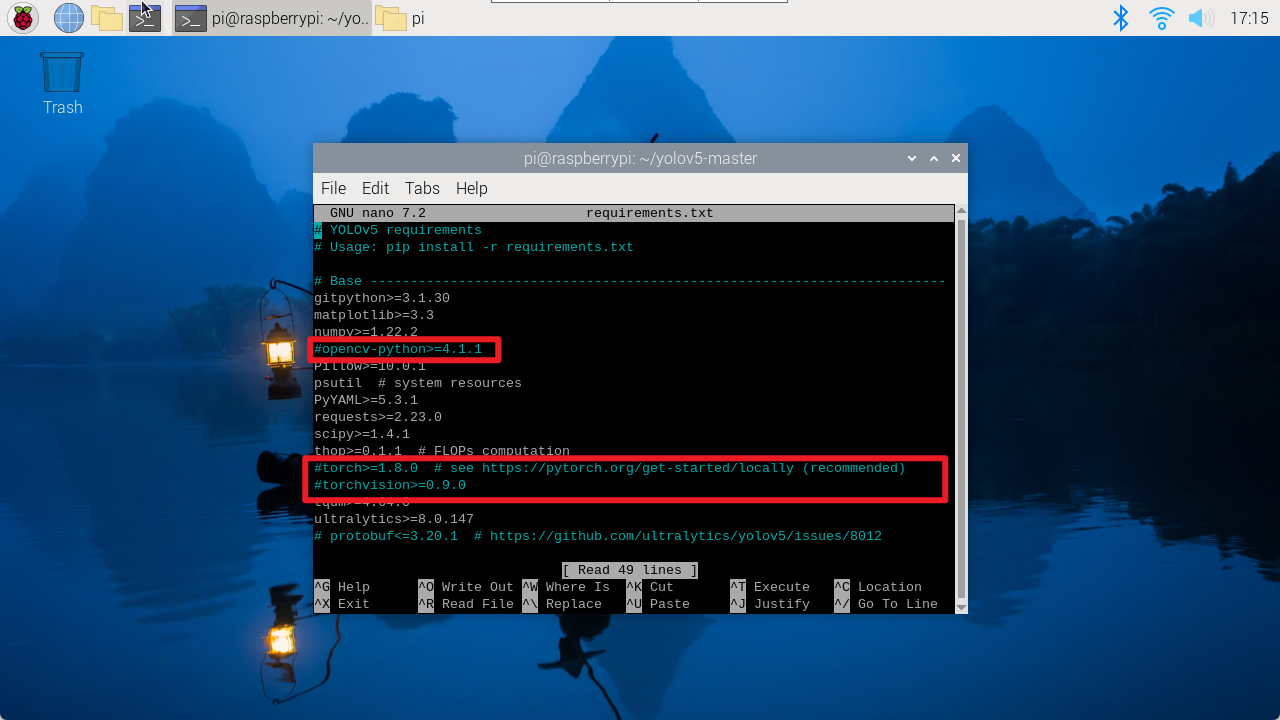
Install the yolov5 environment to run the program
xxxxxxxxxxcd /home/pi/yolov5-CSI/sudo nano requirements.txt
Comment out the lines corresponding to torch, opencv and torchvison in the file, then save and exit the file.
Download the installation package
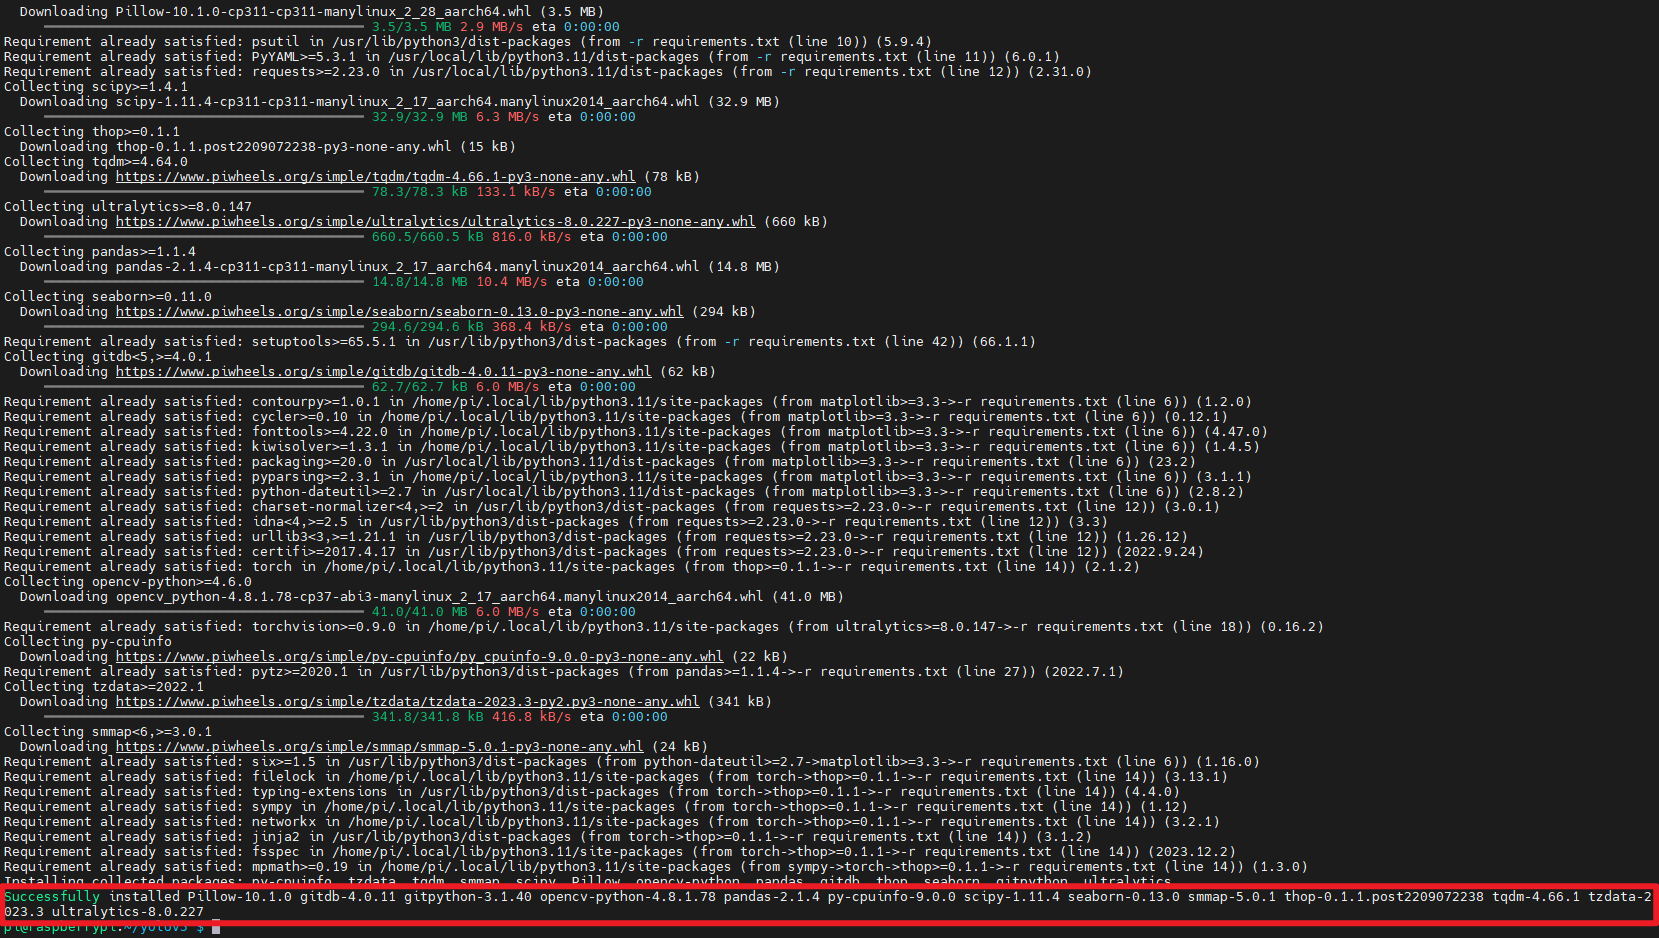
xxxxxxxxxxpip3 install requirements.txt
The following figure shows that the installation is successful
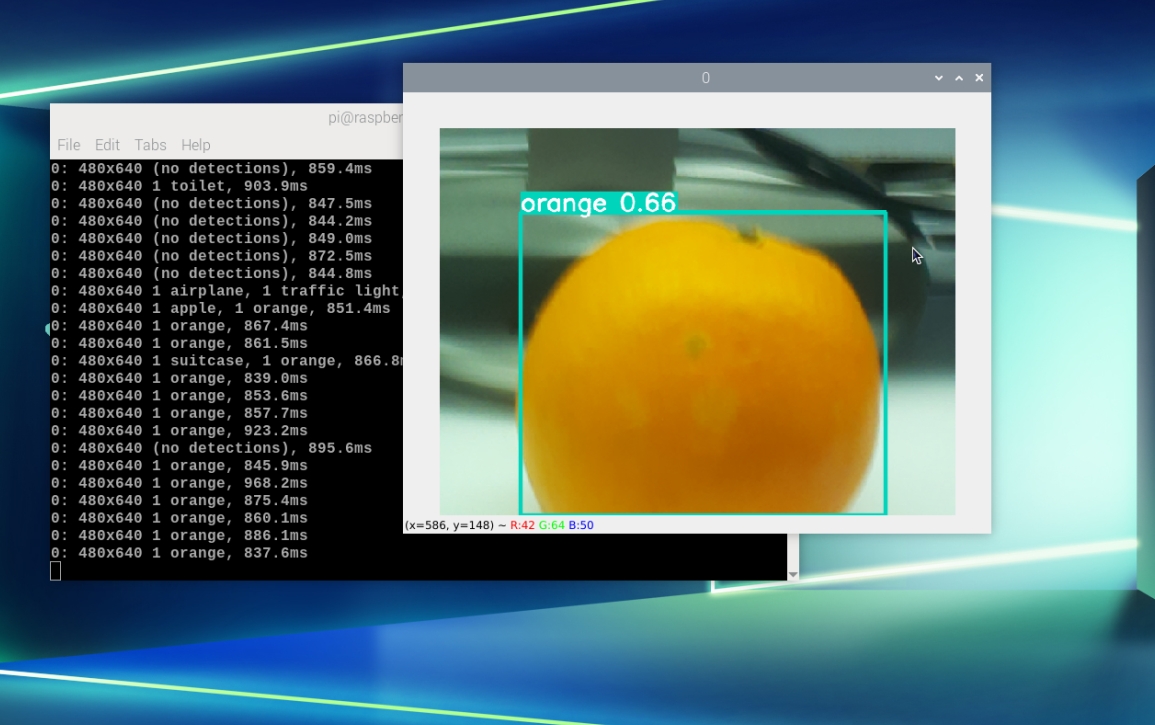
Use camera detection
Note: In this case, the AI camera does not have a computing power bonus, and it is called as a normal camera!
xxxxxxxxxxcd /home/pi/yolov5-CSI/python3 detect.py --source 0