Robotic arm target detection yolov8 model training
1. Collection of training data
Connect to the vehicle's control panel via vnc and enter the command in the terminal:
rosrun yahboom_mycobo_320_apriltag yolov8_web_api_inference.py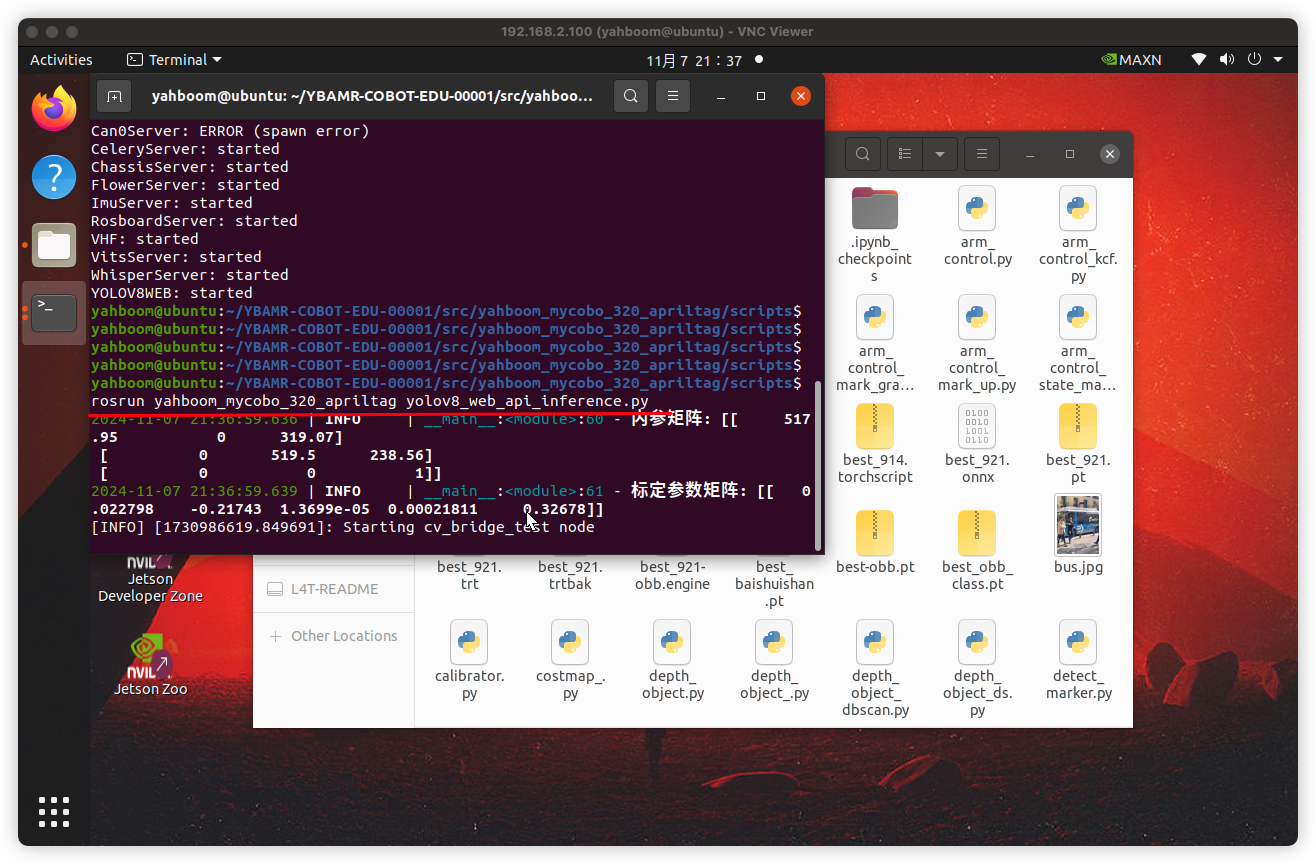
Reopen a terminal and enter the command in the terminal:
xxxxxxxxxxrosrun yahboom_mycobo_320_apriltag key_change.py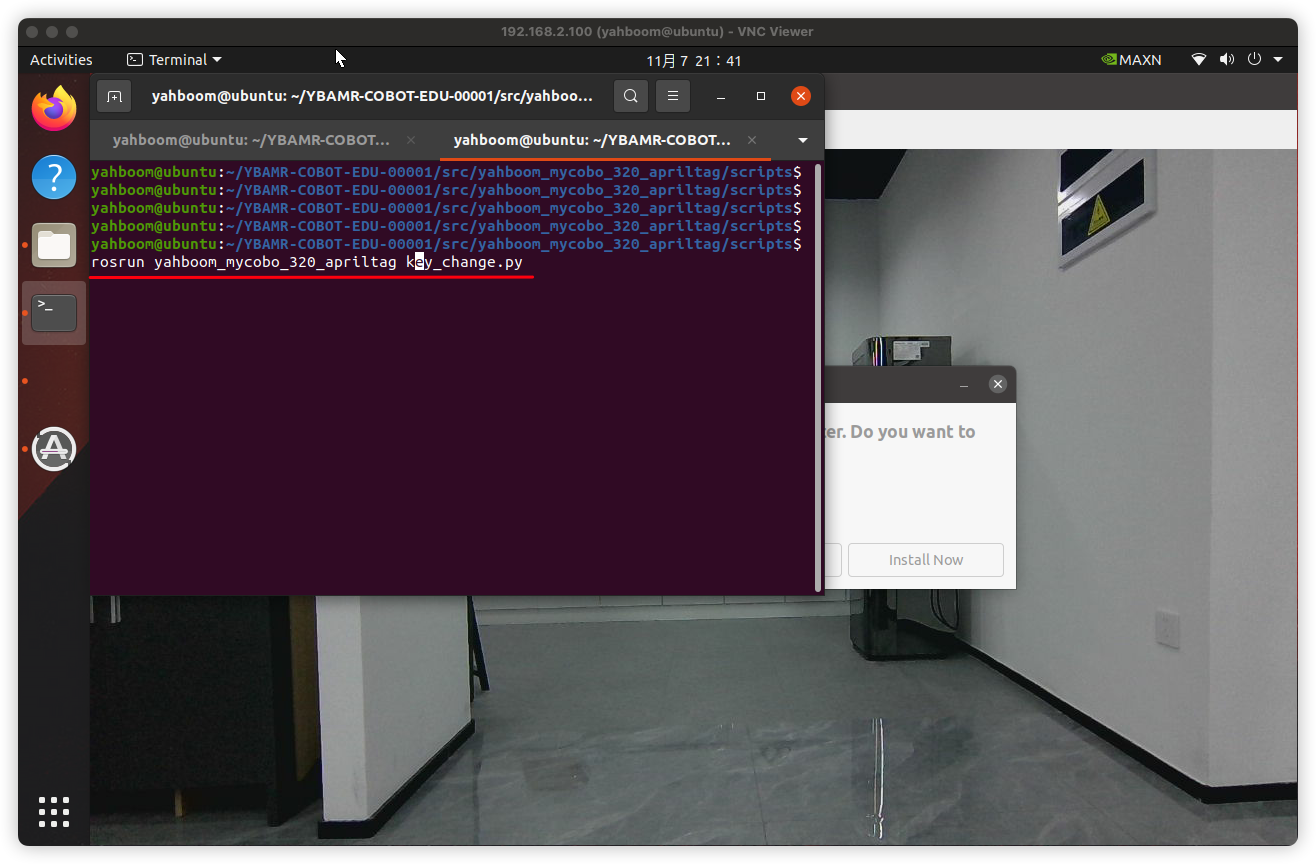
Place the object you want to capture in front of the camera, and then press the s key to save the image.
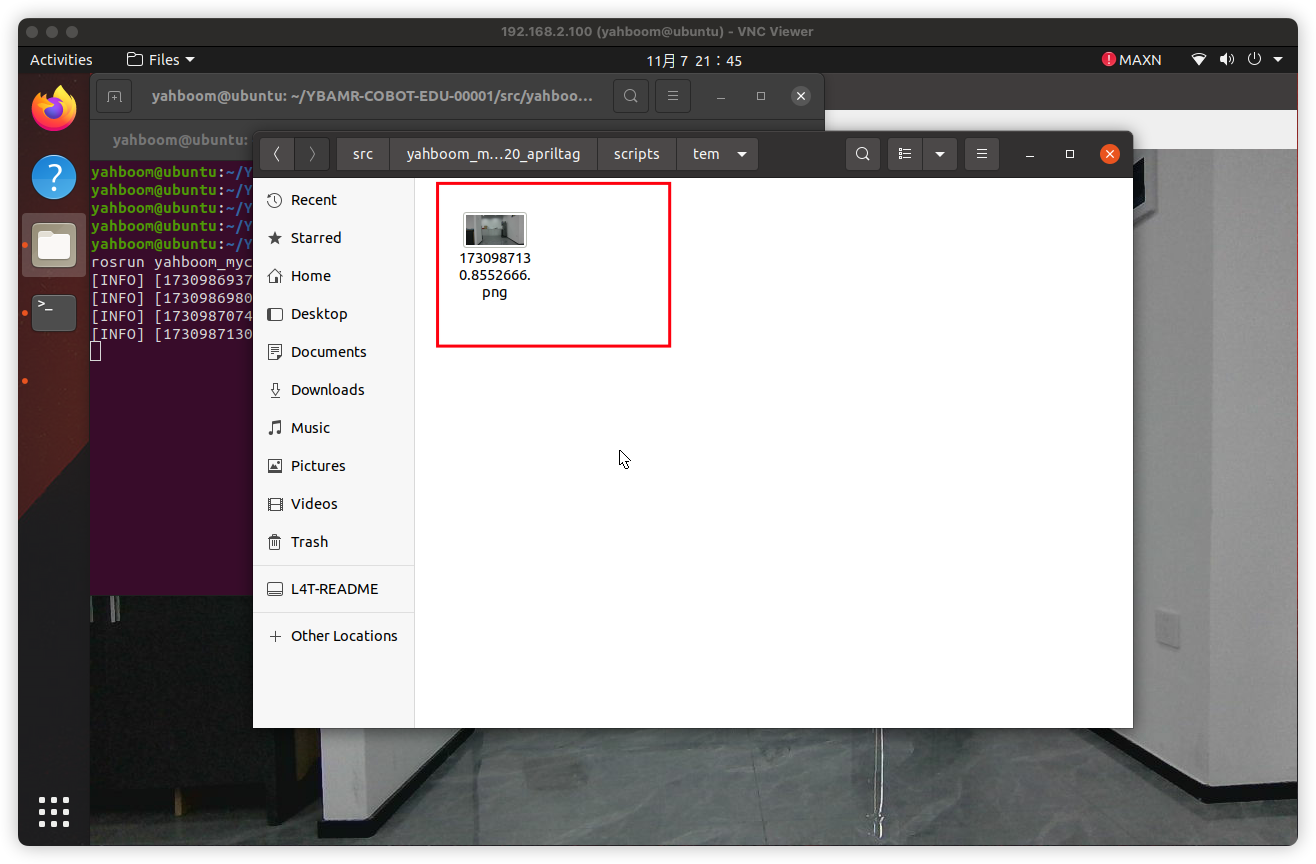
The image will be saved in the
~/YBAMR-COBOT-EDU-00001/src/yahboom_mycobo_320_apriltag/scripts/tem folder.
According to the above method, more than 100 pictures are continuously collected as a data set.
2. Labeling of Dataset
Upload the images in the ~/YBAMR-COBOT-EDU-00001/src/yahboom_mycobo_320_apriltag/scripts/tem file to the https://roboflow.com/ annotation platform for annotation.
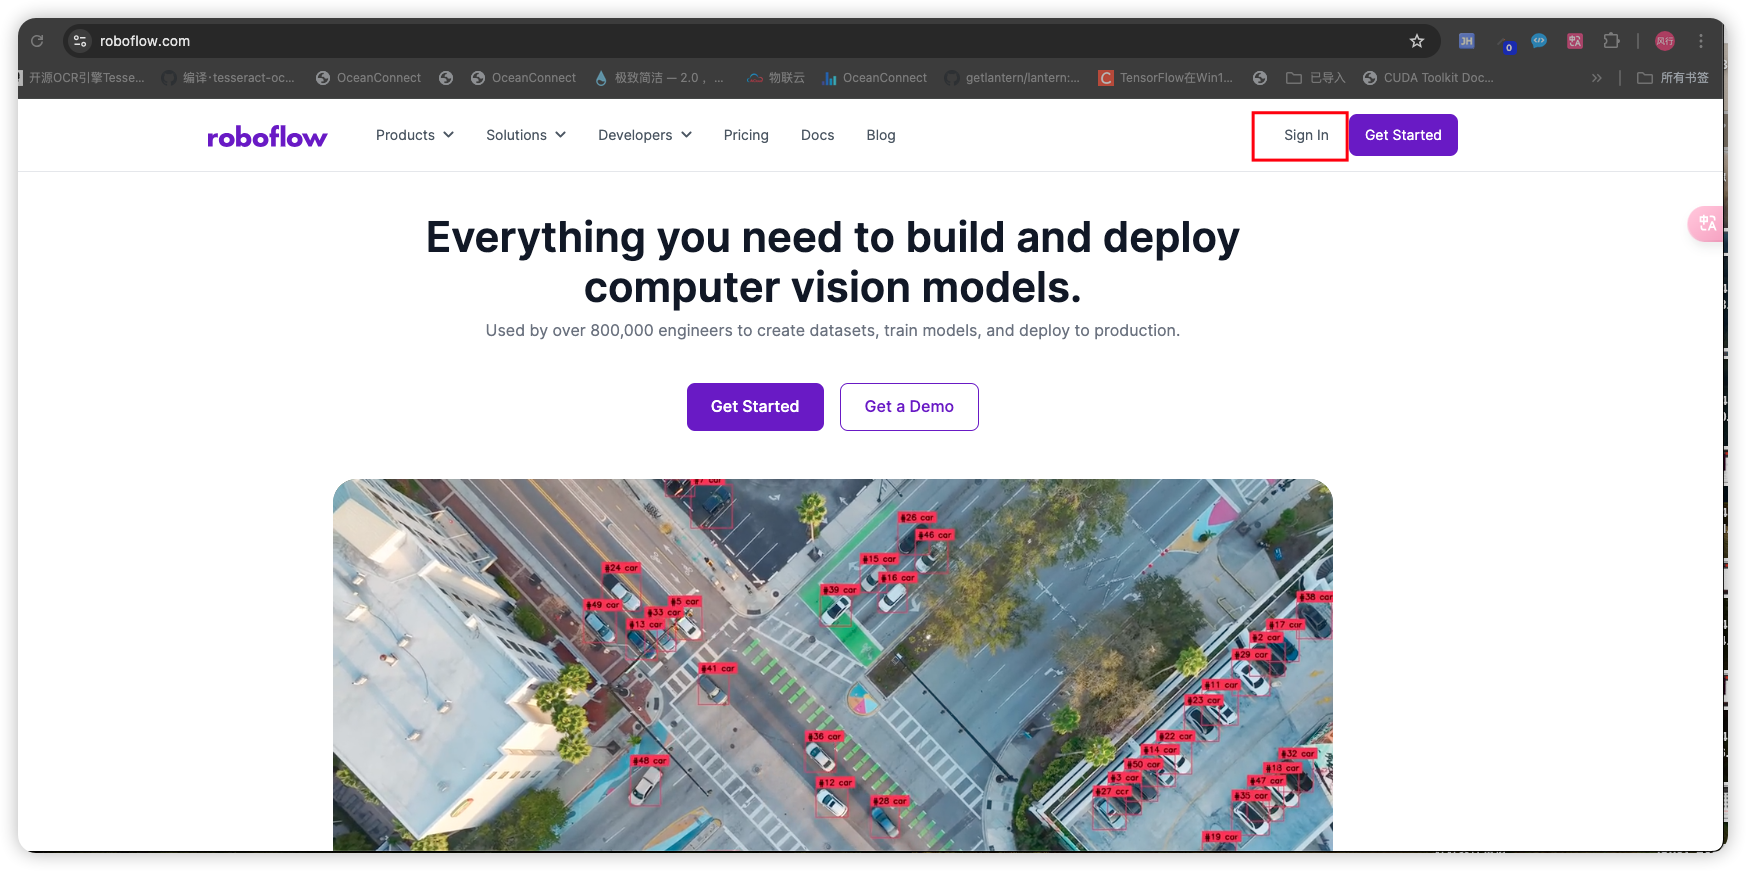
If you haven't registered yet, register now. You can quickly register using your GitHub account.
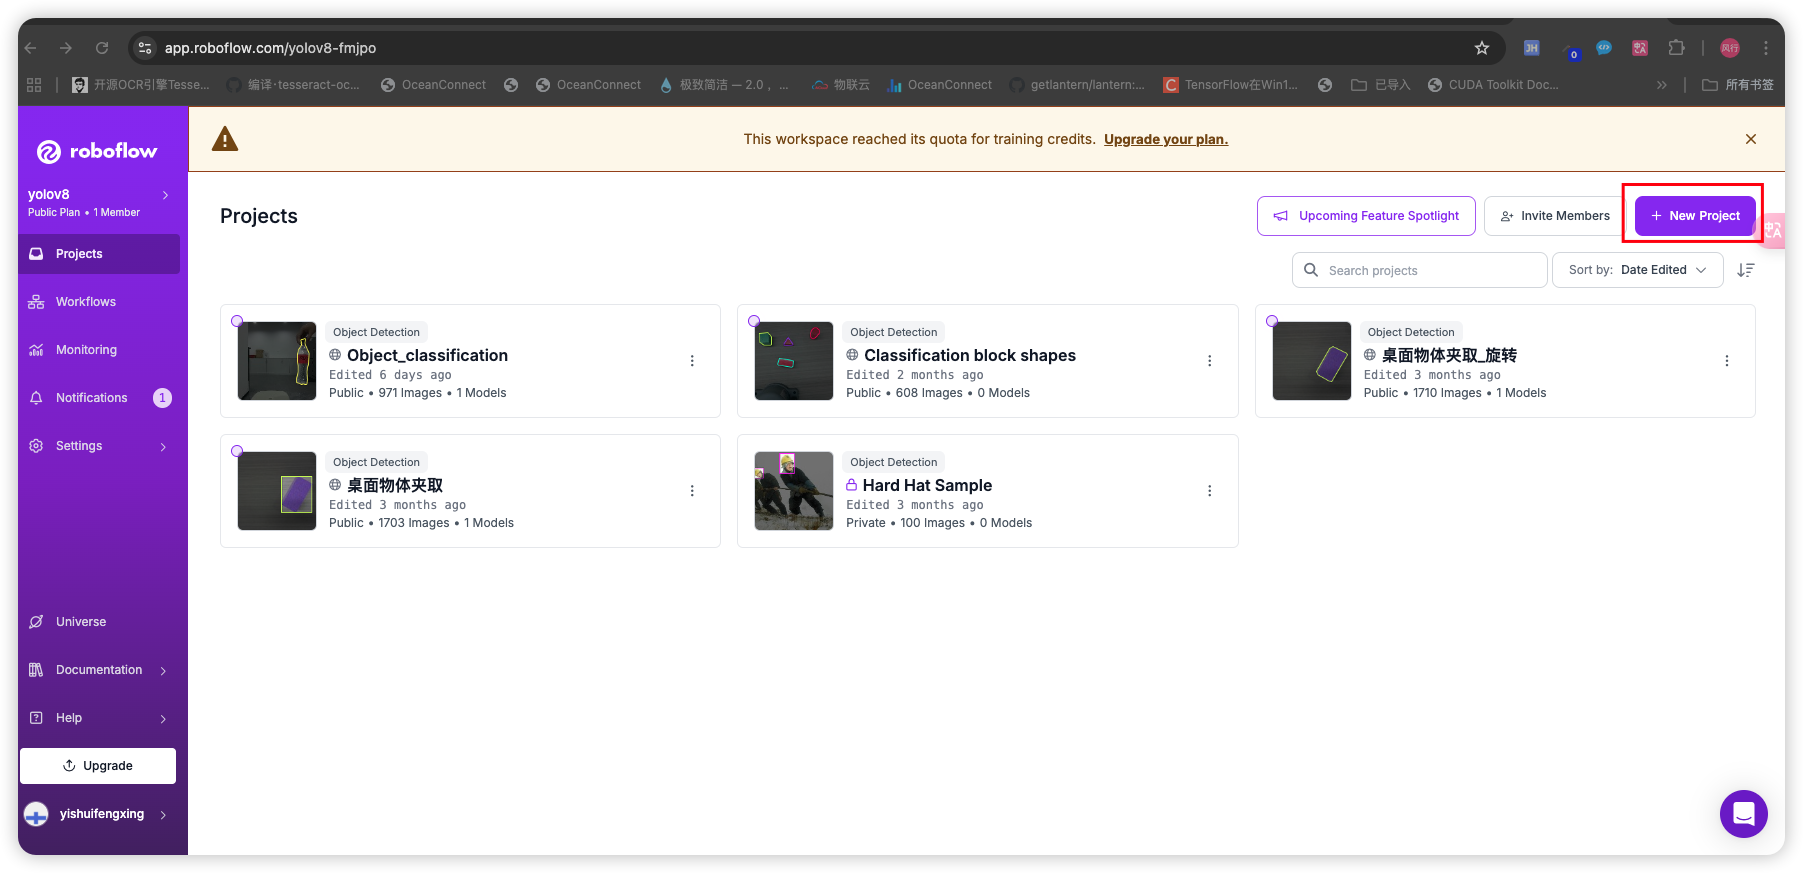
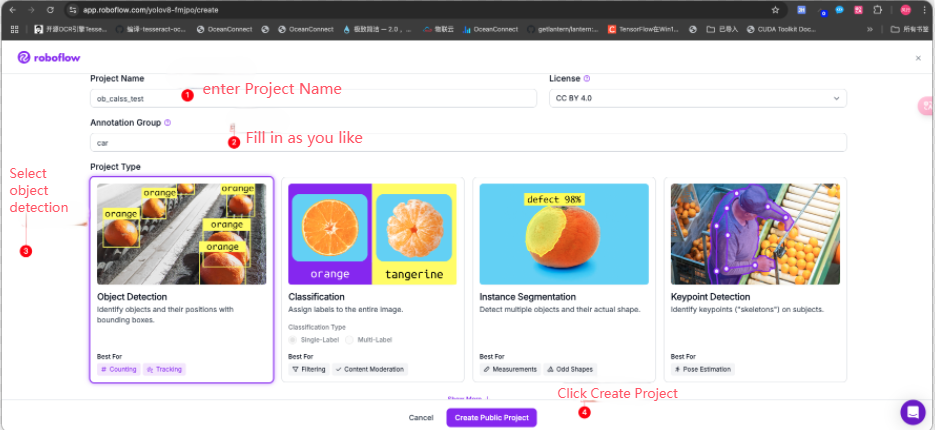
If you log in for the first time, you need to create a new project
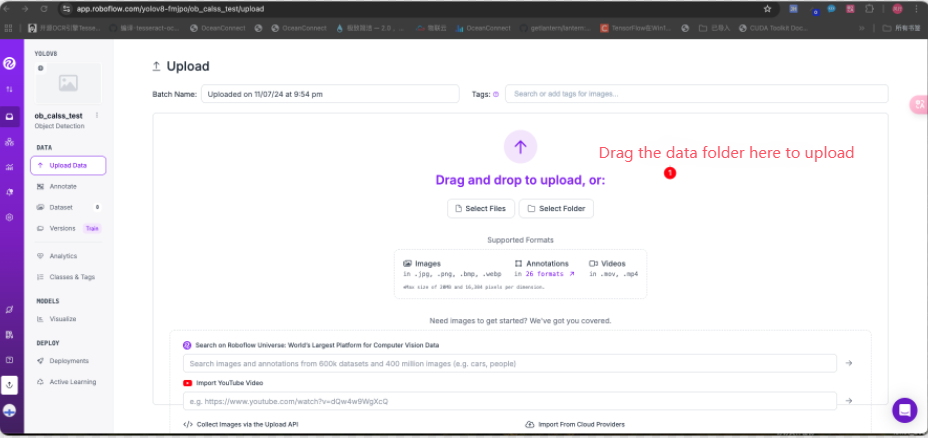
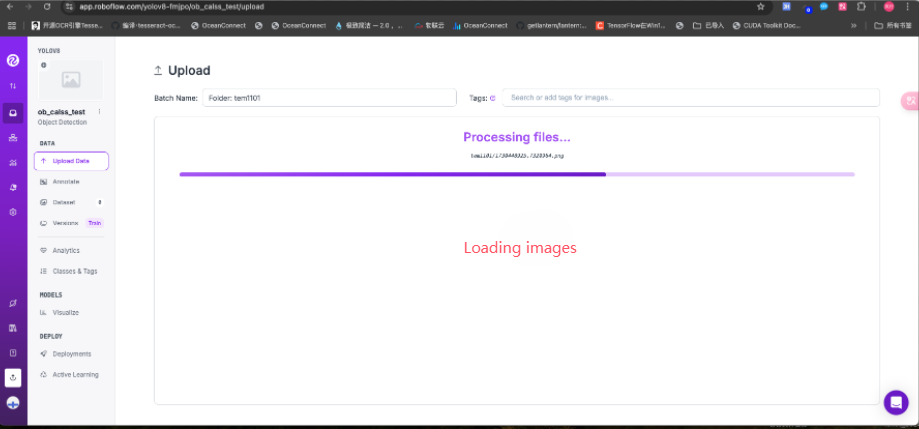
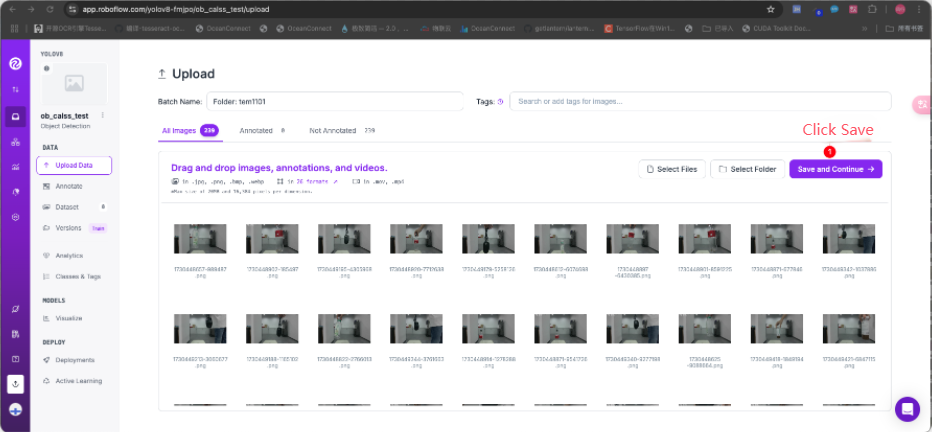
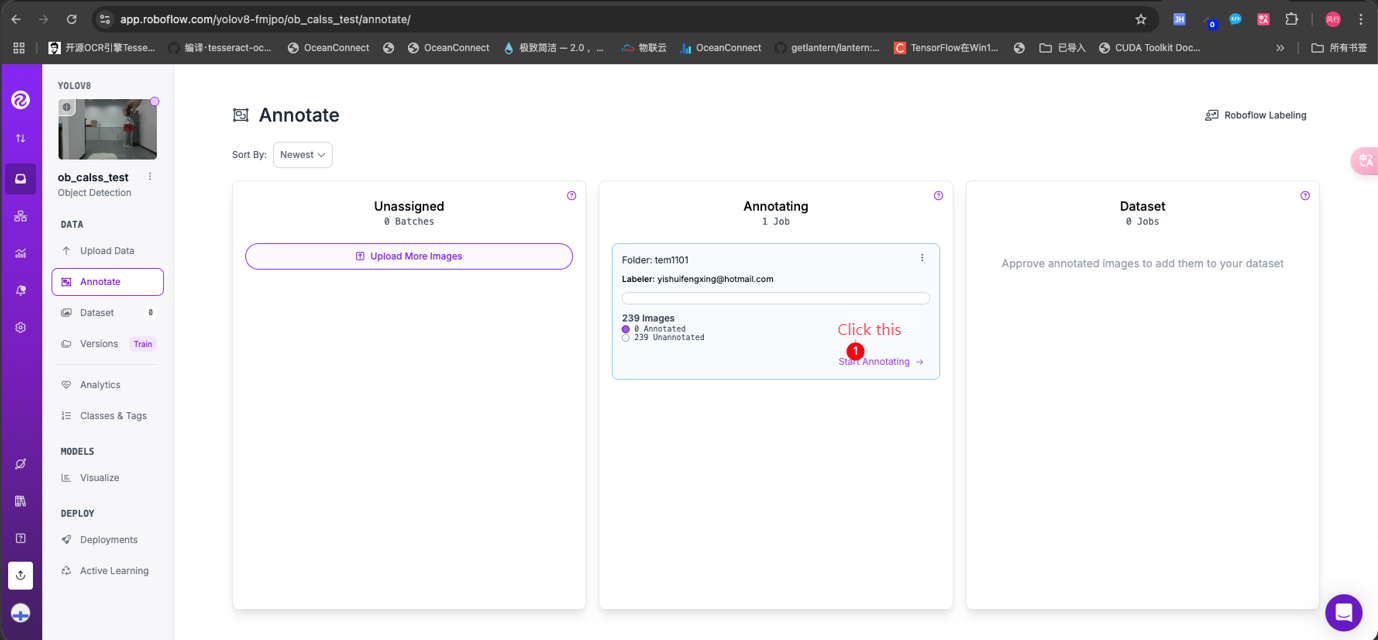
After uploading is complete, enter the following interface
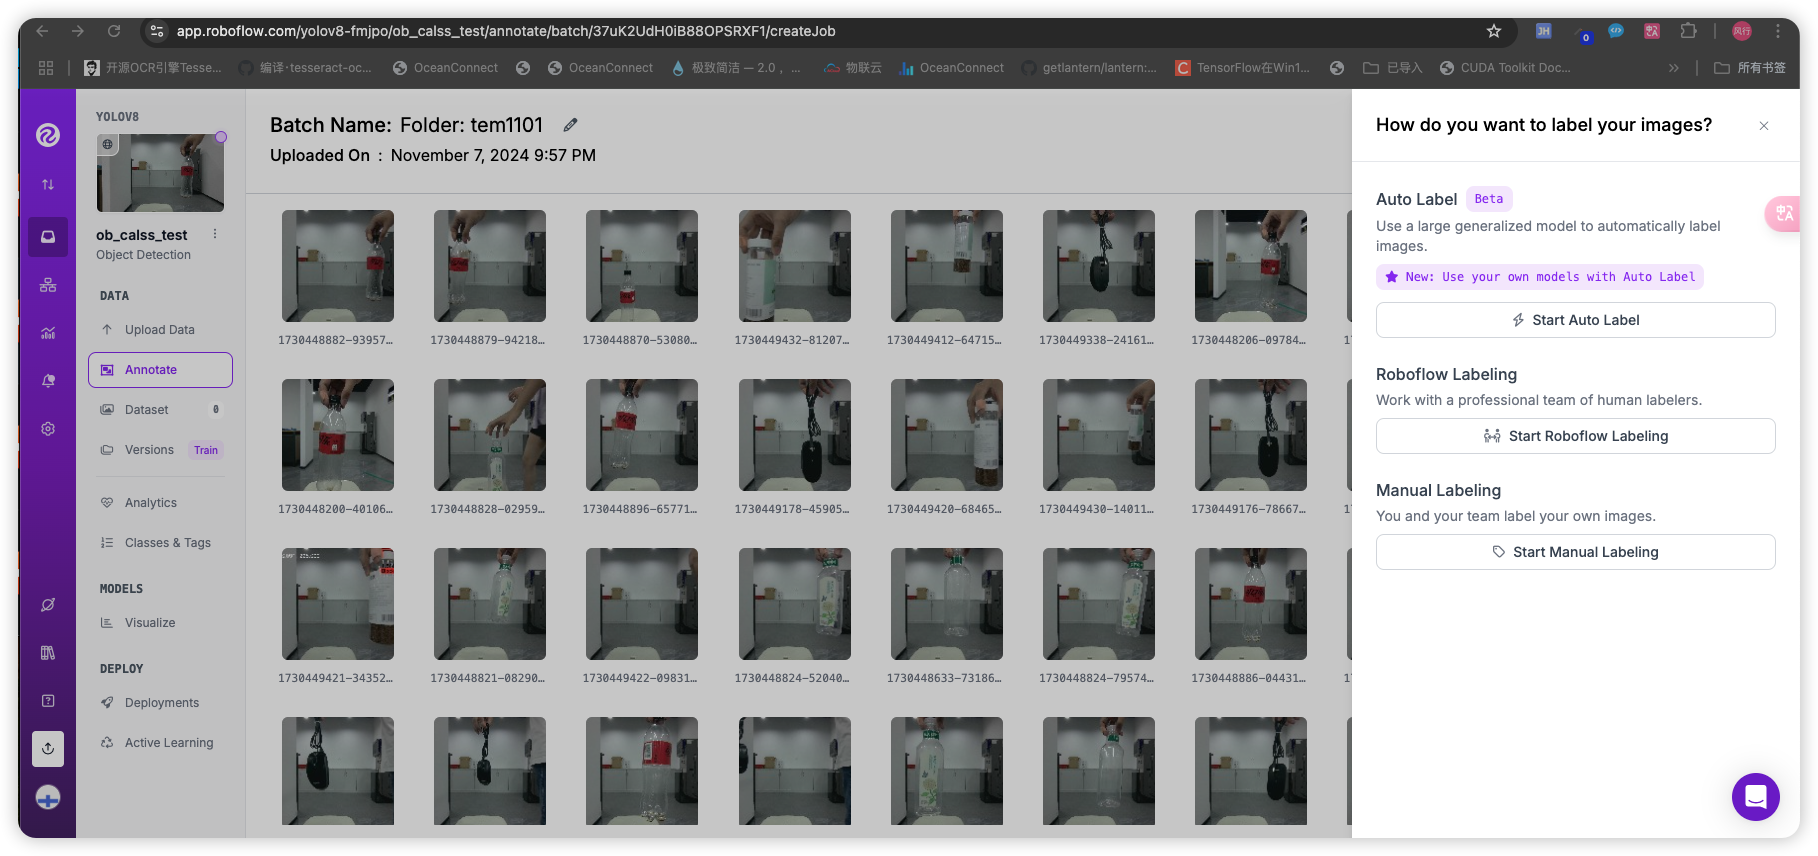
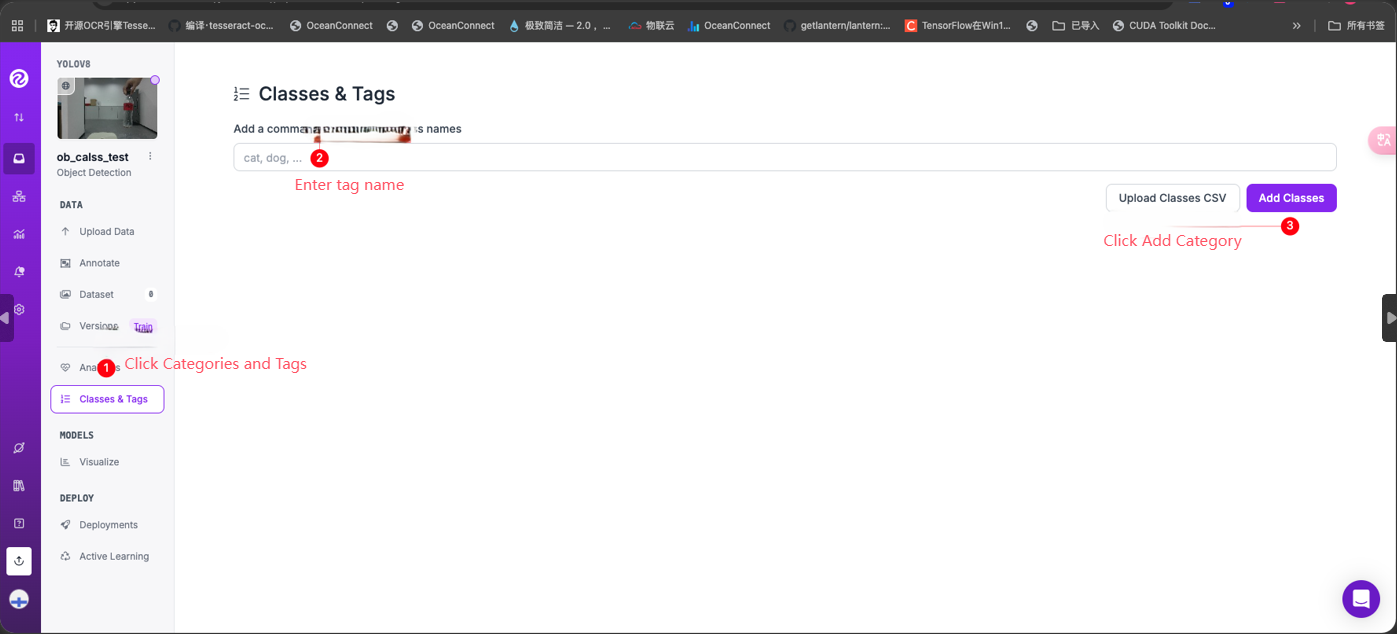
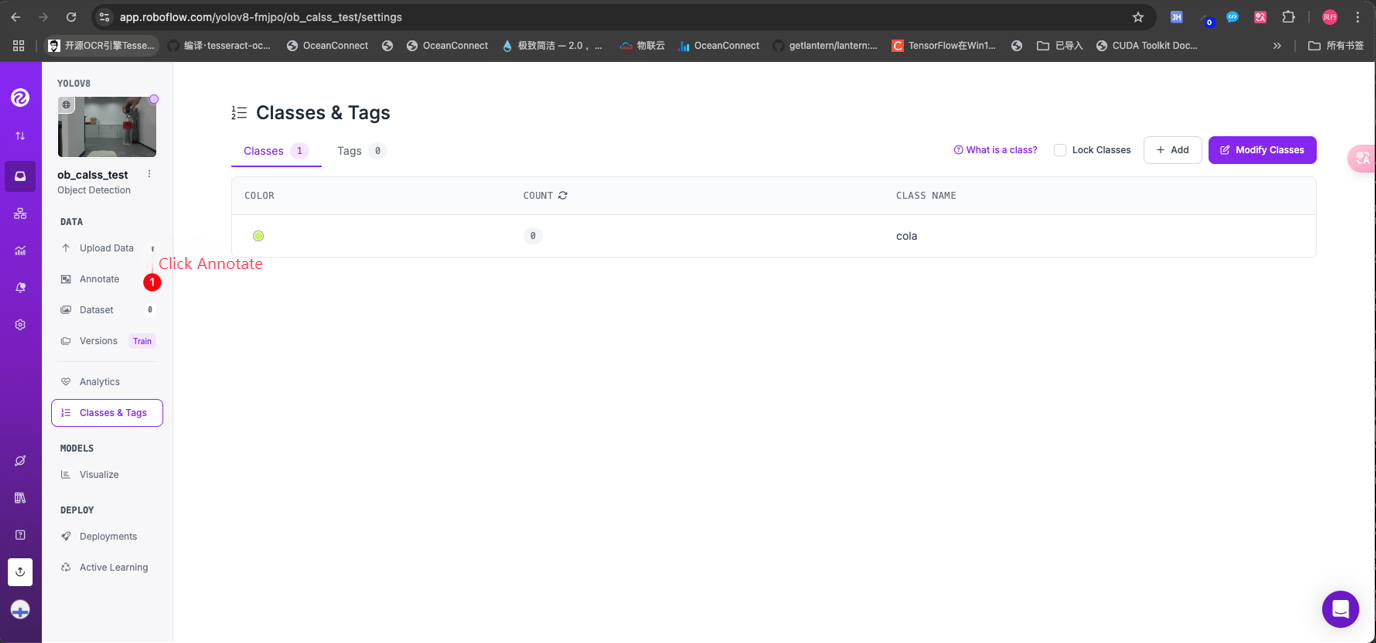
Add categories first and then label.
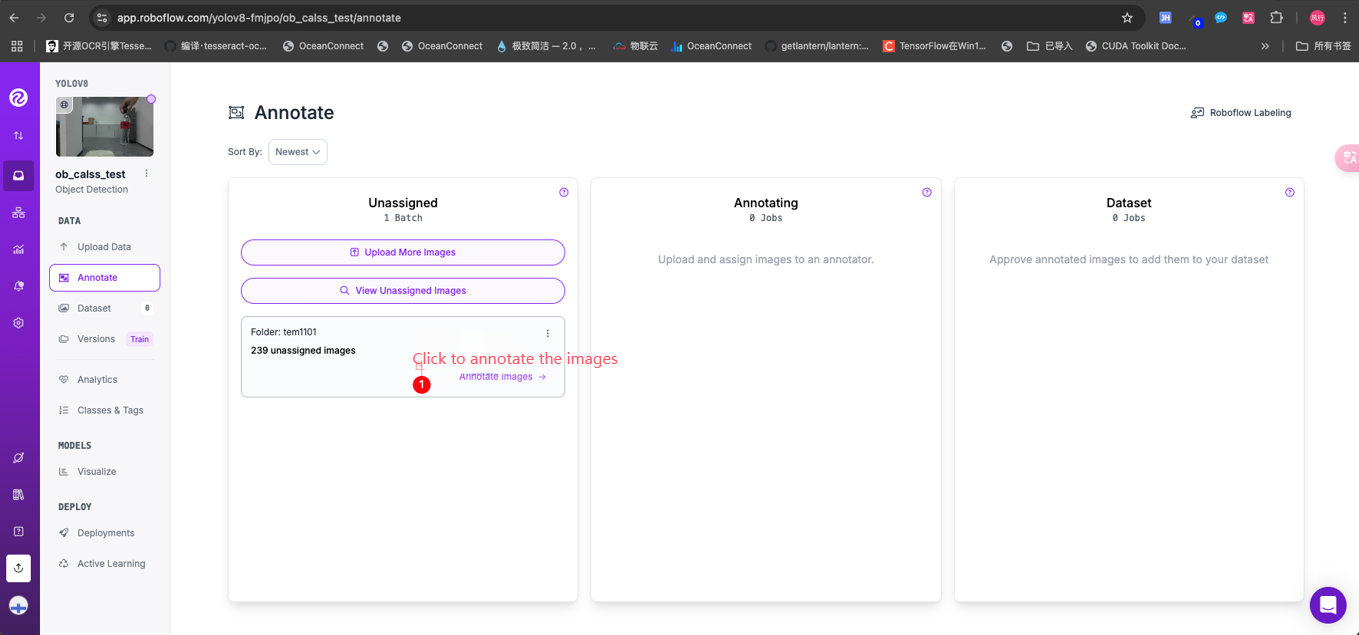
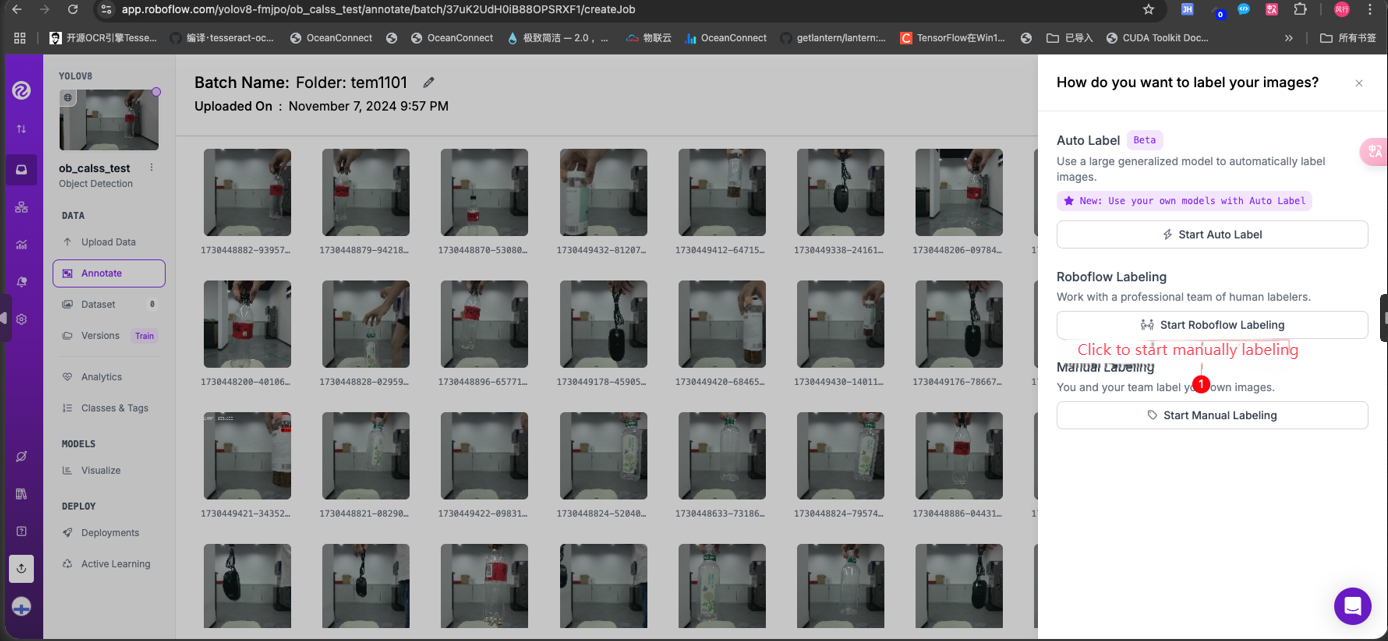

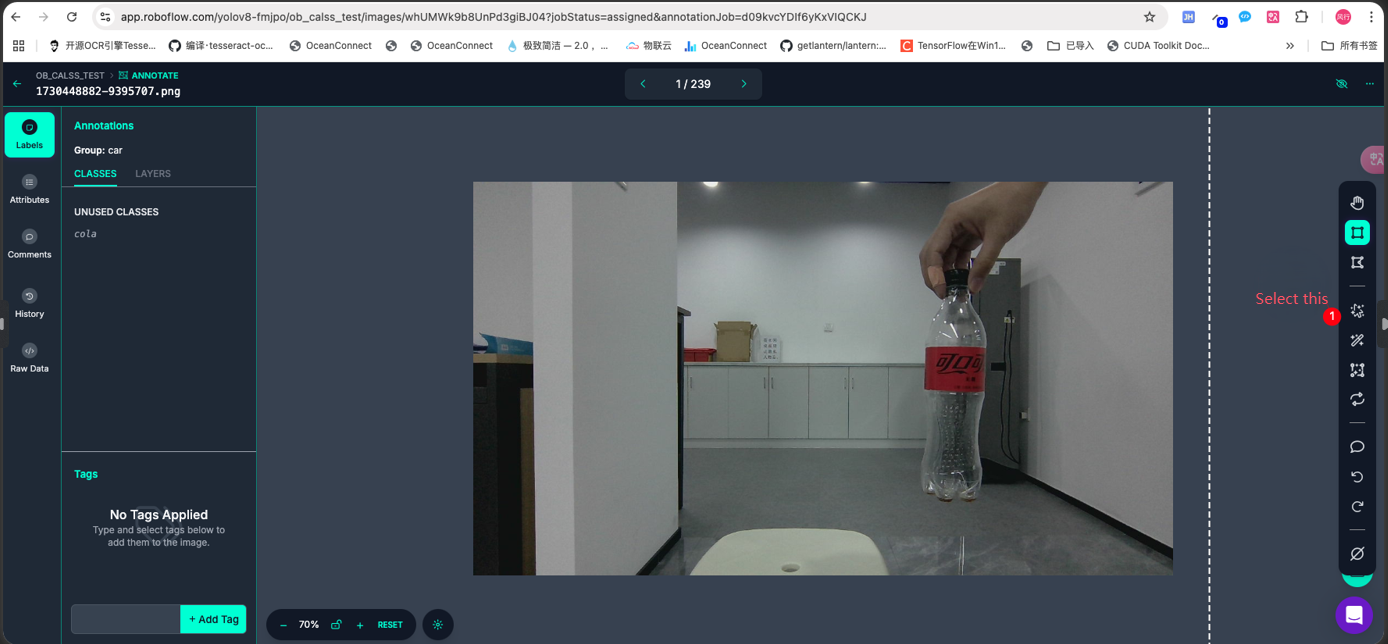
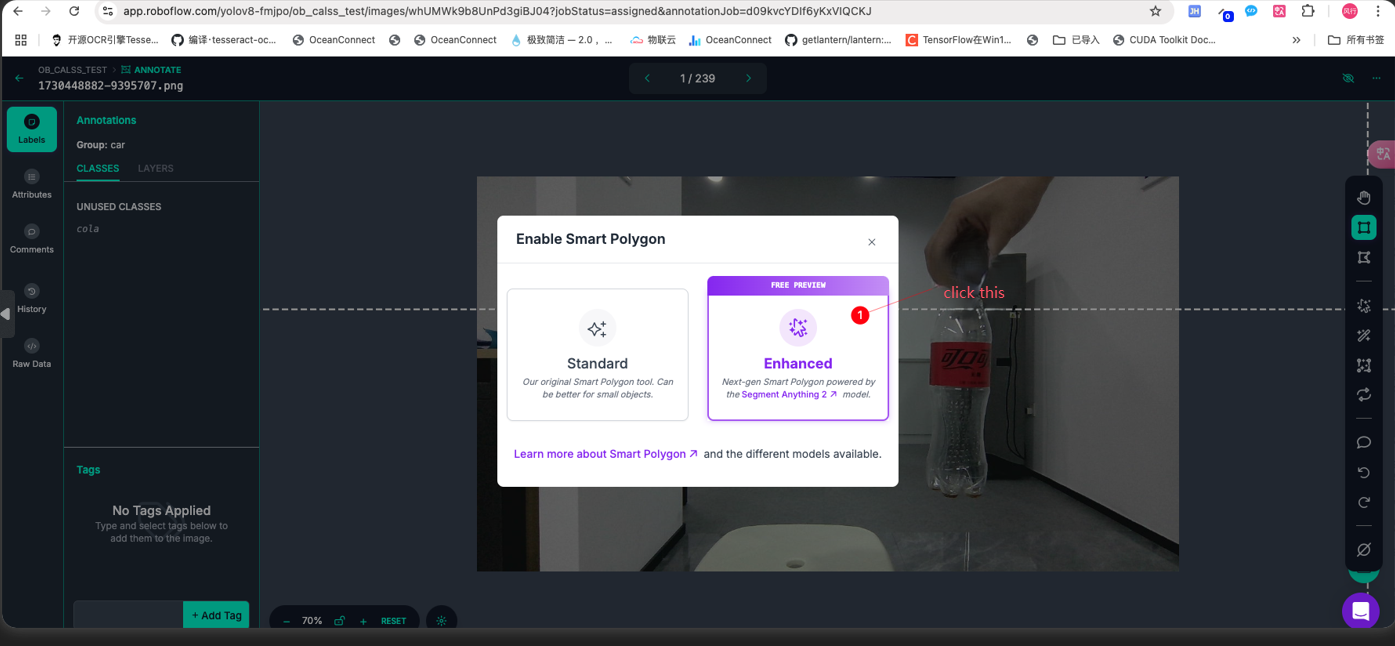
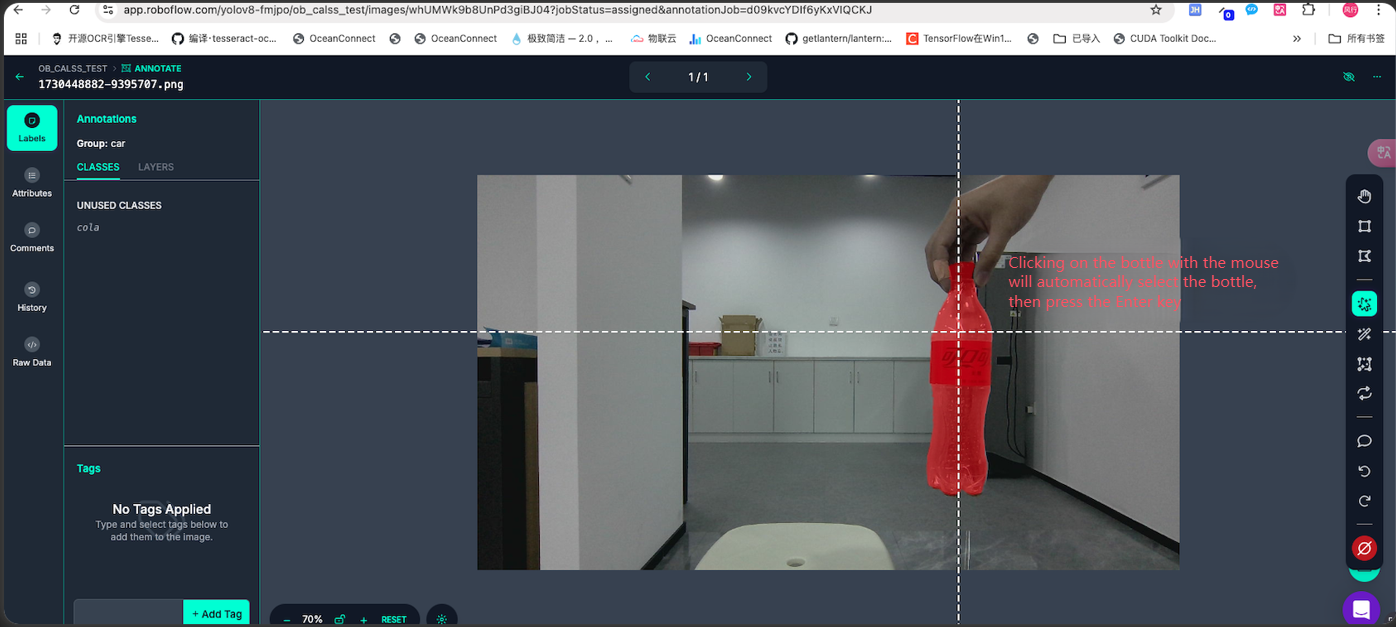
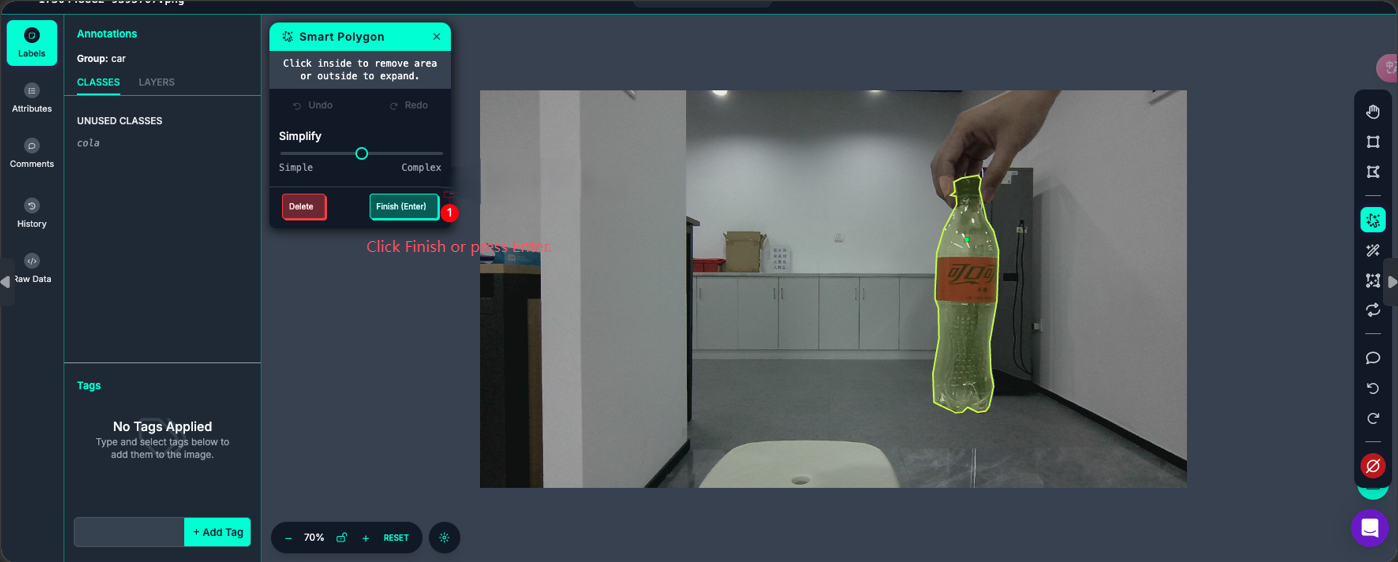
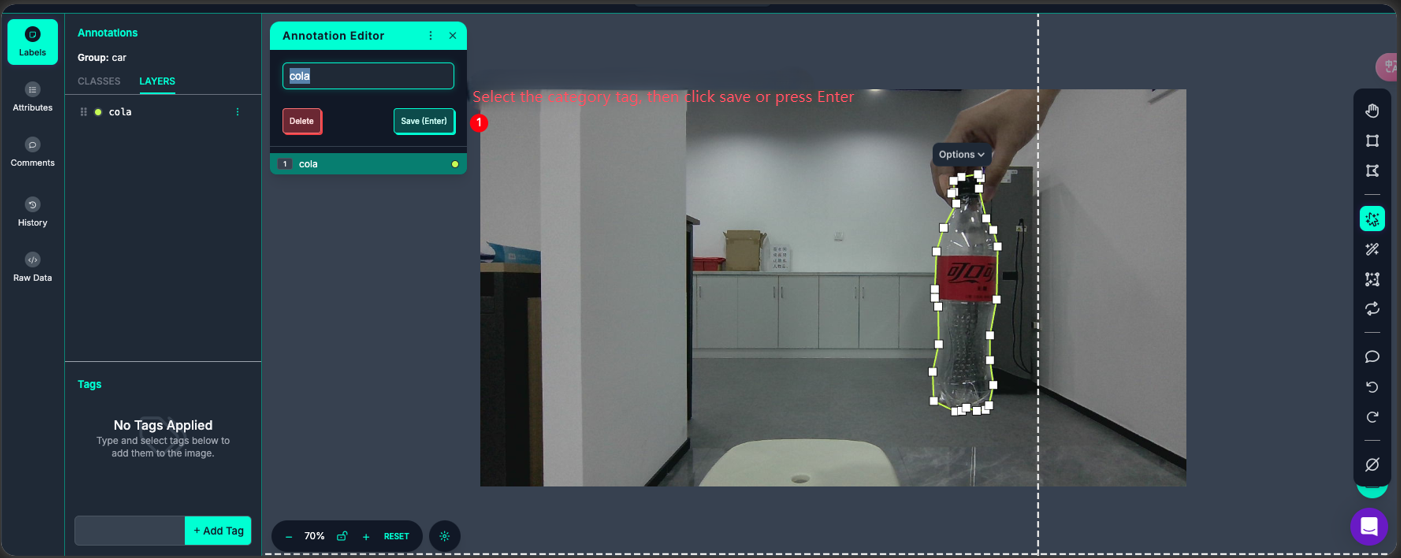
As shown in the figure below, a picture is labeled.
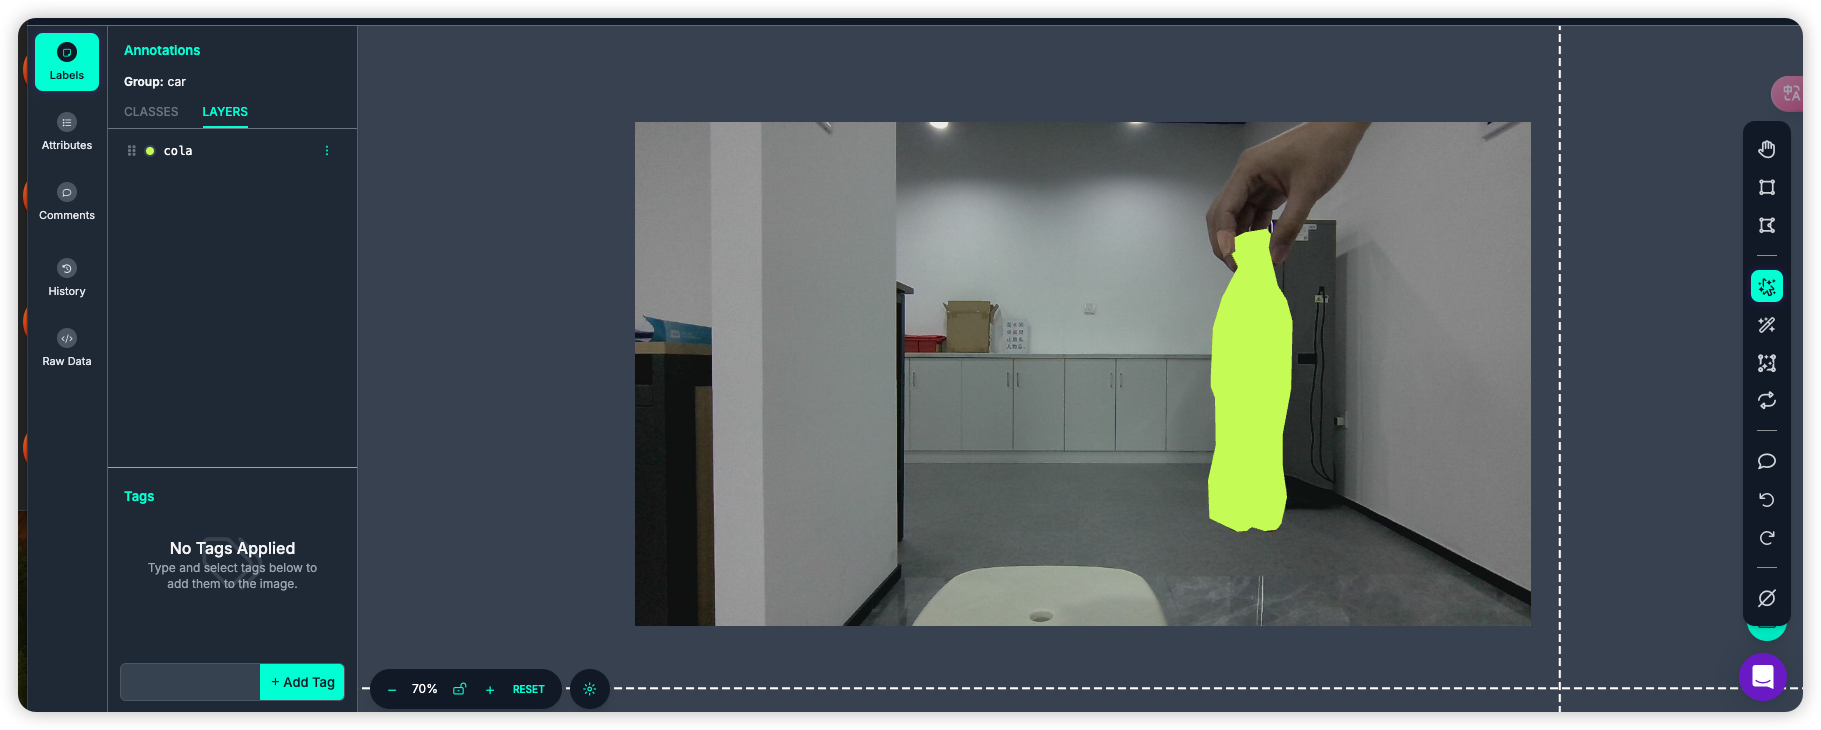
Label all the pictures in the same way.
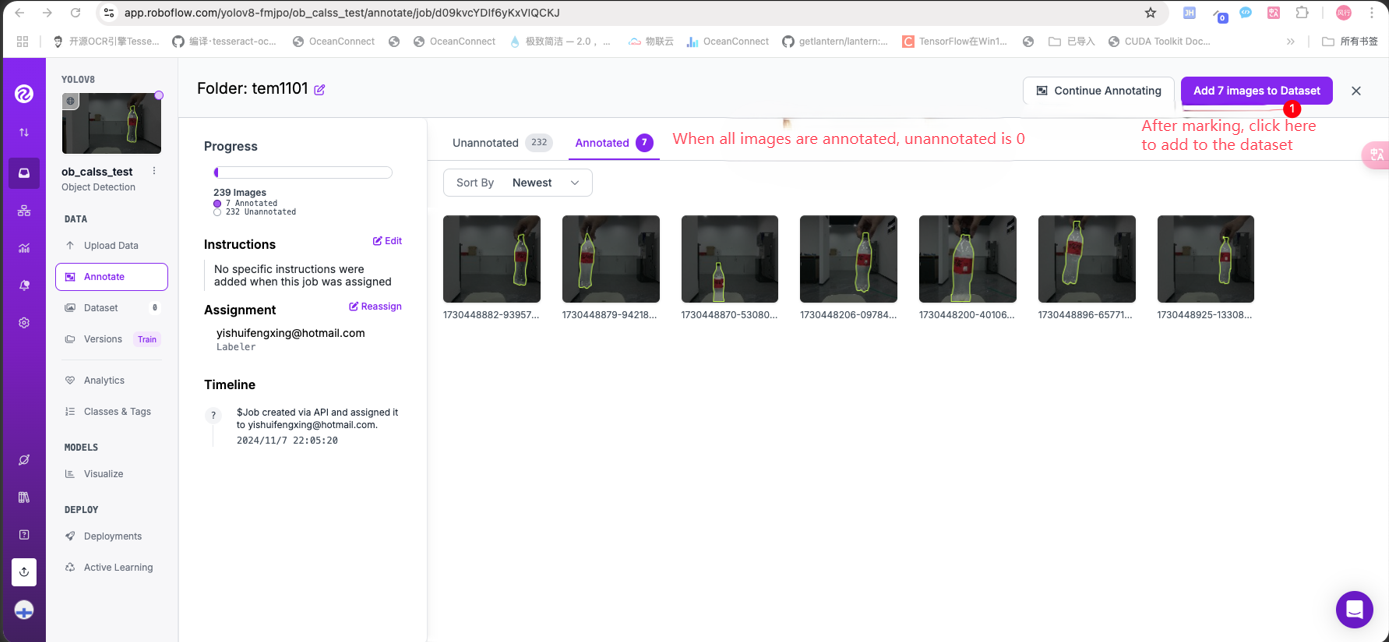
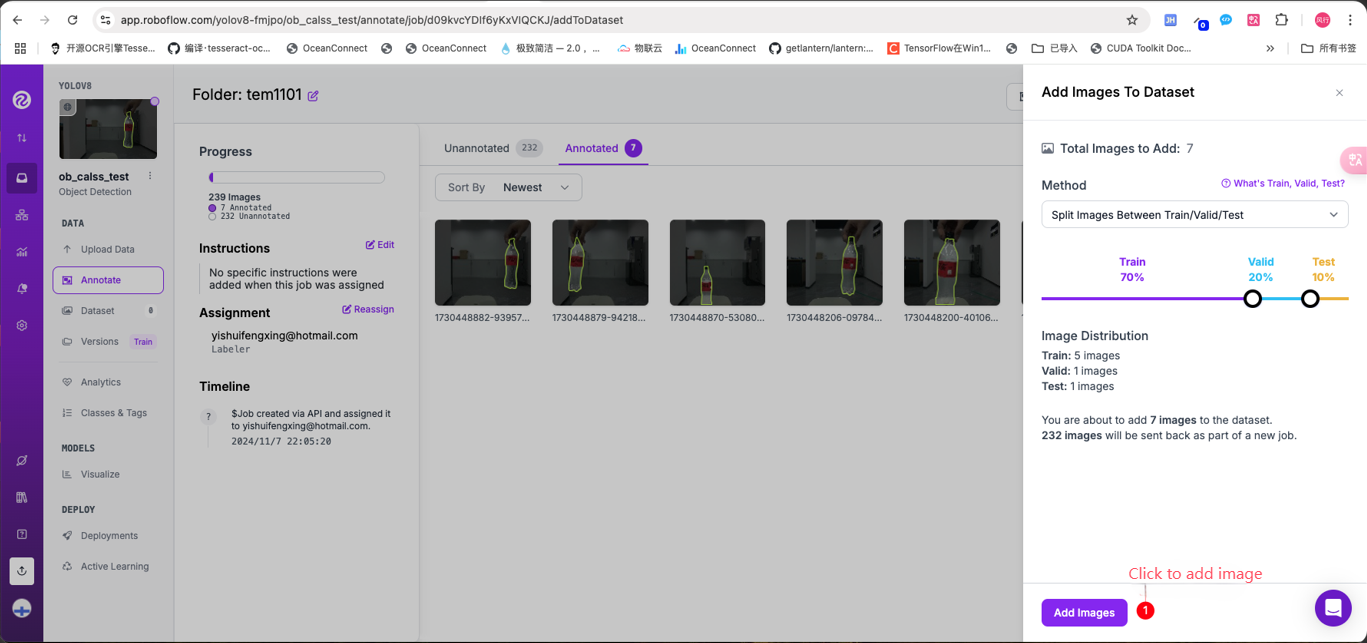
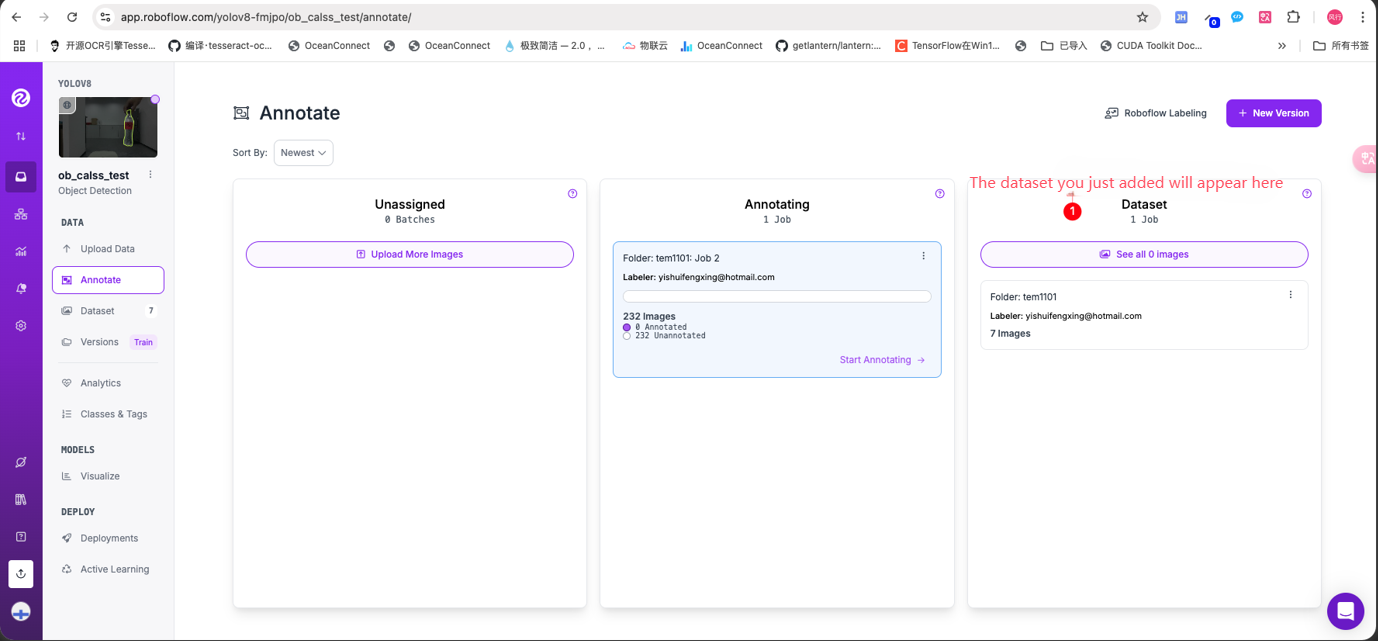
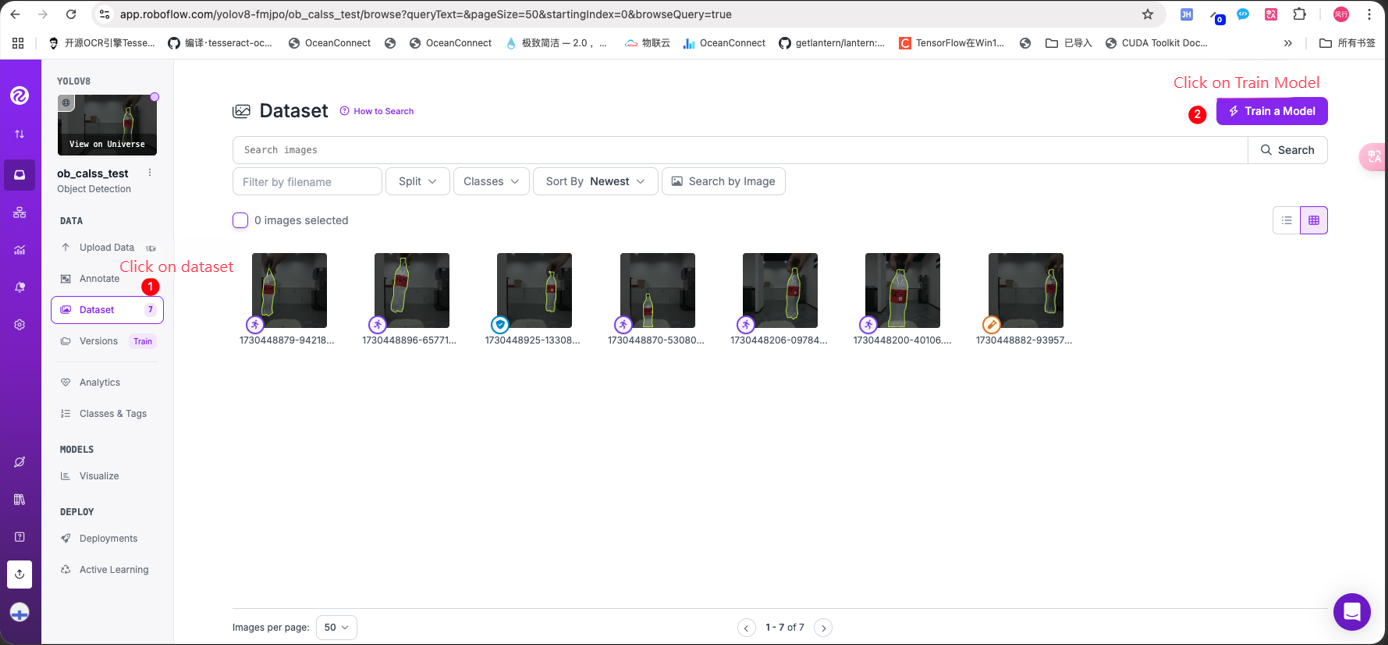
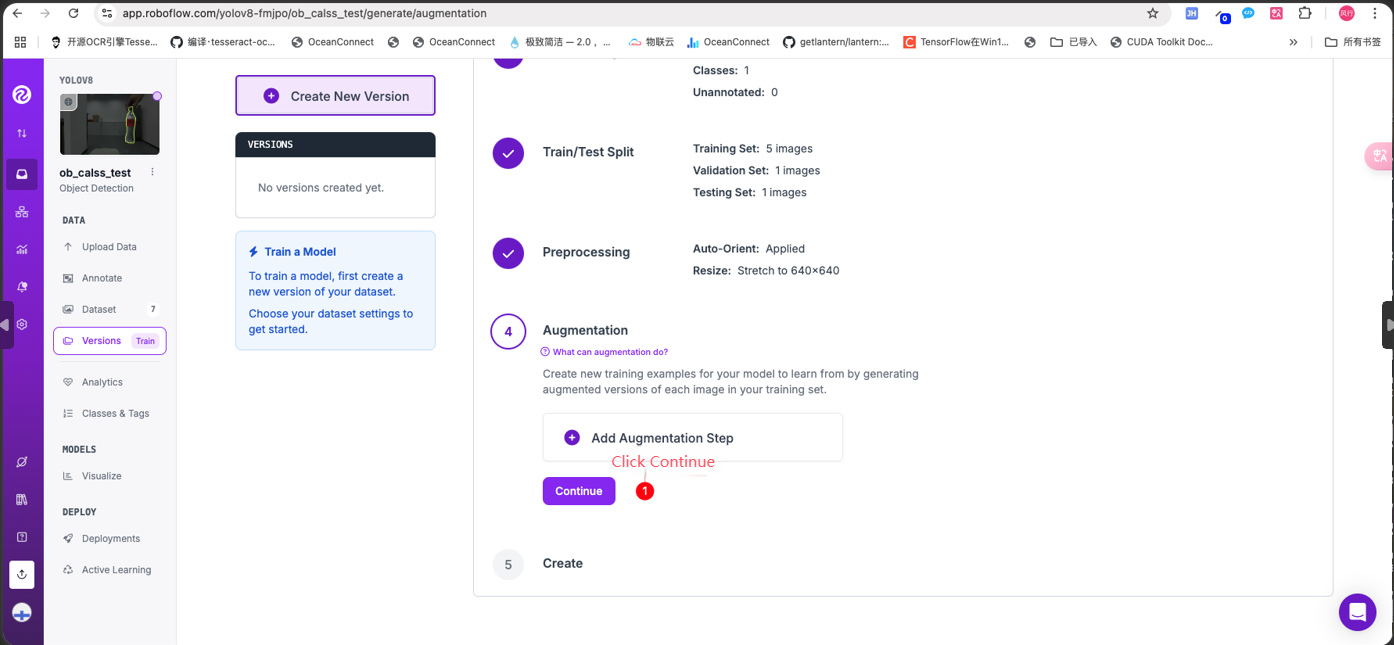
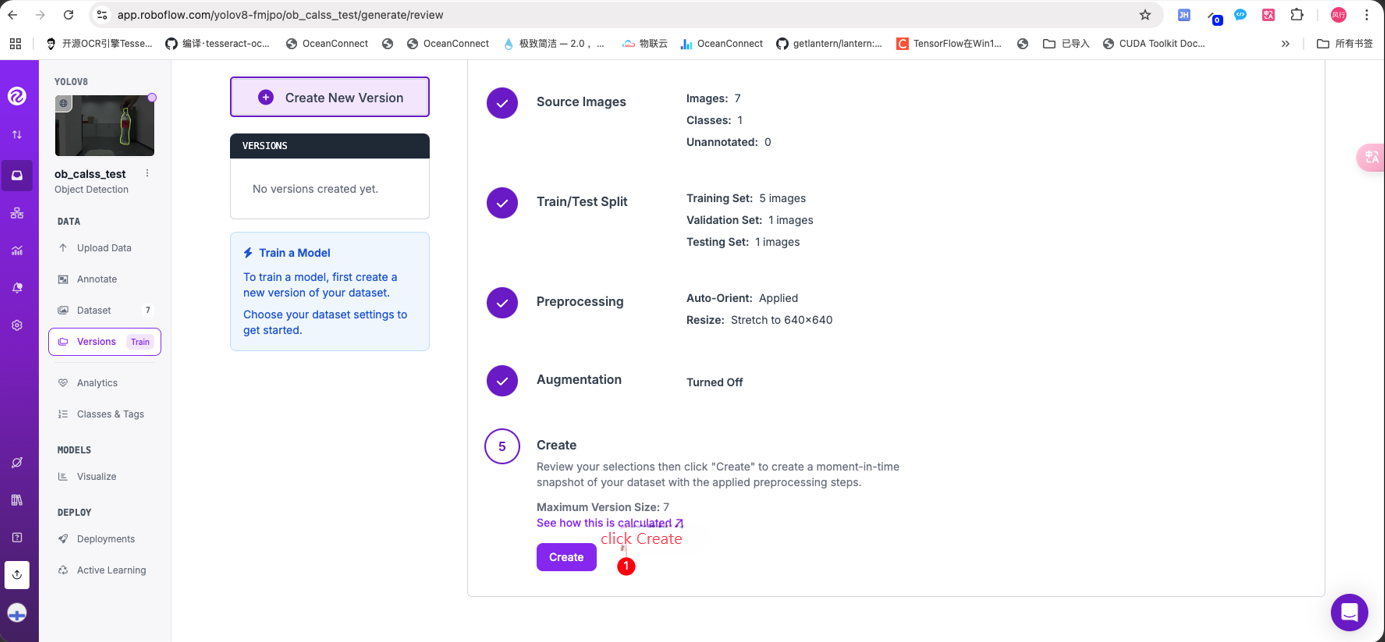
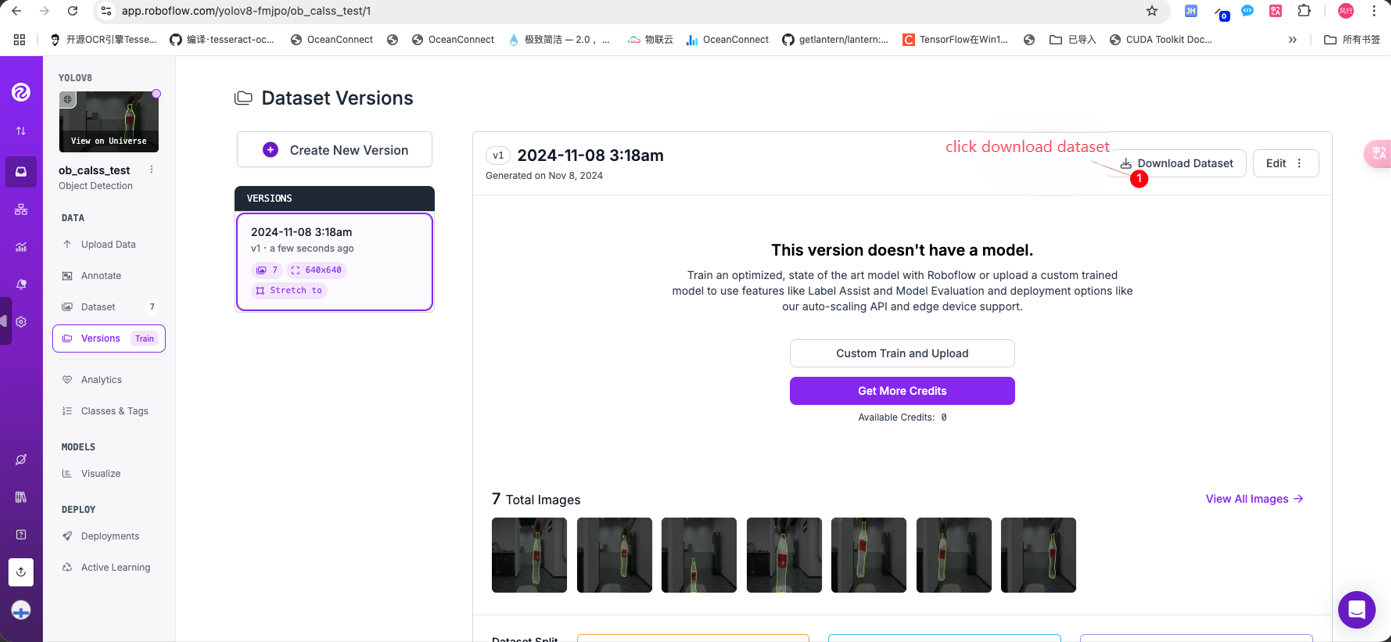
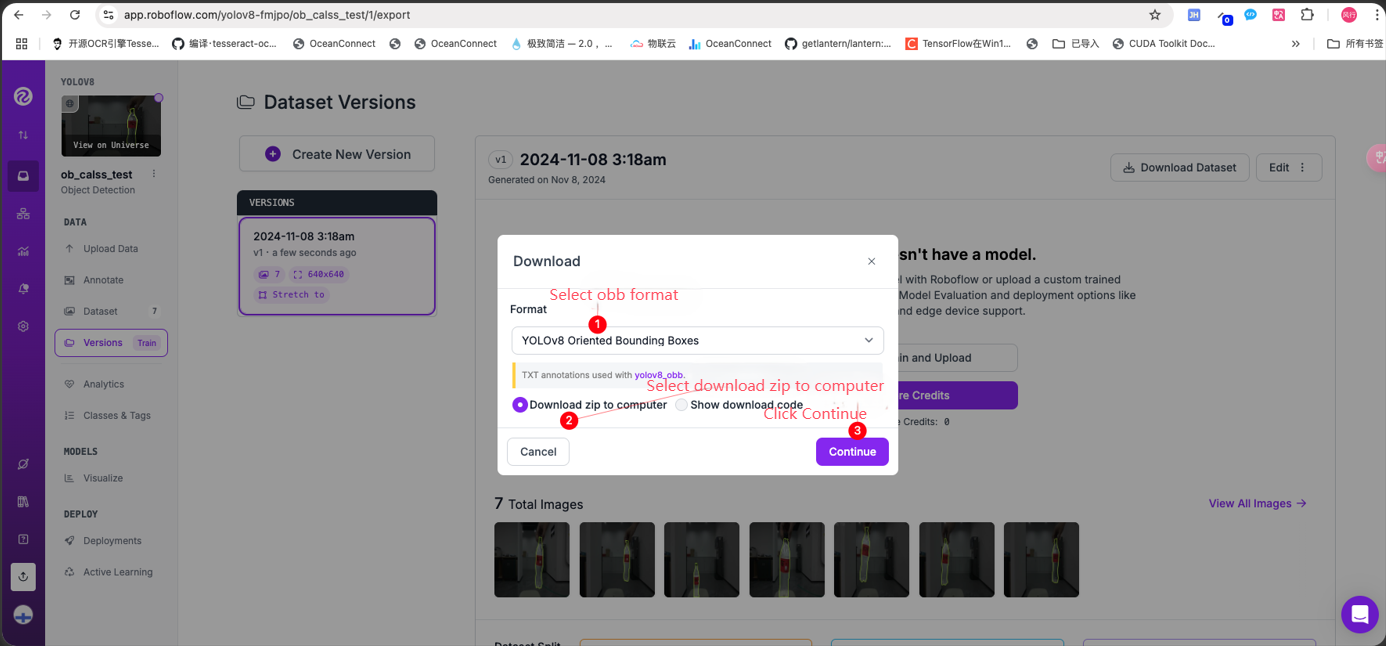
3. Dataset creation
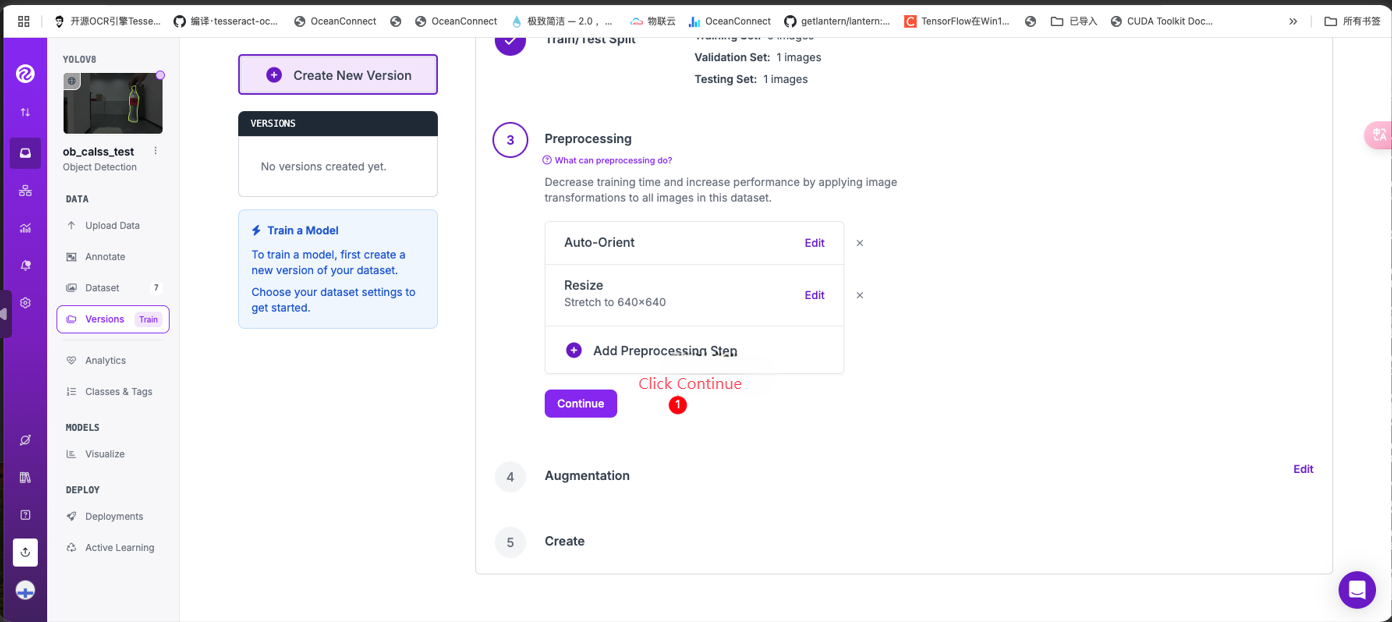

4. Model training
Download the official code of yolov8. The link is https://github.com/ultralytics/ultralytics
Enter the command in the terminal:
xxxxxxxxxxgit clone https://github.com/ultralytics/ultralyticsI won't go into detail about the running environment here, you can search on Google.
Of course, a good graphics card is required for training, usually 3060 is enough.
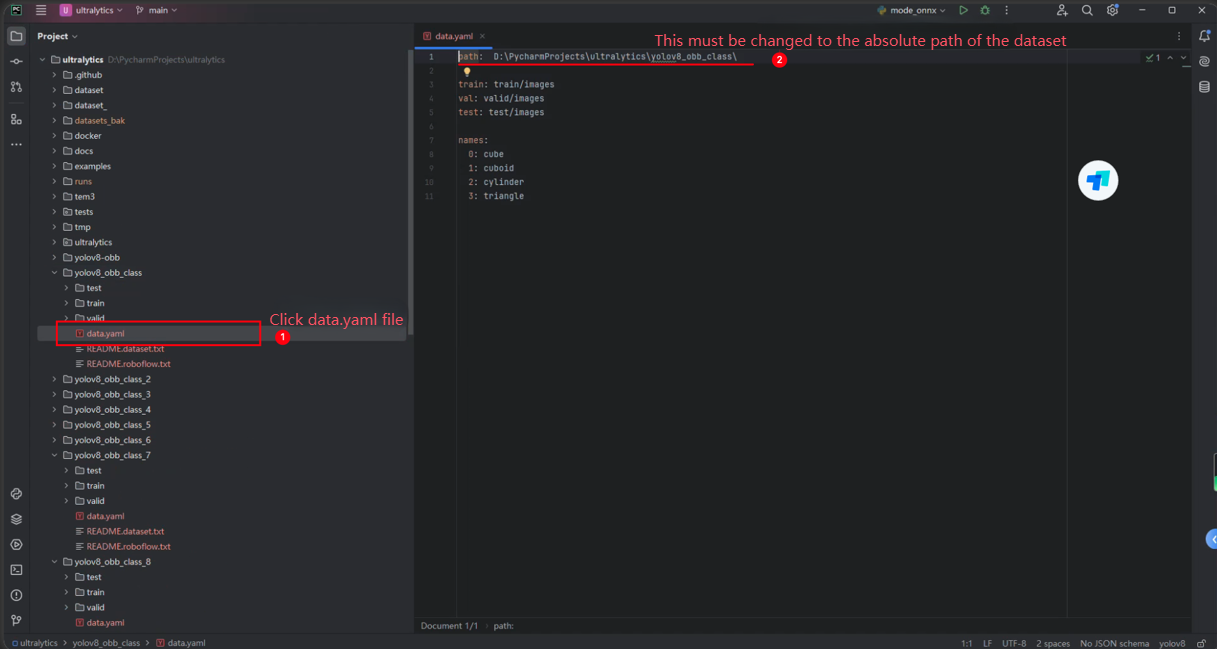
Let's take a look at how to train. Put the downloaded dataset in the root directory of ultralytics and unzip it to the yolov8_obb_class folder

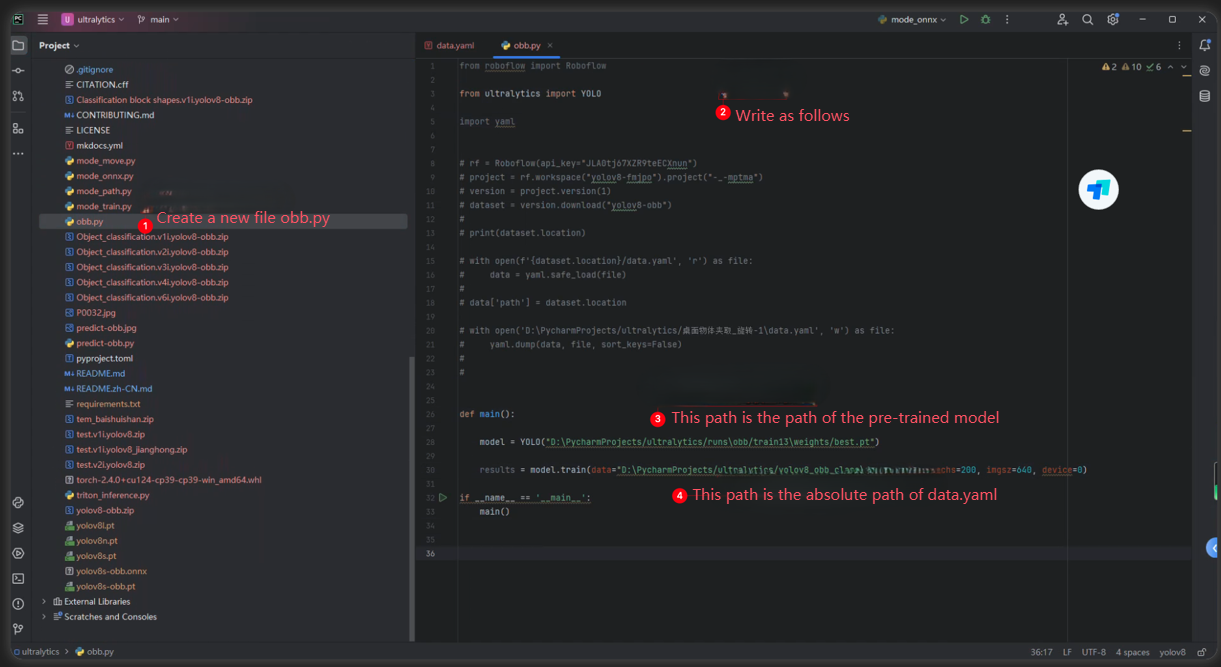
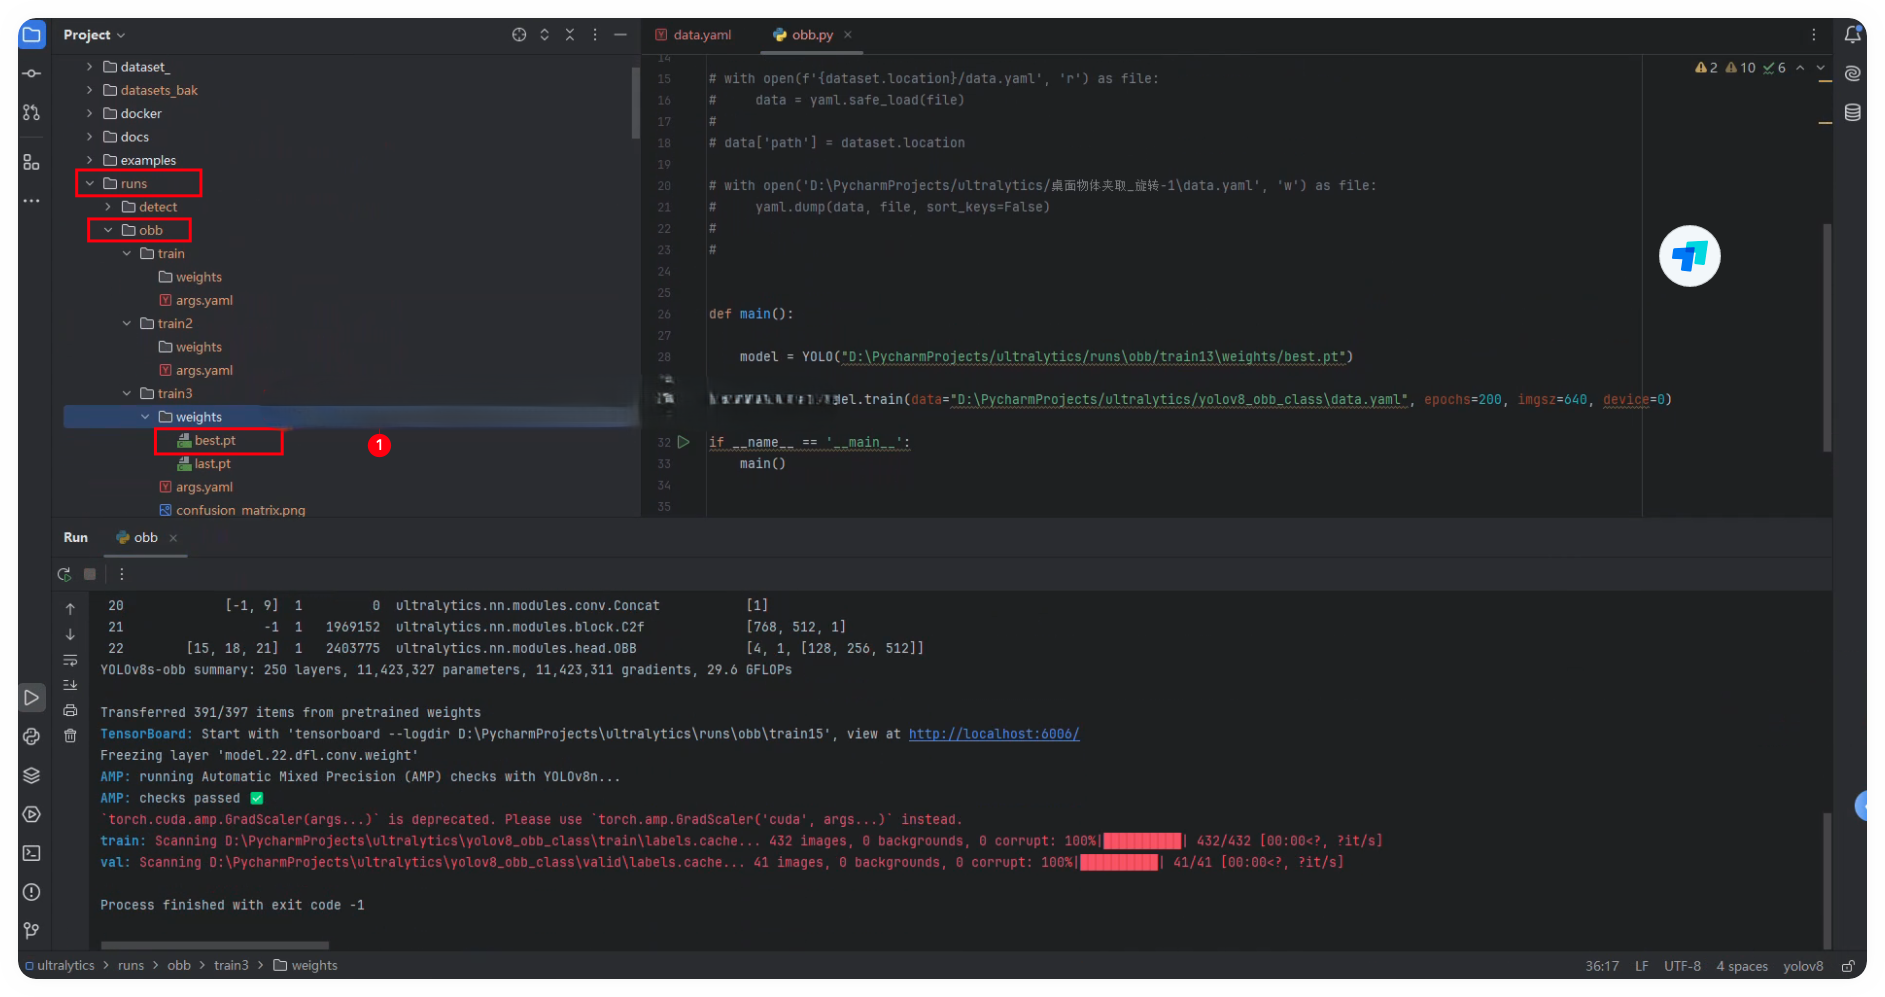
xfrom roboflow import Roboflowfrom ultralytics import YOLOimport yaml# rf = Roboflow(api_key="JLA0tj67XZR9teECXnun")# project = rf.workspace("yolov8-fmjpo").project("-_-mptma")# version = project.version(1)# dataset = version.download("yolov8-obb")## print(dataset.location)# with open(f'{dataset.location}/data.yaml', 'r') as file:# data = yaml.safe_load(file)## data['path'] = dataset.location# with open('D:\PycharmProjects/ultralytics/桌面物体夹取_旋转-1\data.yaml', 'w') as file:# yaml.dump(data, file, sort_keys=False)##def main(): model = YOLO("D:\PycharmProjects/ultralytics/runs\obb/train13\weights/best.pt") results = model.train(data="D:\PycharmProjects/ultralytics/yolov8_obb_class\data.yaml", epochs=200, imgsz=640, device=0)if __name__ == '__main__': main()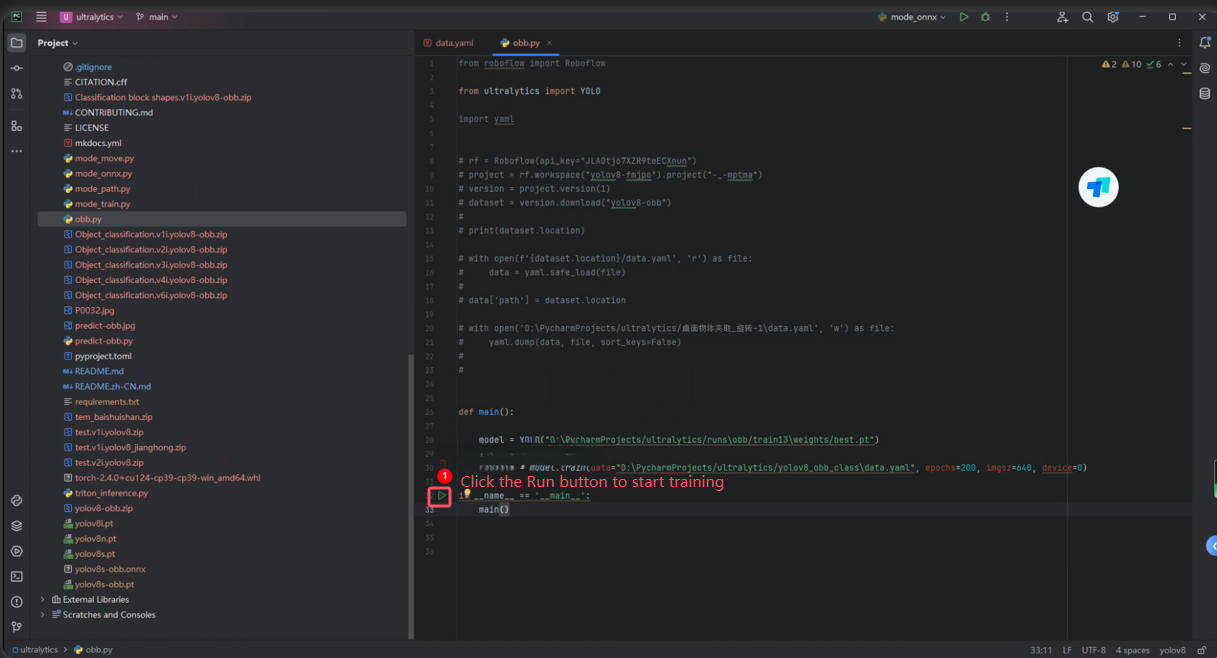

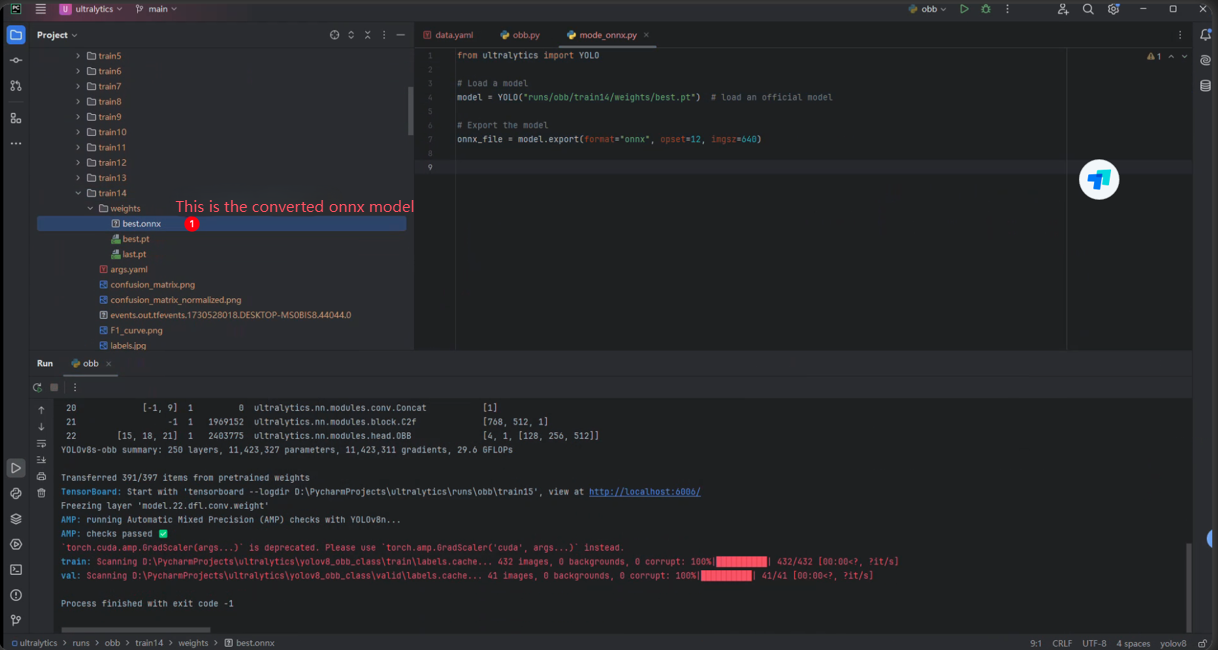
5. Model conversion to onnx
Since the model needs to be executed on the terminal, the pt model needs to be converted to onnx, then converted to engine on the terminal, and then accelerated inference is performed through tensorrt.
Convert the onnx model, as shown in the following figure:
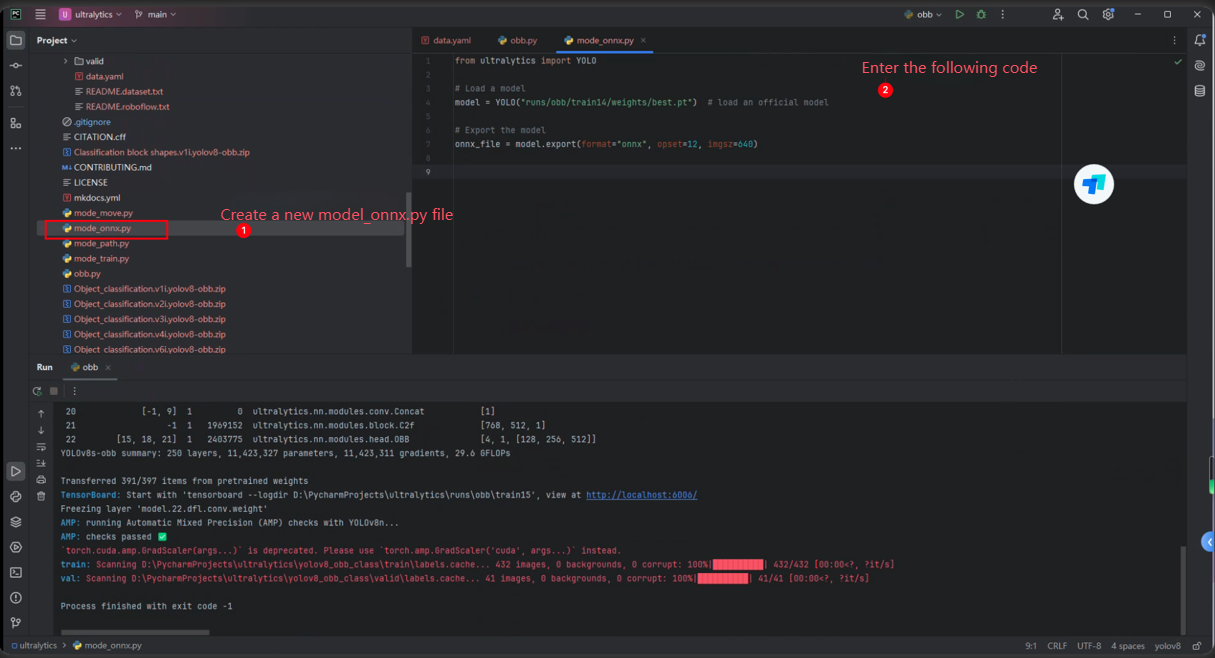
xxxxxxxxxxVersion:1.0 StartHTML:0000000128 EndHTML:0000001137 StartFragment:0000000128 EndFragment:0000001137 SourceURL:about:blankfrom ultralytics import YOLO# Load a modelmodel = YOLO("runs/obb/train14/weights/best.pt") # load an official model# Export the modelonnx_file = model.export(format="onnx", opset=12, imgsz=640)
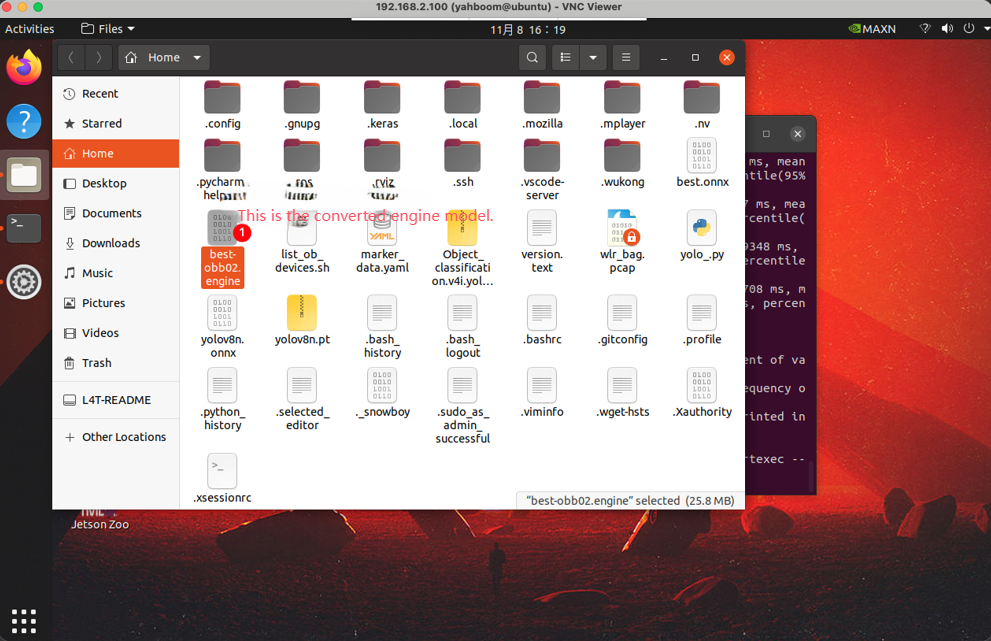
6. Convert to engine model
Open the terminal on the orin_nx 16G terminal board, put the generated onnx model under the home path, then open the terminal tool and enter the command in the terminal:
xxxxxxxxxx/usr/src/tensorrt/bin/trtexec --onnx=best.onnx --saveEngine=best-obb02.engine --fp16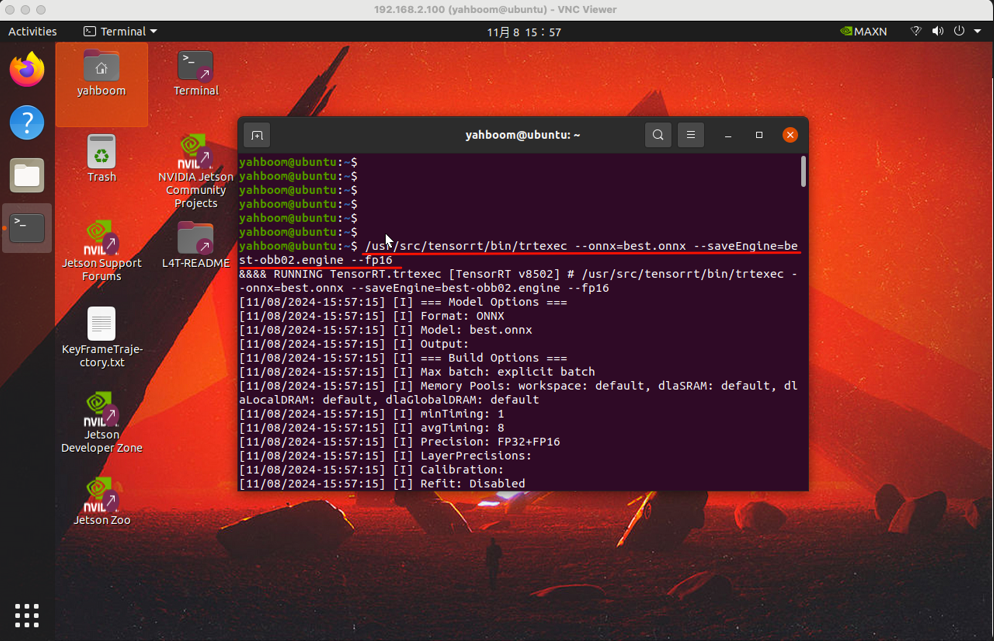
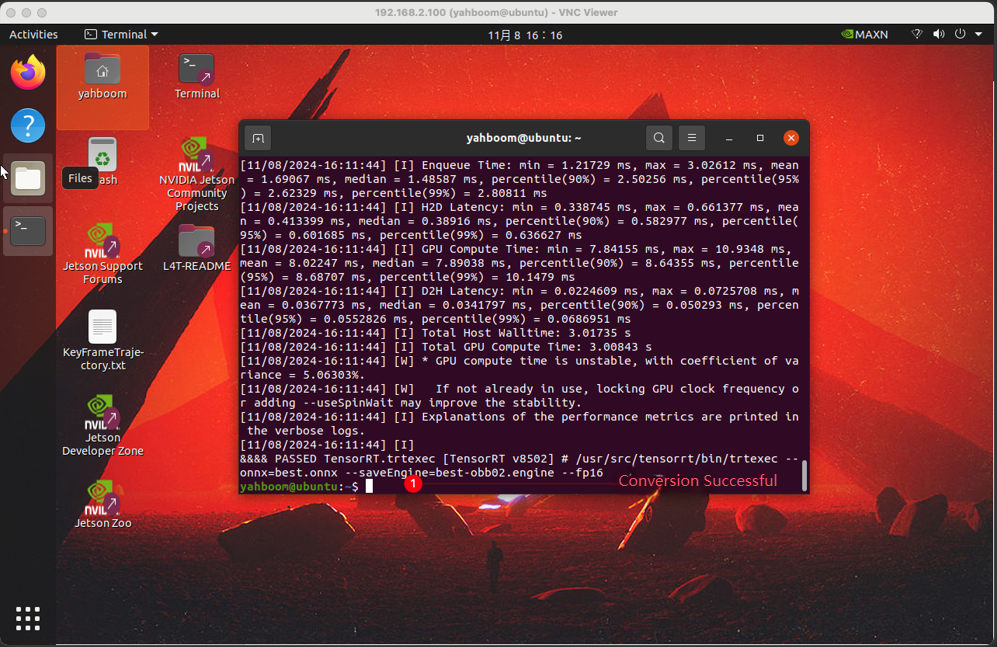
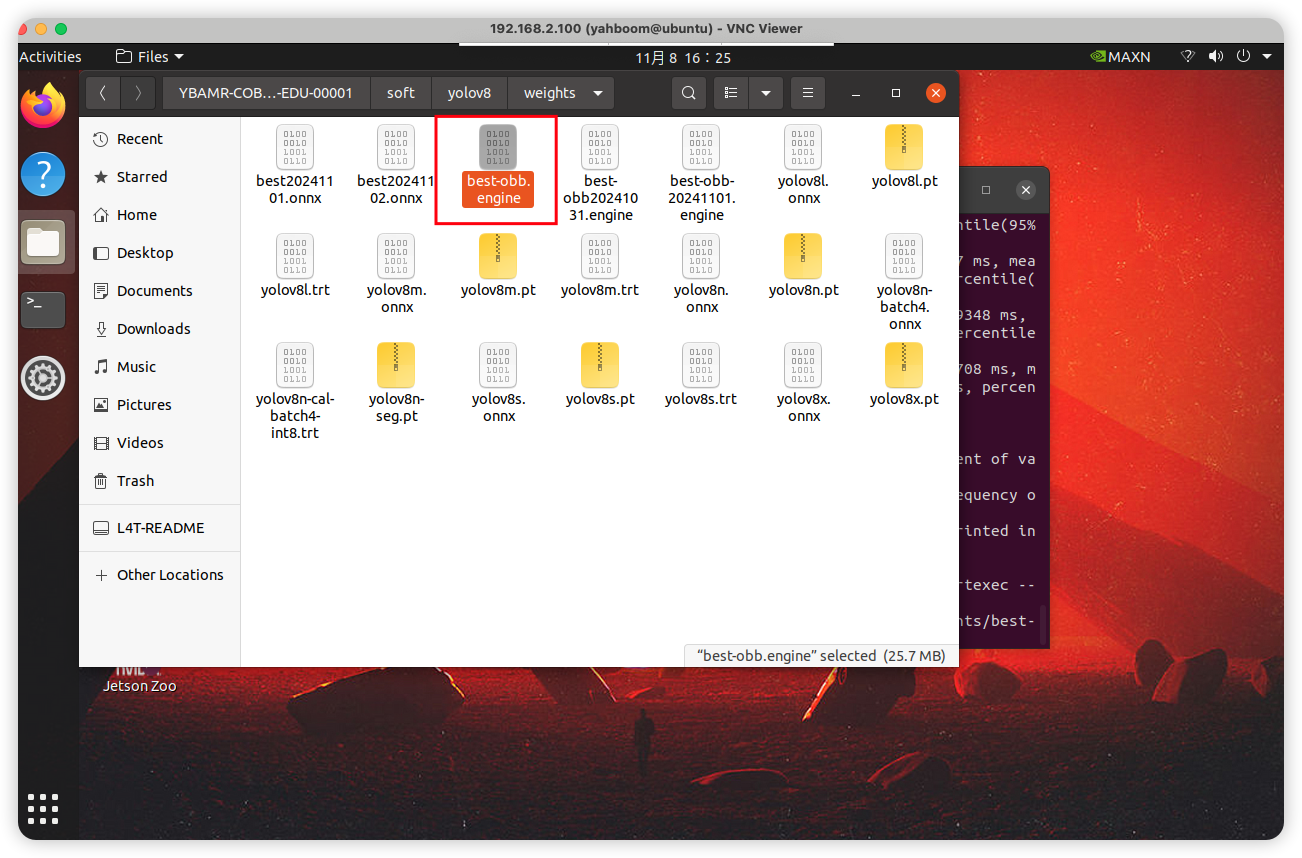
Since our yolov8 web inference model is saved in the path /home/yahboom/YBAMR-COBOT-EDU-00001/soft/yolov8/weights/, we need to rename the best-obb02.engine file to best-obb.engine and put it in the path /home/yahboom/YBAMR-COBOT-EDU-00001/soft/yolov8/weights/.