Upgrade to SUPER version
Upgrade to SUPER version1. File download2. Flashing mode2.1. Hardware connection2.2. Software connection3. Burn the system3.1. Unzip the file3.2. Run the script3.3. Burn the system to the solid state drive4. Start the system
The tutorial supports upgrading SUPER from Jetson Orin official kit and Jetson Orin SUB kit. After upgrading SUPER, only the pure system will be retained, and other motherboard cases cannot run.
Note: The startup system of Jetson series motherboards is closely related to the Jetpack version of the motherboard. Different Jetpack versions may fail to start
The tutorial uses VMware to start the Ubuntu22.04 virtual machine as a demonstration
1. File download
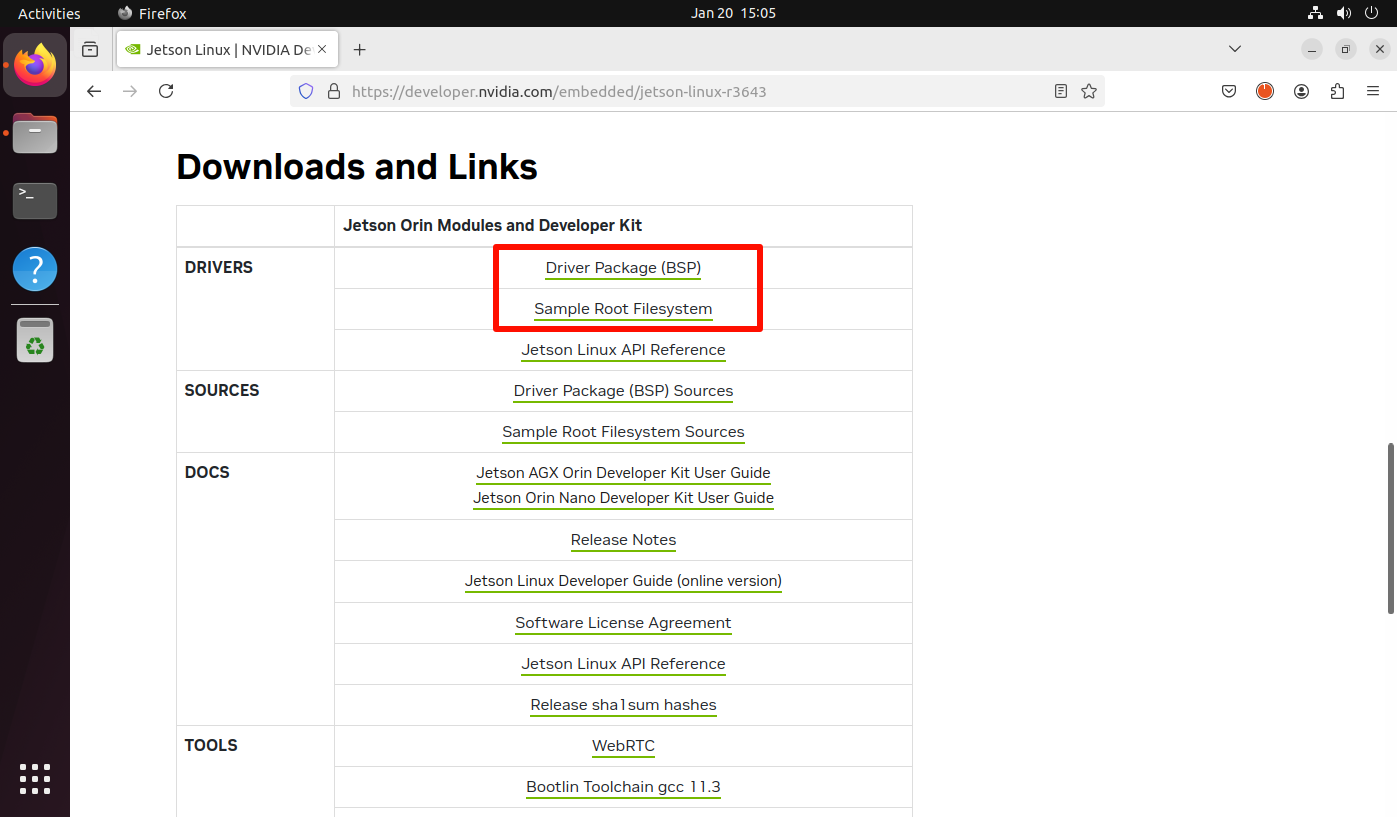
Official website:https://developer.nvidia.com/embedded/jetson-linux-r3643
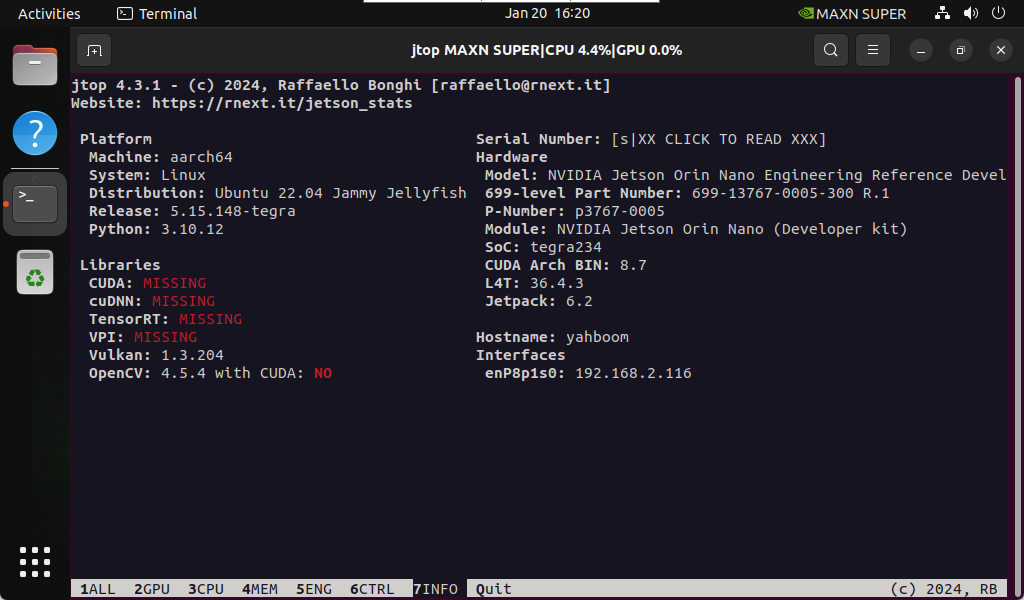
Note: NVIDIA Jetson Linux 36.4.3 corresponds to Jetpack 6.2
Download the compressed files corresponding to Driver Package (BSP) and Sample Root Filesystem:
2. Flashing mode
2.1. Hardware connection
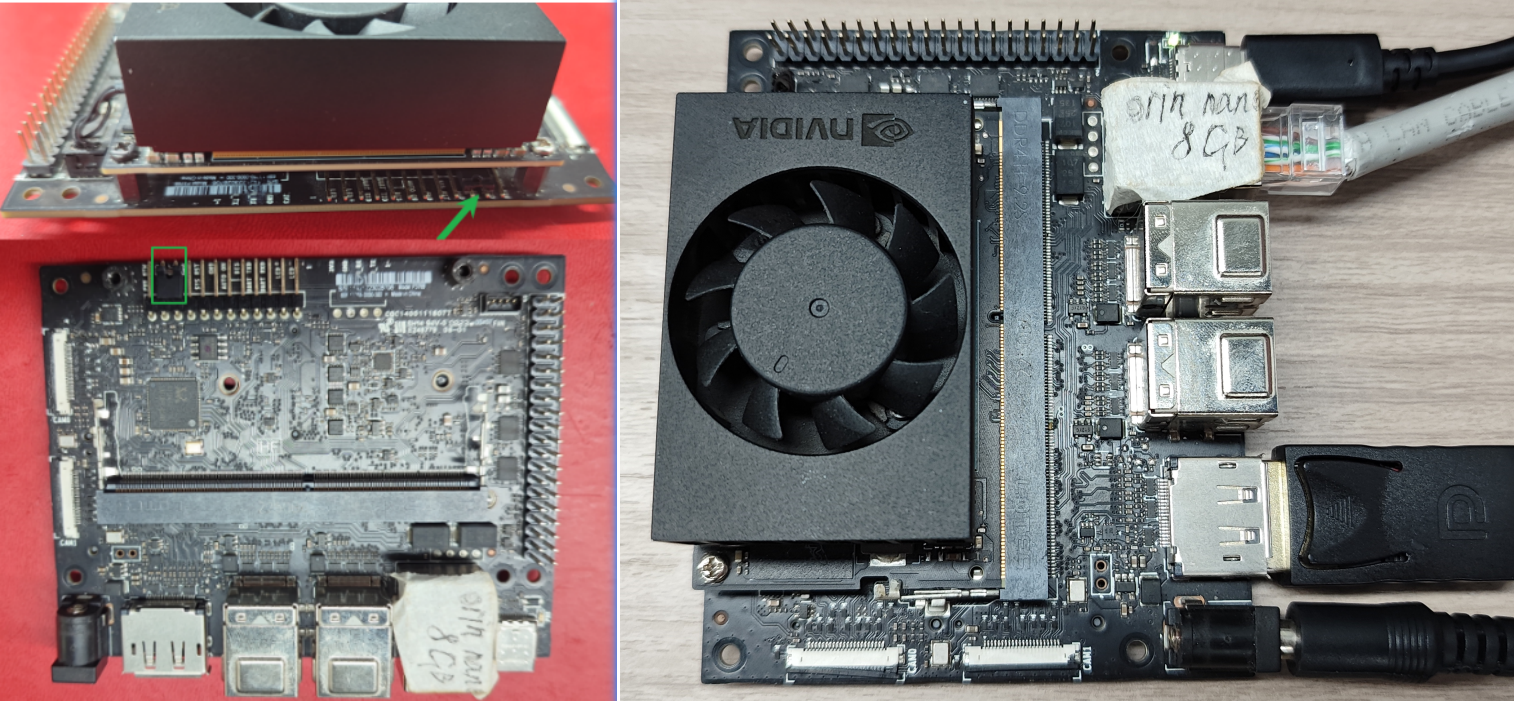
- Use a jumper cap to short-circuit the FC REC and GND pins under the core board: the core board can be left unassembled, the picture is just for a clearer observation
- The Jetson Orin motherboard needs to be connected to a DC power adapter, DP data cable, network cable, and Type C data cable: Type C data cable connects to the computer
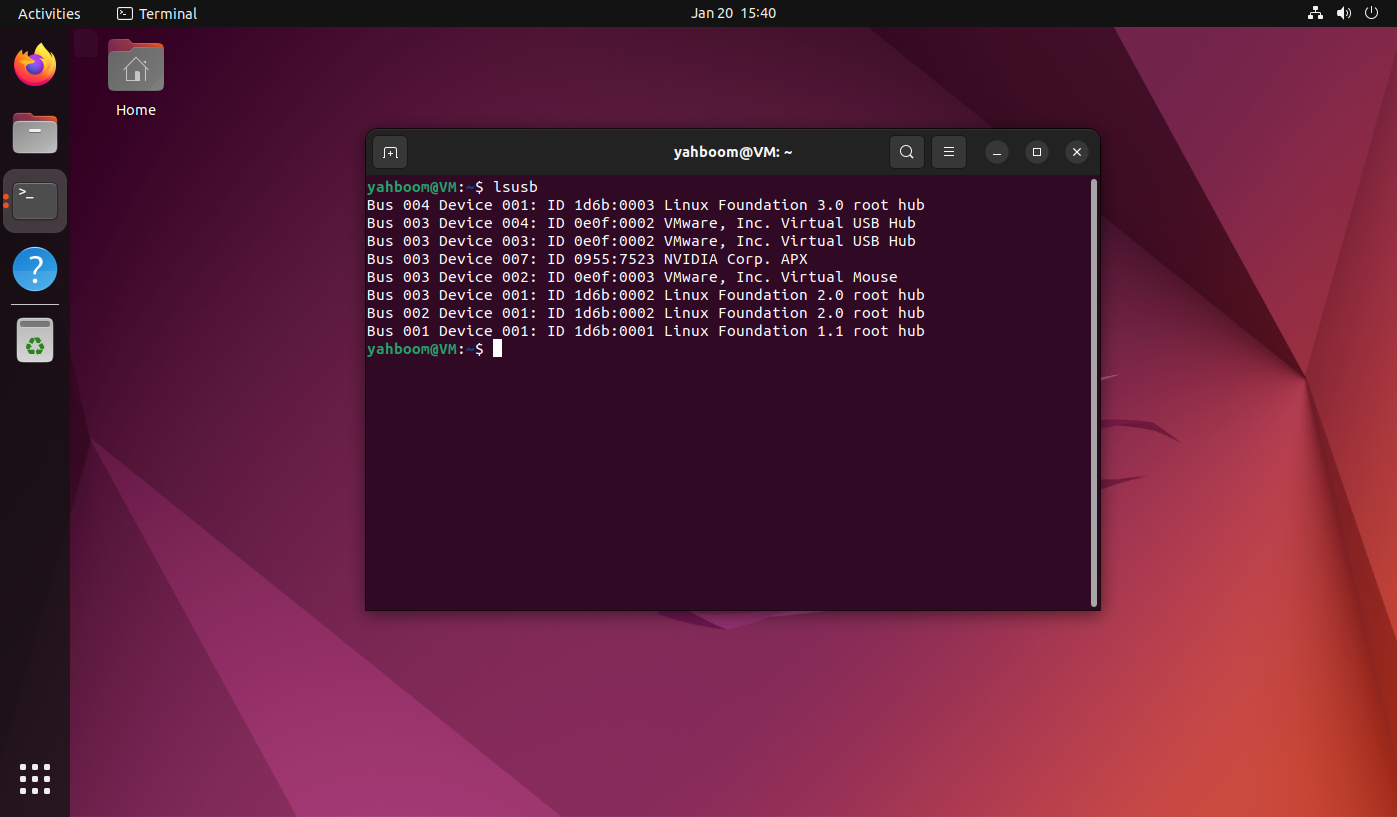
2.2. Software connection
The motherboard is successfully connected to the Ubuntu system, and the lsusb command will show the NVIDIA Corp. APX information:
3. Burn the system
3.1. Unzip the file
Enter the download folder and open the terminal, then unzip the file in the terminal and enter the specified folder:
xxxxxxxxxxtar xf Jetson_Linux_R36.4.3_aarch64.tbz2sudo tar xpf Tegra_Linux_Sample-Root-Filesystem_R36.4.3_aarch64.tbz2 -C Linux_for_Tegra/rootfs/cd Linux_for_Tegra/

3.2. Run the script
xxxxxxxxxxsudo ./tools/l4t_flash_prerequisites.sh

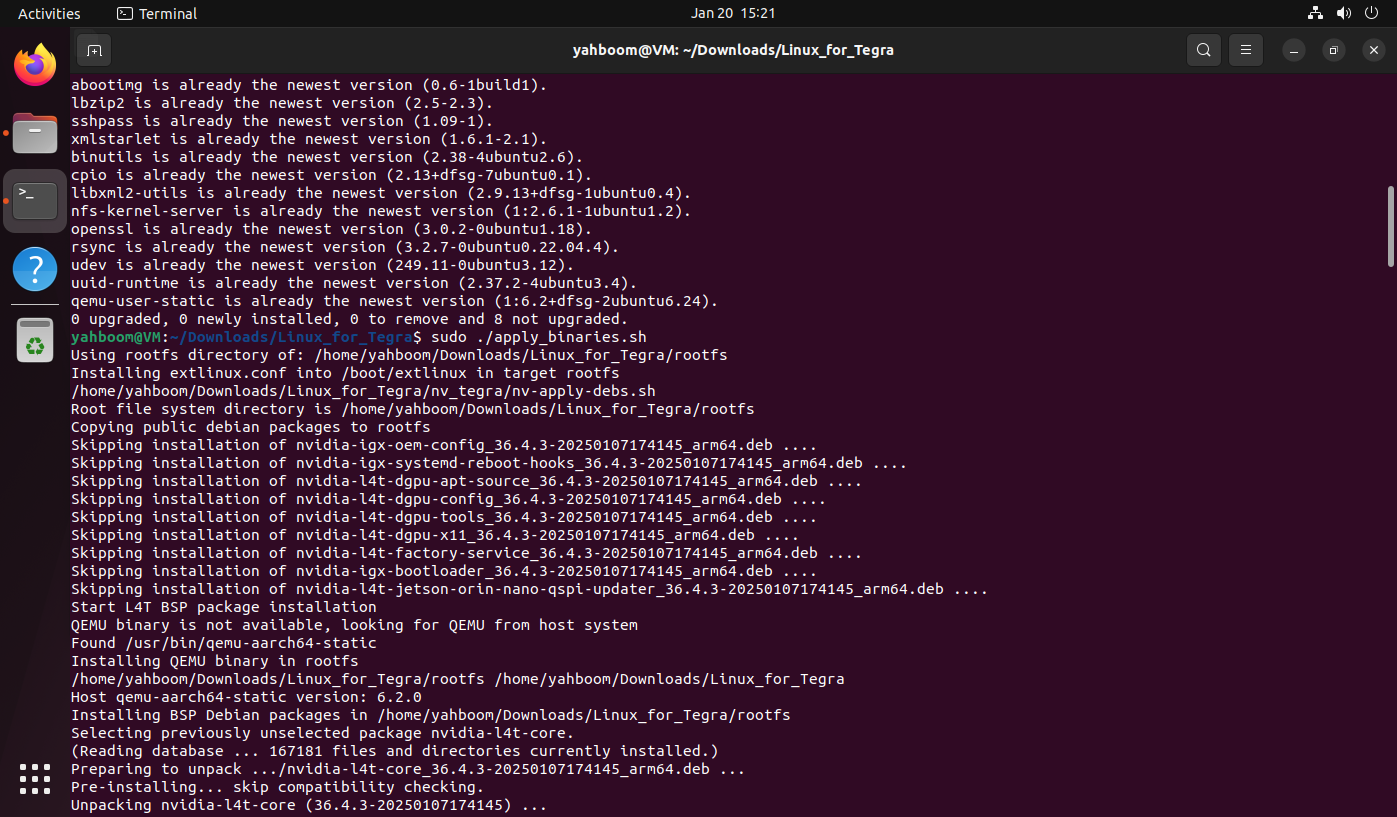
xxxxxxxxxxsudo ./apply_binaries.sh
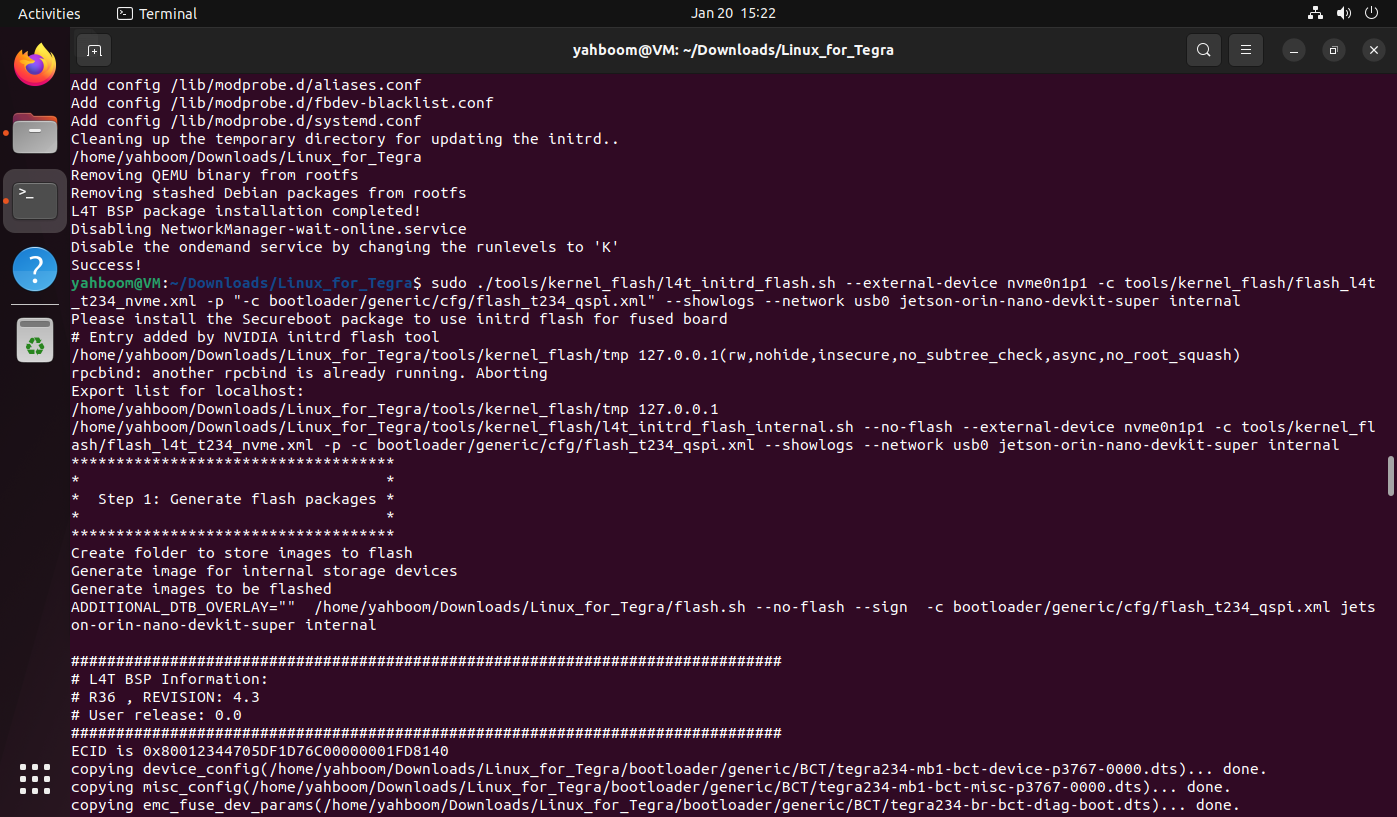
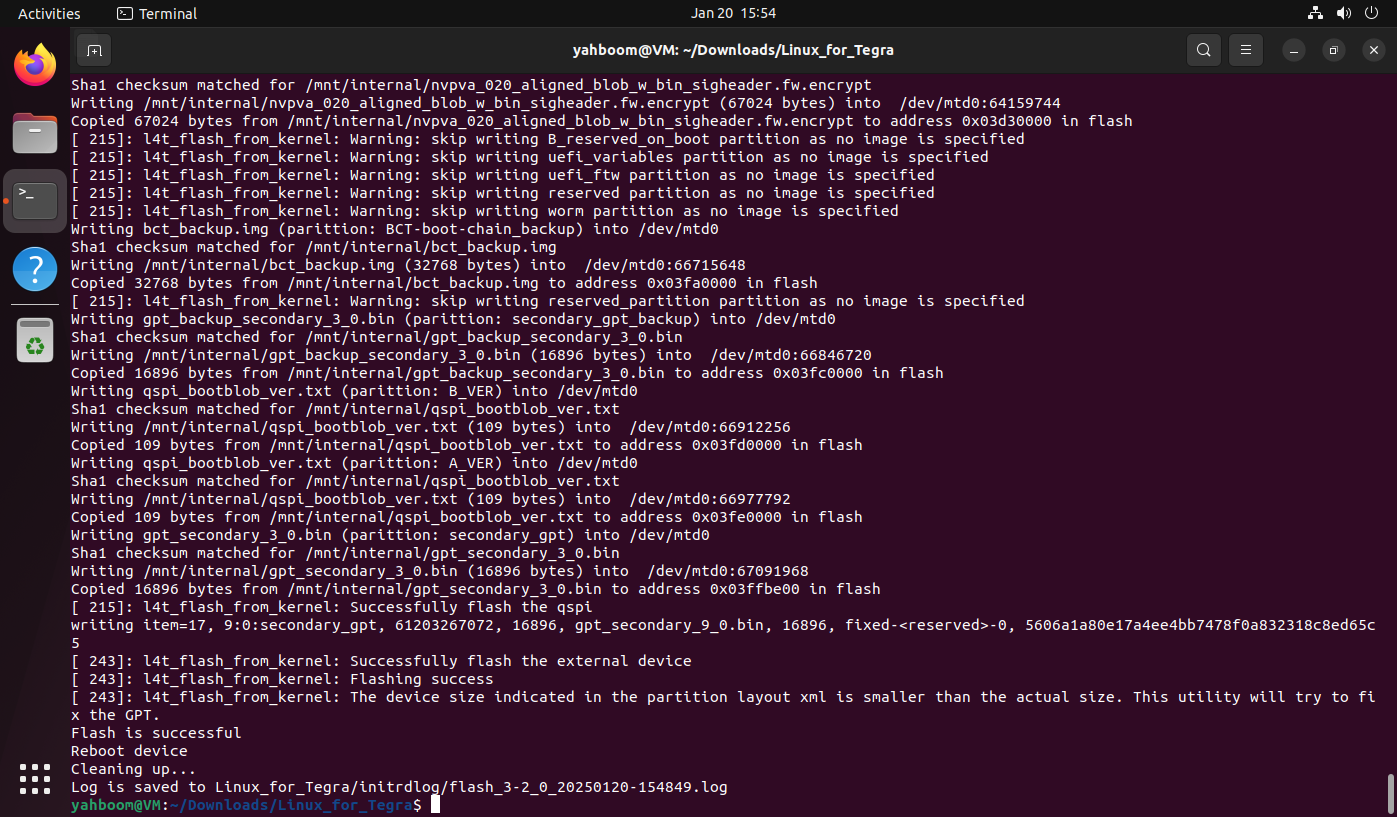
3.3. Burn the system to the solid state drive
xxxxxxxxxxsudo ./tools/kernel_flash/l4t_initrd_flash.sh --external-device nvme0n1p1 -c tools/kernel_flash/flash_l4t_t234_nvme.xml -p "-c bootloader/generic/cfg/flash_t234_qspi.xml" --showlogs --network usb0 jetson-orin-nano-devkit-super internal
Note: Both Jetson Orin Nano and Jetson Orin NX can use the same command to burn the system to the SSD
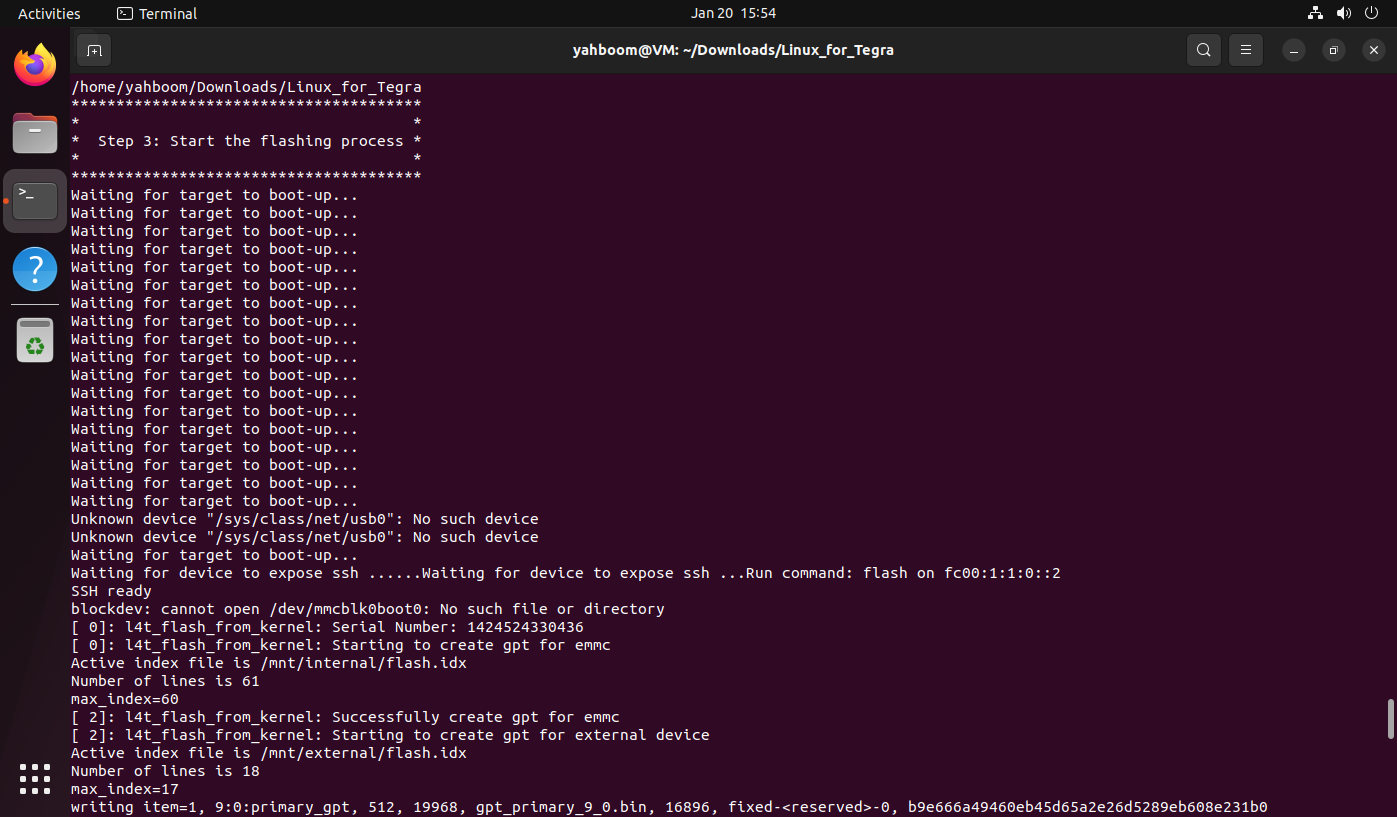
Attention: During the writing process, users need to connect their devices to the virtual machine in a timely manner, otherwise it may cause connection timeout!
4. Start the system
After the system is successfully burned, disconnect the mainboard power supply (disconnect the DC power adapter and Type-C data cable), and then unplug the jumper cap that shorts FC REC and GND under the core board; after confirming that the above operations are completed, reconnect the DC power adapter and DP data cable (connect to the display) to start the system.