STM32CubeIDE installation
STM32CubeIDE installation1. Software Download1、Software download2. Select the platform3. Fill in the information2. Software installation1. Open the installation package2. Installation process-settings3. Software Configuration1. Open the application2. Register-Login account3. Install the firmware package4. Software Usage1. Create a new project2. Chip selection3. Project settings4. Pin layout and configuration SYS - RCC 5. Clock configuration6. Project management7. Generate initialization code8. Write code9. Compile code10. Create a new project again5. Common ProblemsEncoding format problem
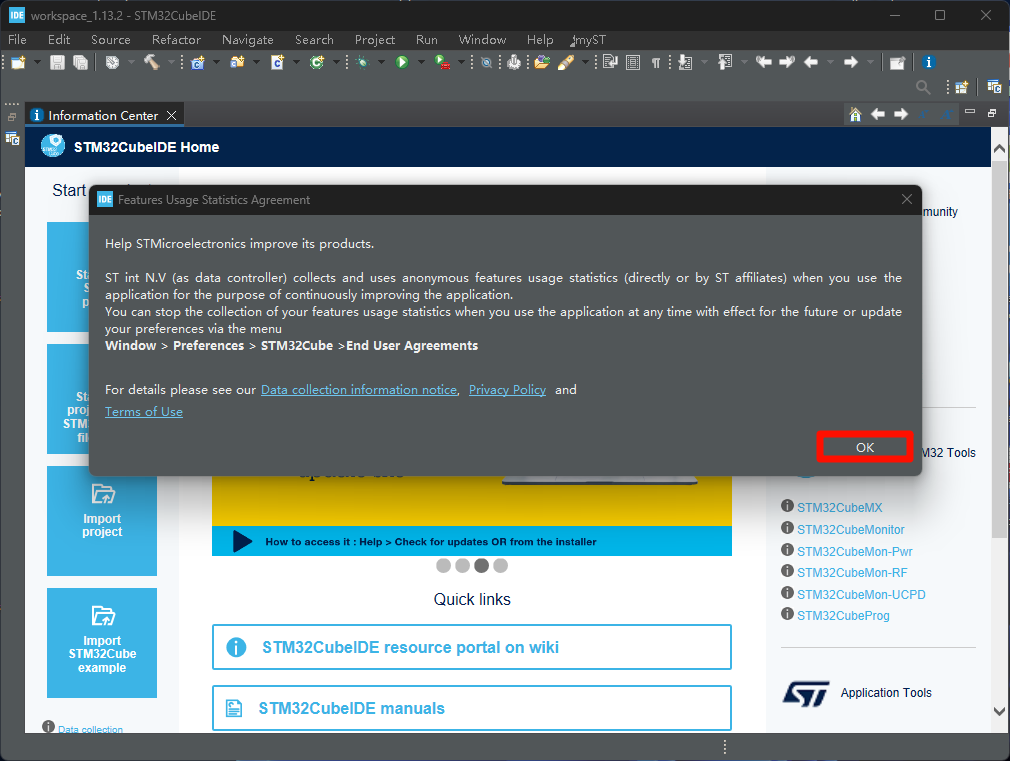
STM32CubeIDE is a free software, the tutorial demonstrates the installation and use of the software!
The [Attachment → Software Tools] in the document provides an installation package, you can skip the download step and install it directly
1. Software Download
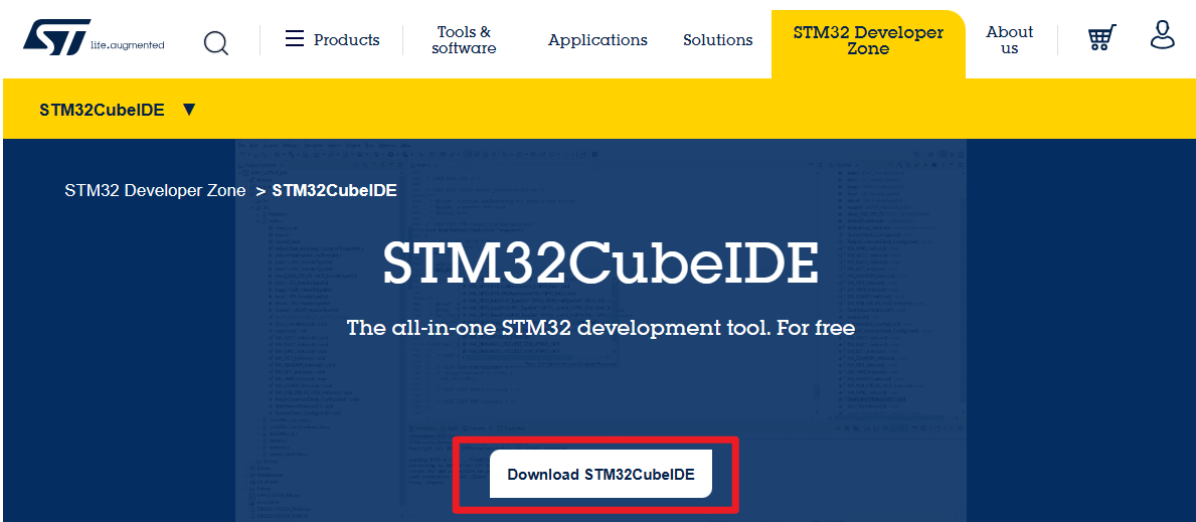
1、Software download
ST office website:https://www.st.com/content/st_com/en/stm32cubeide.html
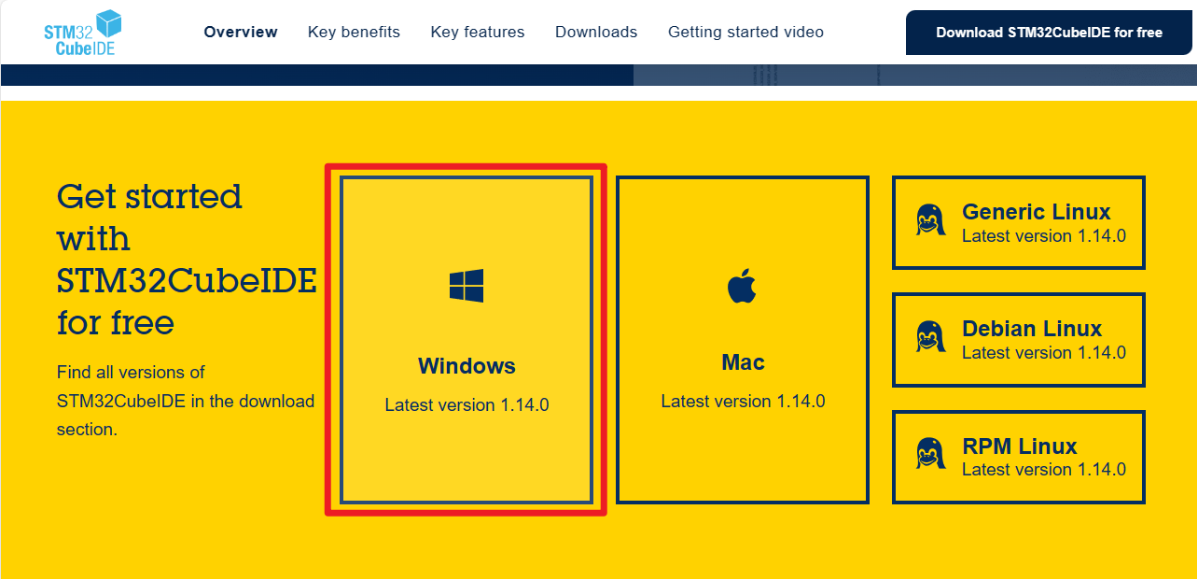
2. Select the platform
Platform: Windows
3. Fill in the information
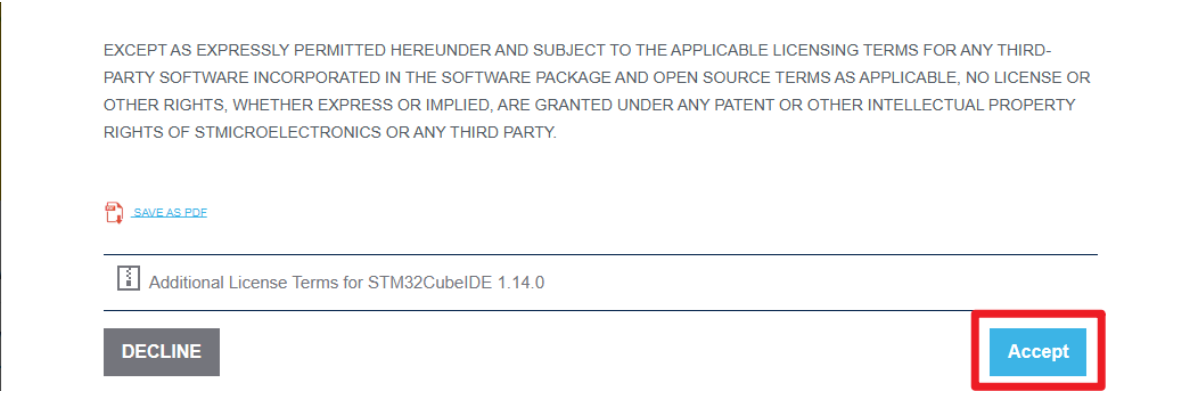
Agree to the agreement
Fill in the information
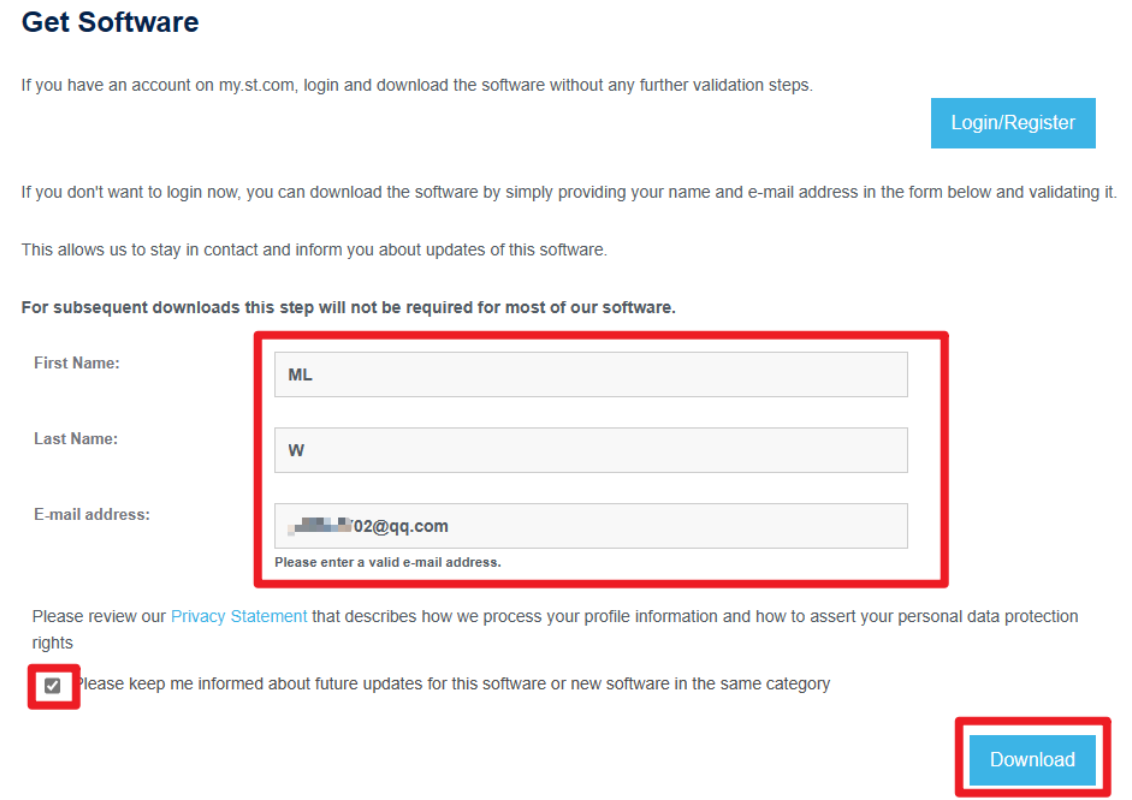
xxxxxxxxxxThe email address needs to be filled in accurately, and the software download link will be sent to you via email
Submission completed

Download the installation package via email
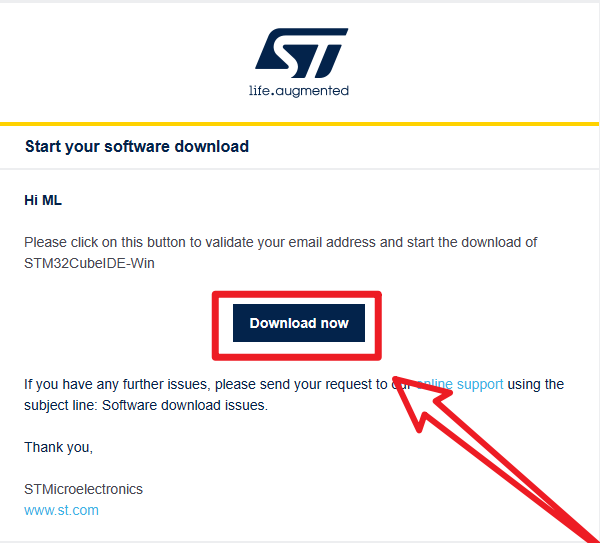
xClick the link to jump to the official website, and the website will automatically pop up a pop-up window for downloading the software compressed package
2. Software installation
1. Open the installation package
Administrator
Open the installation package as an administrator
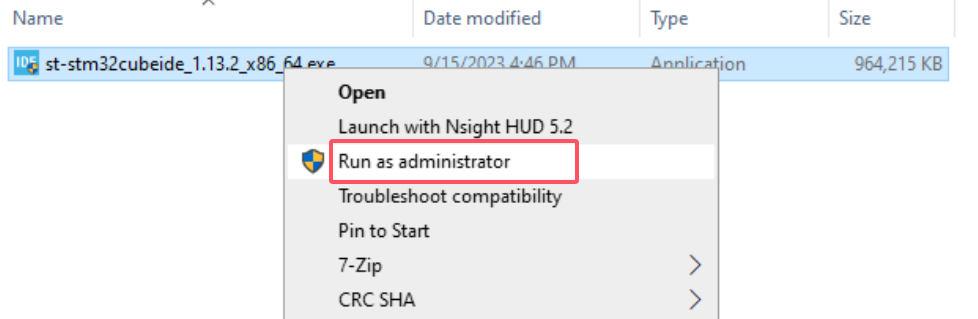
xxxxxxxxxxIf you open the software installation package and see "NSIS ERROR: error "Launching installer" error message:Please put the installation package in a path without Chinese characters
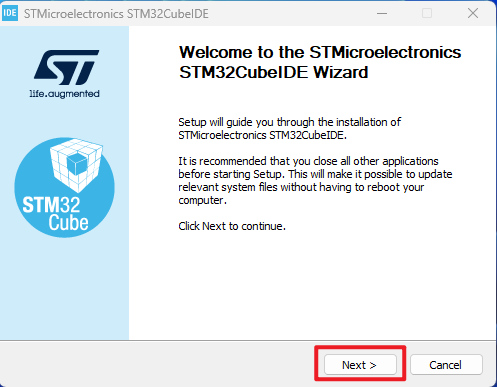
2. Installation process-settings
Next
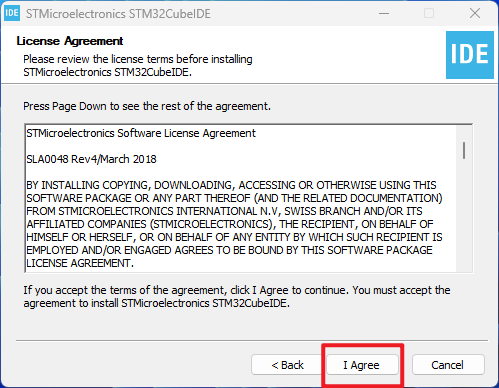
Agree to the agreement → I agree
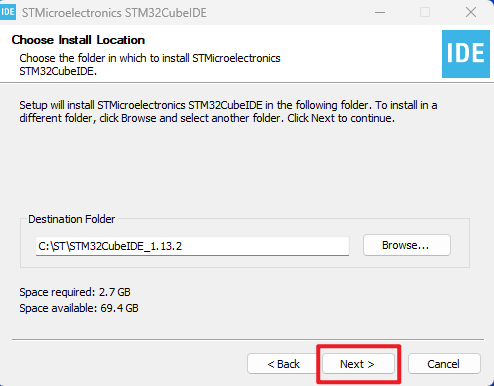
Installation location → Next → Install
xxxxxxxxxxIt is recommended to use the default installation location of the software and the path should not contain Chinese characters
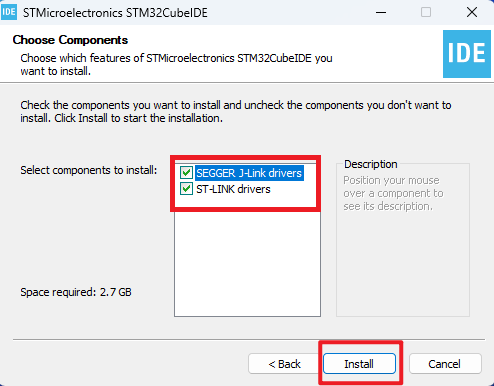
xxxxxxxxxxCheck the option to install ST-Link and J-Link drivers
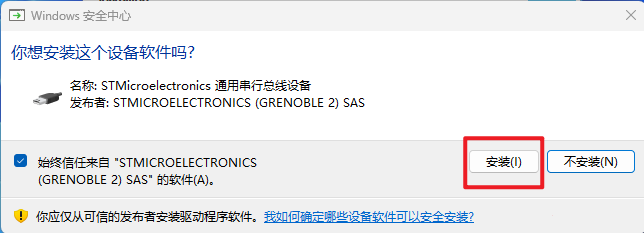
Install driver
Installation waiting → Next
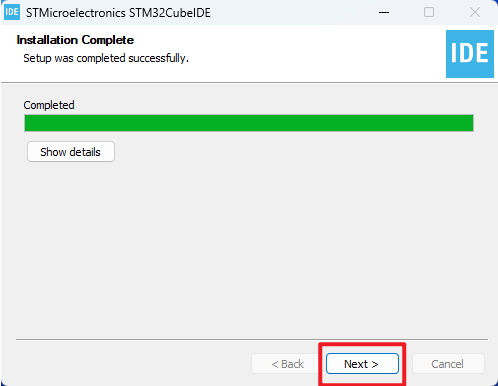
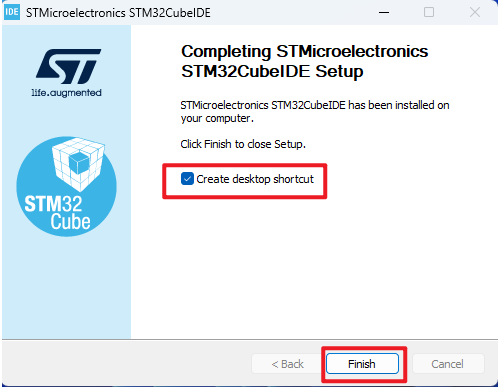
Finish
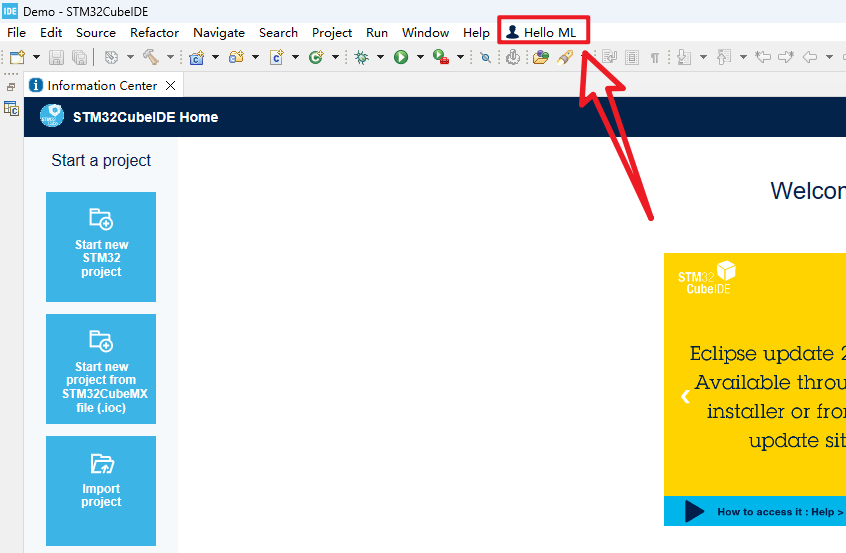
3. Software Configuration
Be familiar with the software-related options and functions.
1. Open the application
Left mouse button: Double-click the desktop application
Select workspace
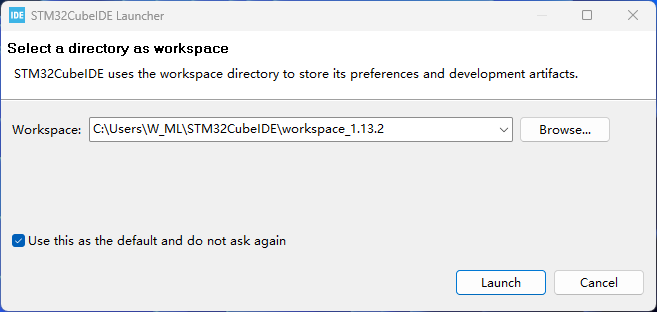
xxxxxxxxxxYou can create a new folder yourself, and the folder path cannot contain Chinese characters
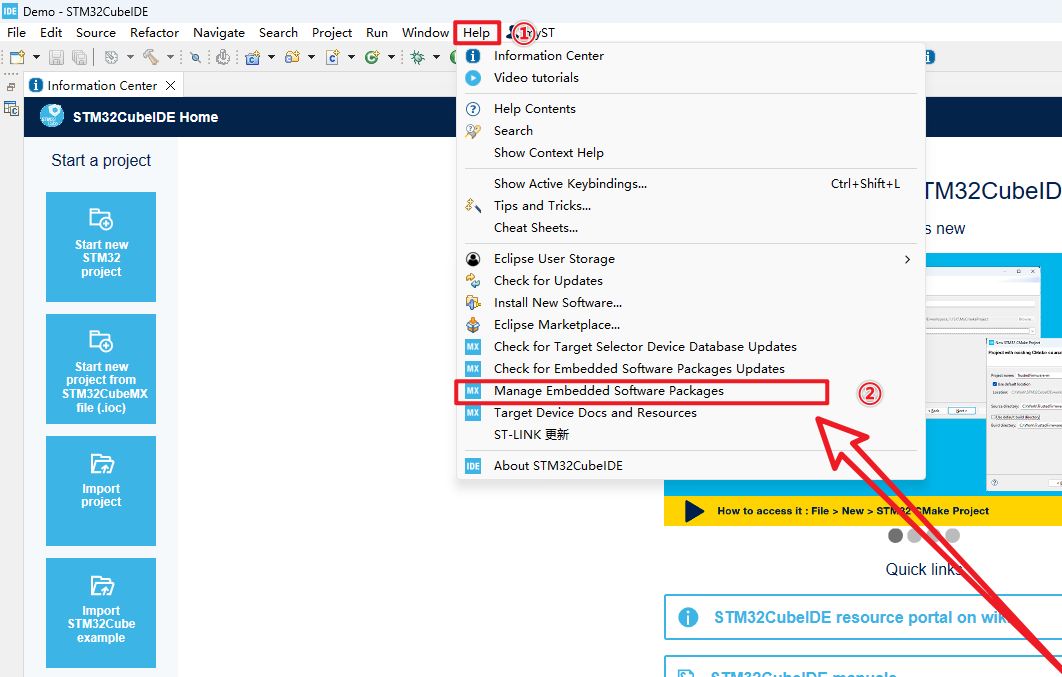
2. Register-Login account
The new version of STM32CubeIDE requires a registered account to log in before downloading the firmware package and using the software normally:
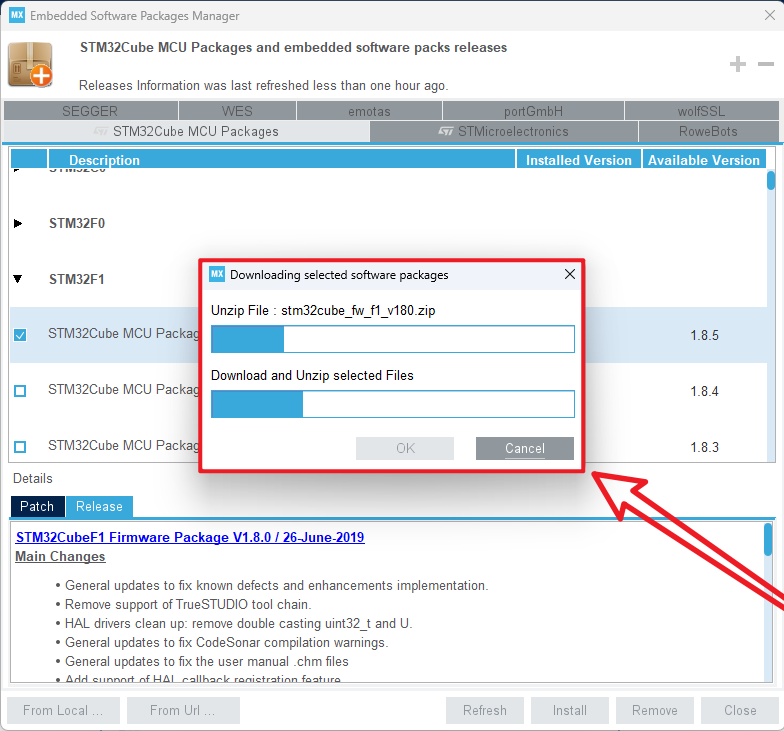
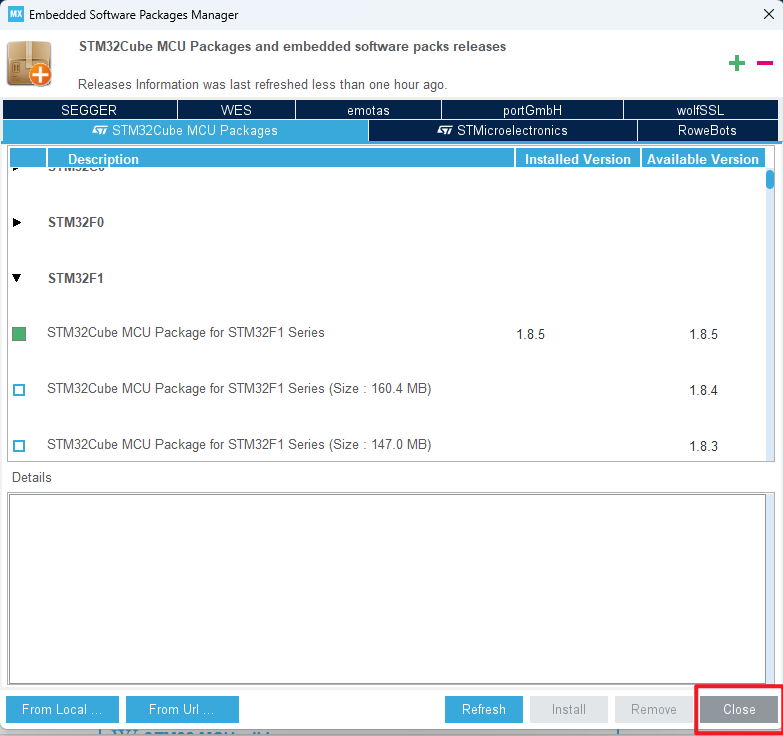
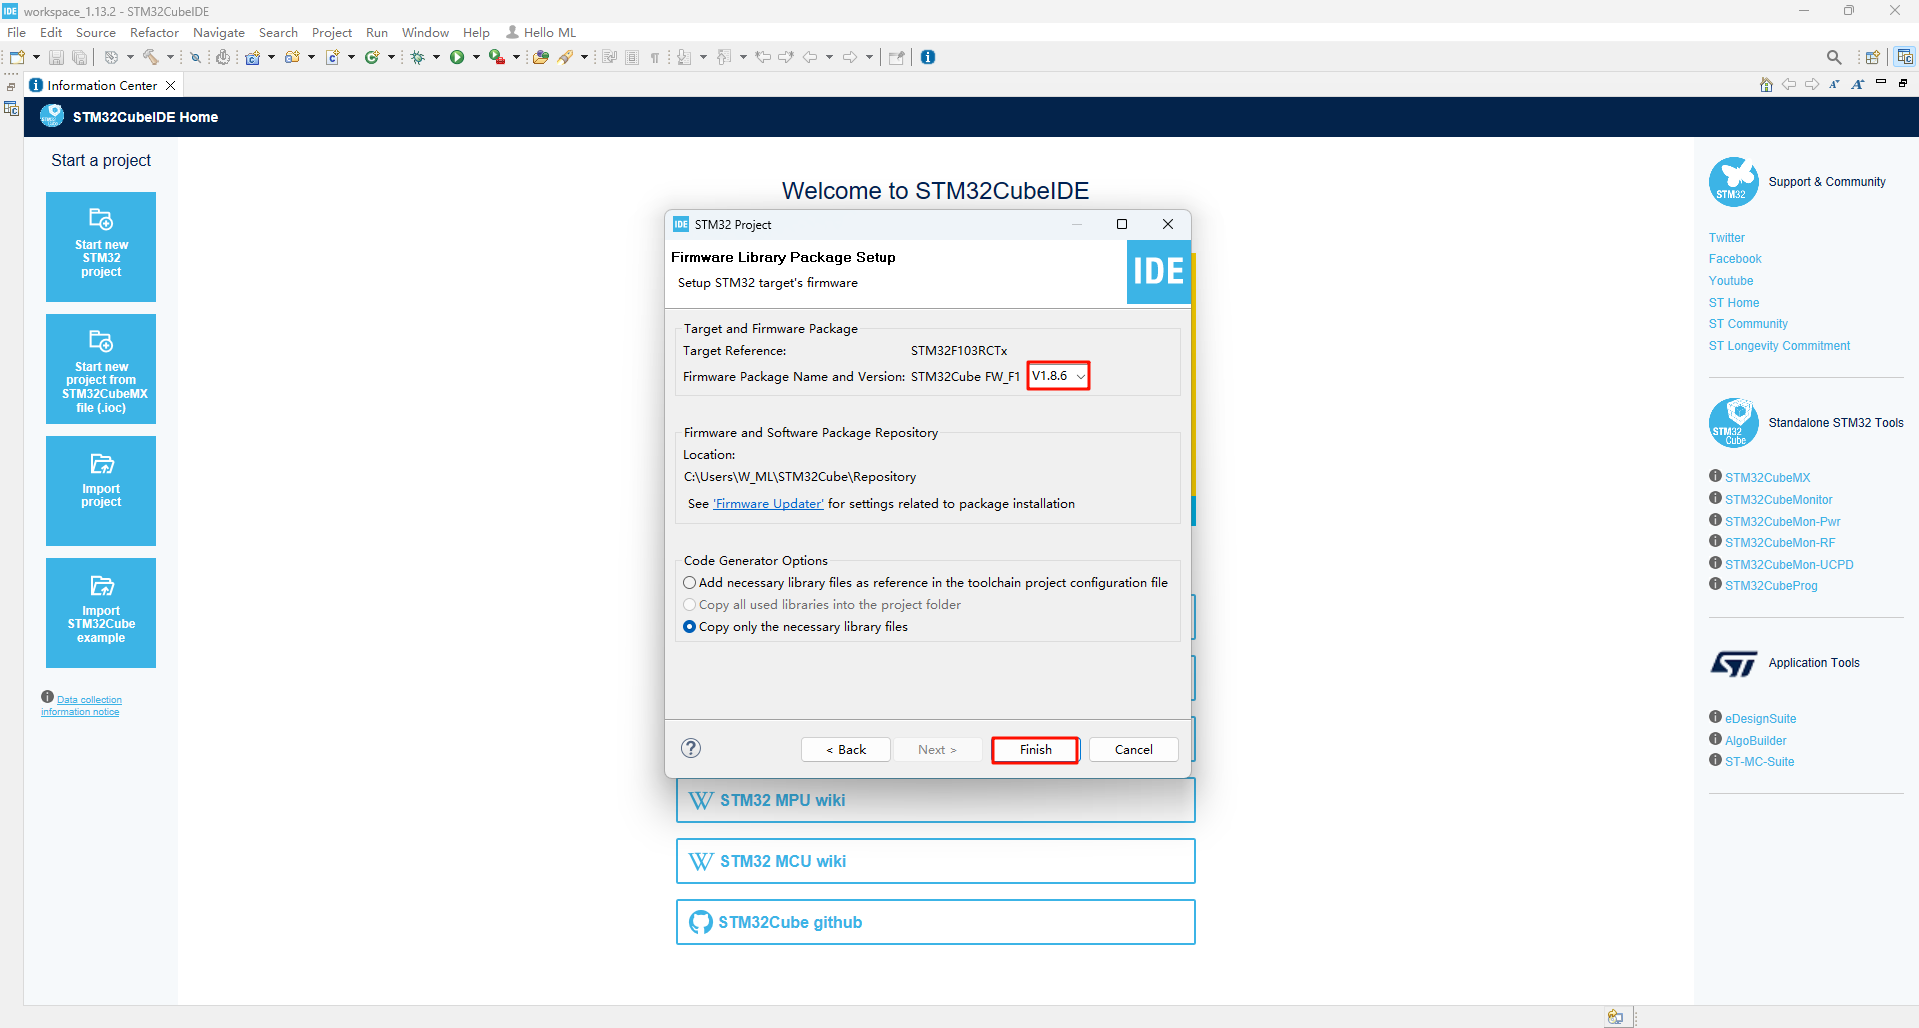
3. Install the firmware package
Help → Manage embedded software packages
Install the latest firmware package of the STM32F1 series
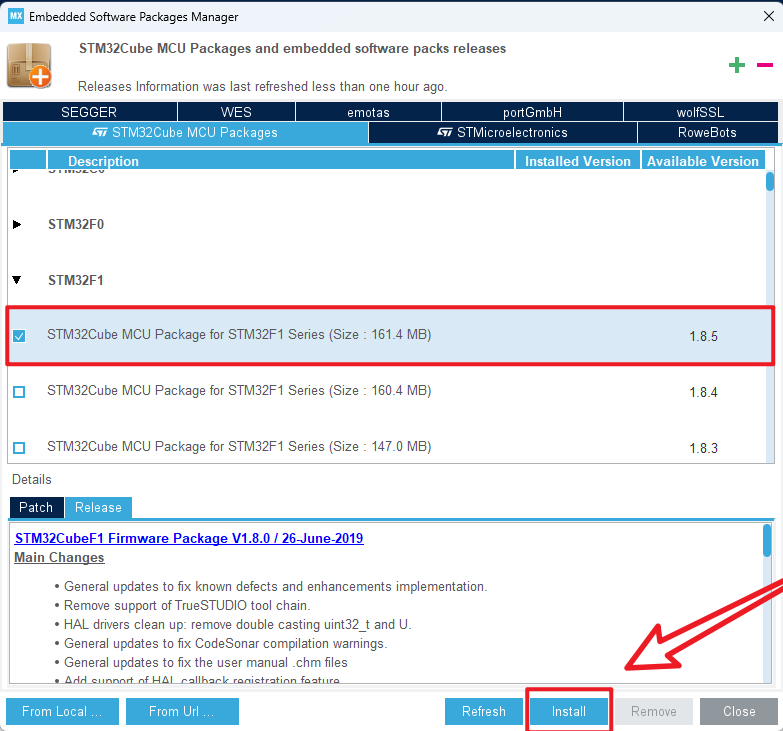
xxxxxxxxxx1. The chip firmware package cannot be installed without logging in2. To install or uninstall, select the box in front of the chip firmware package. Clicking this option will not have installation and uninstall options
Waiting for download
Close the interface
4. Software Usage
STM32CubeIDE integrates the STM32CubeMX function, which can be used for pin configuration, as well as direct code writing and debugging.
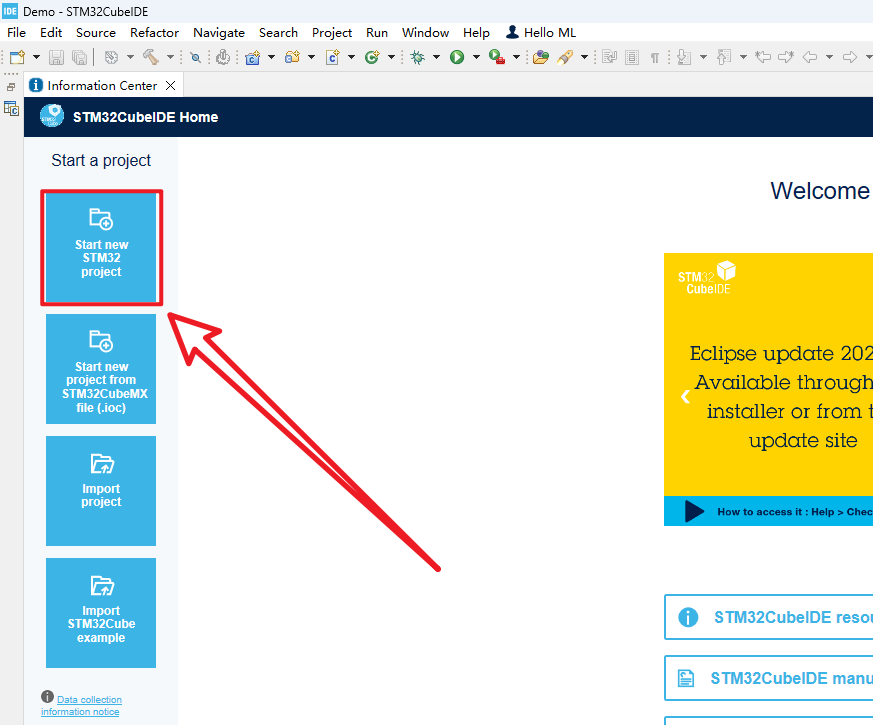
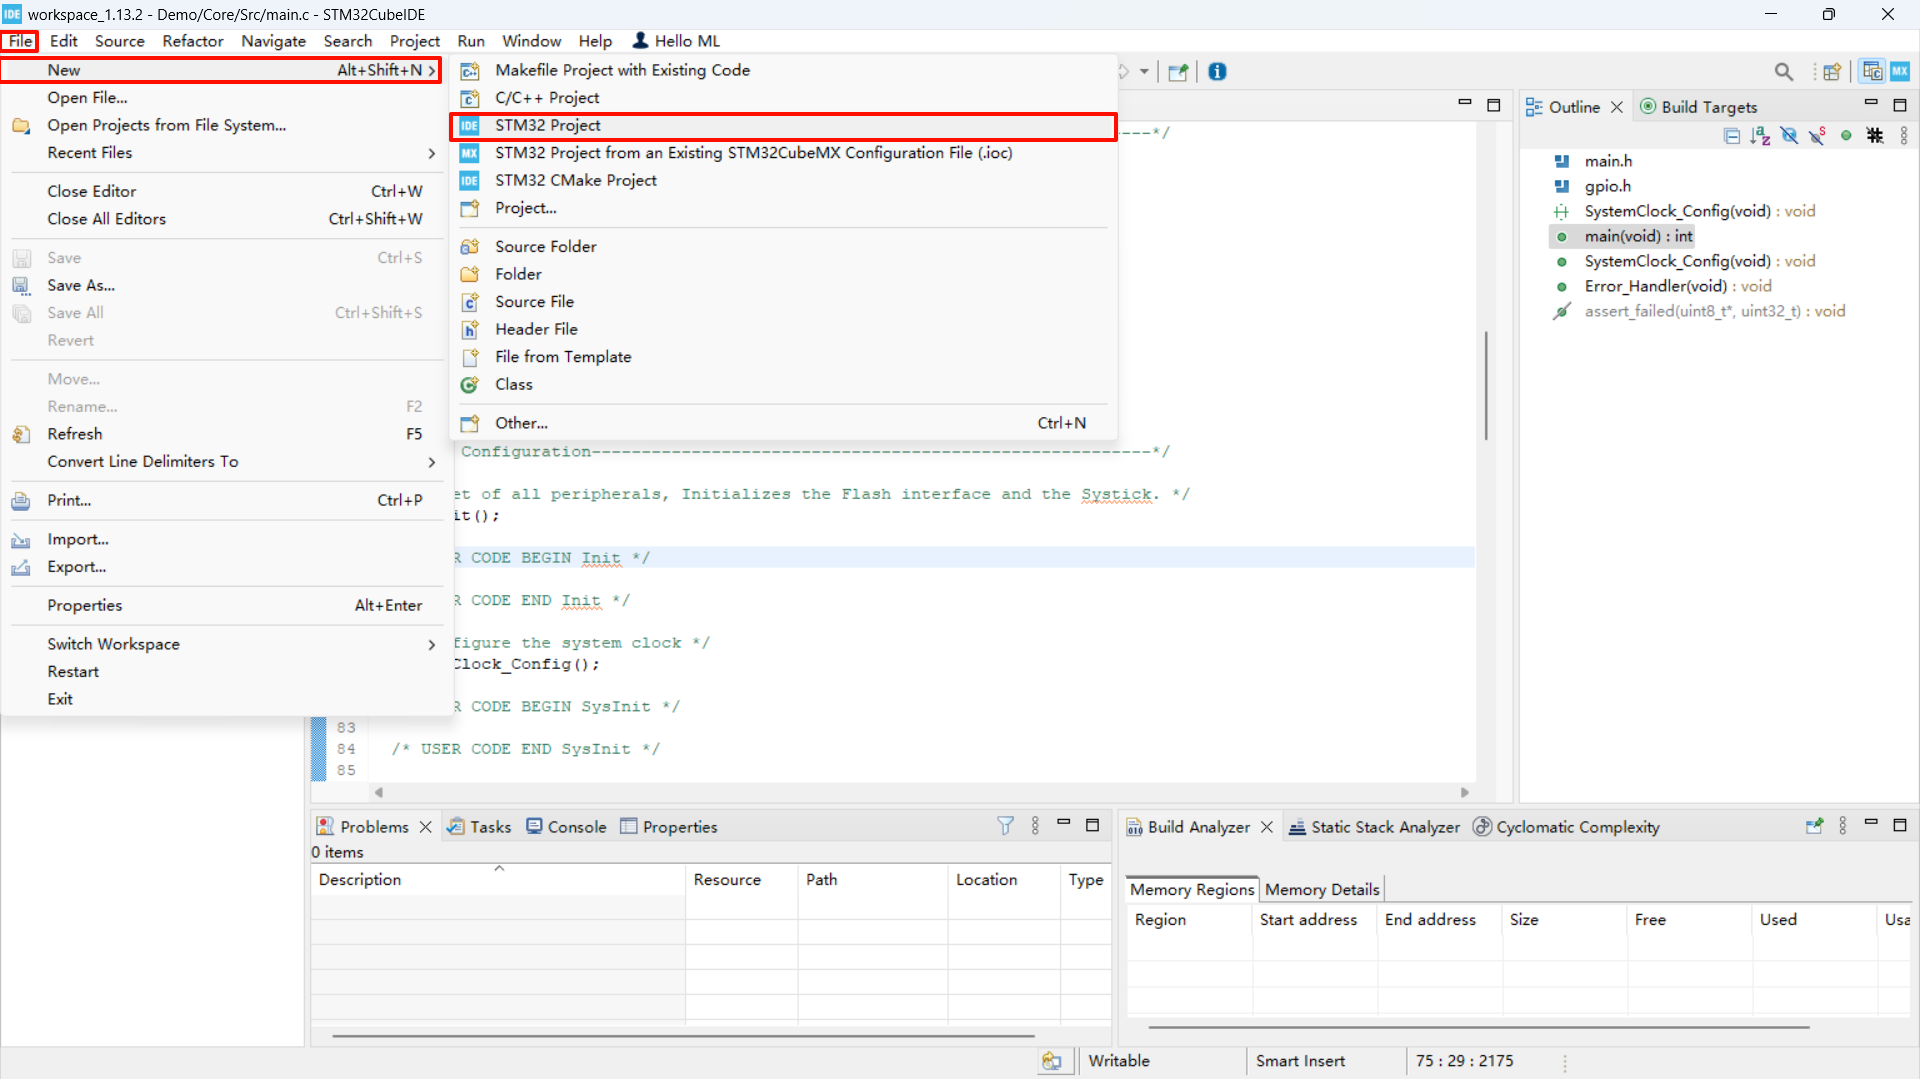
1. Create a new project
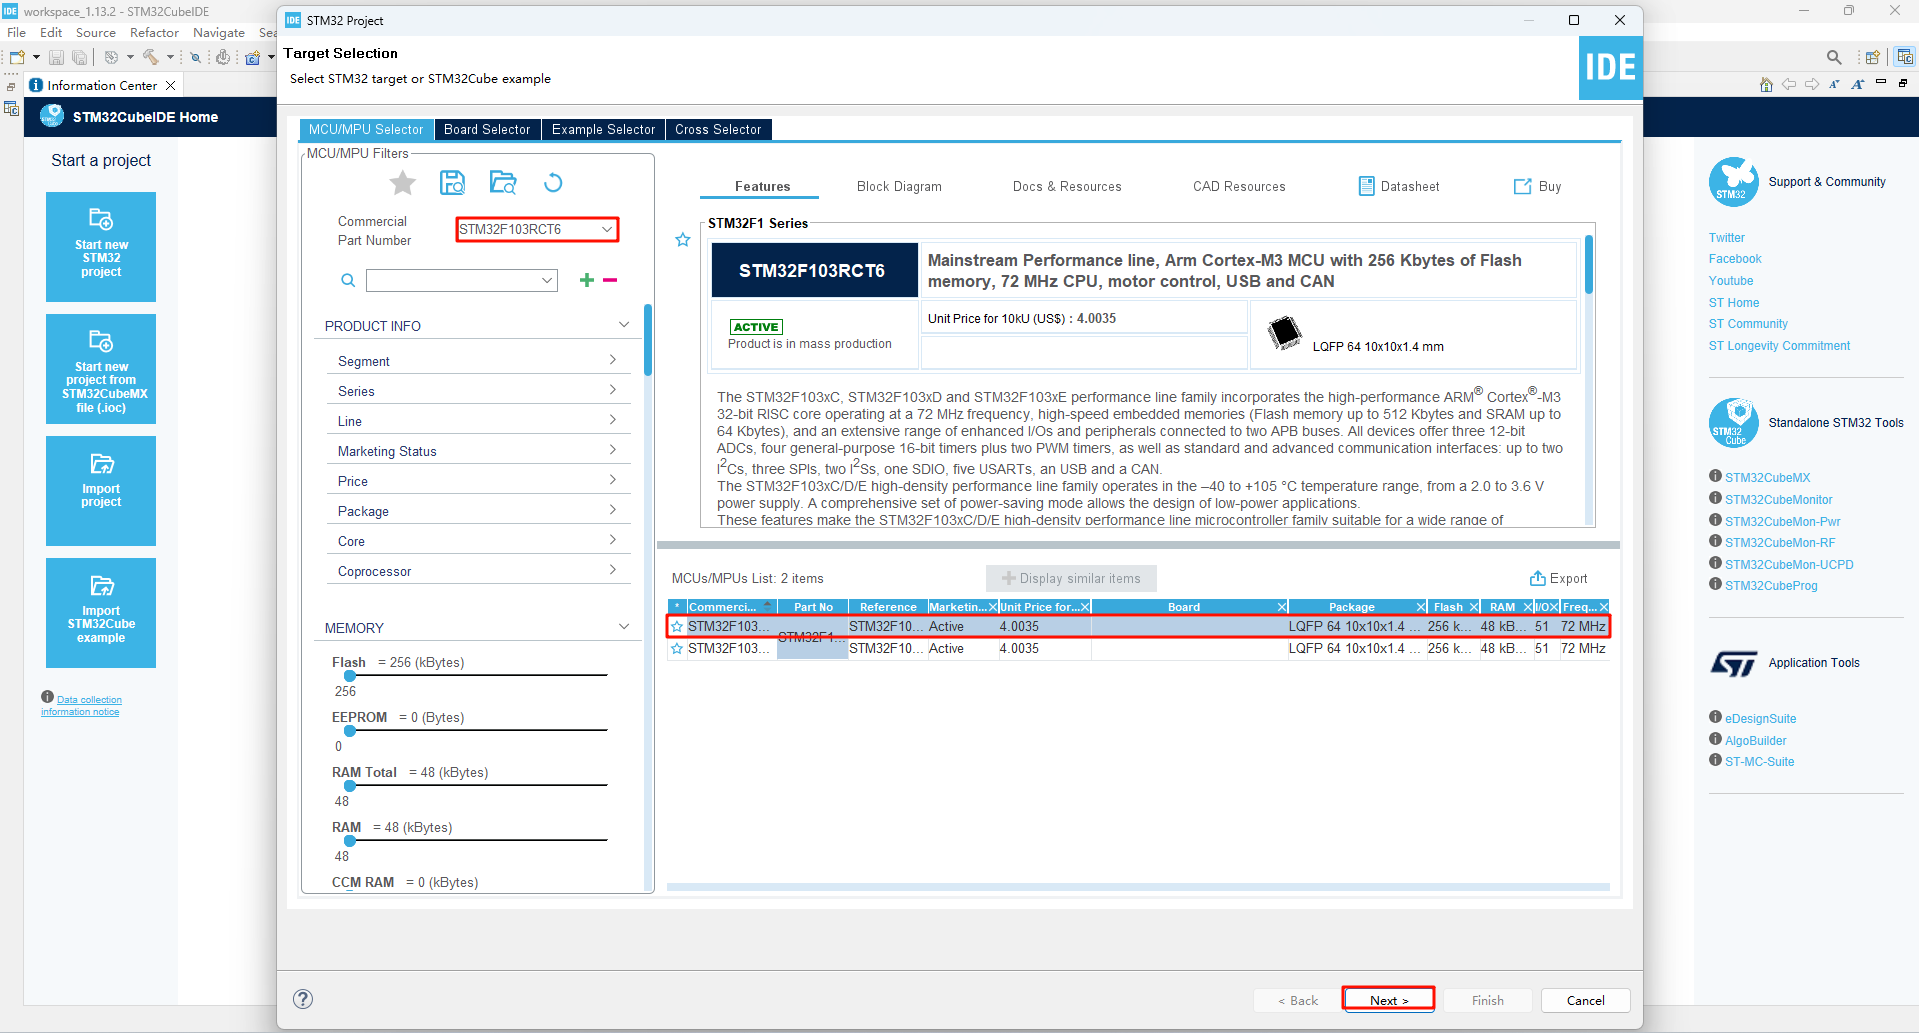
2. Chip selection
Chip selection and interface
Search for STM32F103RCT6
3. Project settings

xxxxxxxxxxDefault configuration is sufficient, and the project file name can be customized
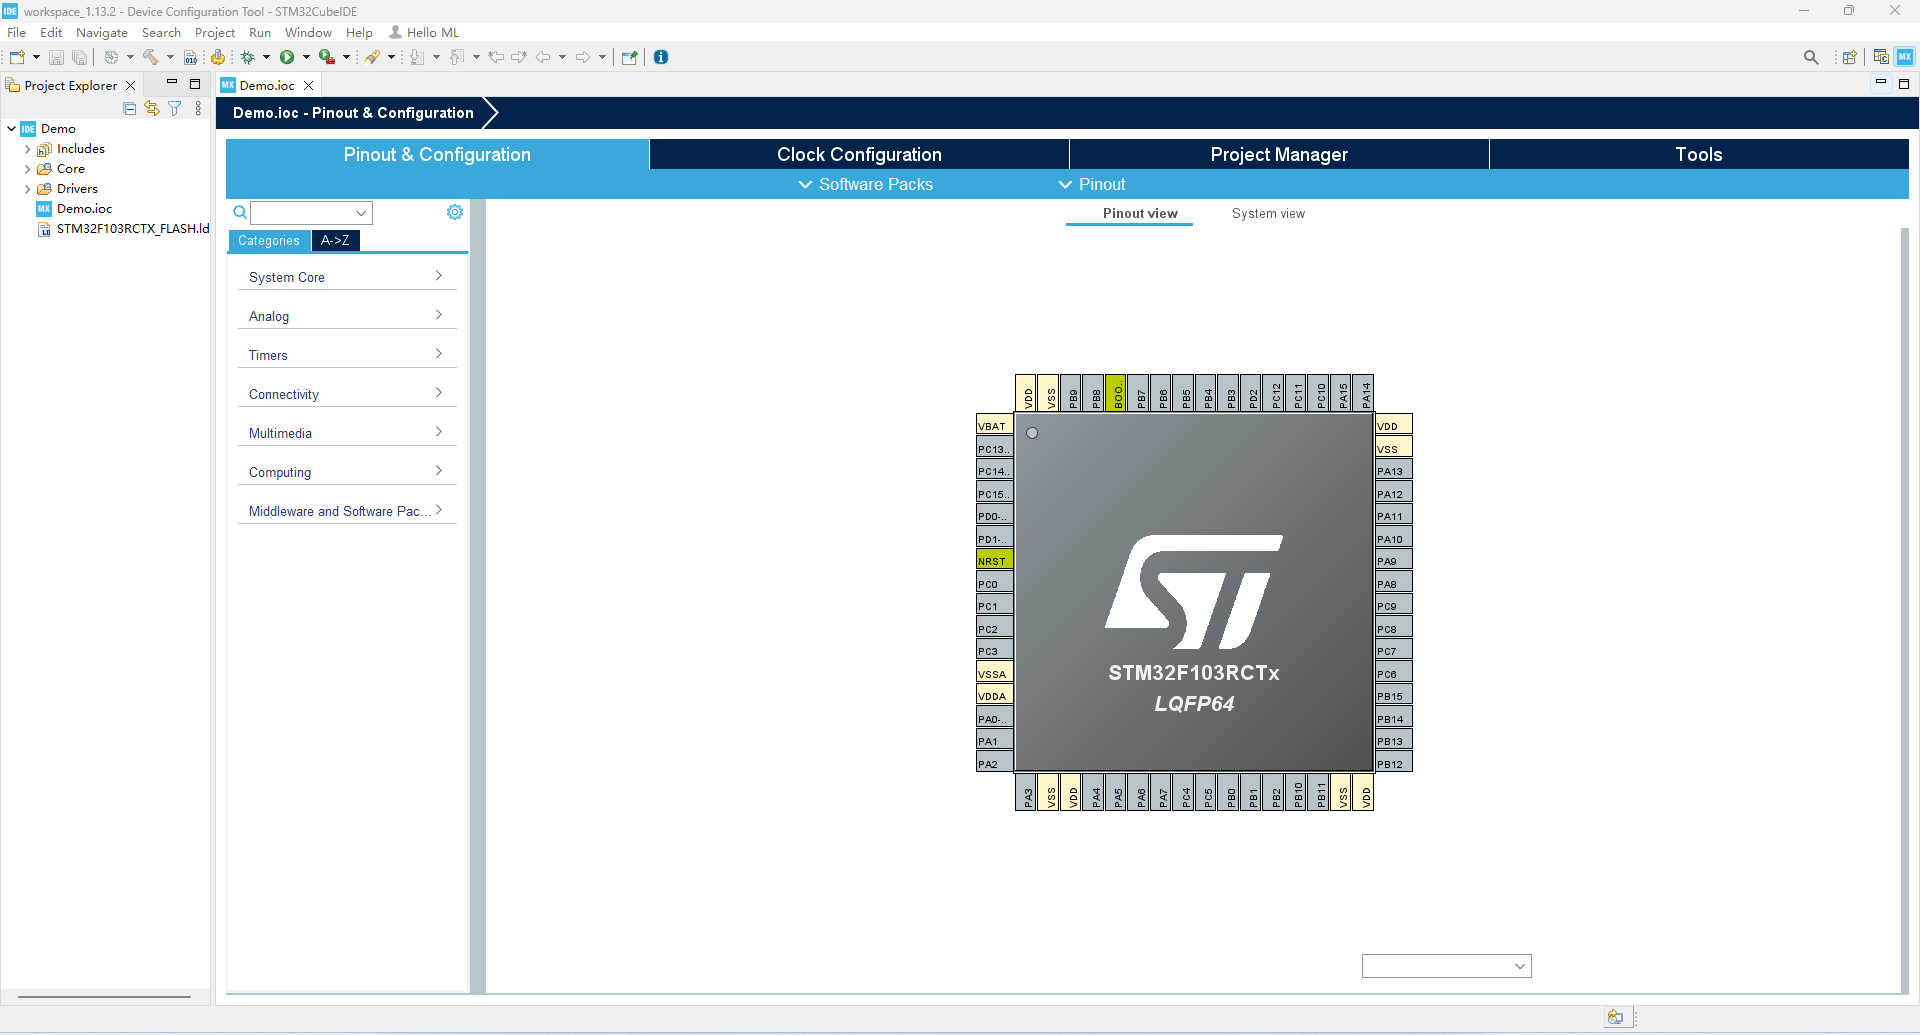
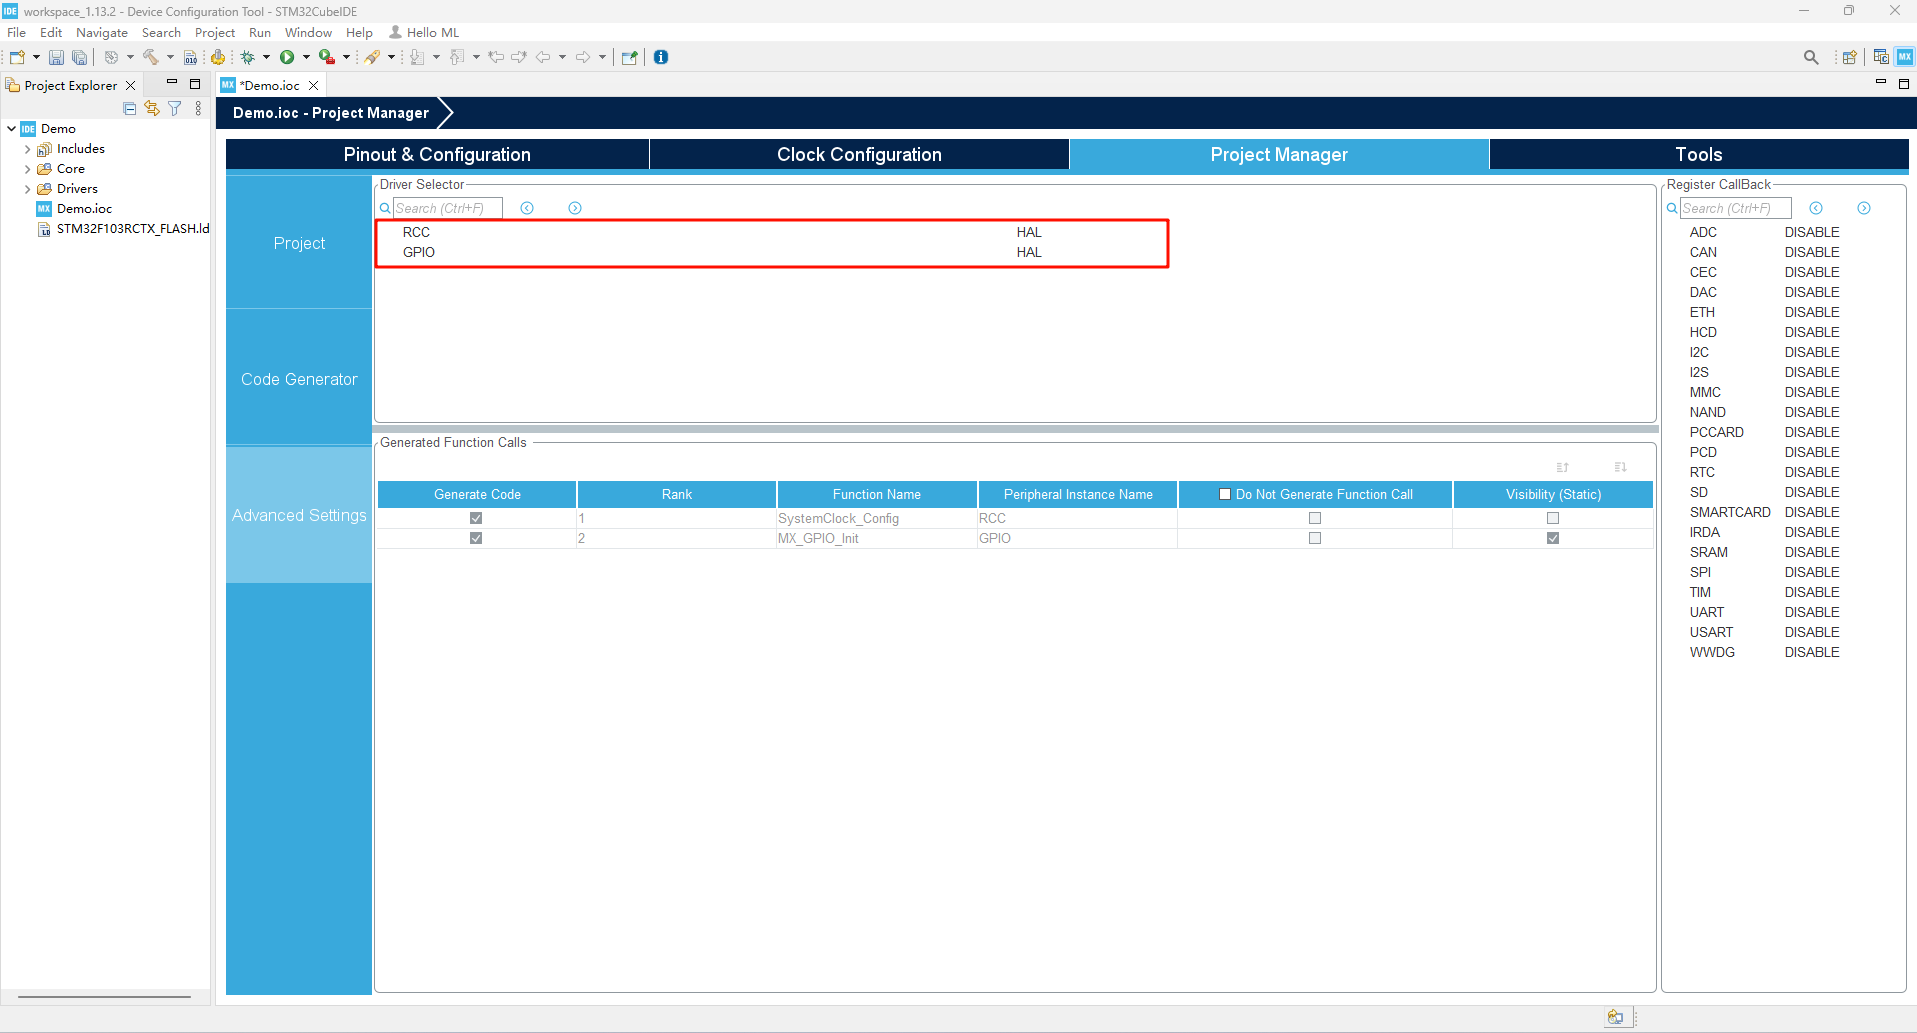
4. Pin layout and configuration
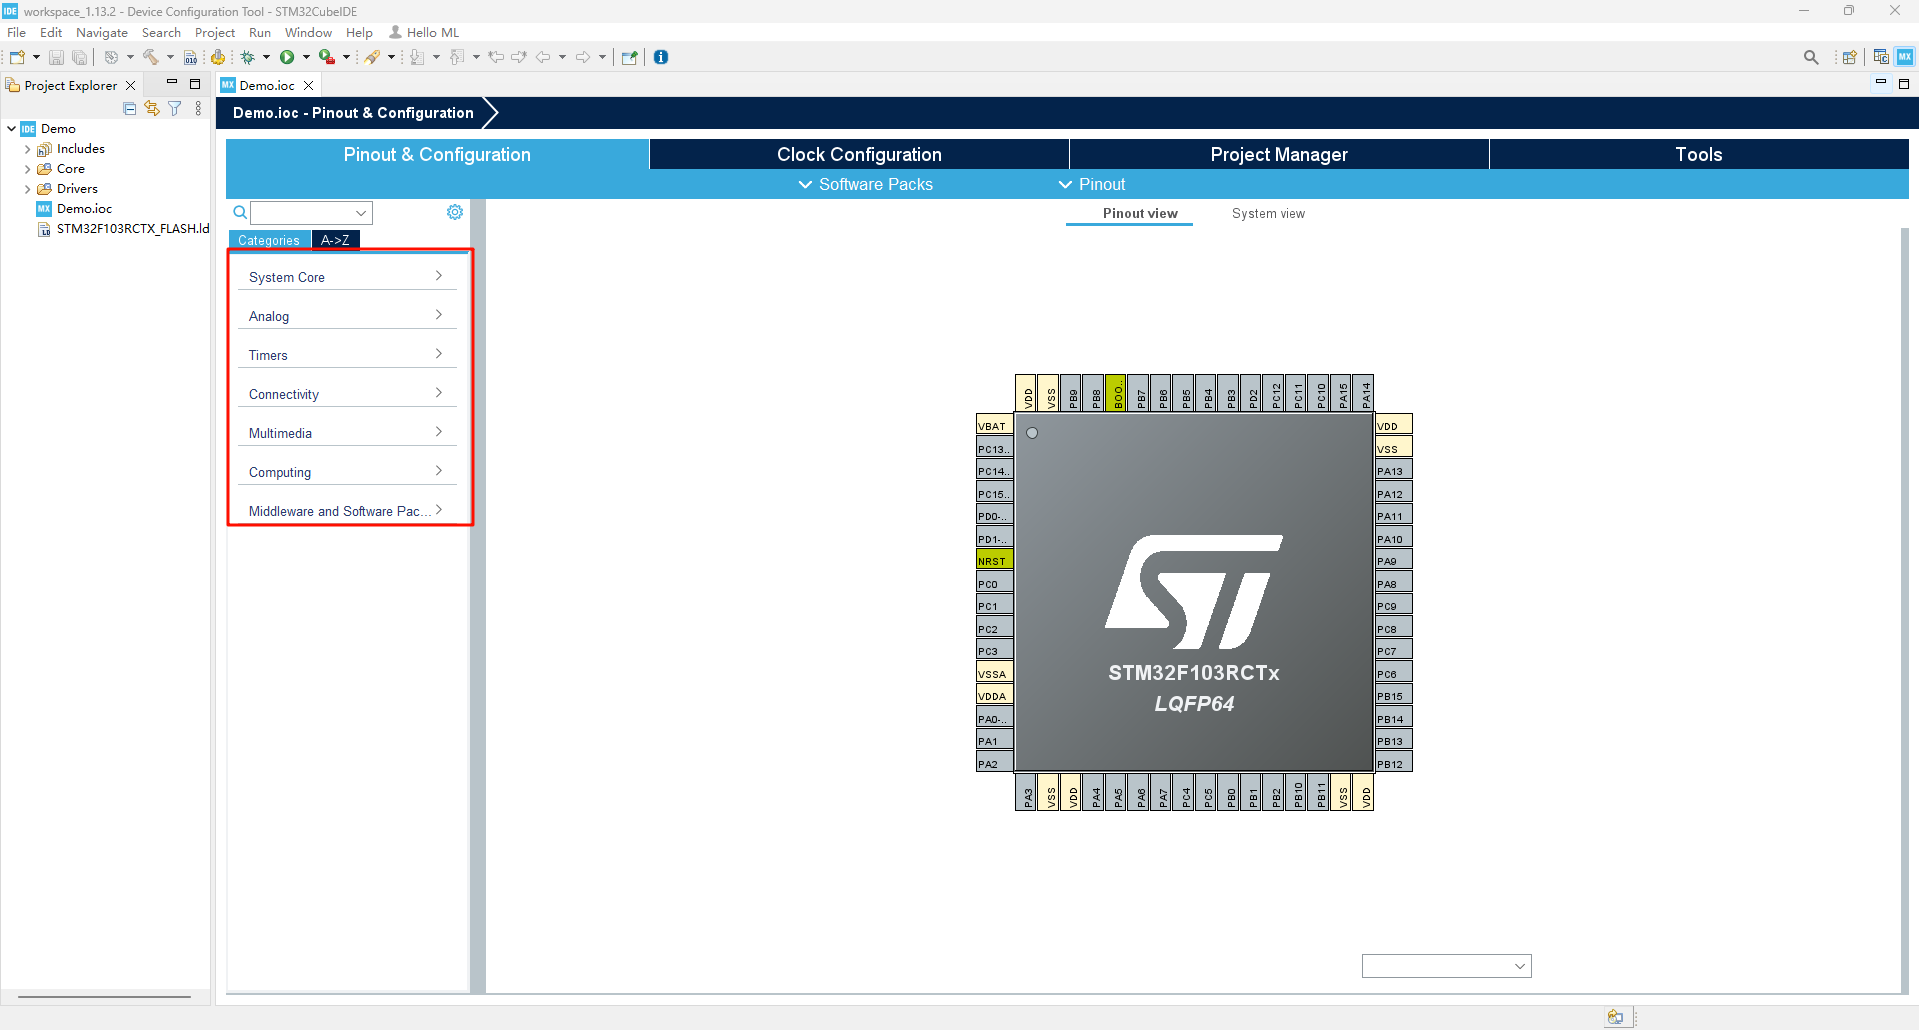 SYS
SYS 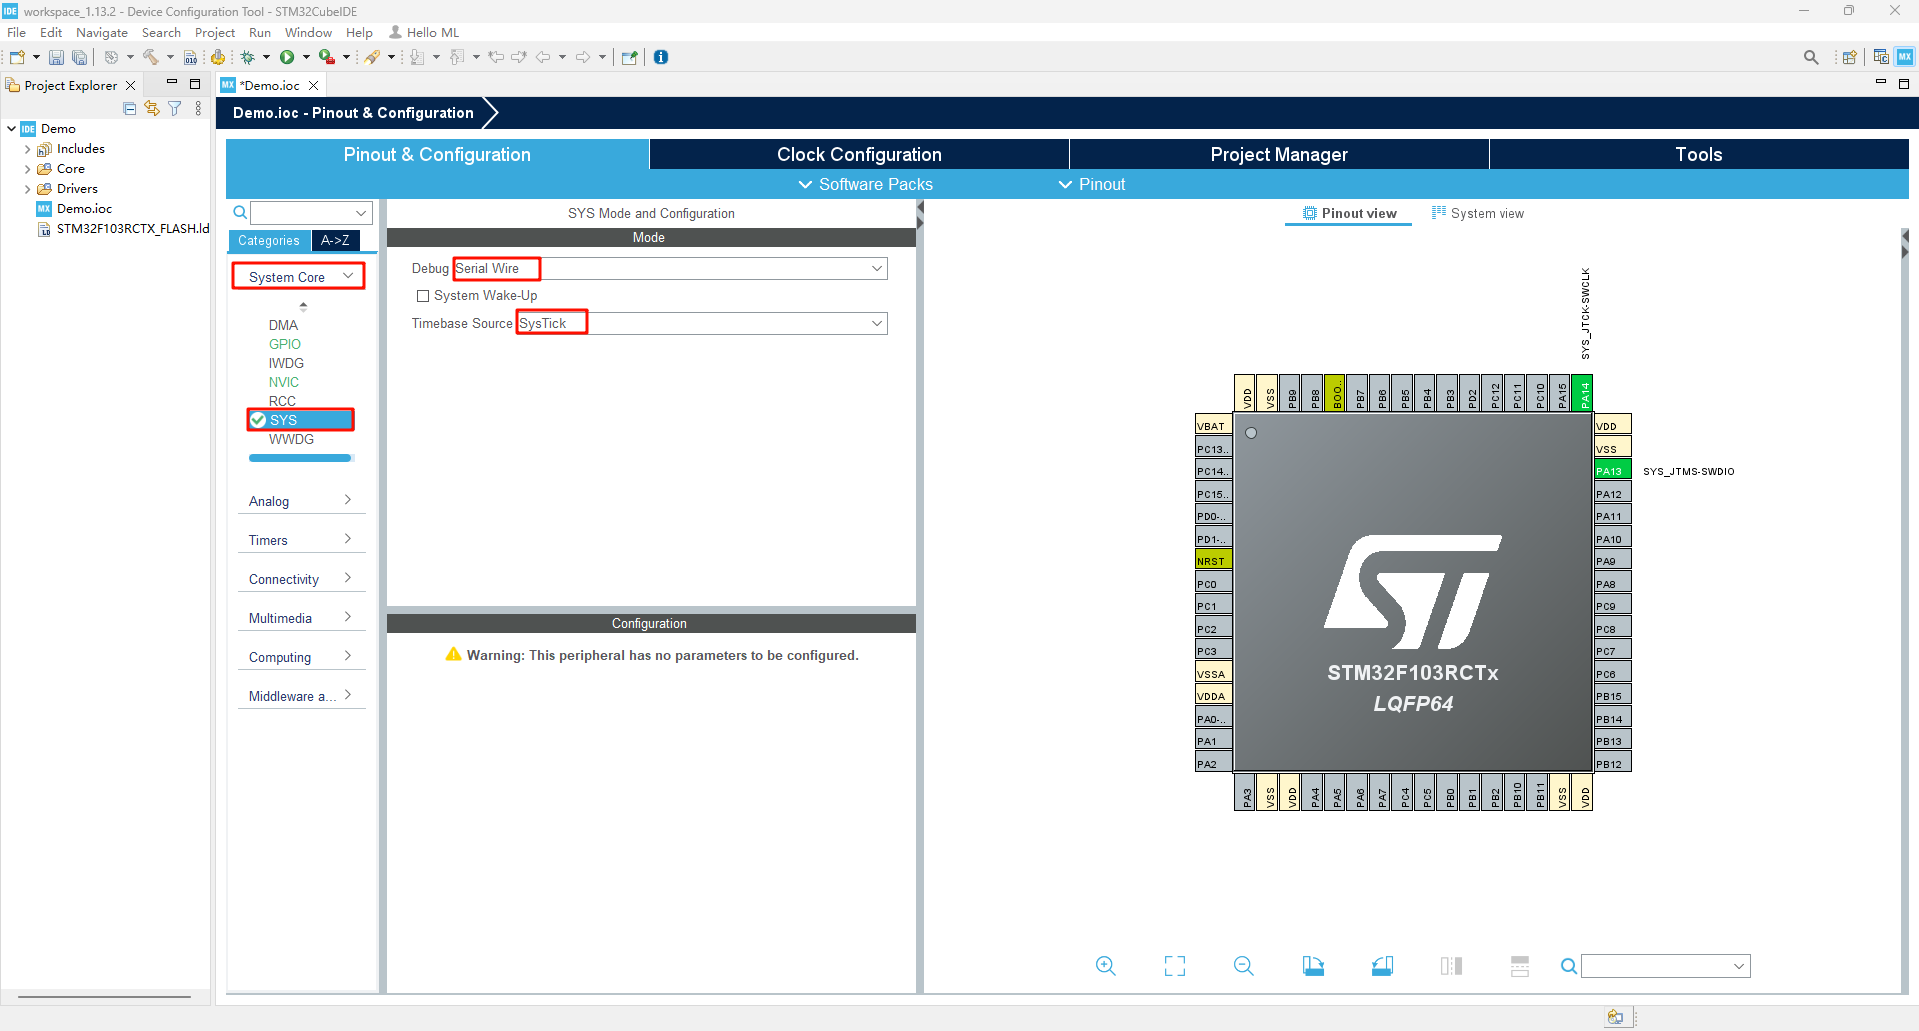 - RCC
- RCC 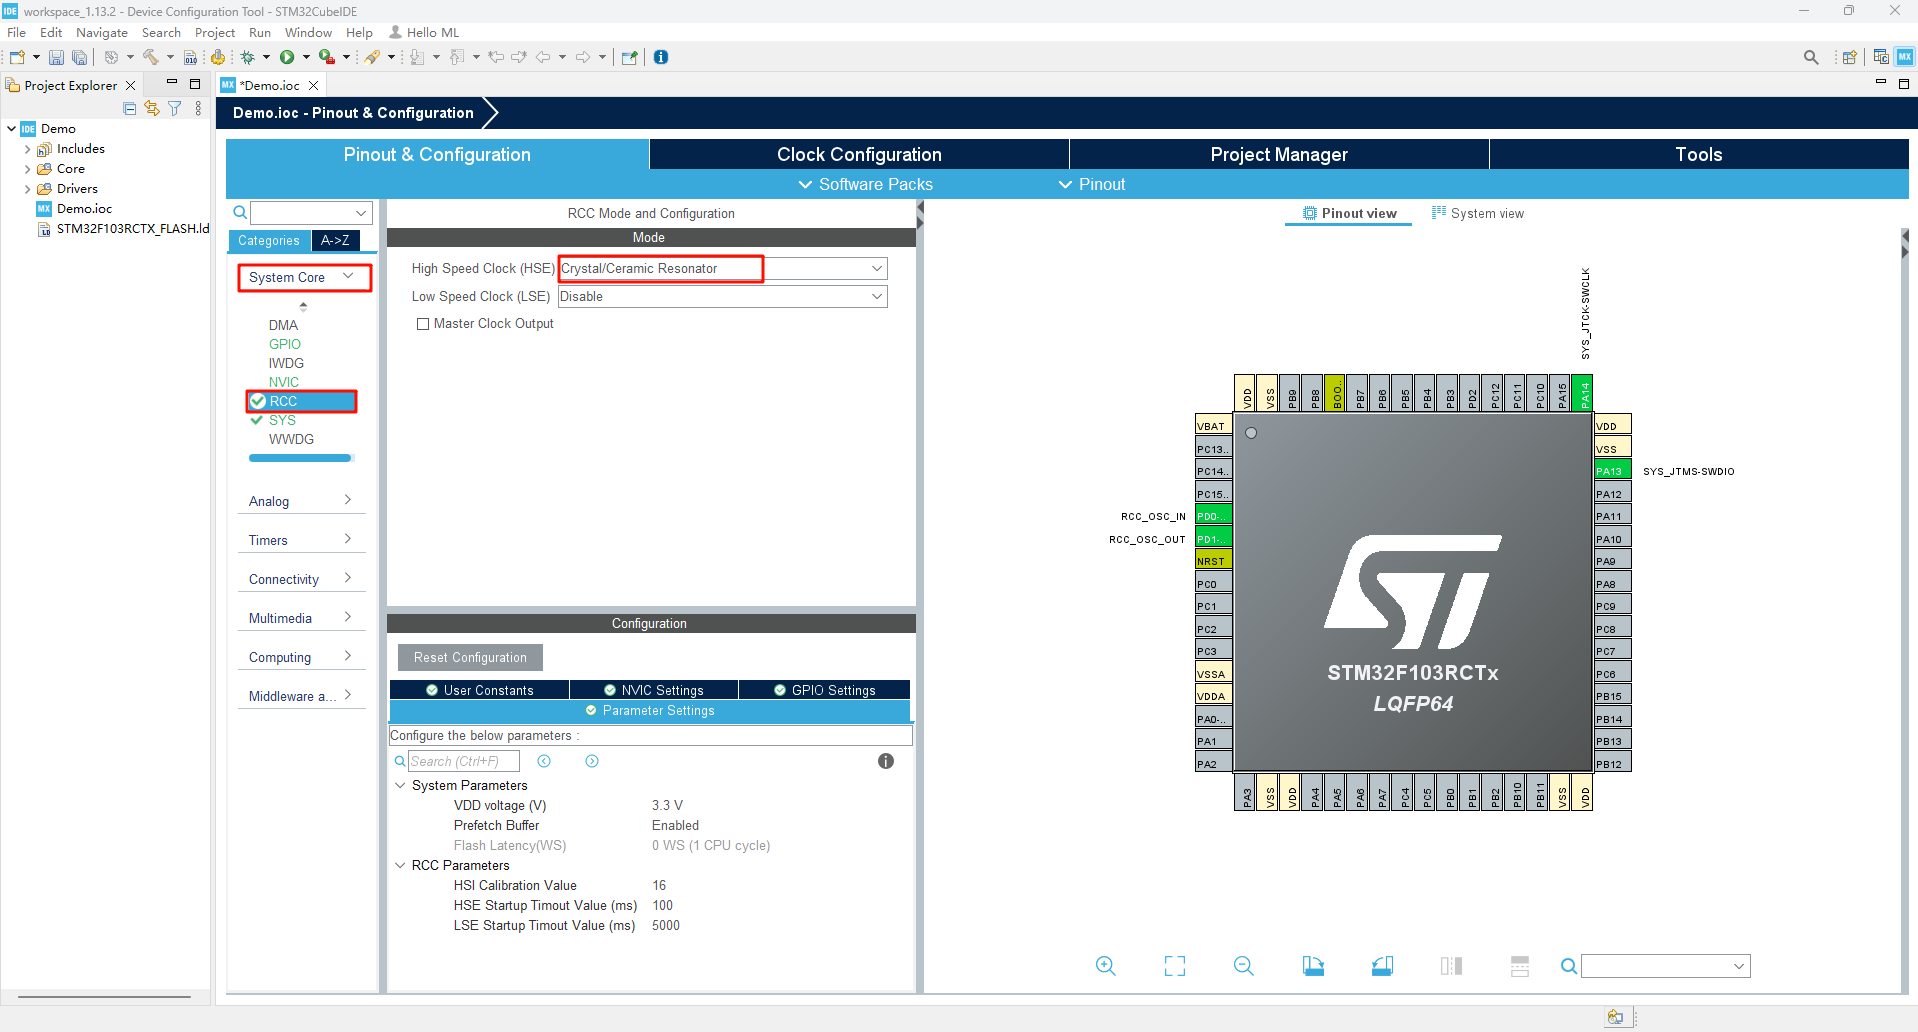 5. Clock configuration
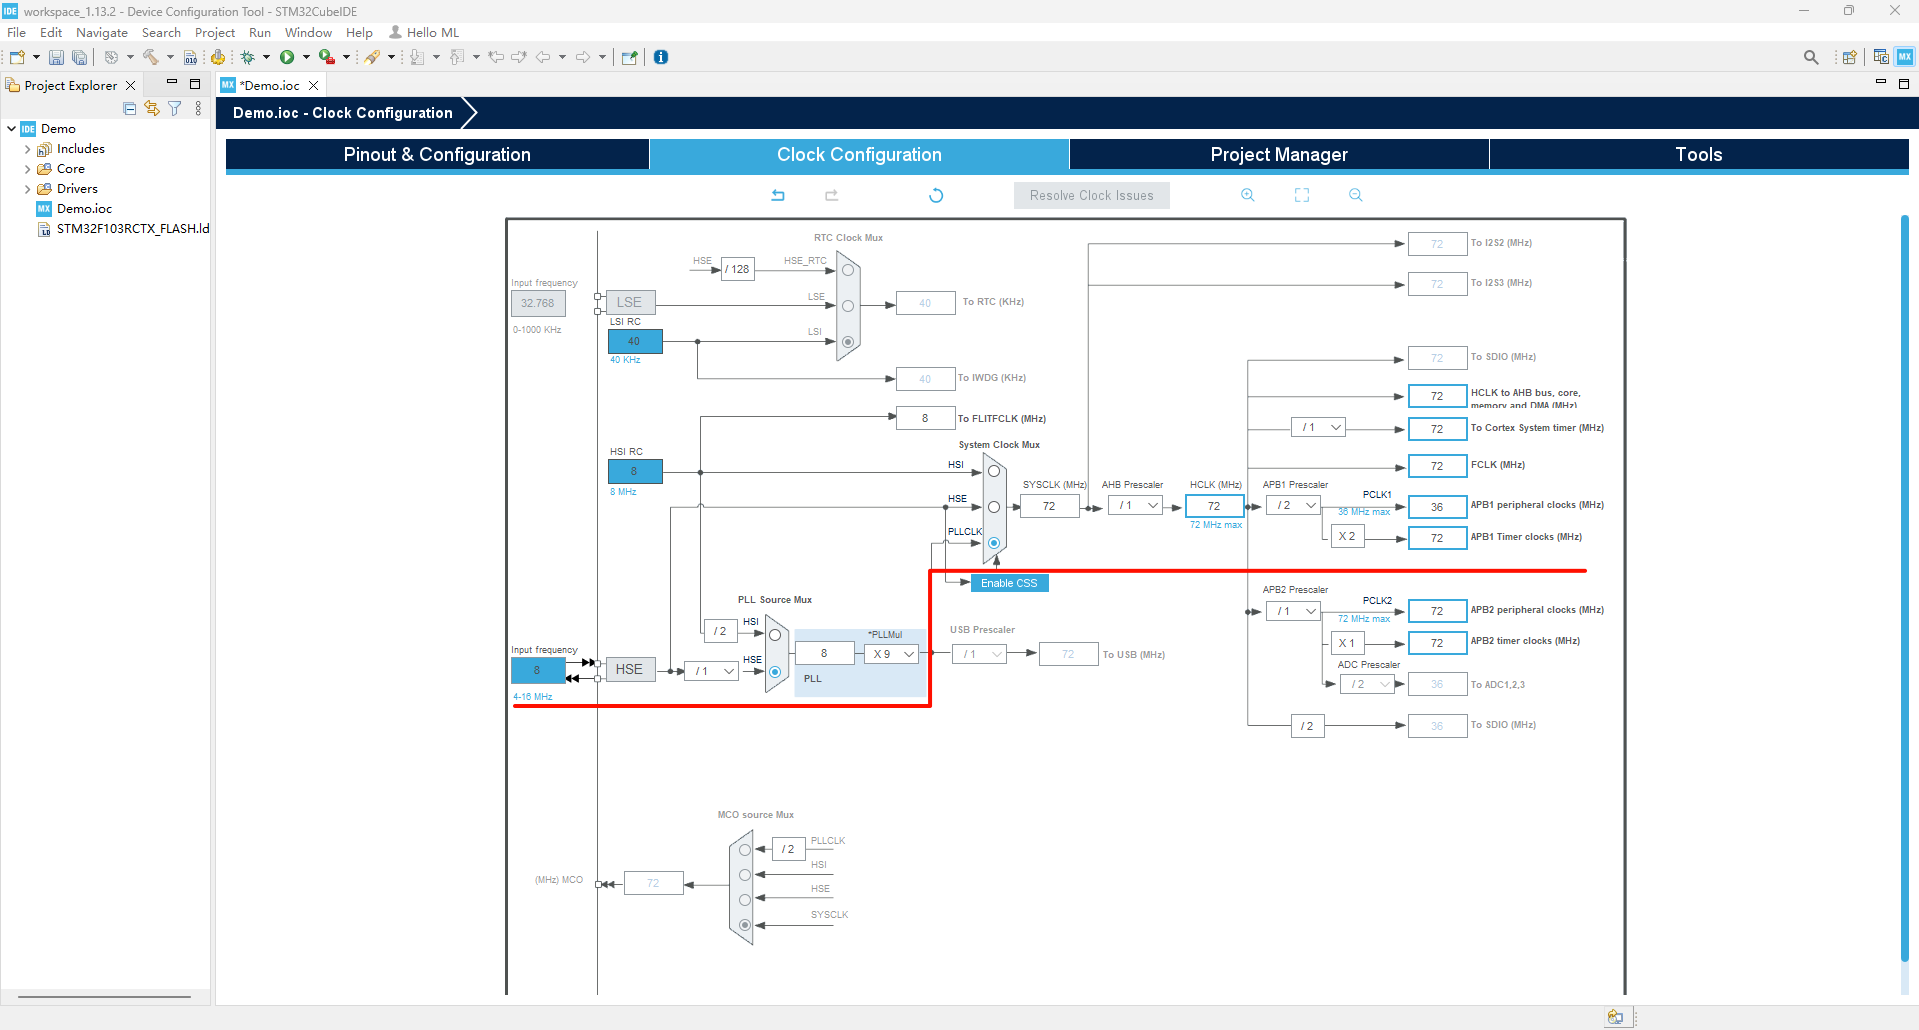
xxxxxxxxxxRefer to the options involved in the red line
6. Project management
Project: Project

xxxxxxxxxxUsing STM32CubeIDE, IDE projects cannot be exported (such as exporting MDK-ARM project files). If you need to export other IDE projects, switch to STM32CubeMX operation!
Code Generator: Code Generation
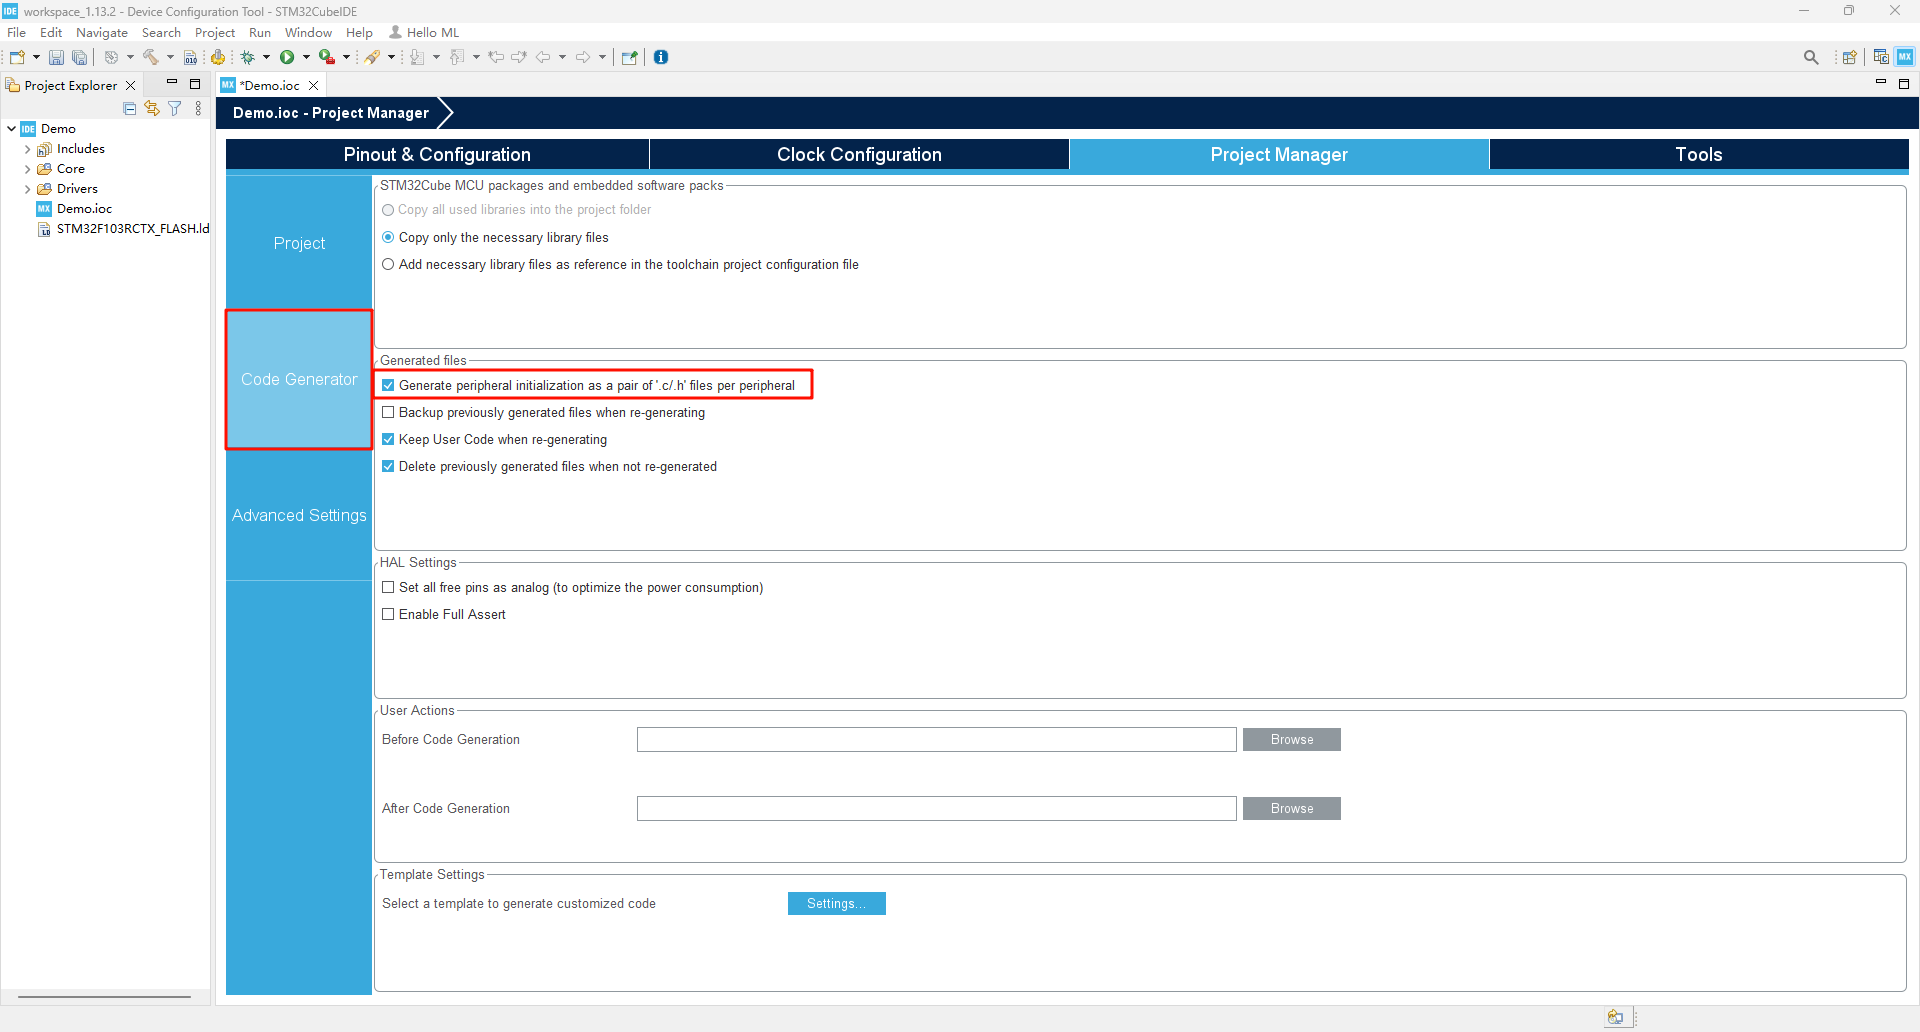
Advance Settings: Advanced Settings
xxxxxxxxxxSelect the library used for the initialization code: HAL library is demonstrated here
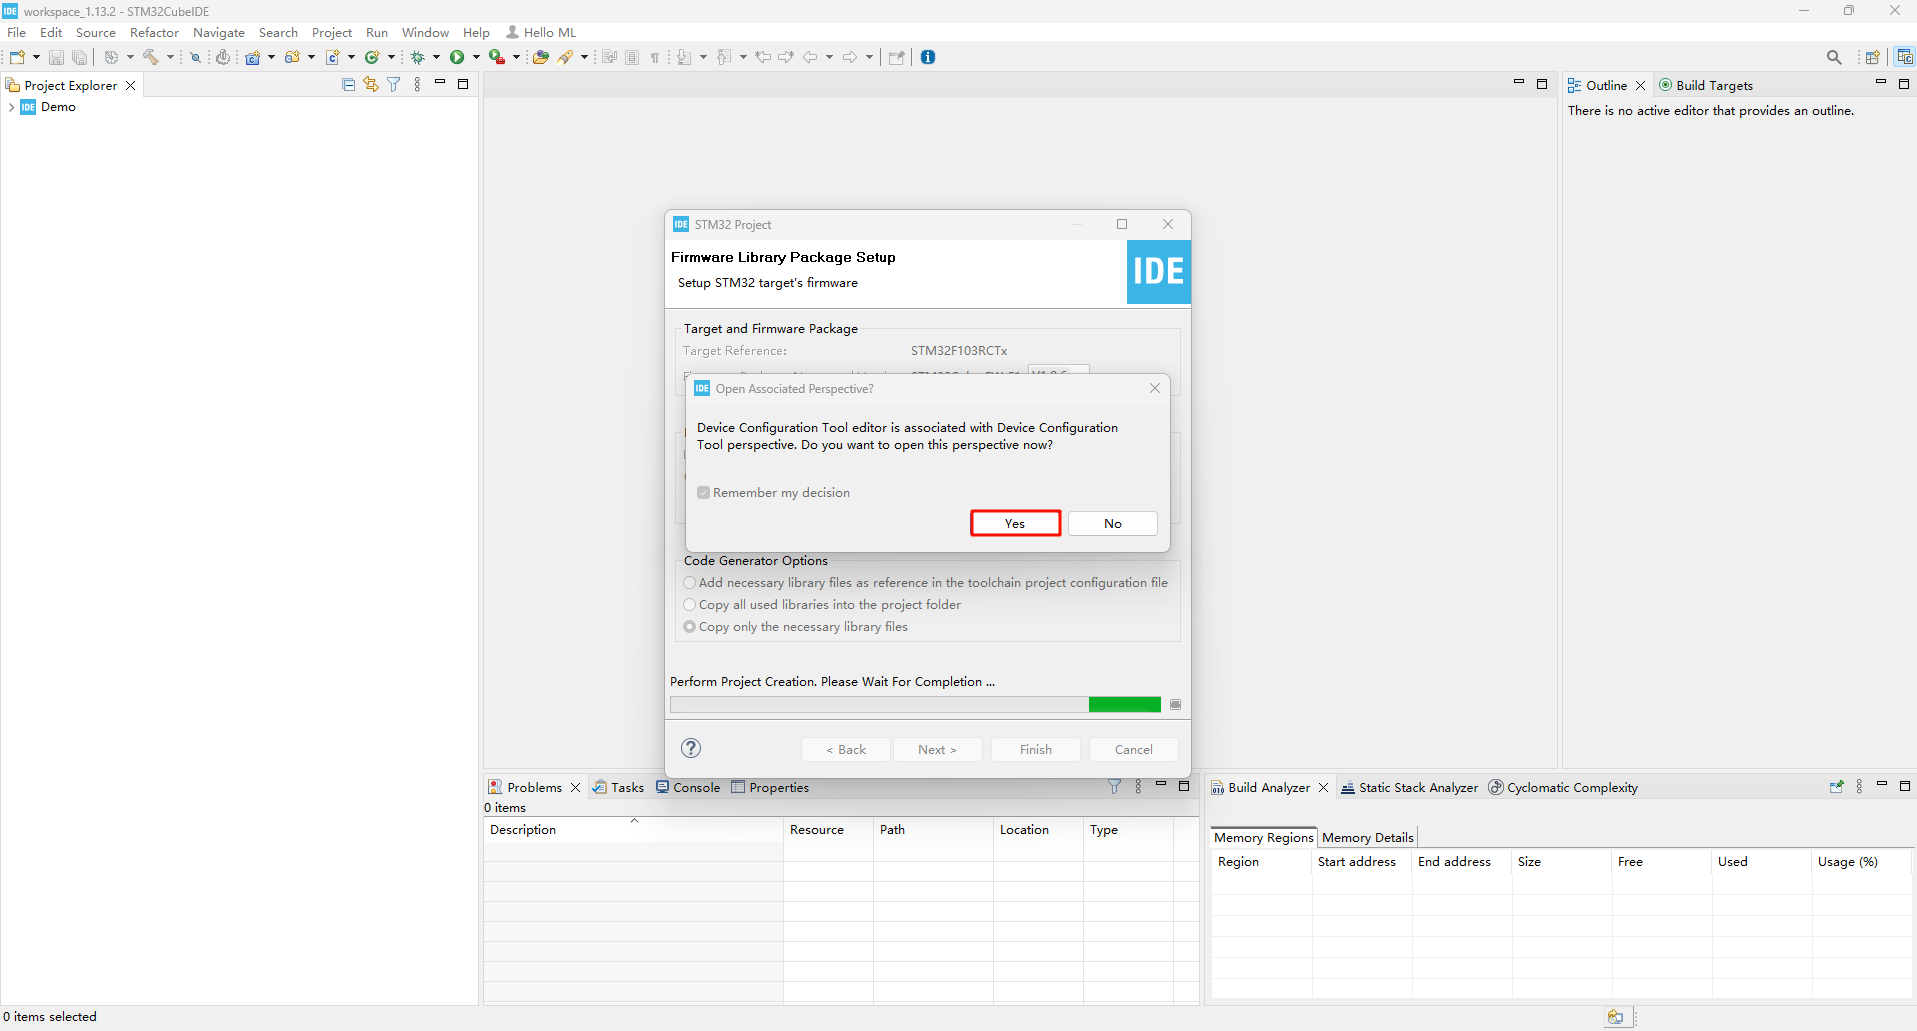
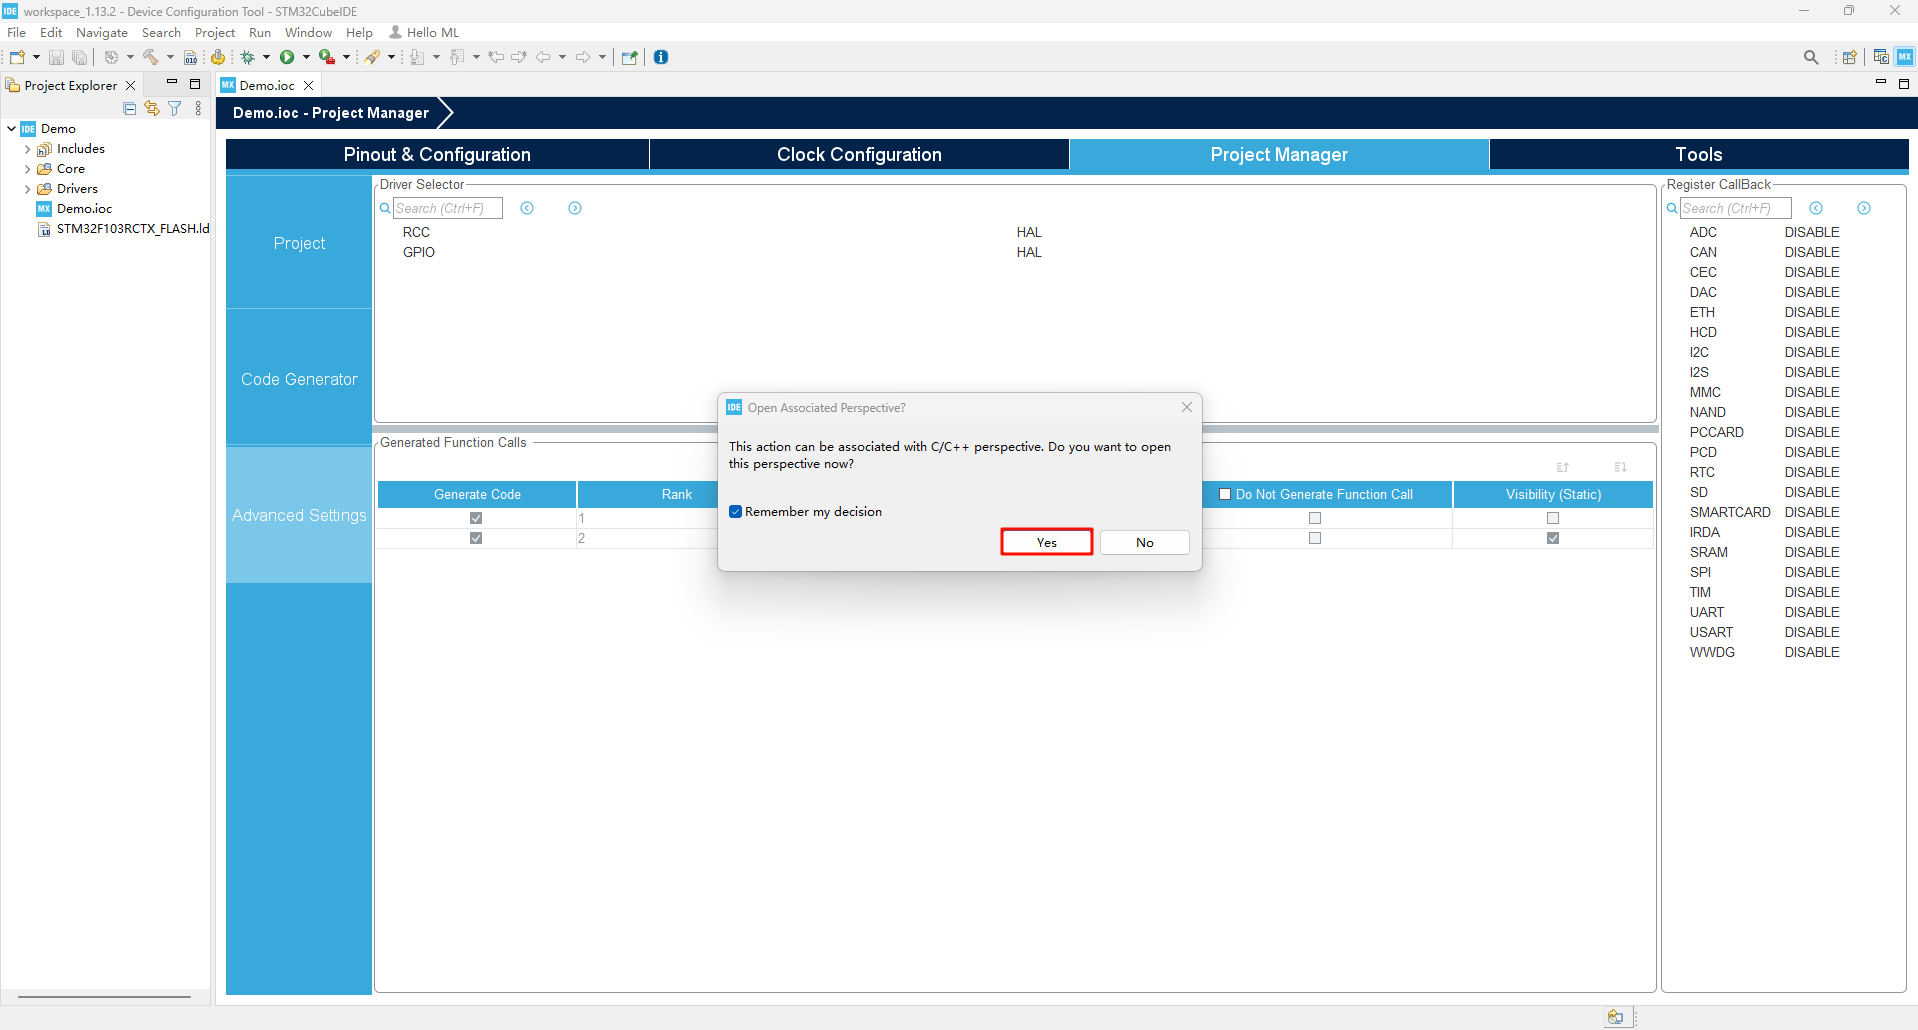
7. Generate initialization code
Click the code generation or save button to generate initialization code

xxxxxxxxxxUsing the Ctrl+S shortcut key to save will also generate initialization code
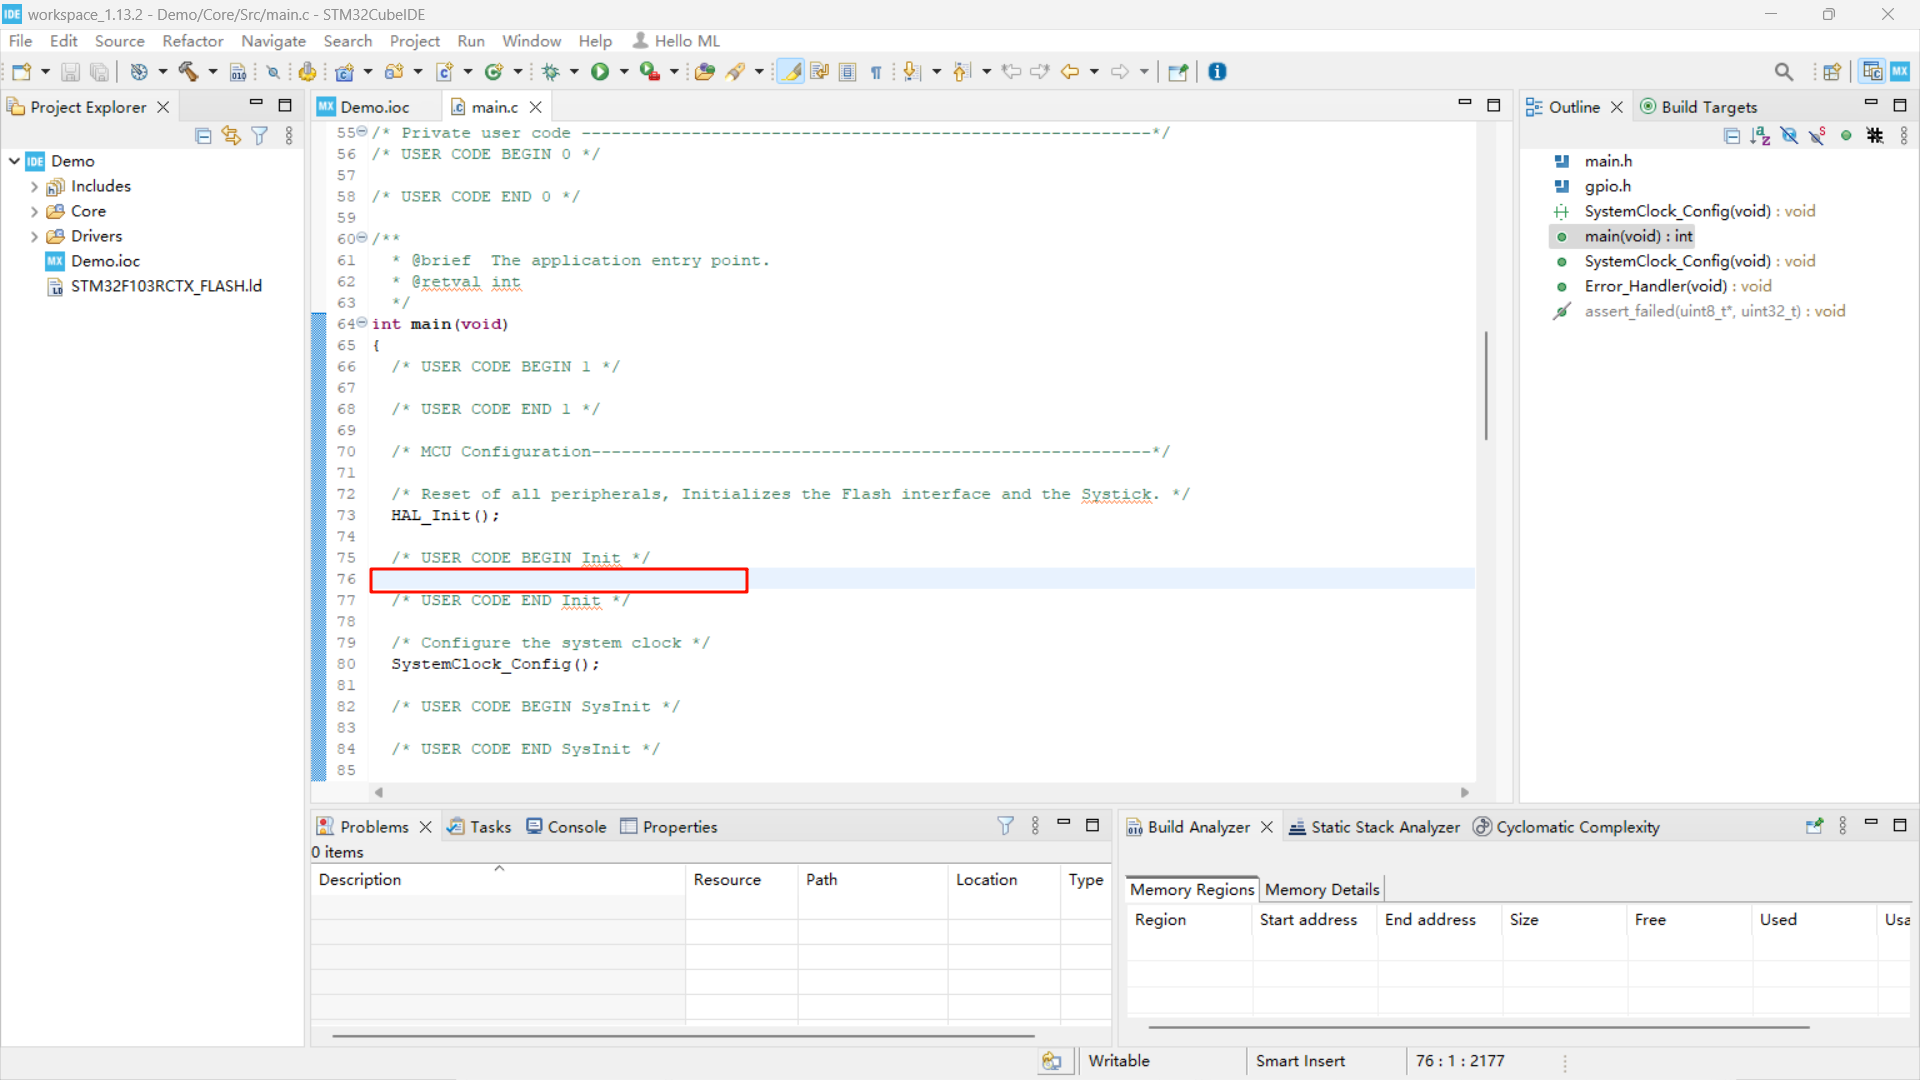
8. Write code
User code must be located between USER CODE BEGIN and USER CODE END, otherwise the next time you use the STM32CubeMX peripheral configuration function, the code outside this position will be deleted.
xxxxxxxxxxOther positions also need to be written in the area between *** BEGIN and *** END!
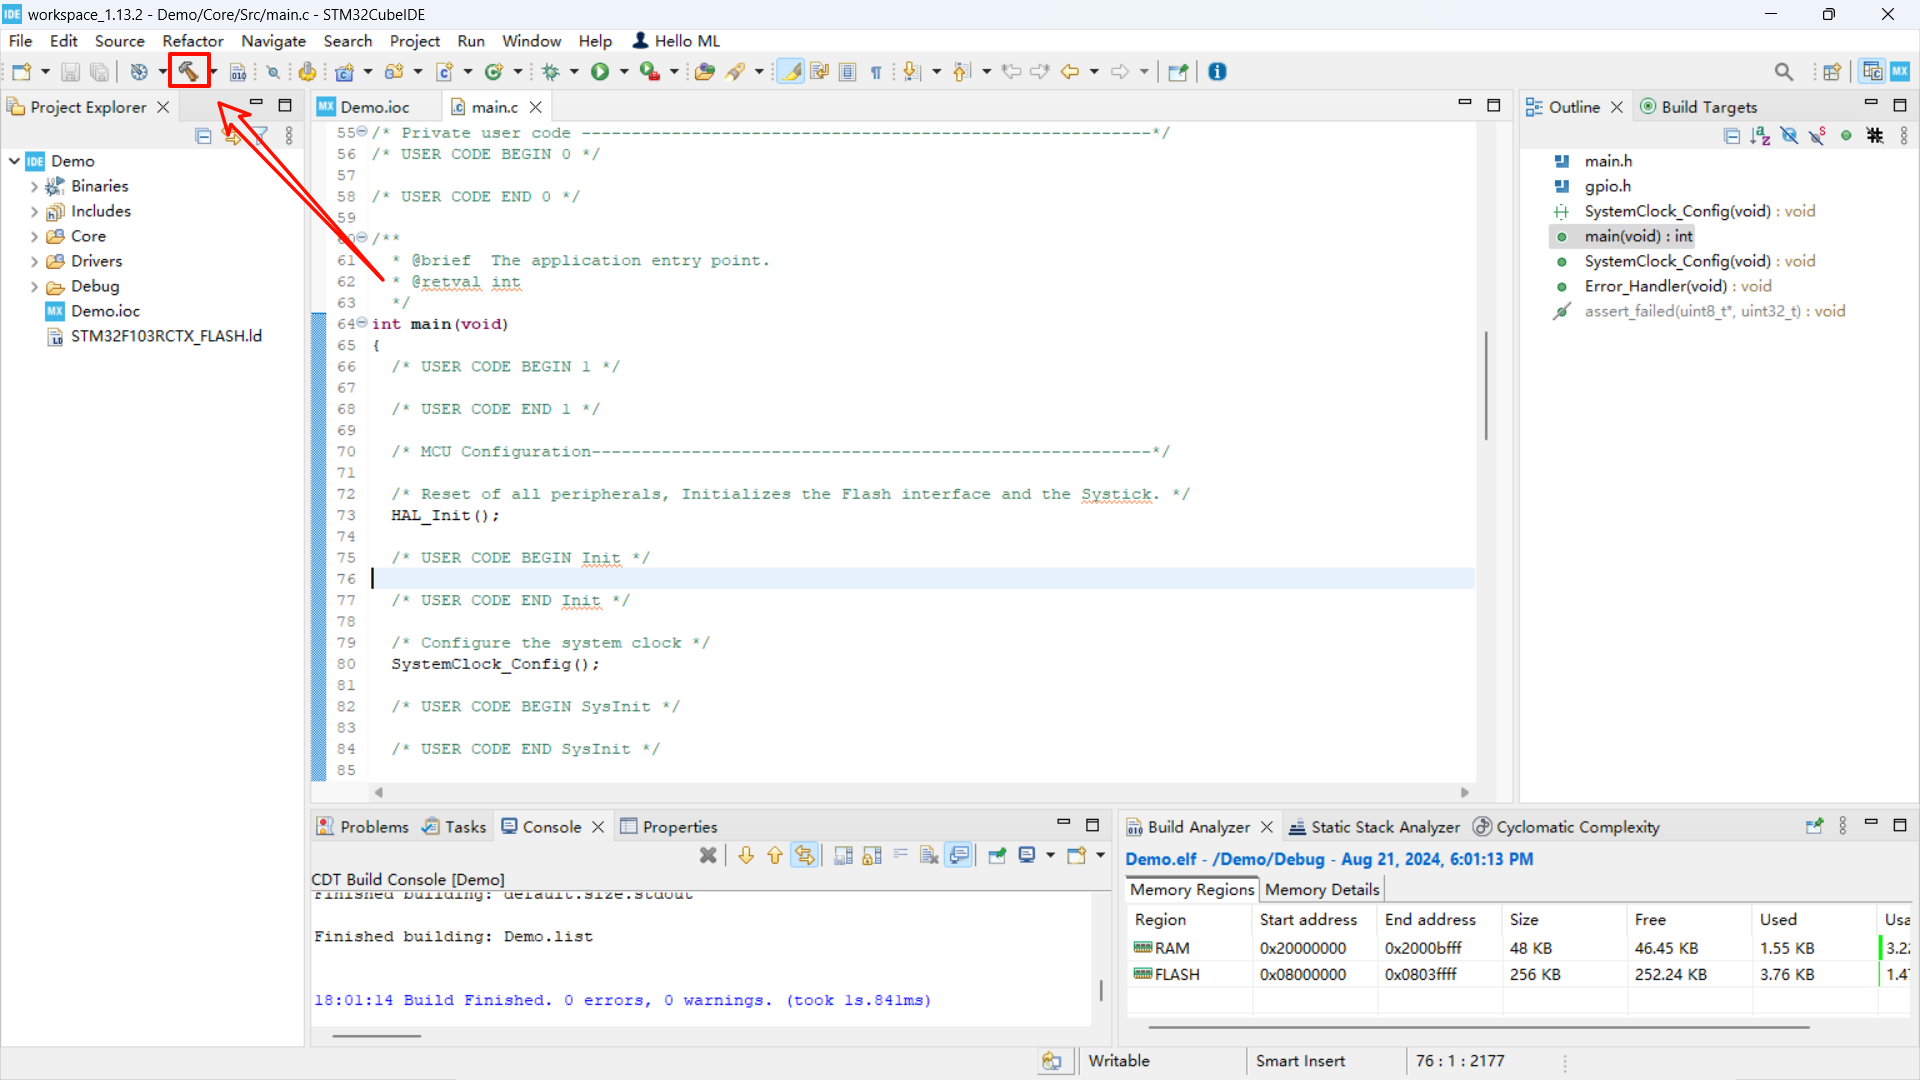
9. Compile code
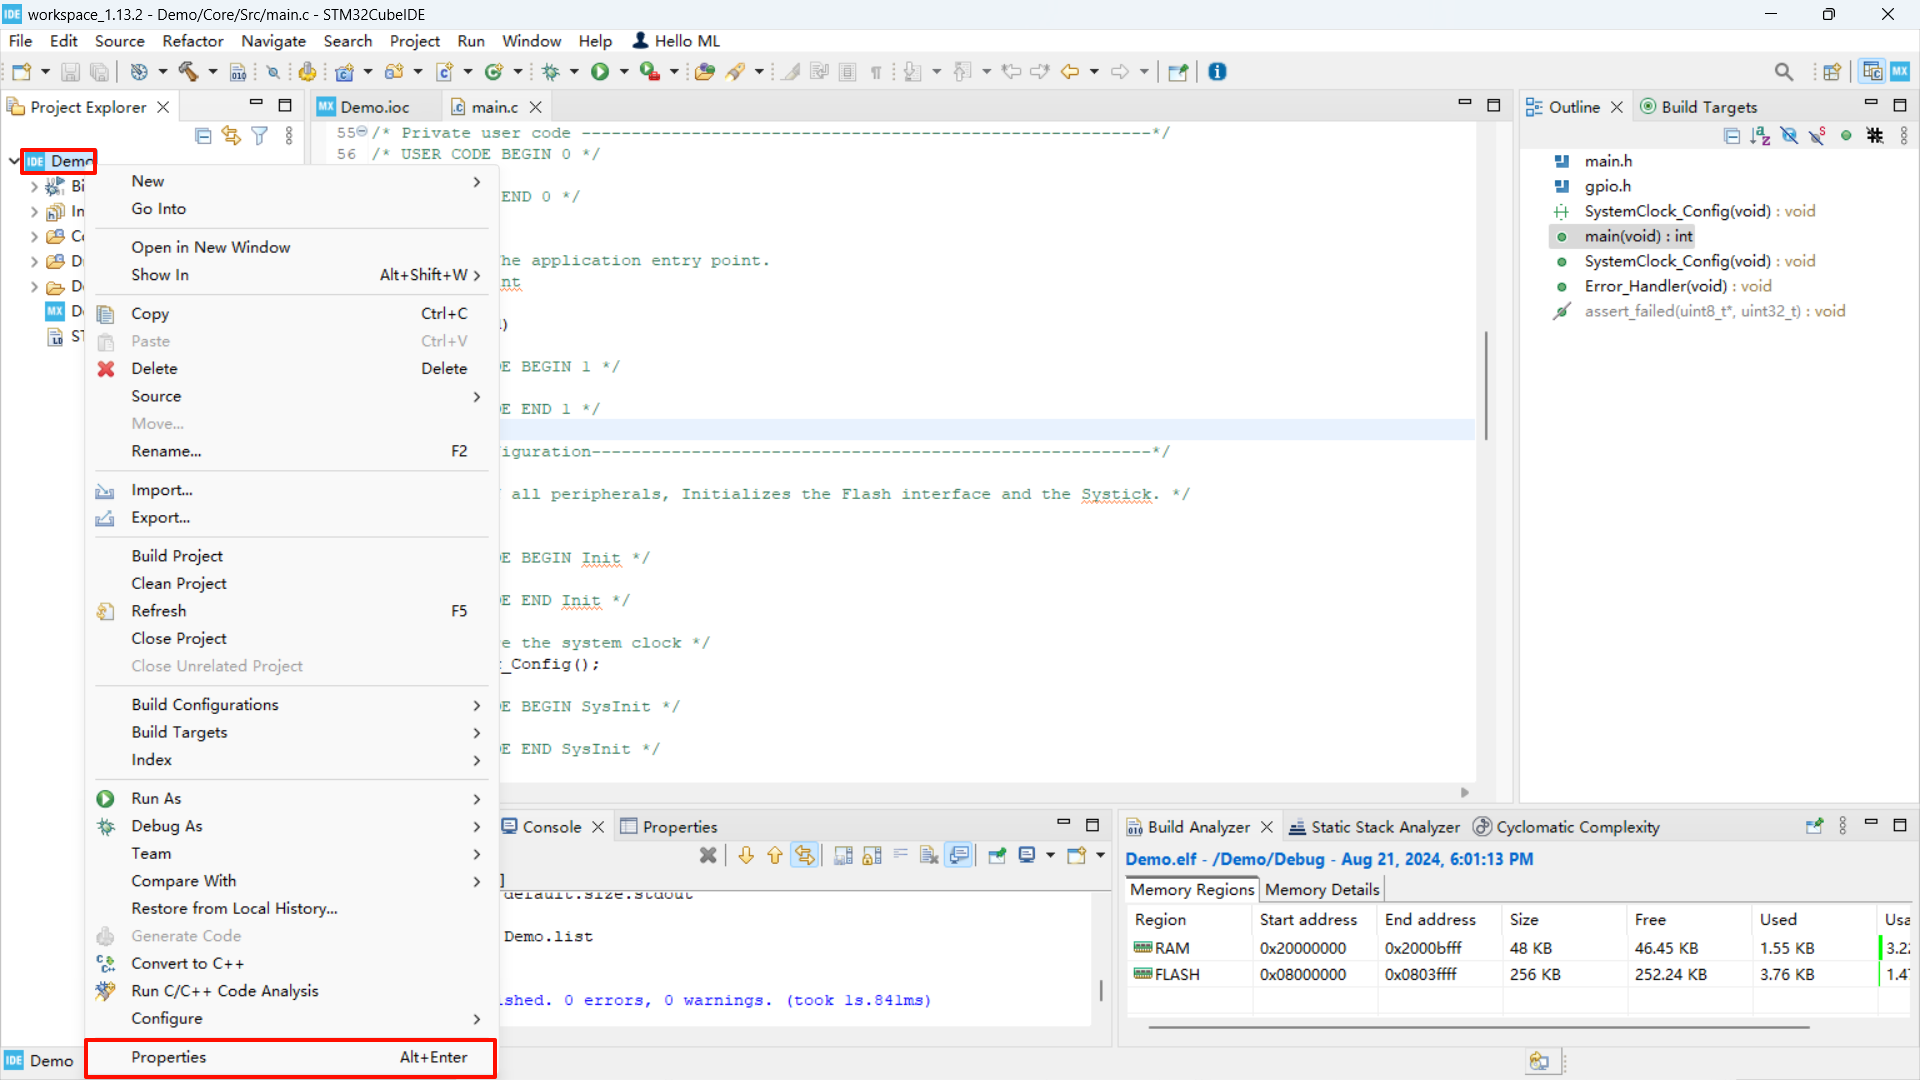
10. Create a new project again
Demonstrates how to create a new project in a project file. This method is often used in actual development to create a new project
For the following operations, please refer to the previous steps.
xxxxxxxxxxThe newly added project will be displayed in the workspace on the left
5. Common Problems
Encoding format problem
Tip: Project '***' has no explicit encoding set
Solution: Right-click the project name → Modify file encoding format → UTF-8