Write SUPER boot
Write SUPER boot1. Flashing mode1.1. Hardware connection1.2. Software connection2. Write boot3. Start the system
The purpose of this tutorial is to burn SUPER boot to the Jetson Orin series motherboard (used with Jetpack 6.2 system). There is no need to install a solid-state drive during the burning process. After the burning is completed, install the solid-state drive to the motherboard and start the system to use the factory system that we have set up in advance.
1. Flashing mode
1.1. Hardware connection
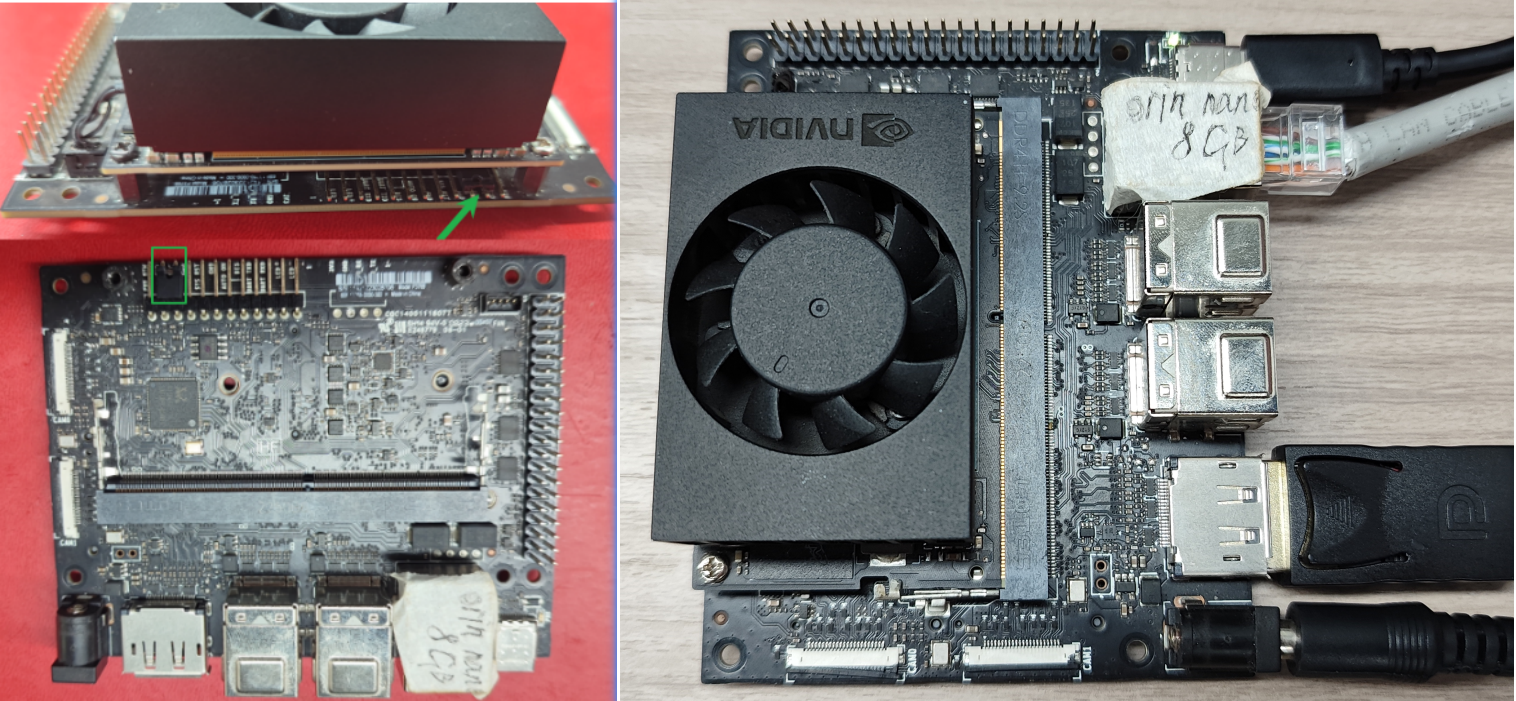
- Use a jumper cap to short the FC REC and GND pins under the core board: the core board can be left unassembled, the picture is just for clearer observation
- The Jetson Orin motherboard needs to be connected to a DC power adapter, DP data cable, network cable and Type C data cable: Type C data cable is connected to the computer
Note: The DP data cable and network cable can be used without burning the boot, but they will be needed when using the motherboard later
1.2. Software connection
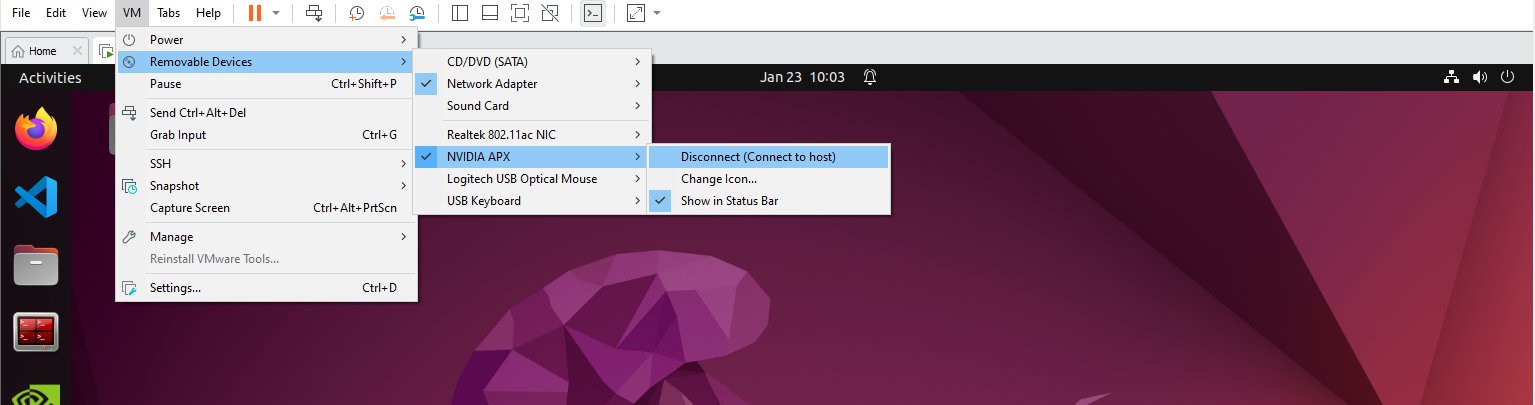
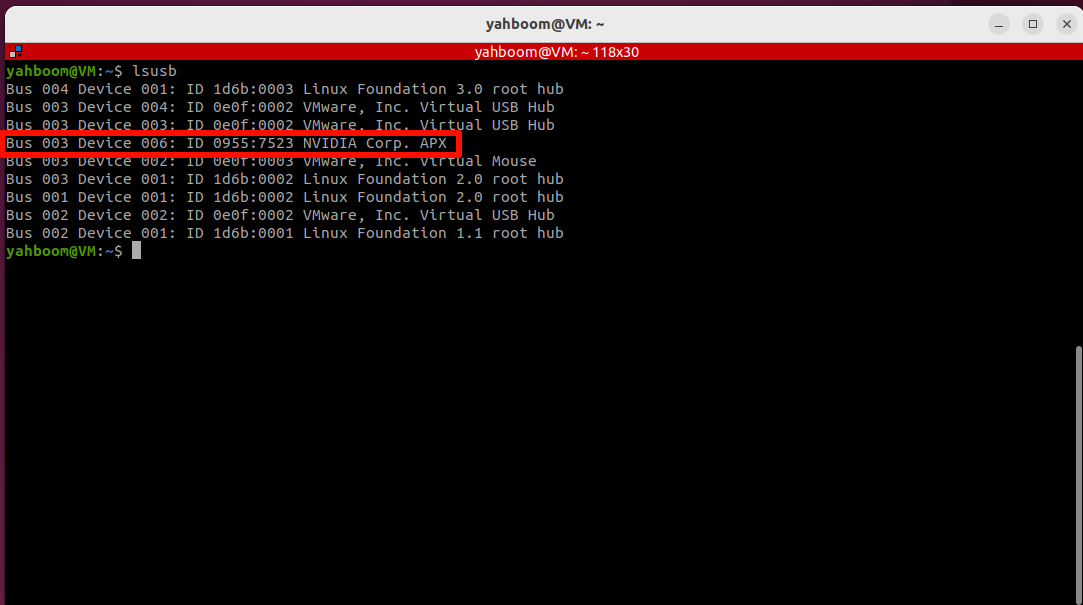
Users need to use the virtual machine we provide to burn SUPER boot. We need to connect the motherboard to the virtual machine so that it can be recognized by the Ubuntu system:
Virtual machine username: yahboomVirtual machine password: yahboom
2. Write boot
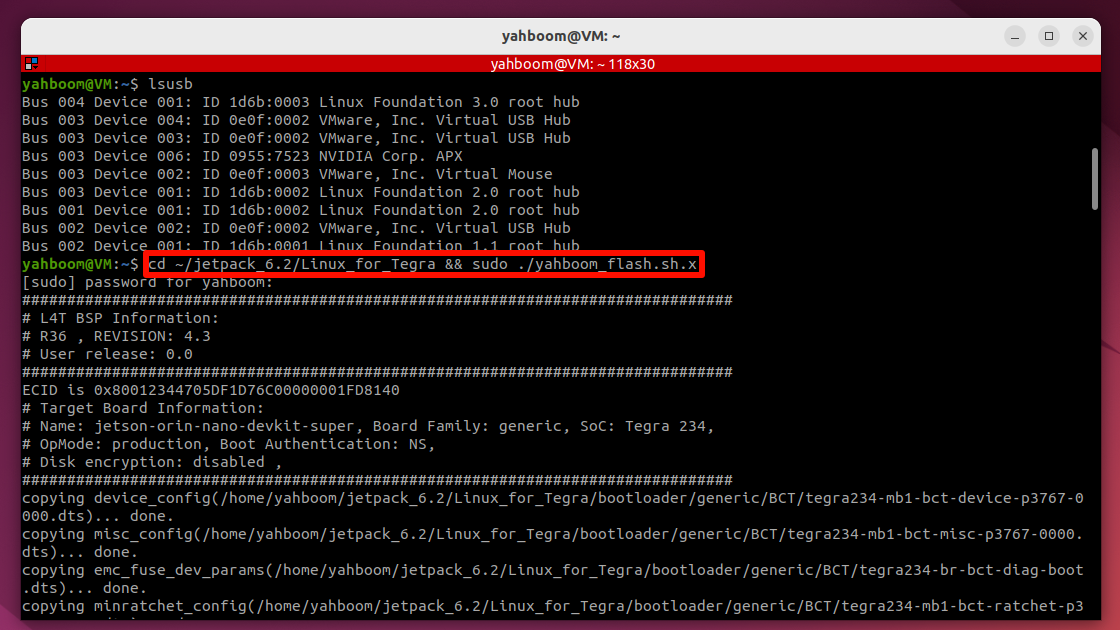
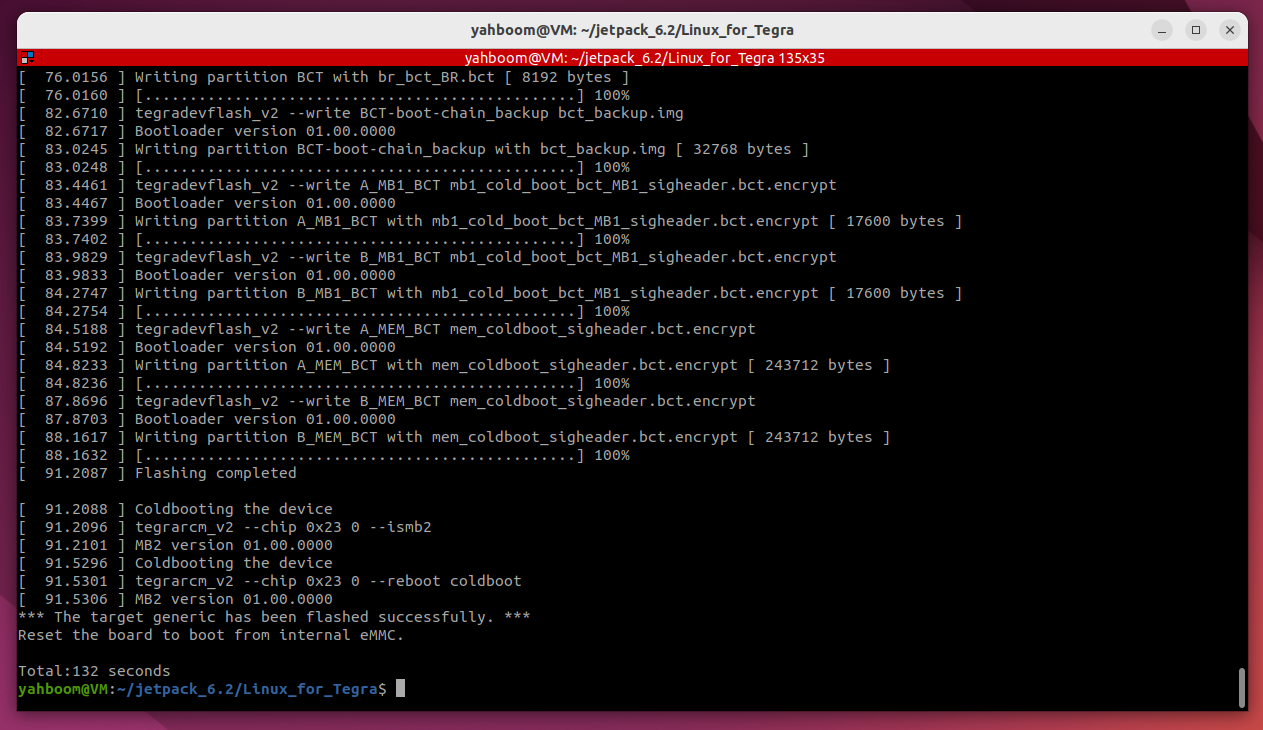
Open the terminal, enter the specified folder and run the script: If the burning fails, you can disconnect the motherboard power and reconnect the virtual machine to run the command
xxxxxxxxxxcd ~/jetpack_6.2/Linux_for_Tegra && sudo ./yahboom_flash.sh.x
3. Start the system
After the burning boot is successful, install the solid state drive boot system provided by our factory.