USB handle control
Start the USB handle control program
When the robot arm factory image is configured and powered on, the handle control function is started together with the APP control service, and you can connect and control directly.
If the APP self-start service is turned off, you can also start the USB handle control program with the following command.
Open the system terminal and enter the following command
xxxxxxxxxxpython3 /home/jetson/dofbot_pro/APP_DOFBOT_PRO/joystick.py
Connect the USB handle
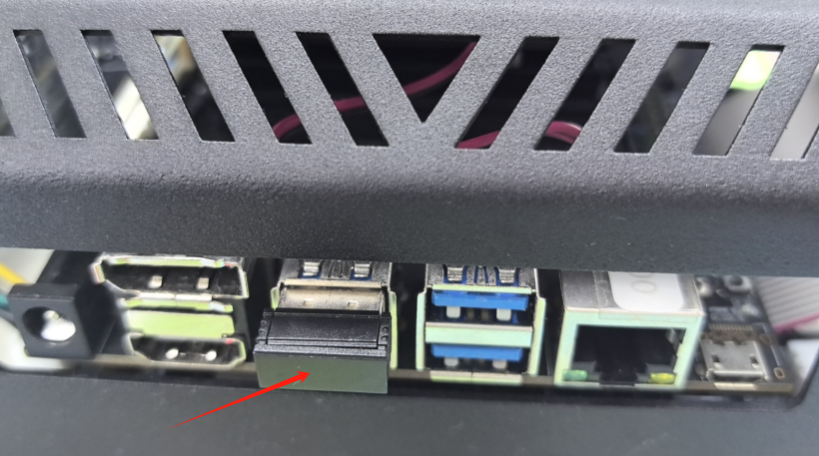
Confirm that the USB wireless handle receiver has been inserted into the USB port of the motherboard before powering on.
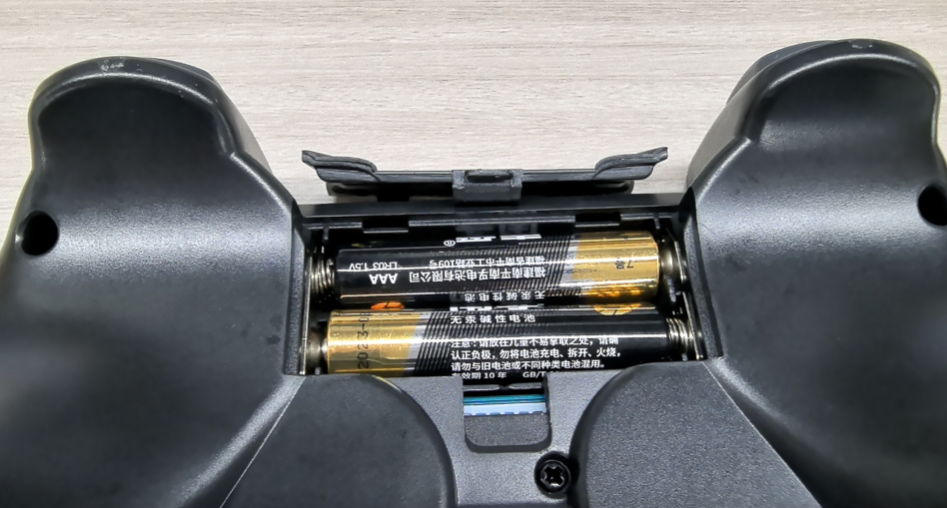
Install the battery of the wireless handle.
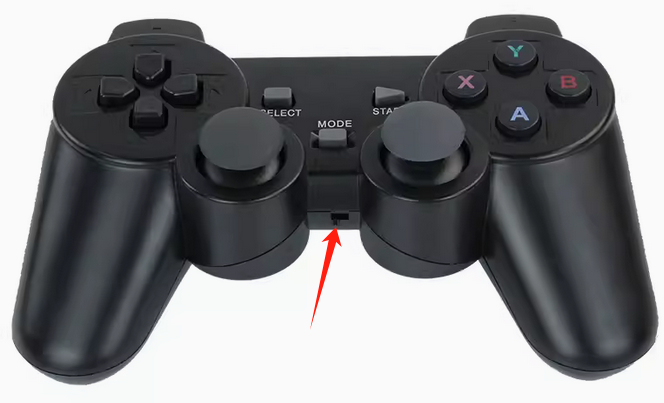
Turn the power switch of the wireless handle to [ON].
Press the [START] button to activate the handle. After the connection is successful, press the [START] button again and the buzzer will sound.
You can now start controlling the robot arm.
USB handle button function
The button function is shown in the figure below:
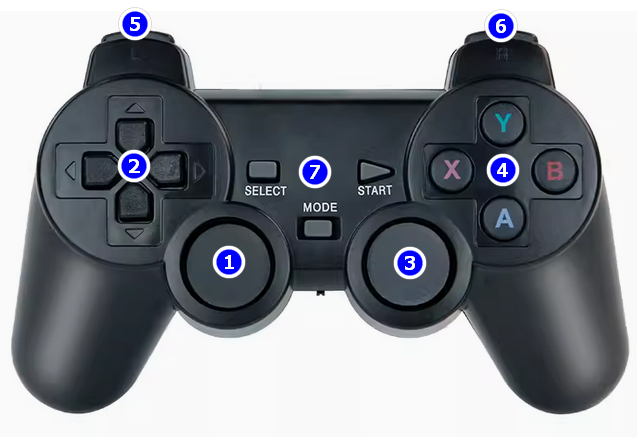
①: Up and down control joint 2, left and right control joint 1.
②: Up and down control joint 3, left and right have no function.
③: Up and down control joint 4, left and right control joint 5.
④: Y and A control joint 6 (gripper), X and B have no function.
⑤: L1 controls the robot arm to increase speed, L2 controls the robot arm to decrease speed.
⑥: R1 controls the gripper to clamp 3cm blocks, R2 controls the gripper to release.
⑦: [SELECT] controls the robot arm joint angle to restore the initial position.
[START] activates the handle, and the buzzer sounds.
[MODE] mode switch, do not press this button.
Note: When the wireless handle is idle for a few minutes, it will automatically enter the sleep state. At this time, you need to press the [START] button to activate the handle. After hearing the buzzer, you can start controlling the robot arm.