Burning firmware
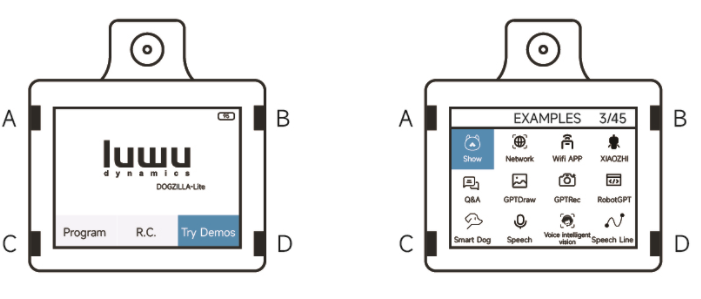
The function of the dog head screen is shown in the figure:
The A and B keys are the left and right selection keys, the C key is the exit key, and the D key is the confirmation key.
Firmware version determination
- First enter the query of firmware version information

- If the queried version is this version, no further operation is required. Otherwise, the firmware needs to be updated, otherwise it will affect the use of subsequent tutorials and functions.
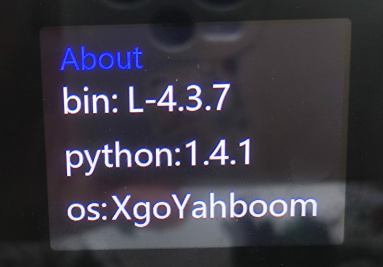
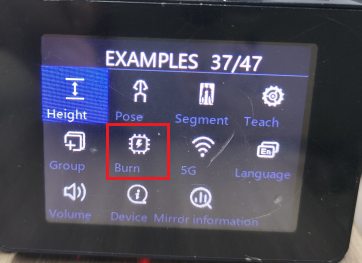
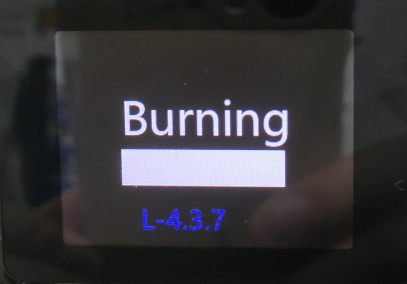
- If the firmware is not L-4.3.7 , press button C based on step 2, and select the function of burning firmware by pressing button A/B, and then press button D to enter this function.
- Just wait quietly for the firmware burning to complete. During this period, the robot arm will perform a telescopic movement, which is normal.
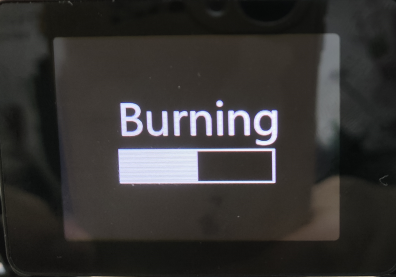
- After burning the firmware, the firmware burning function will automatically exit and return to the sample program interface. At this time, you can check the firmware version function to see whether the firmware is burned successfully.
Another way to burn firmware
If the above firmware burning fails, you need to go to the appendix of the document, open the burning tool, and turn off the robot dog and connect it to the type-c charging port on the back.
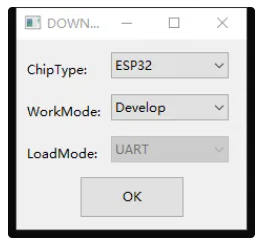
- Open flash_download_tool on PC and select the following parameters
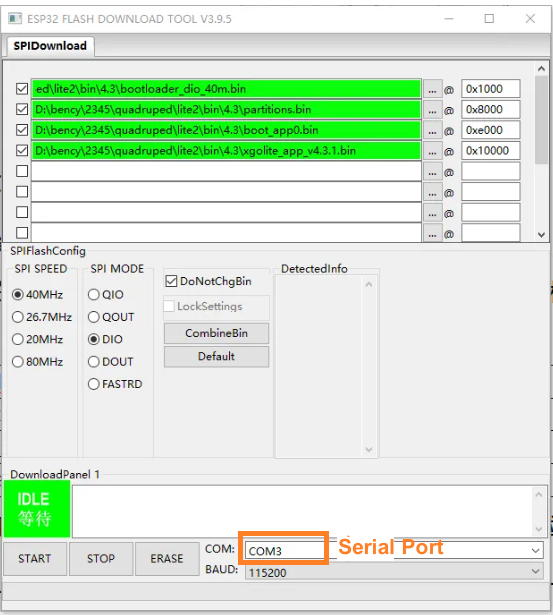
- Click on the driver board firmware to download the latest version of the corresponding model firmware, add the bin file, and modify the starting address respectively. Refer to the picture below, click the three-dot icon to add the bin file, add it according to the table below, then modify the download address in the box after @, and re-check the box in front to make all four lines green.
| bin file | address |
|---|---|
| bootload_dio_40m.bin | 0x1000 |
| partitions.bin | 0x8000 |
| boot_app0.bin | 0xe000 |
| xgolite_app_v4.3.7.bin | 0x10000 |
Select the corresponding port in the COM drop-down menu at the bottom of the software and click START to start downloading.
After the flash is completed, the prompt "send flash finish" indicates that the flash is complete. Then unplug the Type-C cable and power on again to complete the flash.