Mobile APP remote control tutorial
Mobile APP remote control tutorial1、Mobile phone scan code to install APP2、Start the robot3、APP connects robotSelect deviceEstablish a network connection4、APP function introductionRemote controlPerformance modeFPV ContrlData monitoringRobot calibration
1、Mobile phone scan code to install APP
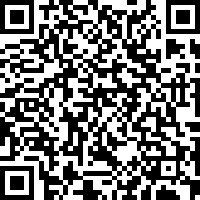
For Android system users,please open the Google Play app store and search for 【YahboomRobot】, or open your mobile browser, scan the QR code below, and download and install the 【YahboomRobot】 APP.
IOS system users, please open the App store and search for 【YahboomRobot】, or open the code scanner, scan the QR code below, and download and install the 【YahboomRobot】 APP.
If the latest version of 【YahboomRobot】 APP is already installed on your phone, you do not need to install it again.
2、Start the robot
The TF card/U disk provided in the product includes the mirroring system by default. Insert the TF card/U disk into the motherboard TF card slot/USB interface. After assembling the Muto robot, you can start it normally without reconfiguring the image.
Press the switch button on the tail of the Muto robot. The switch is a self-locking type, that is, it does not rebound after being pressed and the robot is continuously powered on. The green light of the switch is always on. The Muto robot stands up and waits for about 1.5 minutes. After the system is started, the buzzer will beep three times and the information displayed on the OLED can be seen.
Jetson nano system username:jetson password:yahboom
Raspberry Pi system username:pi password:yahboom
3、APP connects robot
The factory system comes with a hotspot signal [Muto_WIFI] and password [12345678]. You can first use your mobile phone to connect to the robot's hotspot signal to form a local area network. Or connect the robot and mobile phone to the same router to form a local area network. In addition, you need to enable positioning permission for the control APP and enable the positioning function on the mobile phone.
Select device
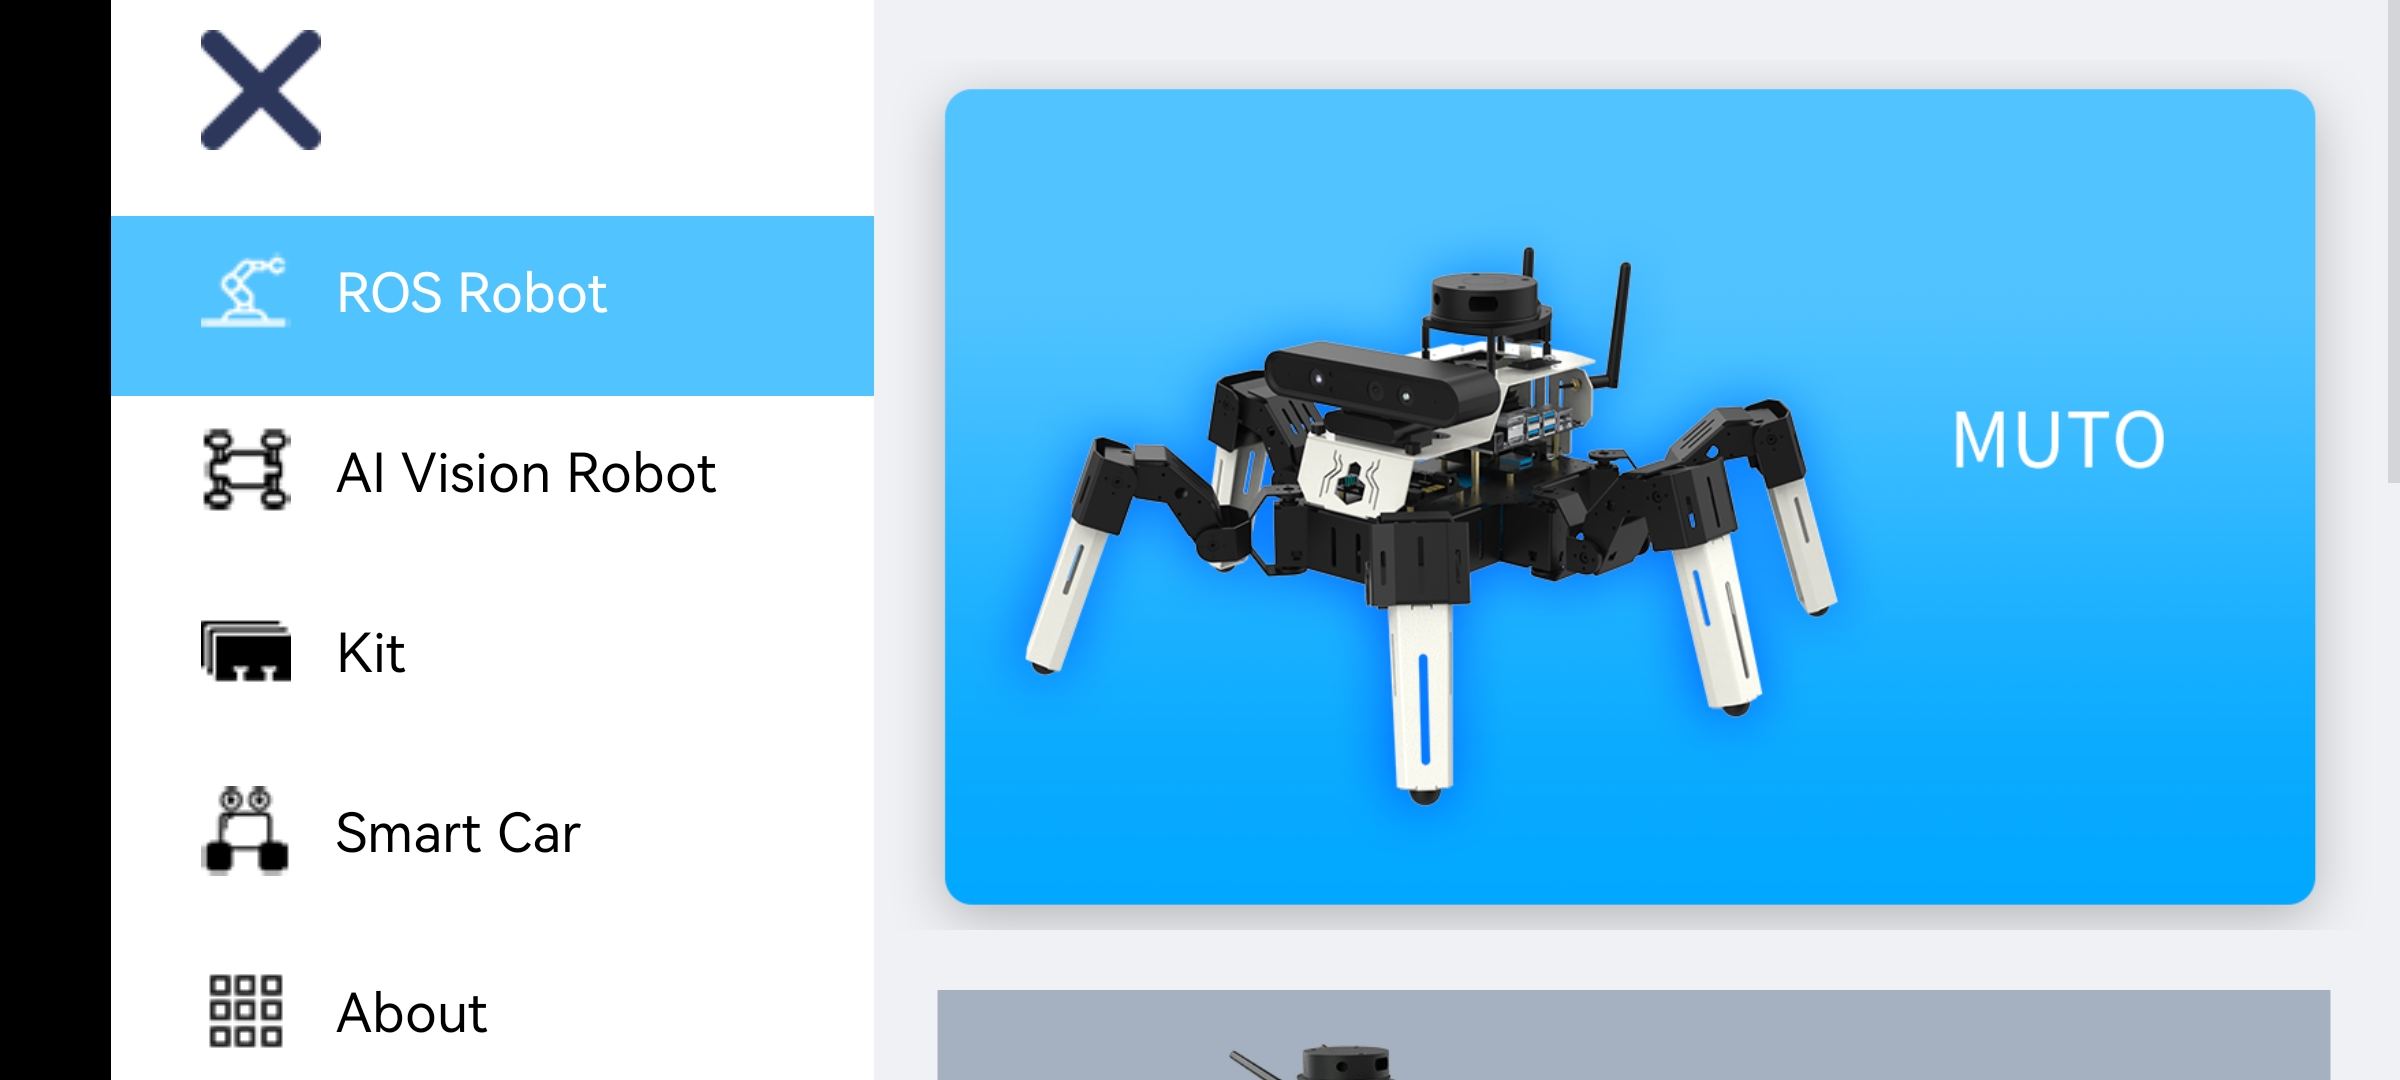
When you open the [YahboomRobot] APP for the first time, you need to select the [Muto] device in [ROS Robot] according to the robot model you purchased.
Establish a network connection
Fill in the IP address displayed by the robot's OLED in the IP column, fill in 6000 in the Port column, and fill in 6500 in the Video column. Click [Connect]. After the connection is successful, it will automatically jump to the main control interface.
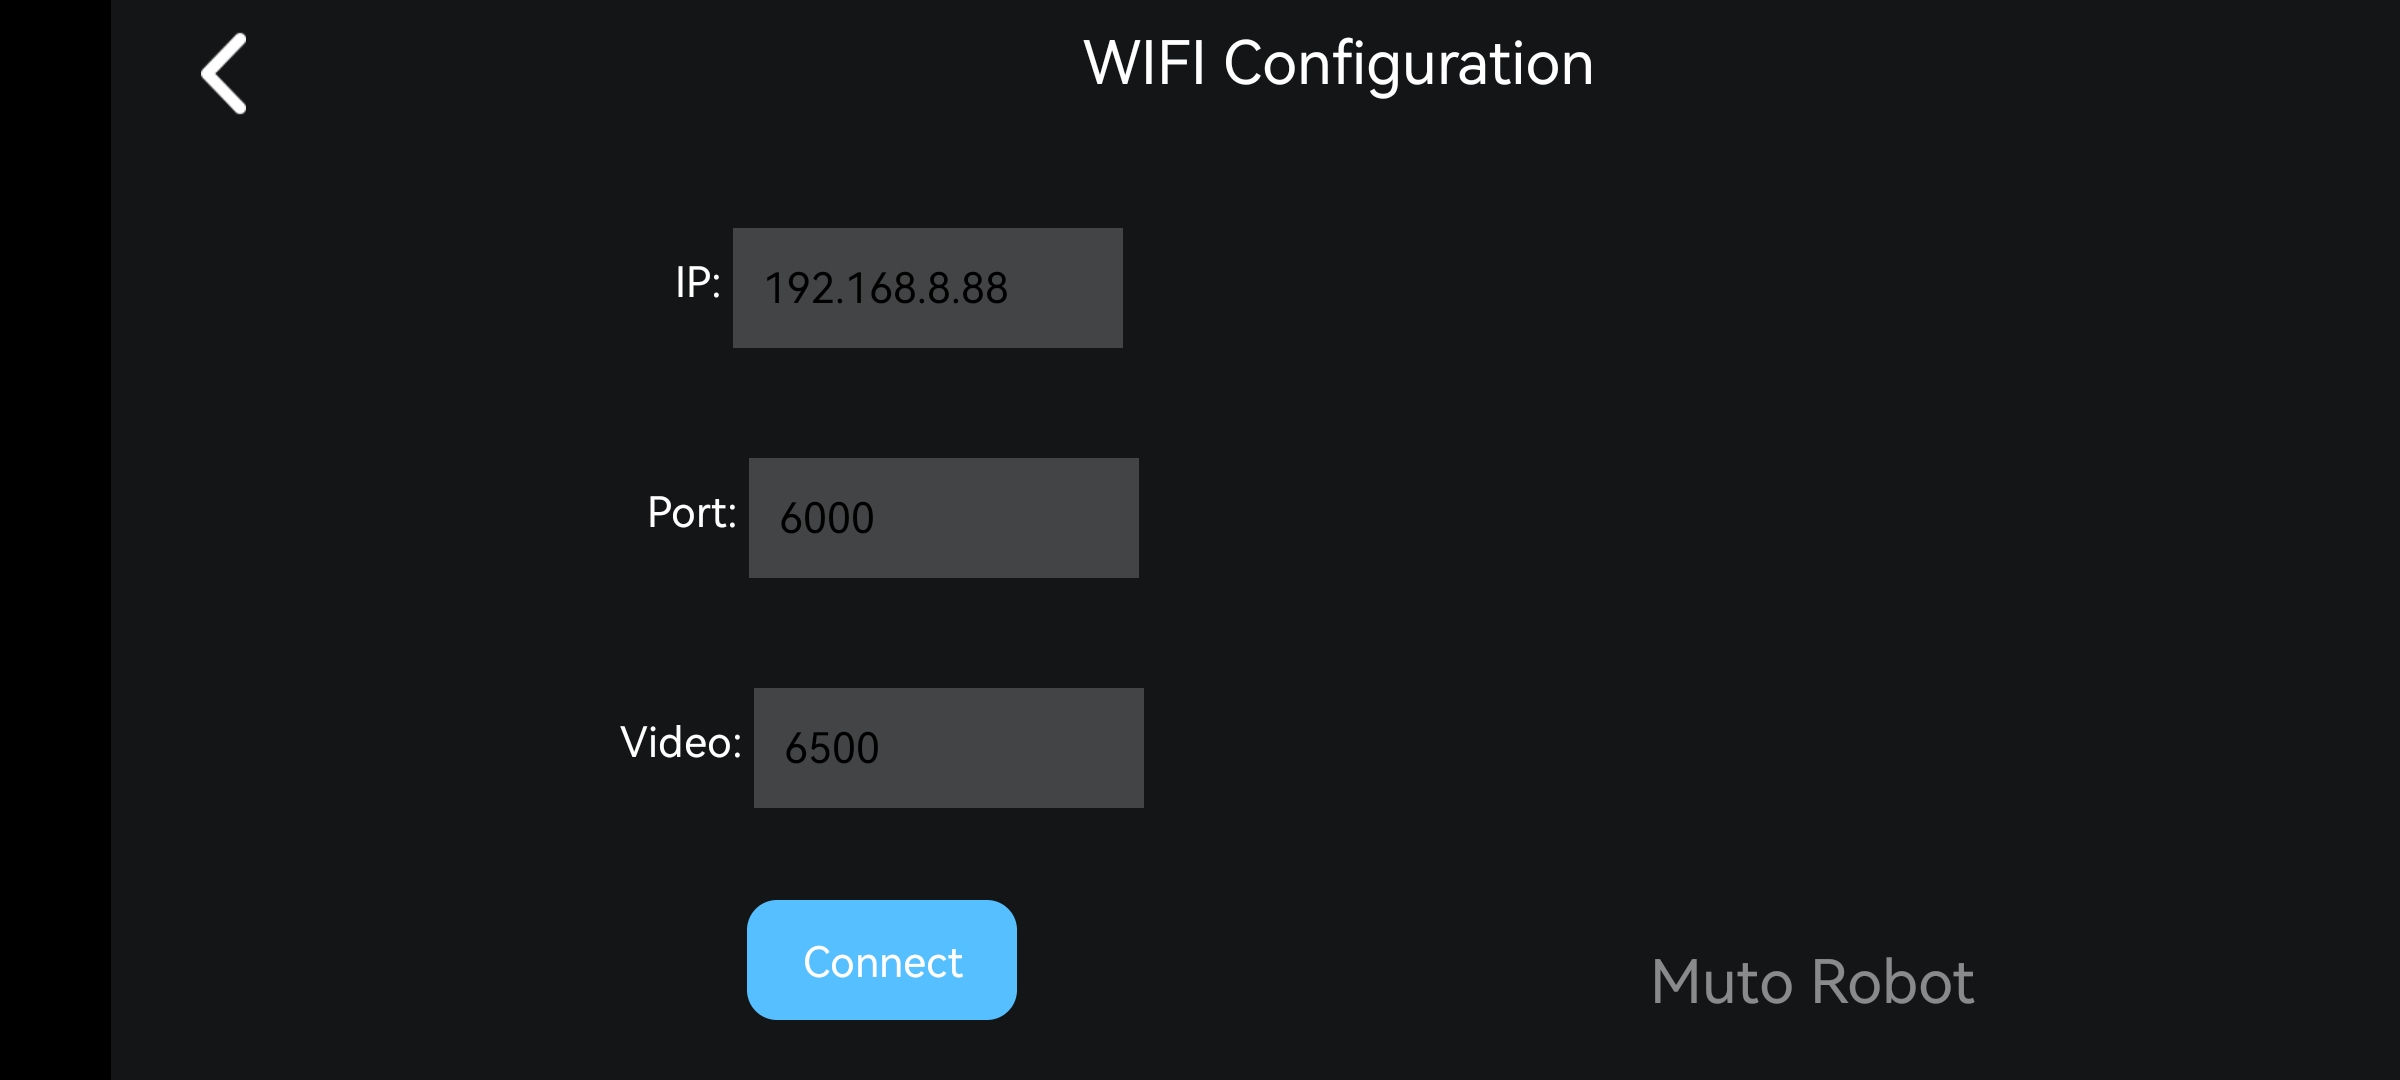
Note: Before connecting the device, please confirm that the mobile phone is connected to the Muto Robot hotspot signal, or the mobile phone and the Muto Robot are connected to the same router. And the app program has been started (the factory system defaults to start the app program).
4、APP function introduction
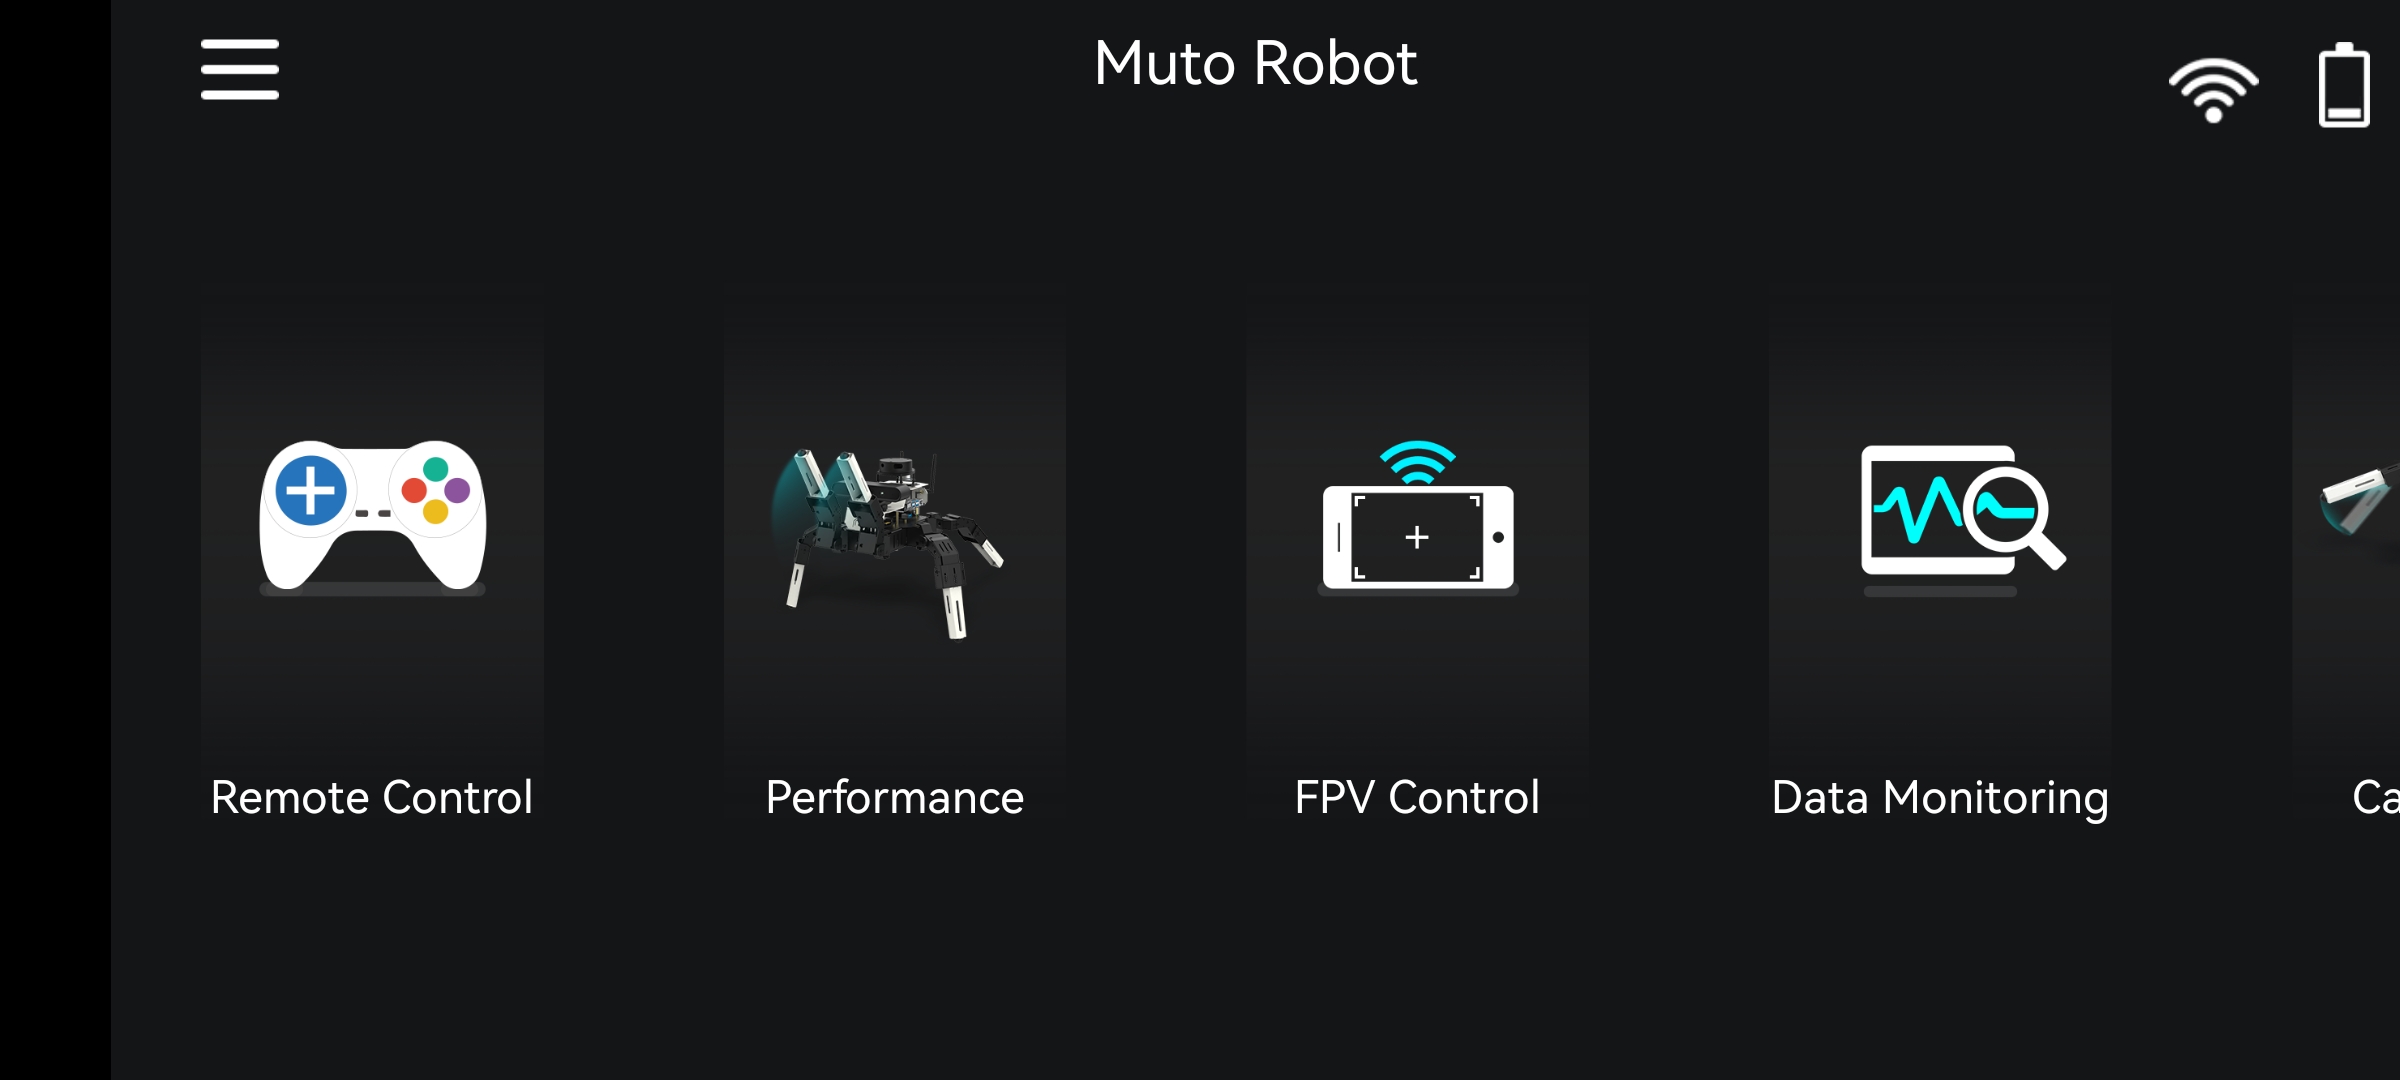
The main interface of Muto robot APP is mainly divided into five modules, each module corresponds to different functions.
Remote control
The functions of the [Remote control] interface are as follows.
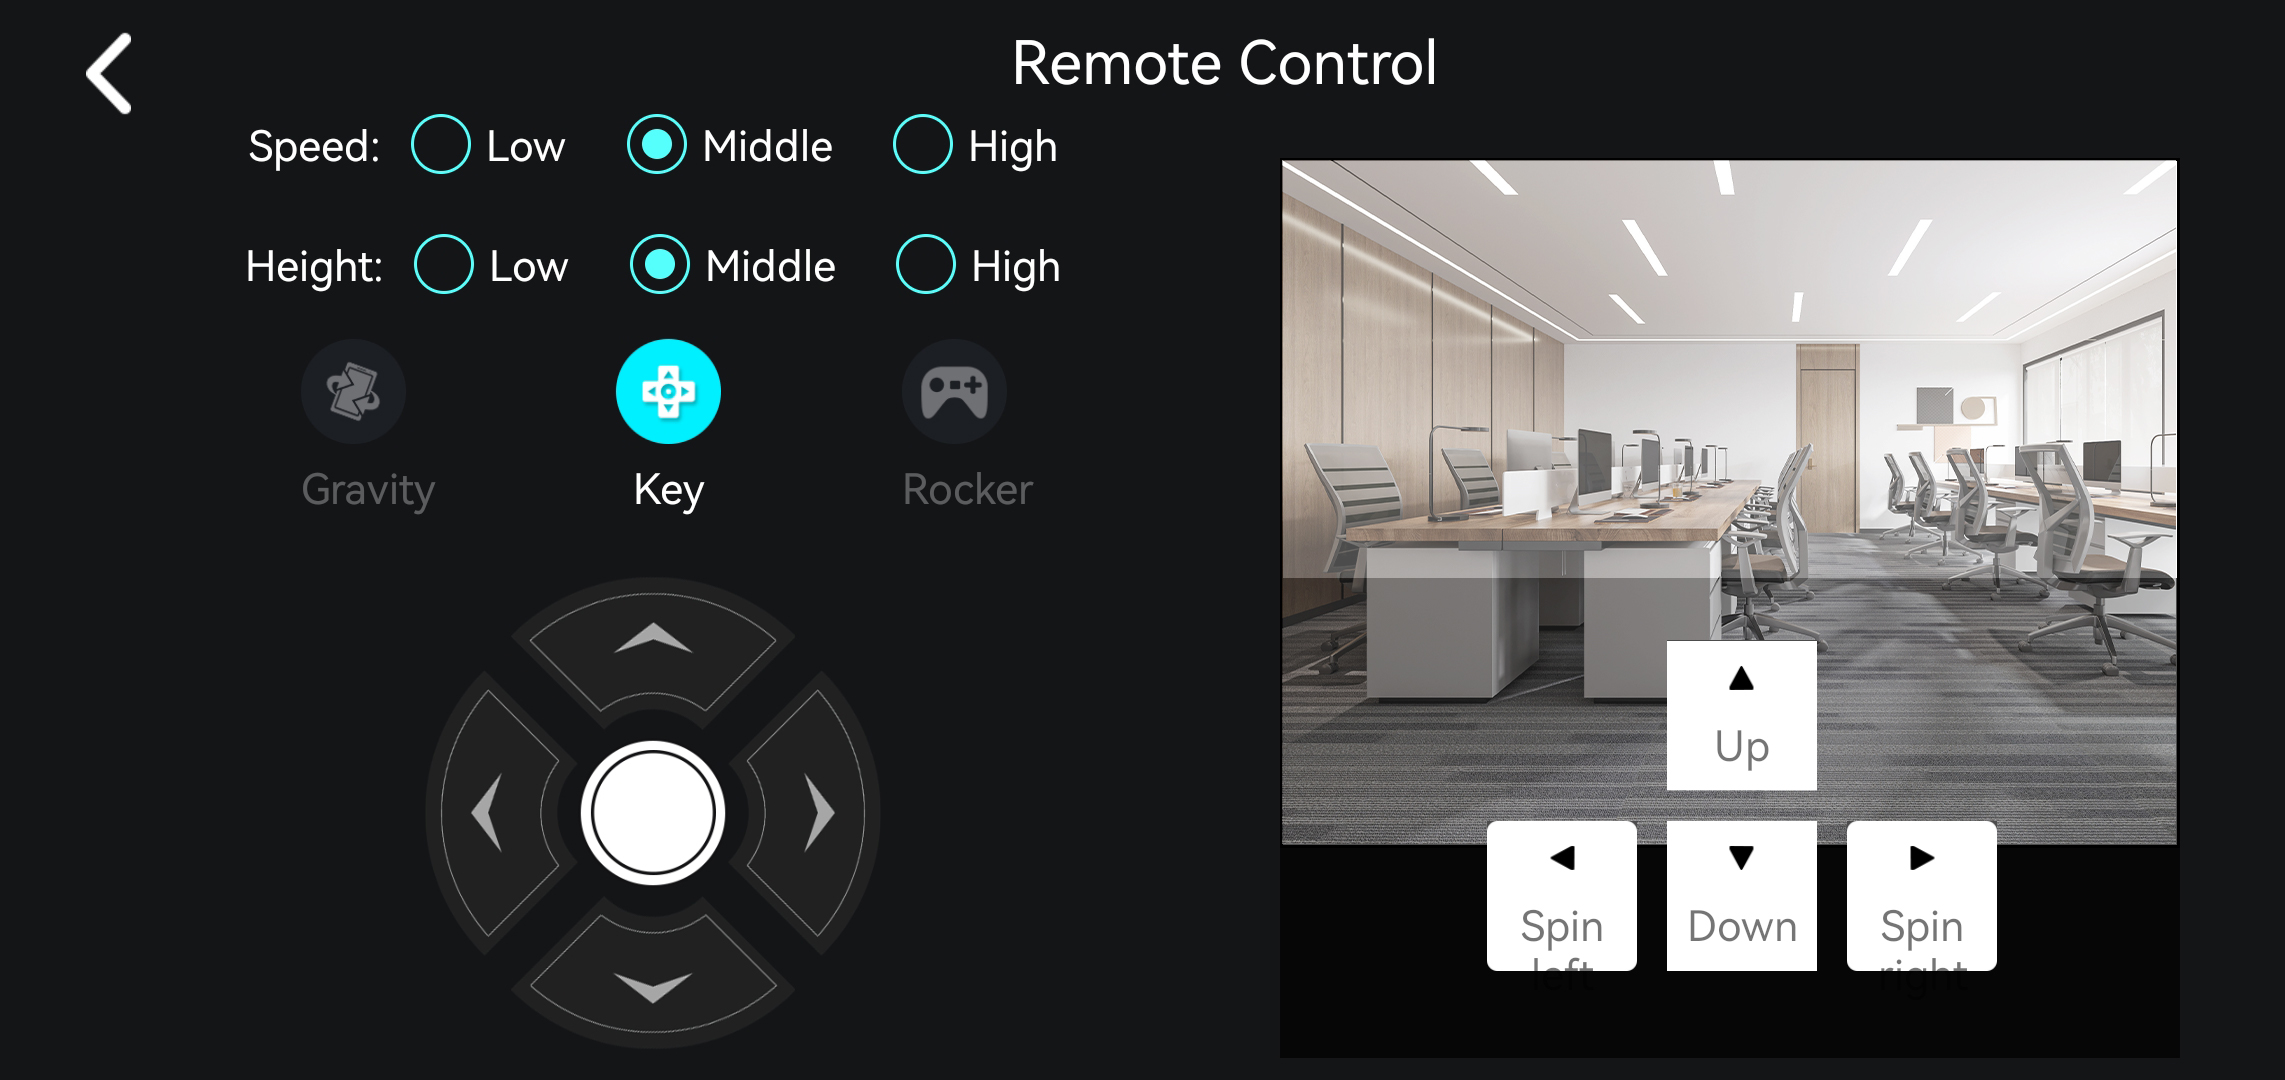
Part 1. Speed:Control the movement speed of the robot, you can choose low speed, medium speed or high speed.
Part 2. Height: Control the body height of the robot, you can choose low, medium or high.
Part 3. Step width: Controls the width of one step for the robot to walk.
Part 4. Control method: Select button control on the left, up to move forward, down to go back, left to move left, right to move right, and the middle button means stop. Select the joystick control on the right, up to move forward, down to go back, left to rotate left, right to rotate right, and the middle to stop.
Part 5. Raise/lower head: Control the robot to raise/lower its head.
Part 6. Left/right rotation: Control the robot to rotate left/right in place.
Performance mode
[Performance Mode] Interface functions are as follows.
Click the 【Performance】icon, you can see the following interface.
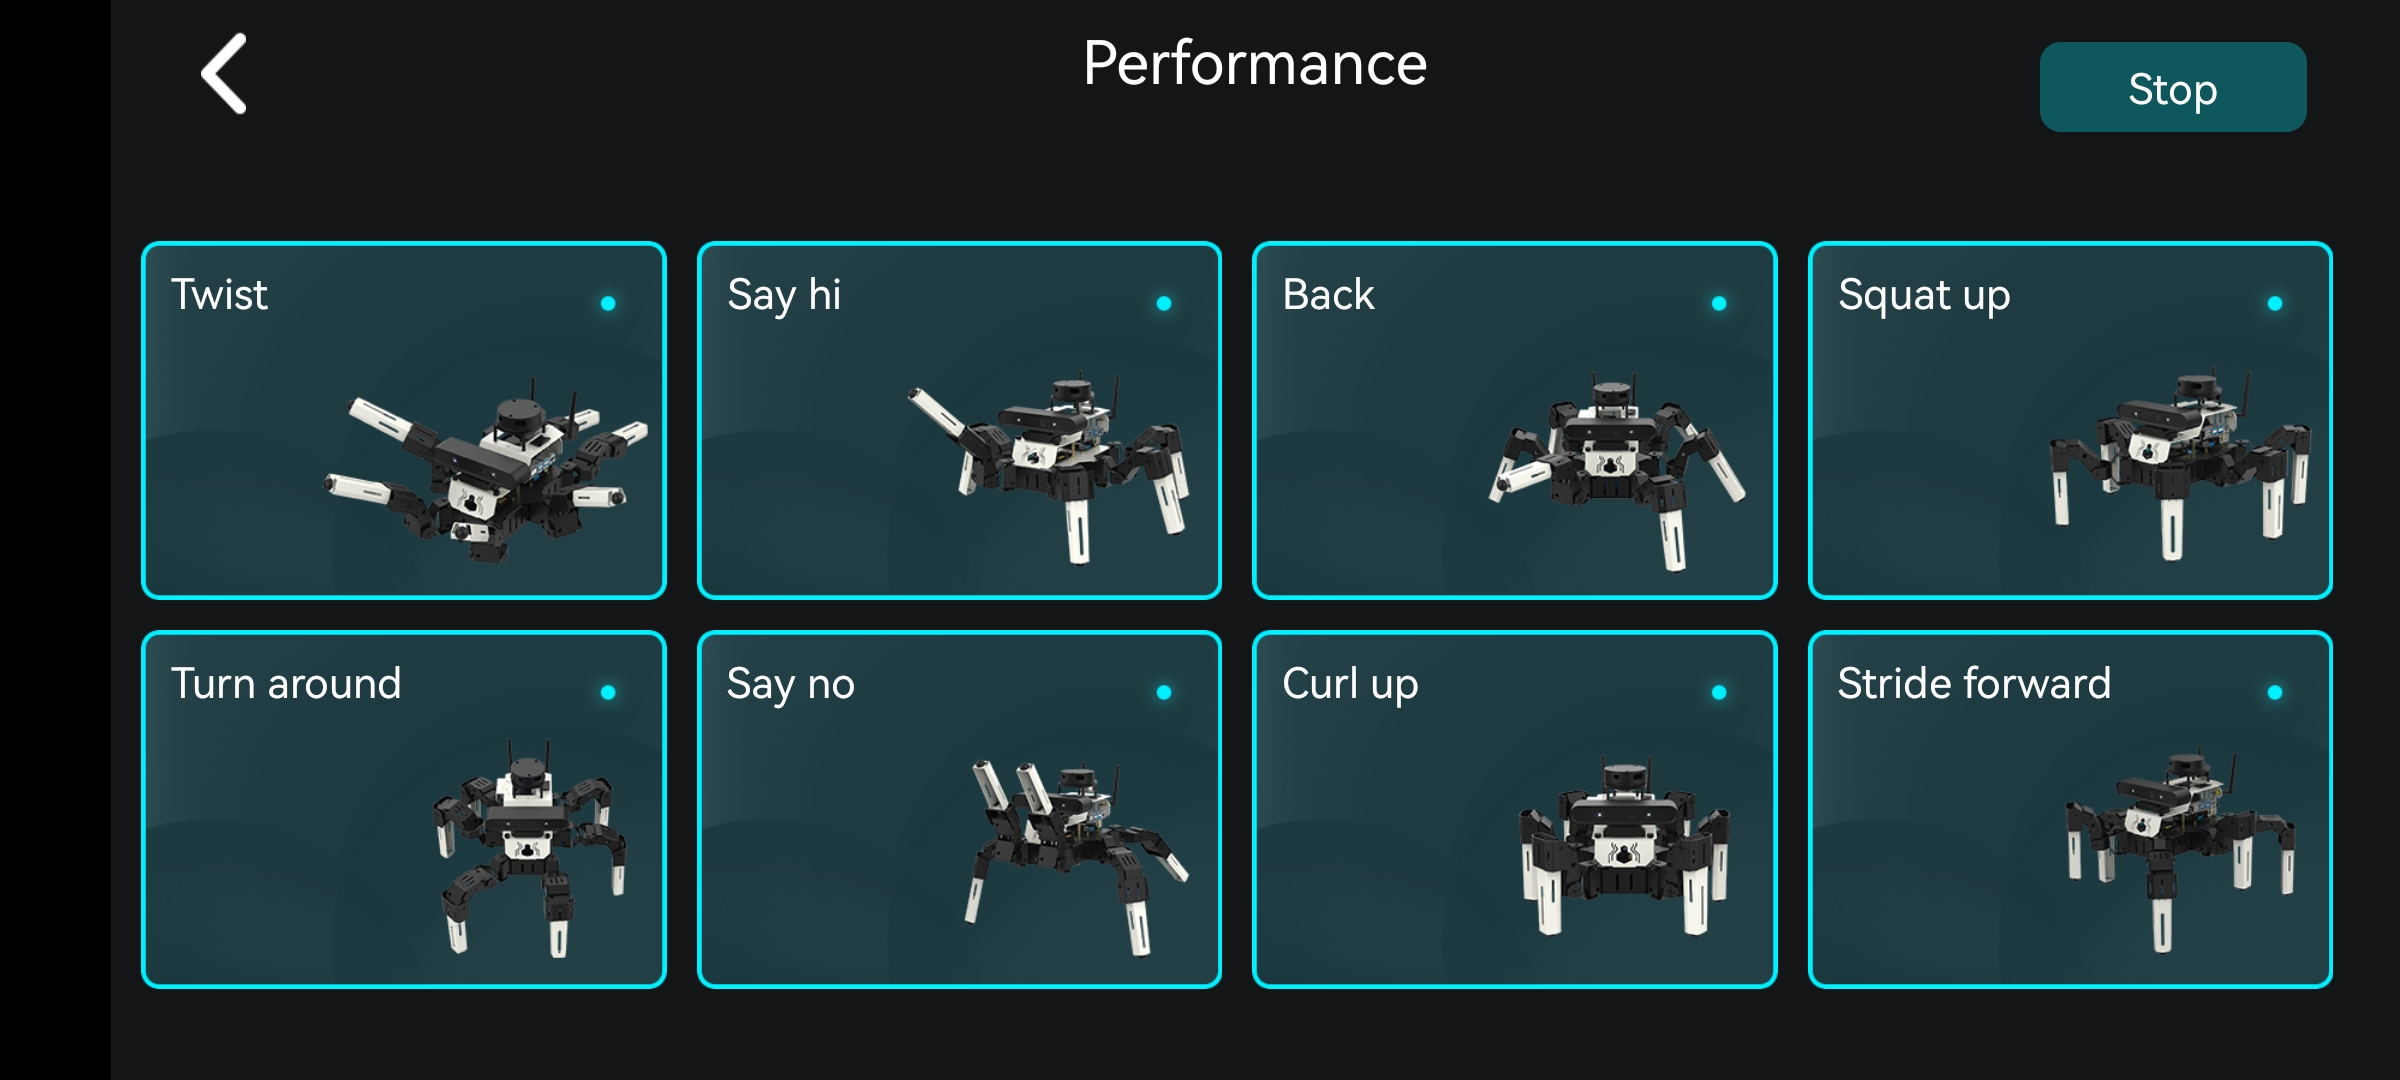
Part 1. Eight preset actions,Run once per click.
Part 2. reset button:The robot returns to its default posture.
FPV Contrl
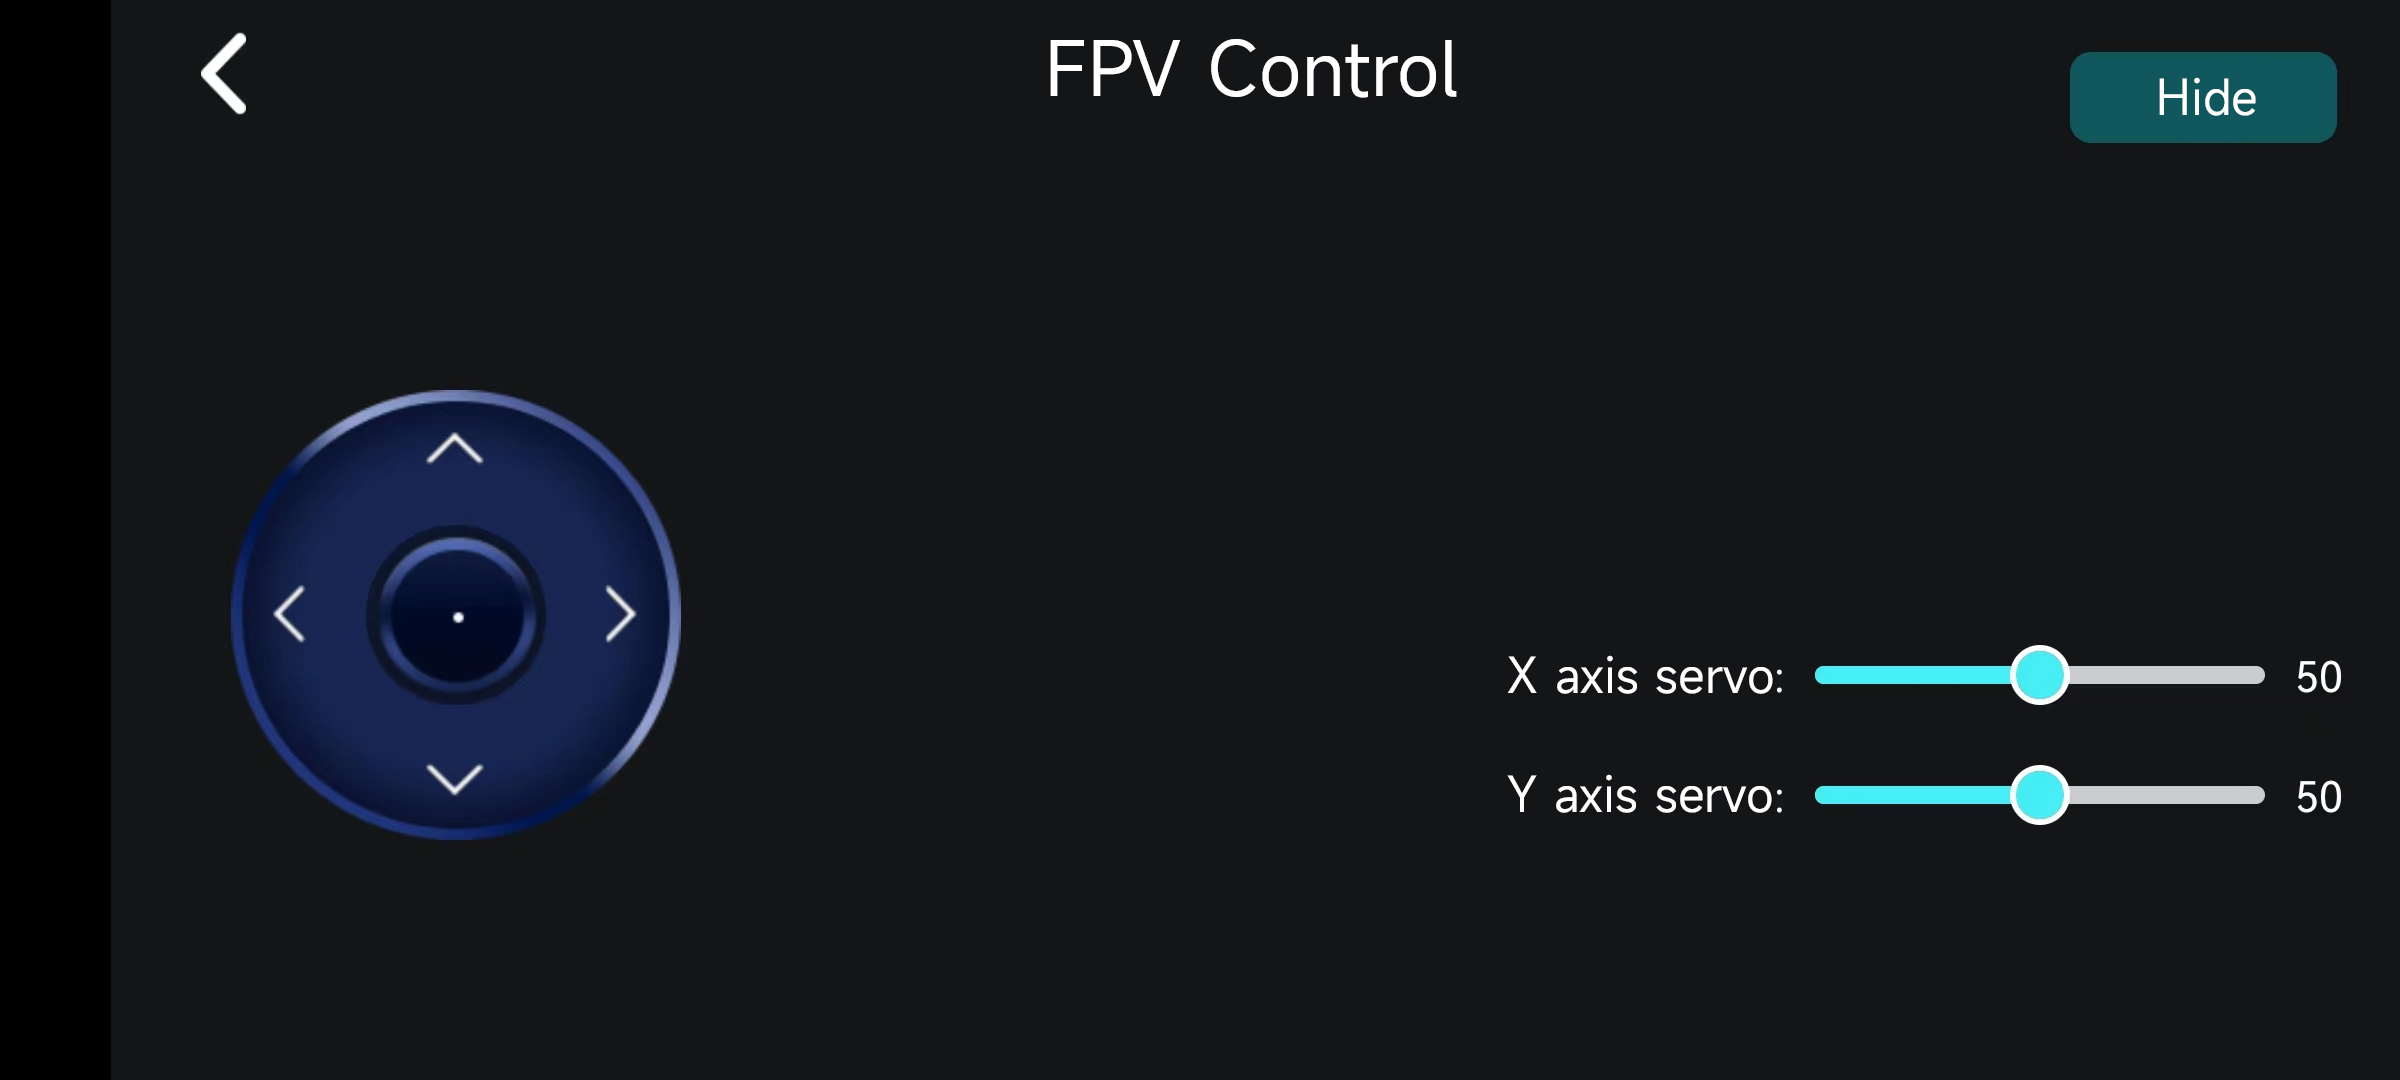
Part 1. Hide: Hide the control, retain the full-screen camera image, and click again to display the control.
Part 2. Rocker: Control robot movement position .
Part 3. X/Y axis servo:Contrl camera PTZ.
Data monitoring
The functions of the [Data Monitoring] interface are as follows.
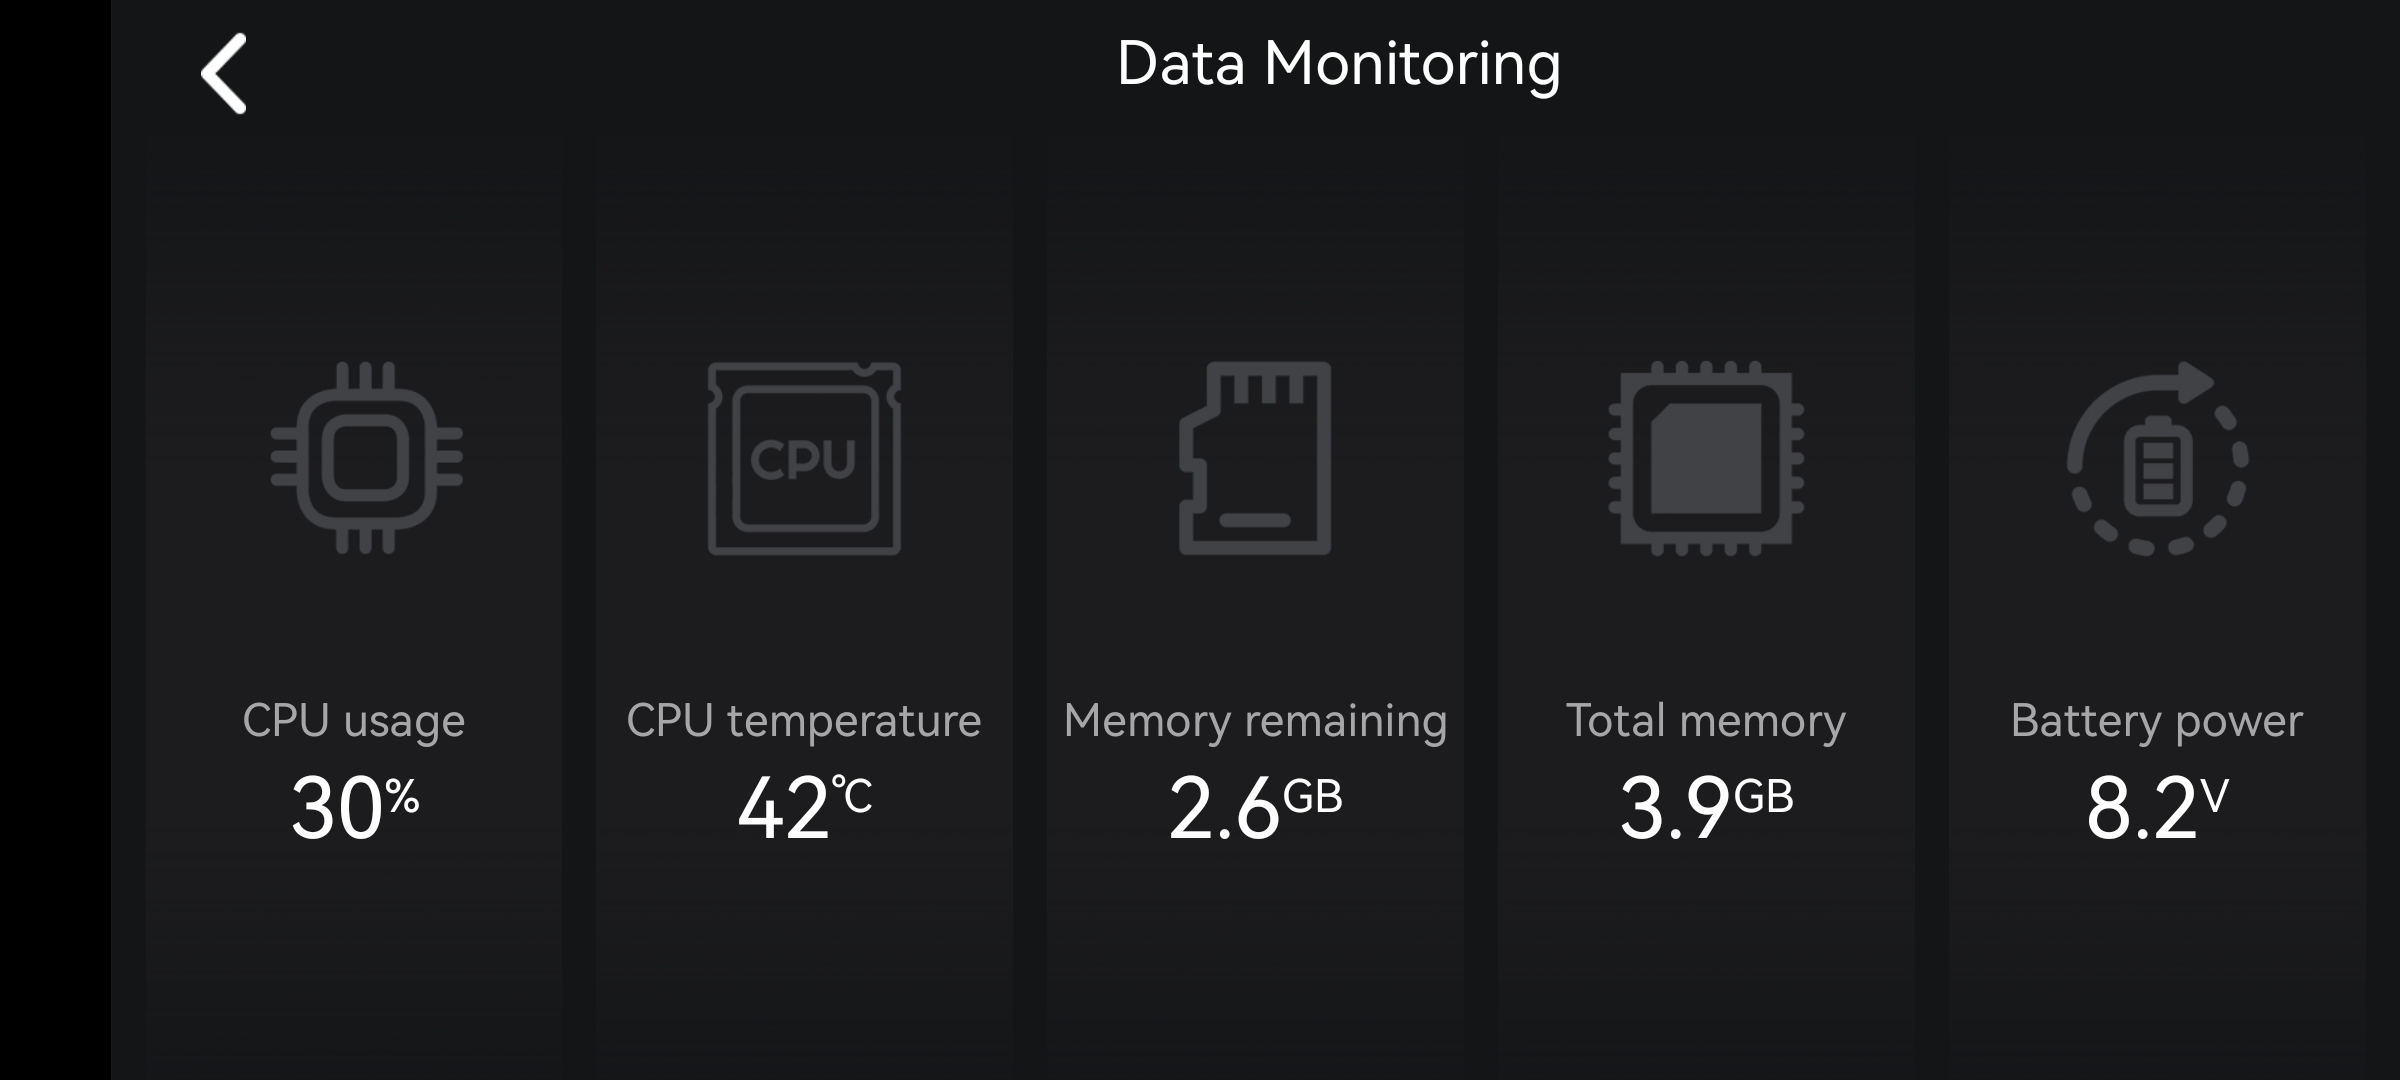
Part 1. CPU Usage: Displays the motherboard CPU usage.
Part 2. CPU temperature: Displays the temperature of the motherboard CPU.
Part 3. Memory remaining: Displays the remaining memory space of the motherboard system memory.
Part 4. Total memory: Displays the total memory space of the motherboard memory.
Part 5. Battery power: Displays the voltage of the robot's battery.
Robot calibration
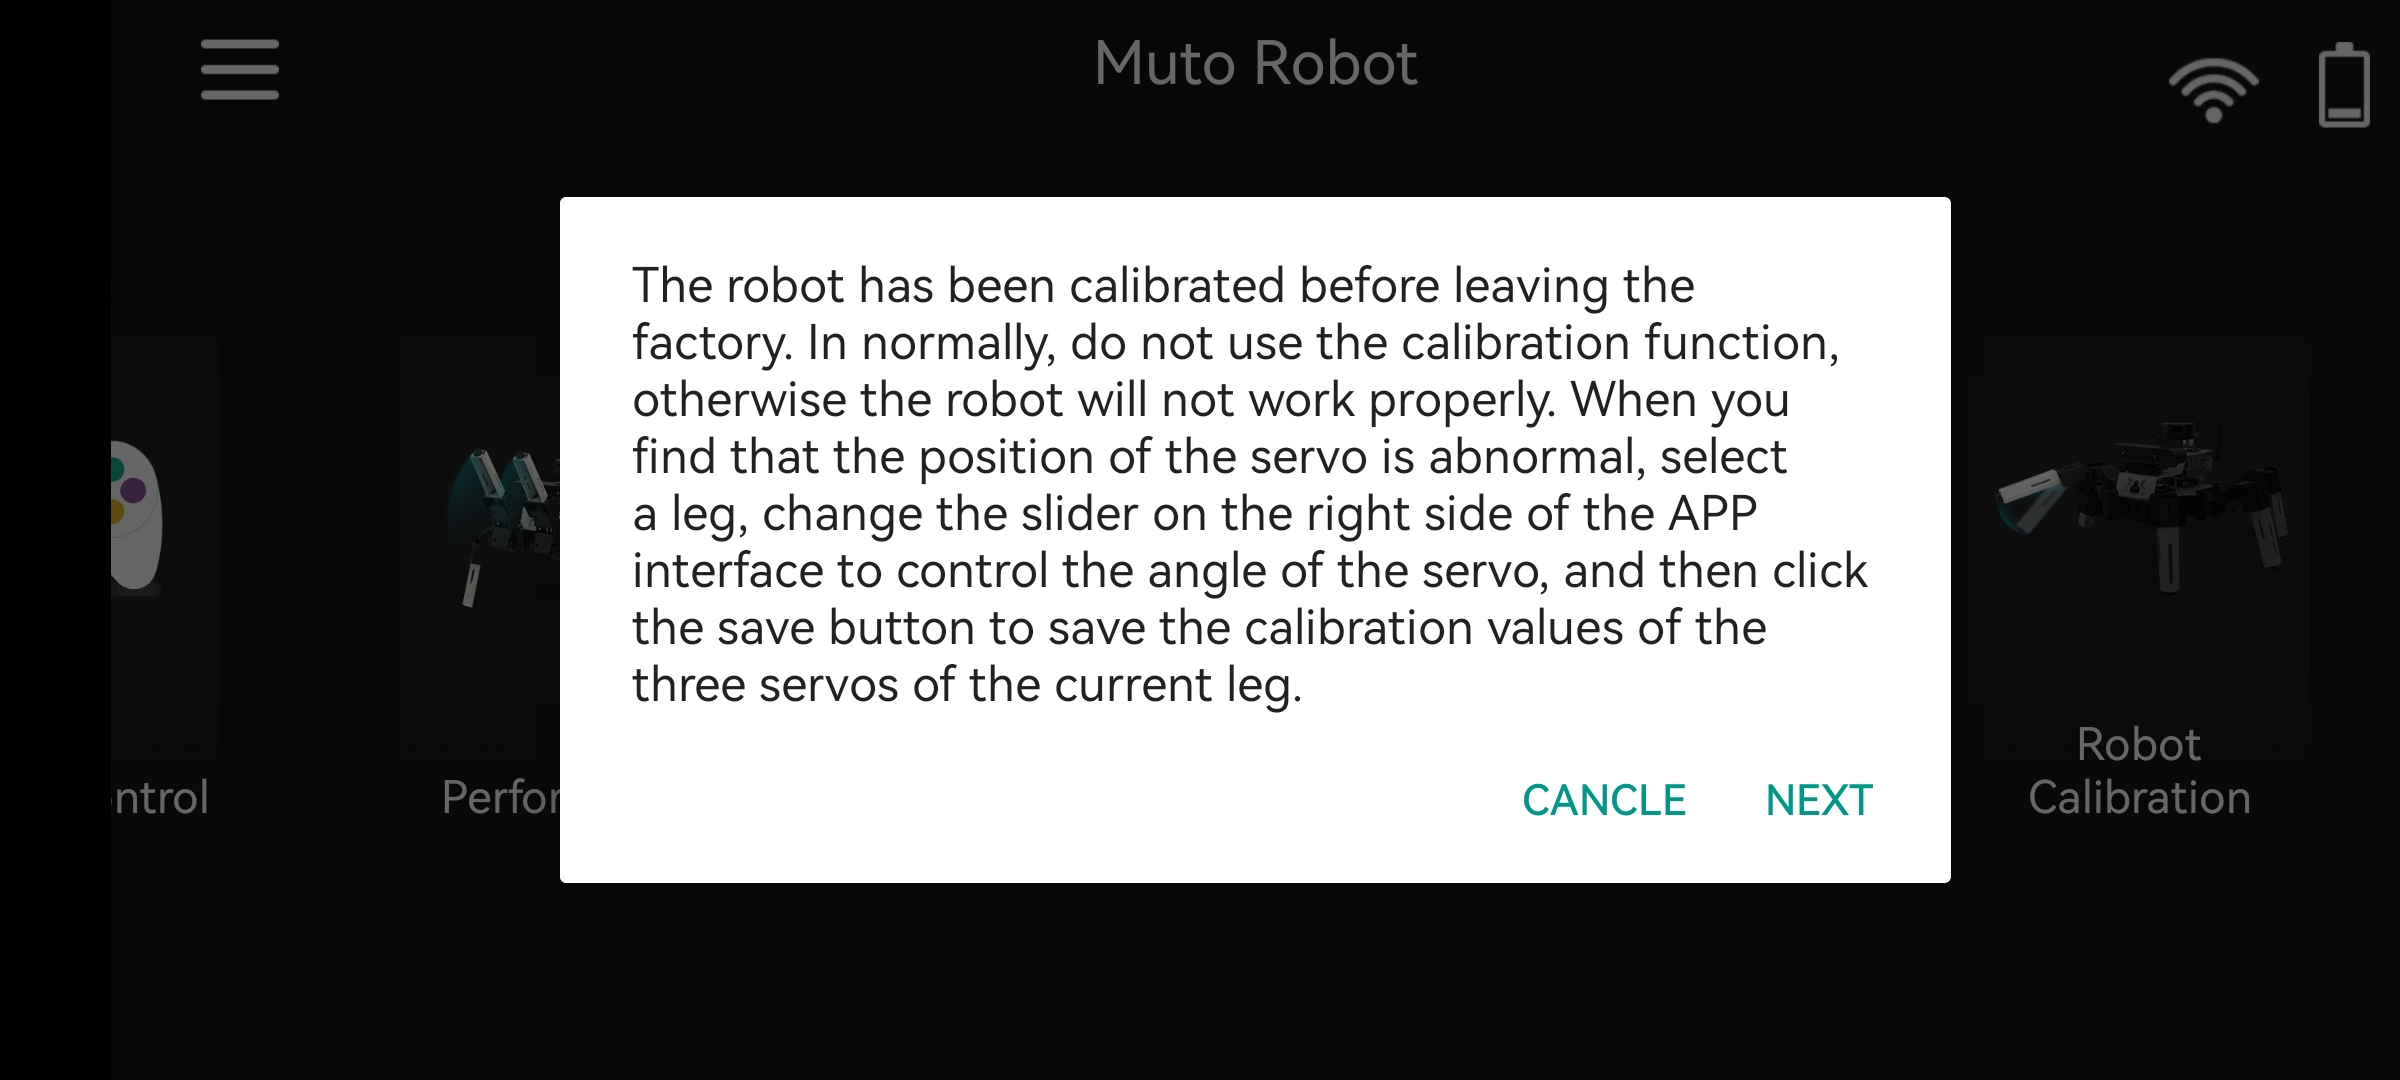
Note: The robot has been calibrated before leaving the factory. Calibration is not required under normal circumstances. Since the robot calibration function is quite special, improper operation may cause problems such as unsmooth robot movement.
Before entering the robot calibration interface, the APP will prompt the following content, please click Next.
The function diagram of the [Robot Calibration] interface is as follows.
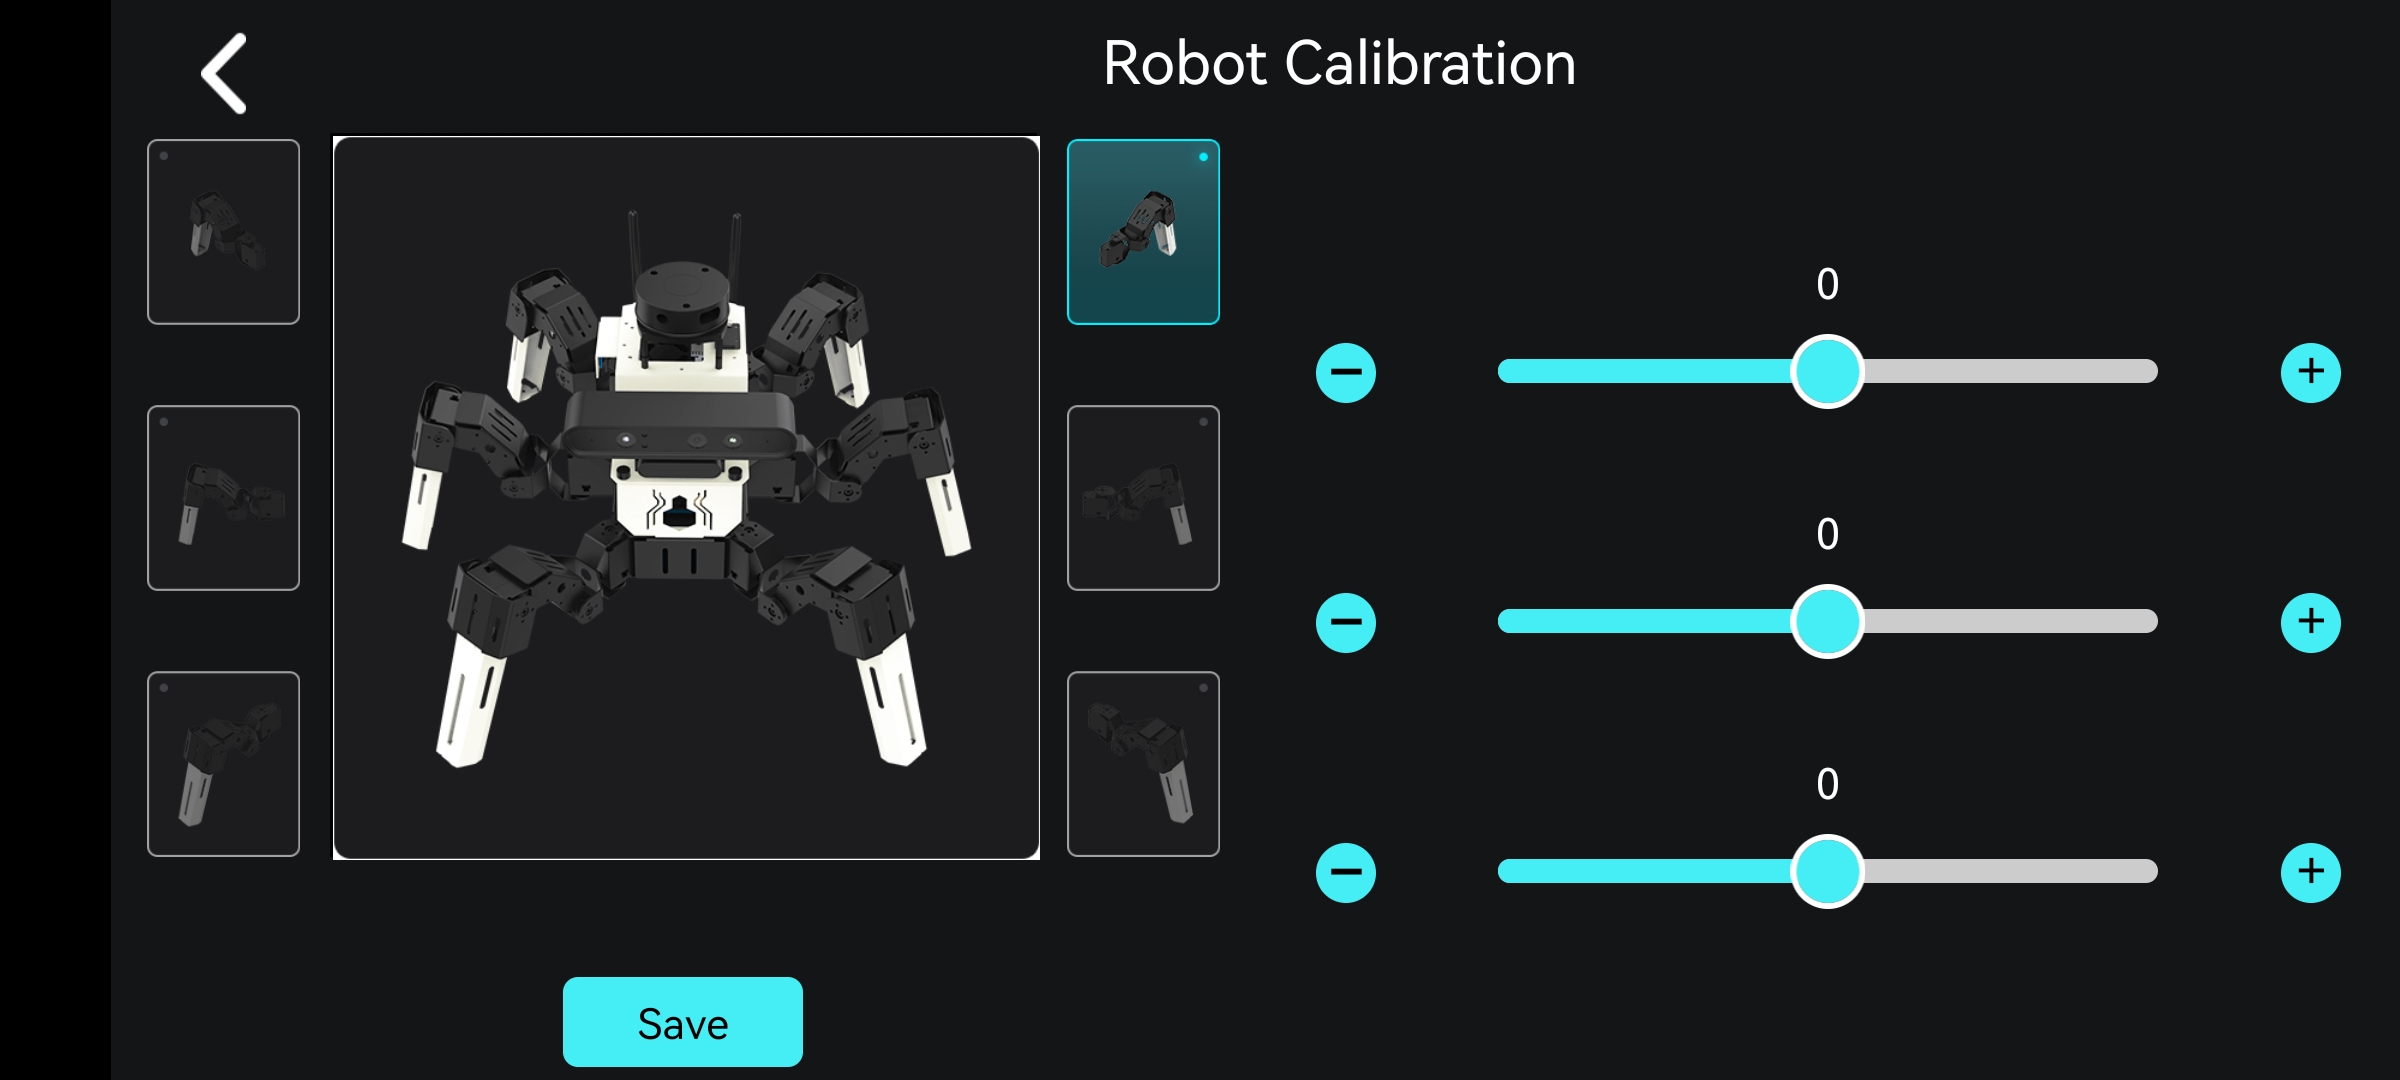
As shown in the picture above, the picture on the left represents the selected leg of the robot. If the icon lights up, it means it is selected. The save button at the bottom is used to save the data to the robot base plate. The three slide bars on the right control the three servos of the selected leg respectively.
Please place the Muto robot flat on the ground and face yourself. If a leg is hanging in the air but not touching the ground, select the corresponding leg icon (the icon lights up to indicate selection. At this time, the values of the three slide bars on the right are all 0), and click Save button to clear previously saved data. Then adjust the three sliders on the right until the leg in question is on the ground. Then click the save button again to save the data to the robot servo.