ROS2 entity robot dog mapping
Quick use
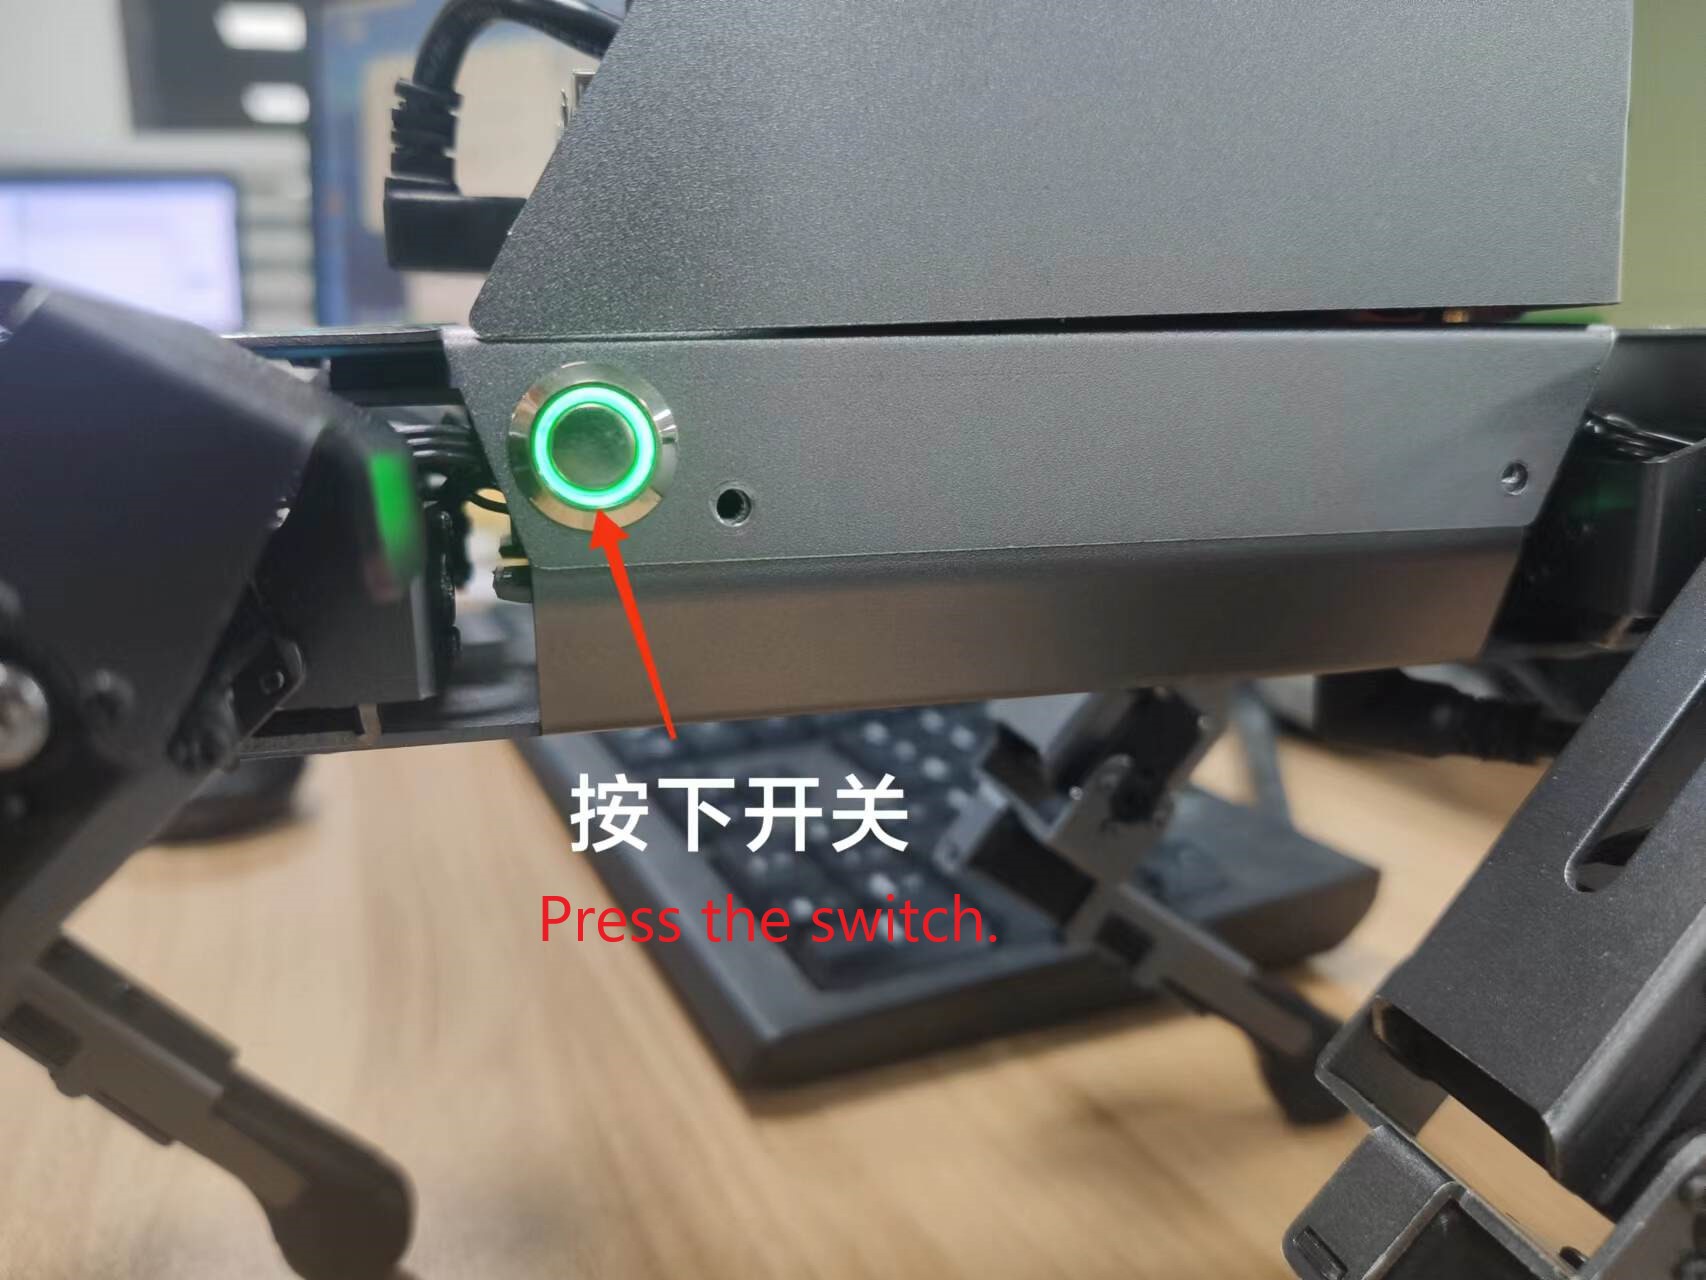
1. Power up the robot dog
Press the power switch on the side of the robot dog and wait for the robot dog to finish starting up. And connect the WiFi of the robot dog to the same LAN environment as your computer.
After the robot dog is started, it means that the lidar, imu, and robot dog joint status nodes have been automatically started.
If you find that lidar and other data cannot be obtained, please close the robot dog APP control process and restart the chassis program.
About close the APP control process, restart the chassis and modify the multi-level communication ID, please refer to the tutorial: 14.Lidar course -->6.ROS2 entity robot dog state acquisition.
2. Open the virtual machine
Note: Here the default virtual machine has been installed.
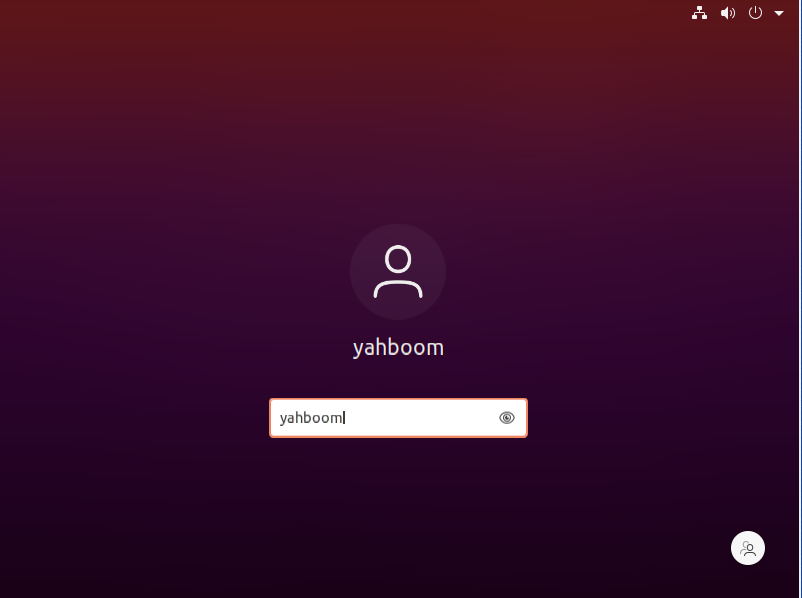
Open the virtual machine, enter the password: yahboom and then press the Enter key to enter the system desktop.
3. Start the Mechanical Dog build node
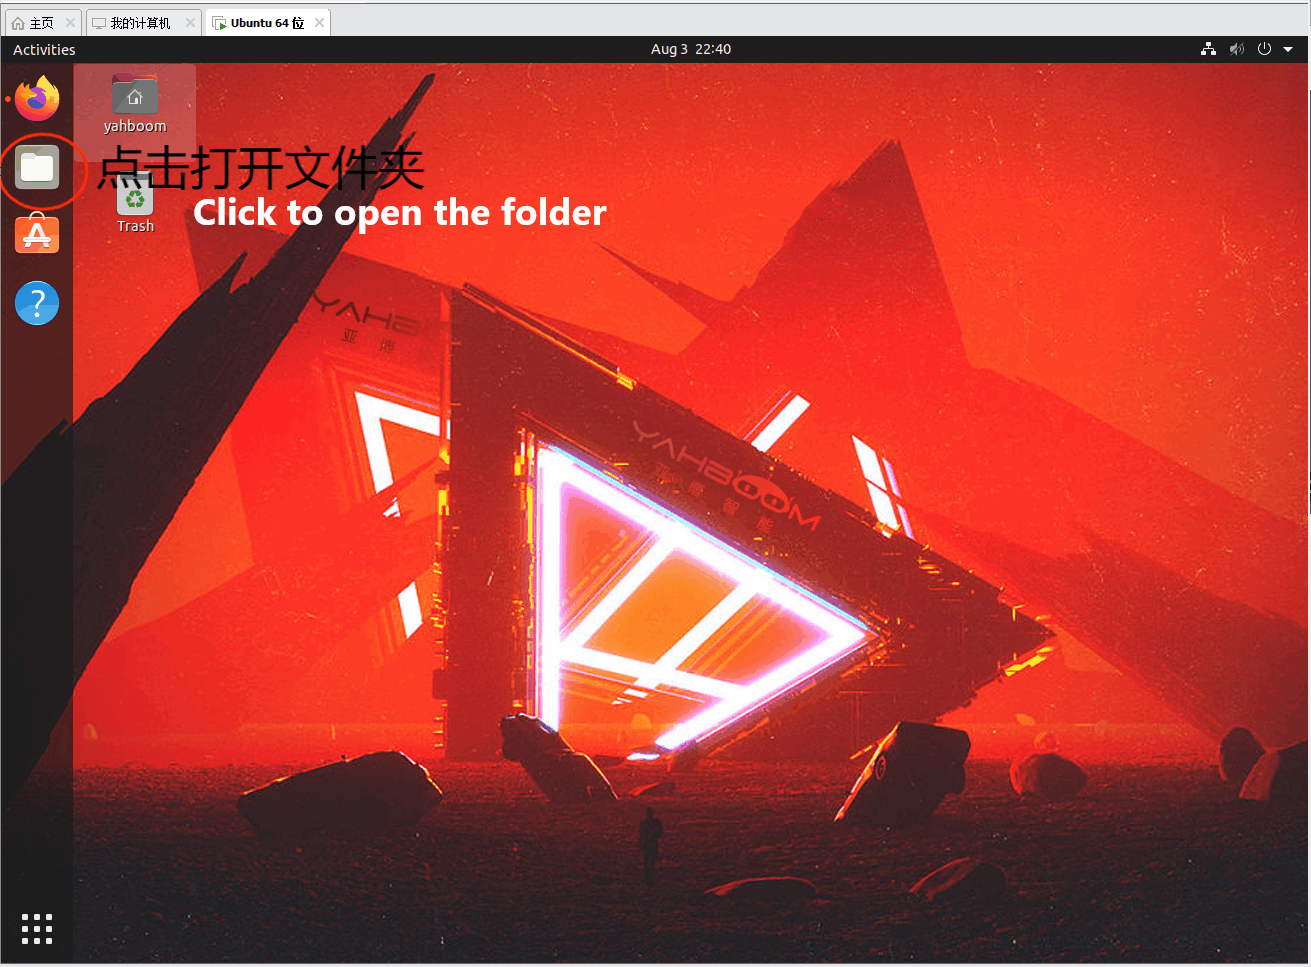
Go to the desktop system and open the folder.
Then double click on the cartoros2 folder
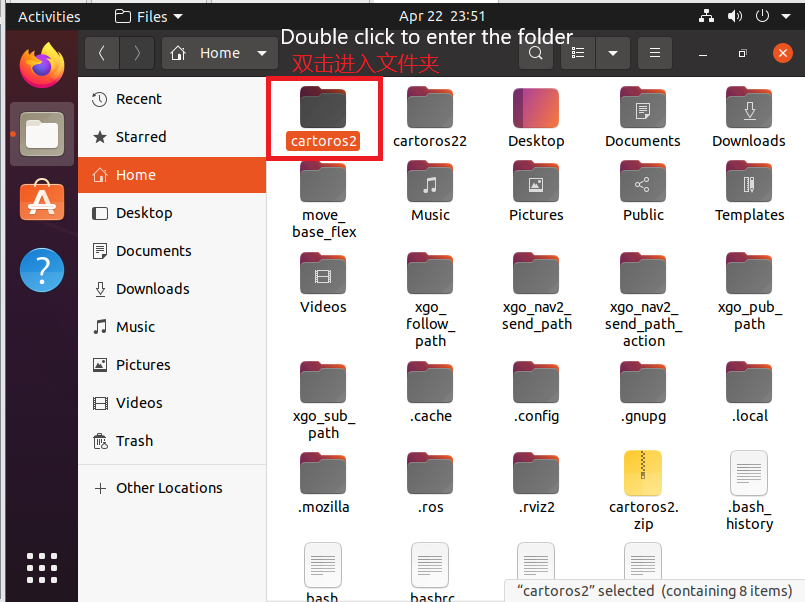
Then right-click in a blank space in the folder and select Open in Terminal

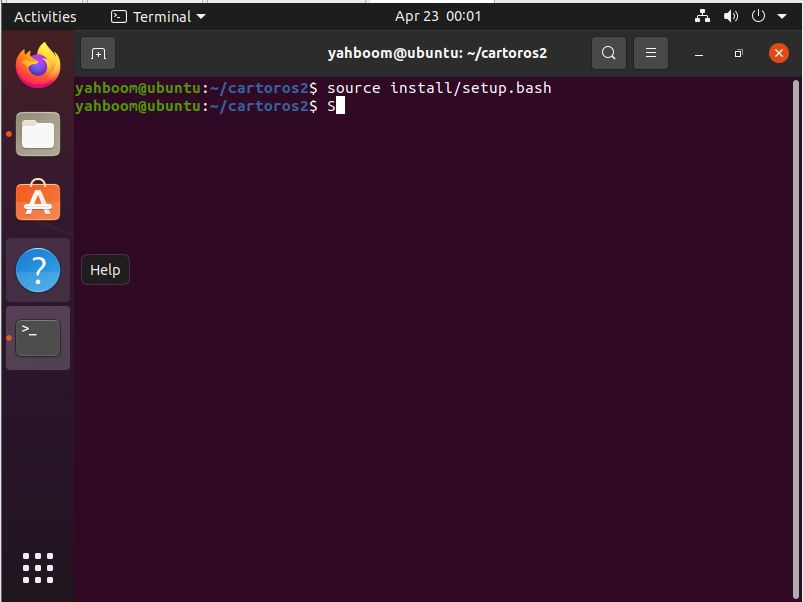
Then activate the environment by typing the following command in the terminal
source install/setup.bash
Press the Enter key when you have finished typing.
Then enter the command
xxxxxxxxxxros2 launch yahboom_bringup Mapping_bring.launch.py
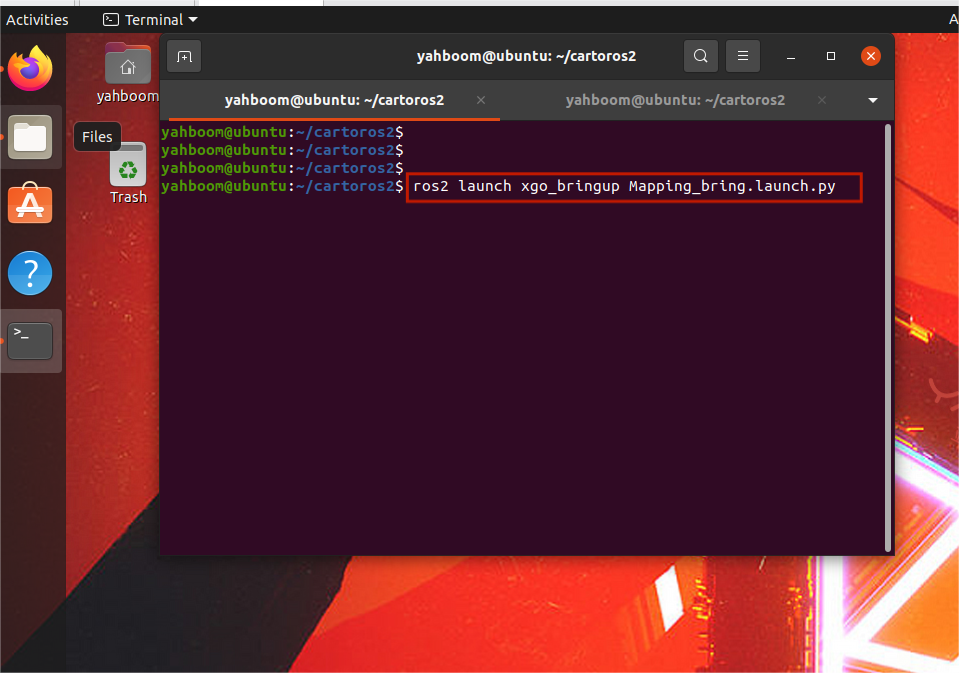
Then press enter you can and you can build the diagram.
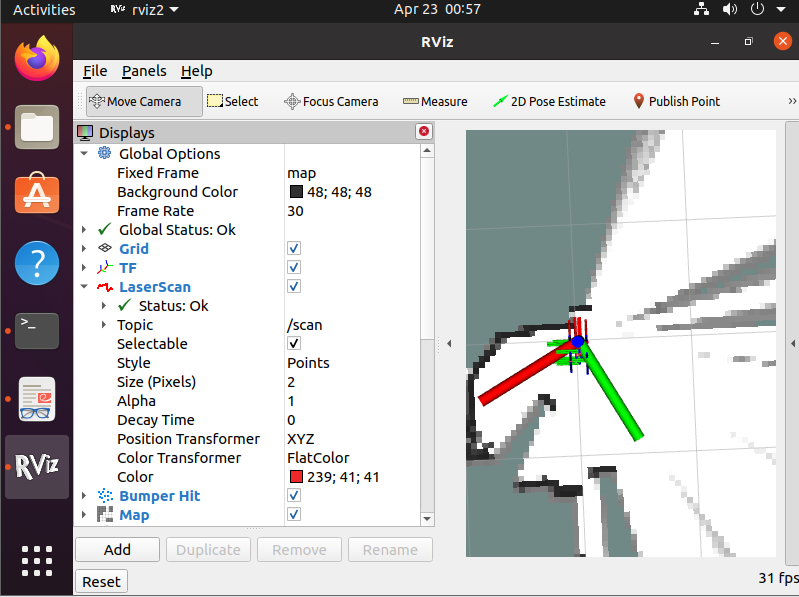
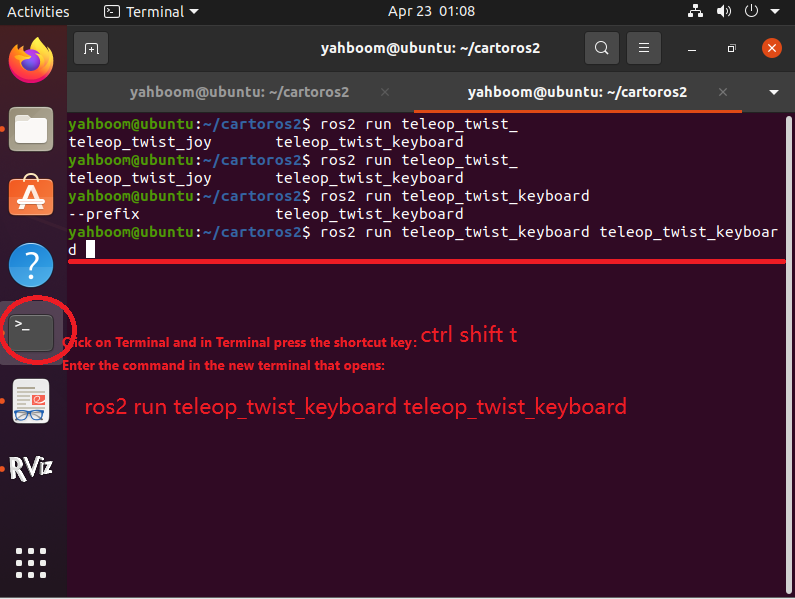
4. Control the robot dog to walk and build a diagram
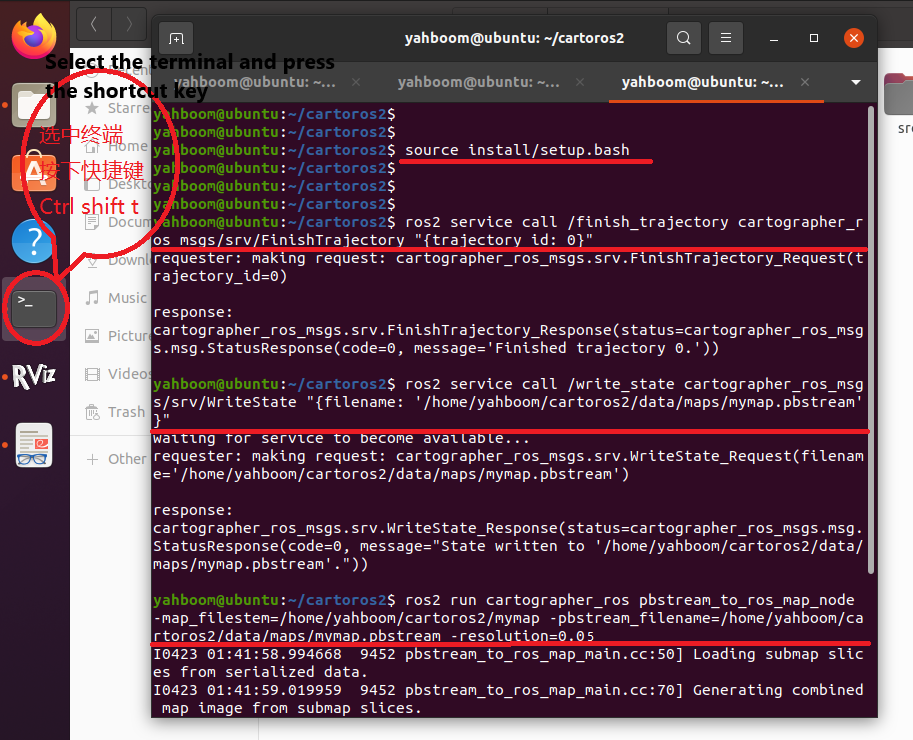
Click on the terminal and press the shortcut key: ctrl + shift + t
Enter the command in the terminal:
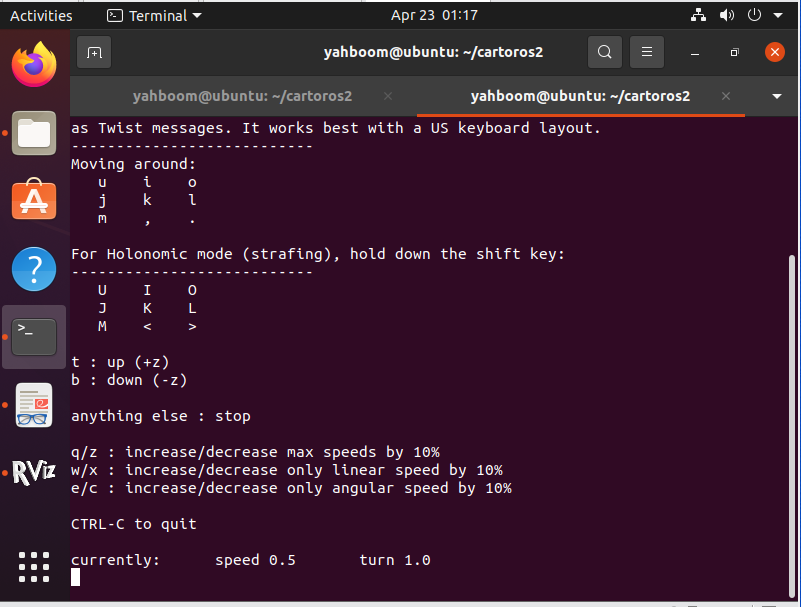
xxxxxxxxxxros2 run teleop_twist_keyboard teleop_twist_keyboard
Pressing the Enter key will allow you to control the robot dog movement by pressing the keyboard keys in the terminal. Where I is forward, K is pause and < is backward.
5. Save the map
Once the map has been scanned, we reopen a terminal window by pressing the shortcut Ctrl shift t in the terminal and enter the following command
Activate the environment by typing the following command
xxxxxxxxxxsource install/setup.bash
Then stop building the diagram by entering the following command.
xxxxxxxxxxros2 service call /finish_trajectory cartographer_ros_msgs/srv/FinishTrajectory "{trajectory_id: 0}"
Then save the pbstream file by entering the following command again
xxxxxxxxxxros2 service call /write_state cartographer_ros_msgs/srv/WriteState "{filename: '/home/yahboom/cartoros2/data/maps/mymap.pbstream'}"
The path to the parameter filename is the path where the pbstream file of the map is saved.
Finally, enter the following command to convert the pbstream file to a pgm file.
xxxxxxxxxxros2 run cartographer_ros pbstream_to_ros_map_node -map_filestem=/home/yahboom/cartoros2/data/maps/mymap -pbstream_filename=/home/yahboom/cartoros2/data/maps/mymap.pbstream -resolution=0.05