SDK manager writing system
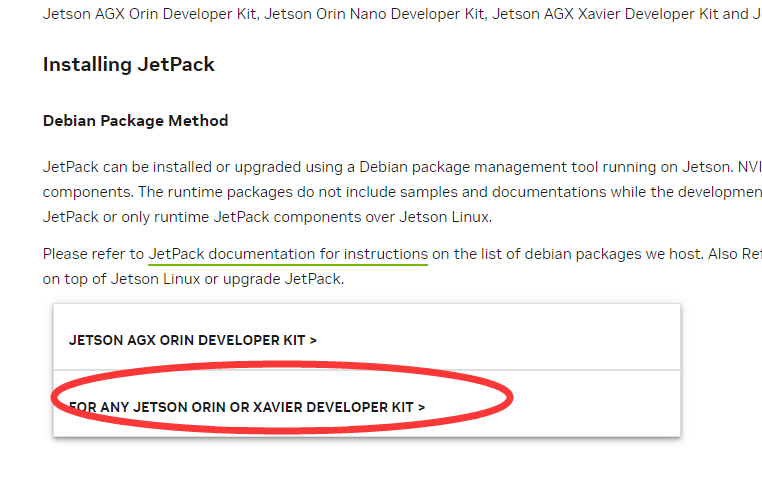
- Open NVIDIA's Jetpack download website:
https://developer.nvidia.com/embedded/jetpack
Using the virtual machine Ubuntu 18.04 (20.04 is also possible) system, click to download SDK Manager. Please register/log in to your NVIDIA account before using it.
- Install SDK Manager。
First, enter the path of the. deb file you just downloaded, for example, download it here to the Downloads directory.
cd Downloads/

Enter the following command on the terminal to install SDK Manager.
xxxxxxxxxxsudo dpkg -i sdkmanager_1.9.2-10889_amd64.deb
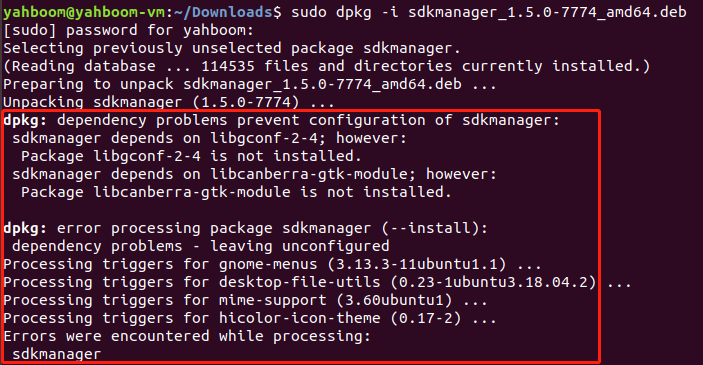
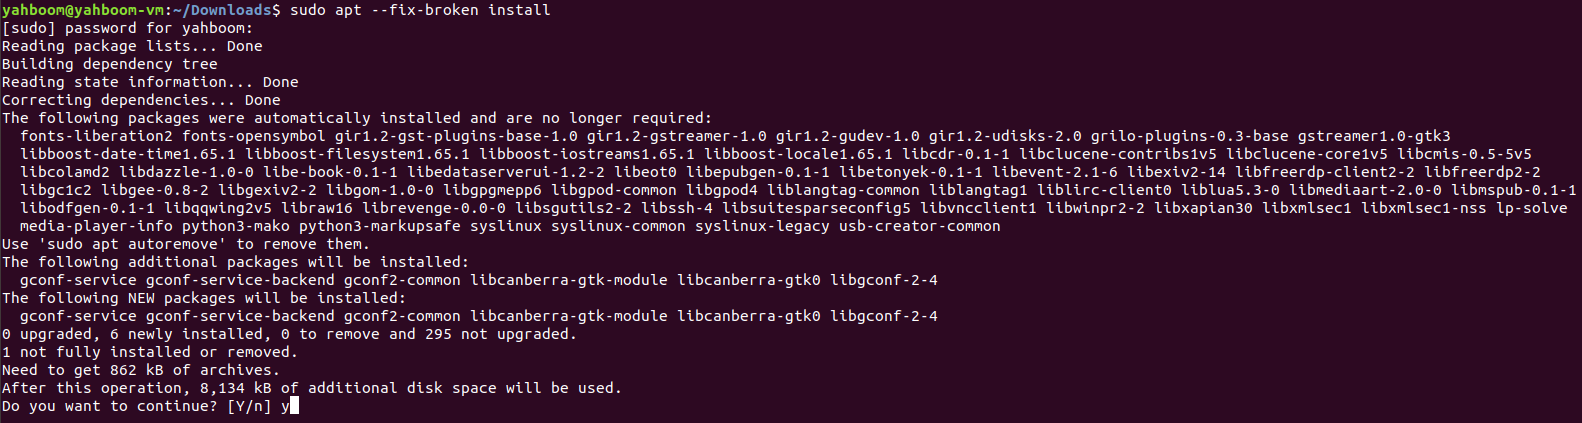
At this point, the system may report an error that the dependent file cannot be found. Enter the following command to solve this problem.
xxxxxxxxxxsudo apt \--fix-broken install
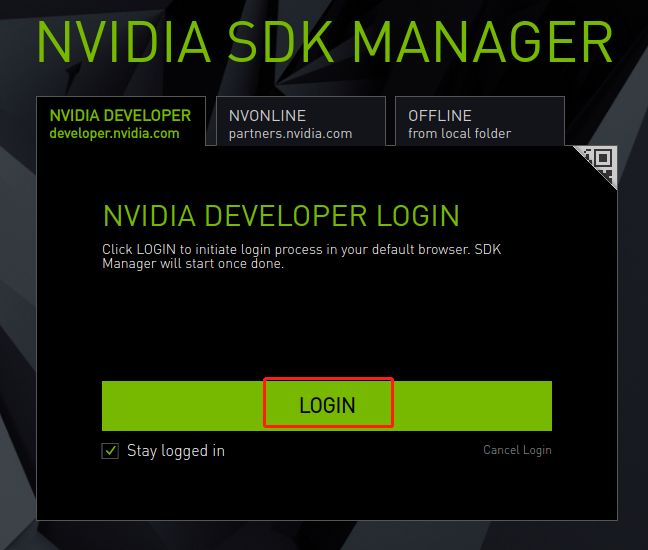
- Open the program for Ubuntu 18.04 system, search for SDK, you can find SDKManager, and open the file.

Log in to the NVIDIA account and a link will pop up in the browser, where you can enter your username and password to log in.
- Virtual Machine Ubuntu 18.04 Connection Jetson Orin nano
At this point, it is necessary to put the Jetson Orin nano into the system REC flash mode.
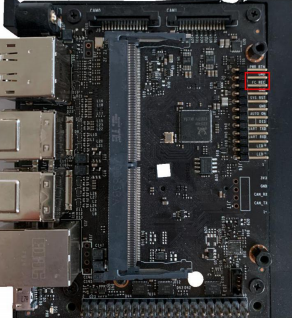
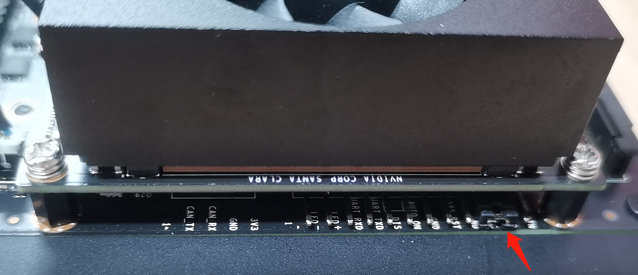
Connect the jumper cap to the FC REC and GND pins, that is, to the second and third pins of the carrier board below the core board, as shown in the following figure:
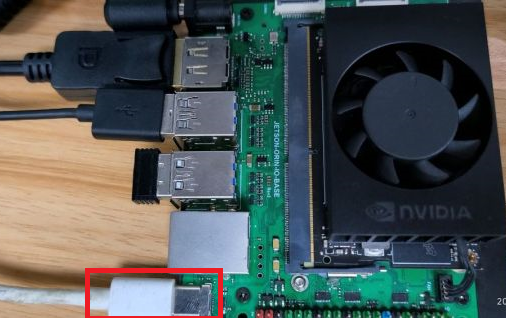
Connect the line, connect the HDMI display screen, mouse, keyboard, and microUSB data cable to the Jetson Orin nano, and finally connect to the power supply. Since the jumper cap was already connected to the FC REC and GND pins in the previous step, it will automatically enter the REC flash mode after powering on.
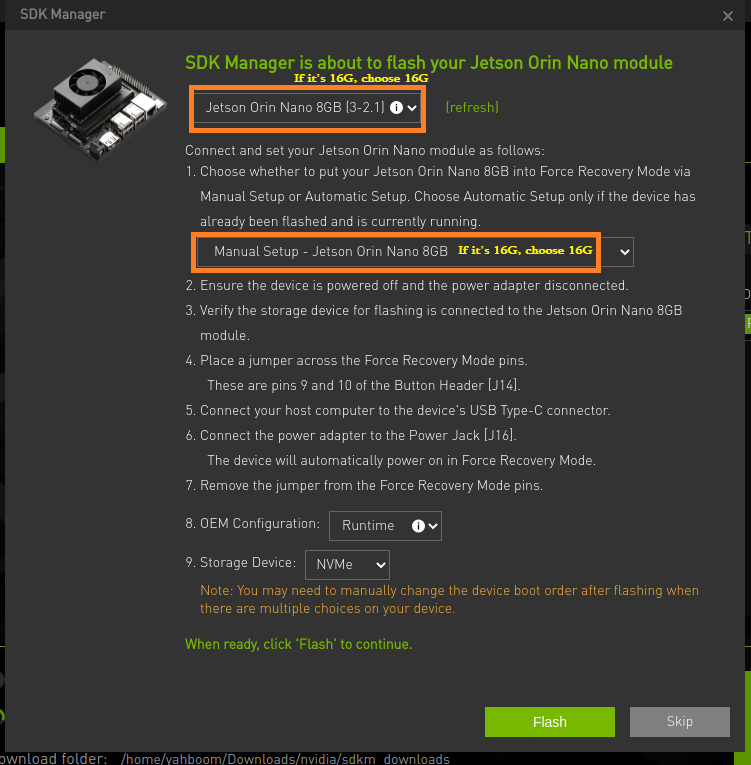
- In the SDK Manager software of virtual machine Ubuntu 18.04, select Target Hardware as Jetson Orin nano modules, JetPack version, taking version 5.1.1 as an example.
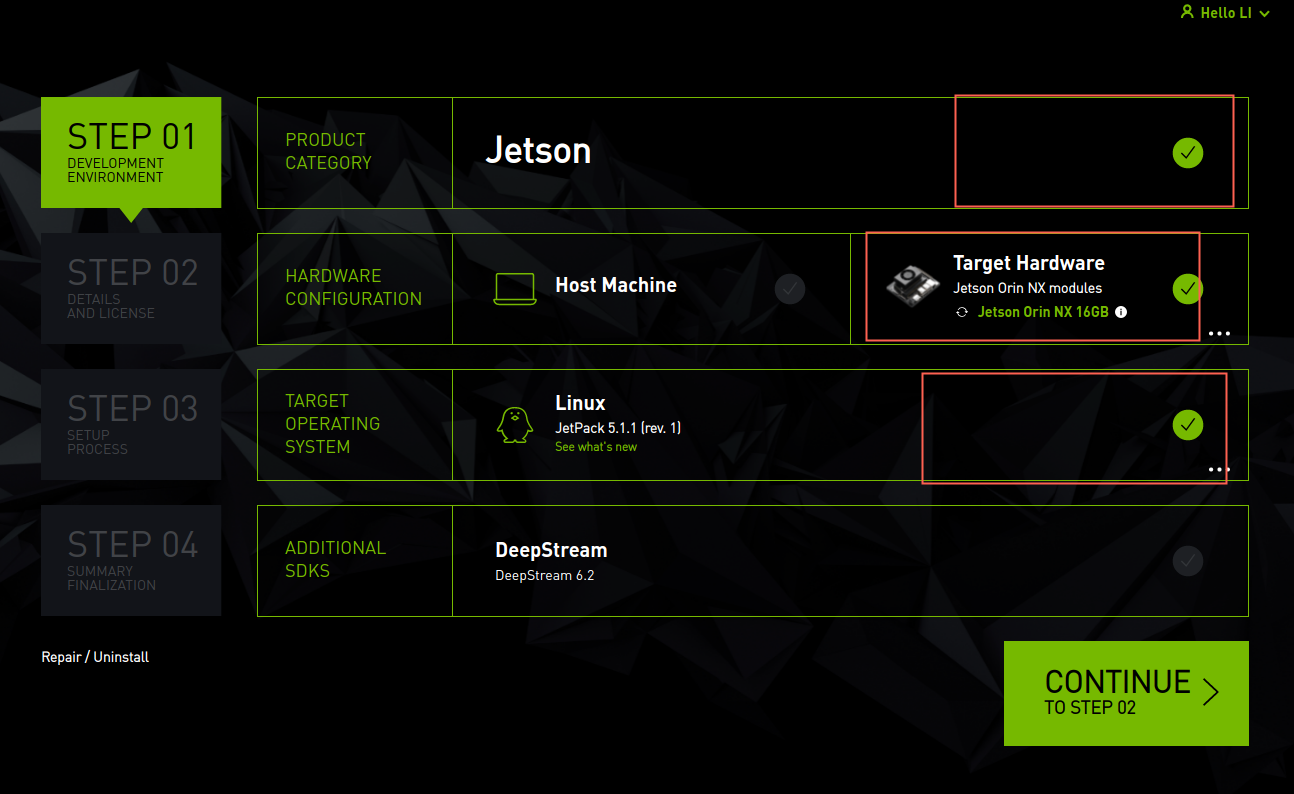
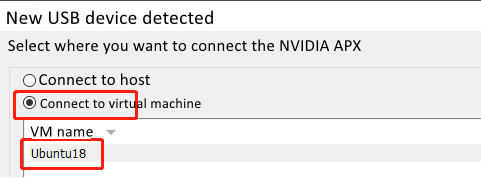
If the target hardware displays an unconnected status, please confirm whether nano has entered REC flash mode and connected to the virtual machine, and then click refresh to refresh. Please note that using a virtual machine requires setting the device to connect to the virtual machine.
There are two versions of the Jetson Orin nano. Based on actual selection, choose an 8GB module for 8GB and a 16G module for 16GB. Generally, it will be automatically recognized when plugged in.
After confirming that there are no errors, click on 'Continue'
6.By default, Jetson OS and Jetson SDK Components will be checked, indicating that the system and SDK can be flushed in. You can select the system OS or software SDK separately, but before flushing in the software SDK separately, it is necessary to ensure that the system OS has been flushed in.

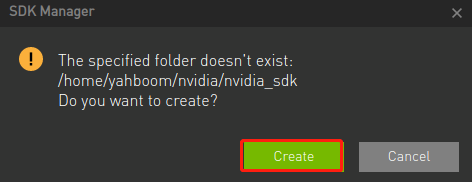
Just keep the default file download path, check the protocol, and click on 'Continue' to proceed to the next step.

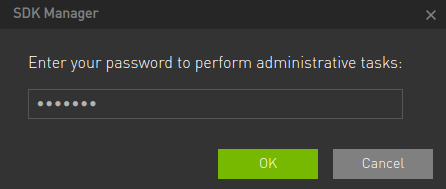
Enter the password for the virtual machine.
At this point, the SDK Manager will first download the files that need to be burned, and wait for the download of the burned files to complete before starting to burn the system and SDK.
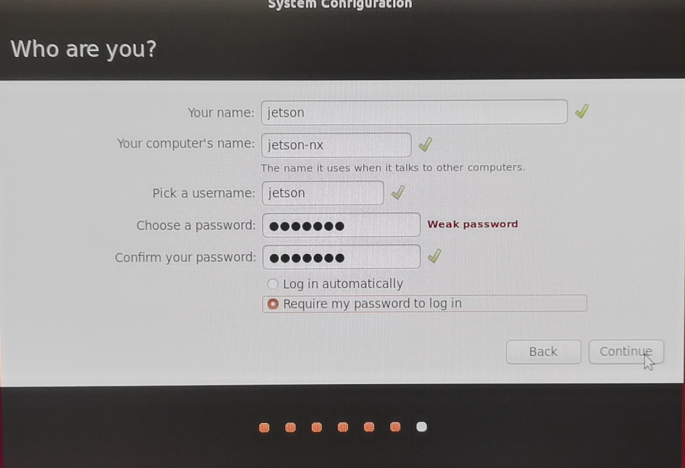
- After waiting for the system OS to burn, the Jetson Orin nano will automatically restart and enter the system. At this time, it is necessary to set the basic functions of the system according to the system prompts, including setting a username and password, connecting to the same local area network as the virtual machine, and so on. Switch to the Jetson Orin nano system for settings. The settings here are relatively simple, so I won't take screenshots to explain them one by one. It is important to remember the username and password settings here, otherwise there may be issues with logging in to the system.
- After the system setup is completed, the Jetson Orin nano will restart again, and it will be disconnected from the virtual machine. You can plug and unplug the USB data cable again to connect to the virtual machine. Enter the username and password of the Jetson Orin nano that you just set up. Click Install to install the software SDK.
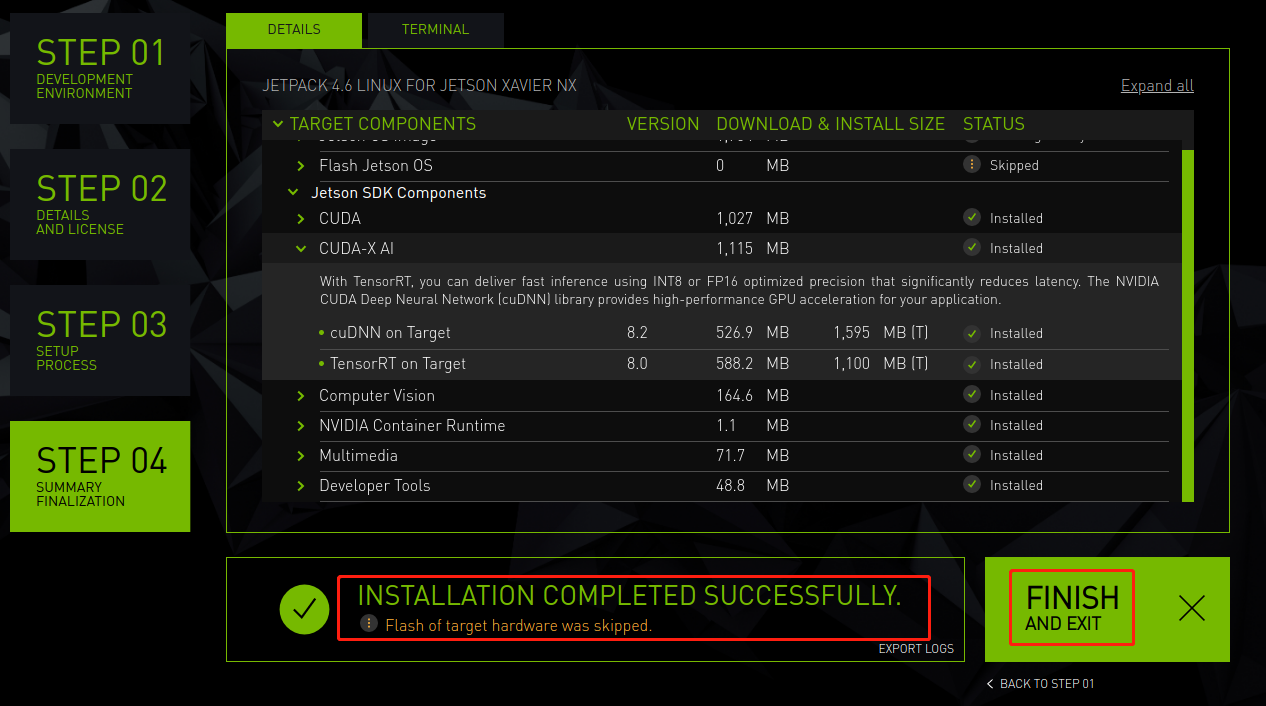
The following image is an 8GB
Note: Due to the need to use the network within the local area network to transmit data when swiping into the SDK, please insert a network cable for stable transmission.
After completion, it will prompt that all installations have been successful, and click FINISH. If there has been a software installation failure during the installation process, please click on 'reinstall'.
- Note: After burning the system and SDK, please remove the jumper cap between FC REC and GND.