Local deployment of yolo training environment
Local deployment of yolo training environmentEnvironment ConfigurationDownload and install Yolo v5 environment dependenciesPreparing training dataUse YOLOv5 to train a fruit classification modelConvert the trained model to a kmodel that can be recognized by K230Download the conversion toolOther considerations
Environment Configuration
In this section, we will demonstrate how to deploy the Yolo v5 environment locally and train a classification (recognition) model.
The operating environment we demonstrate is as follows:
System: Ubuntu 22.04
GPU: 4090D*1
CUDA version: 12.4
The system has pre-installed Miniconda3_3.10
Download and install Yolo v5 environment dependencies
Enter the command
xxxxxxxxxxgit clone https://github.com/ultralytics/yolov5.git

implement
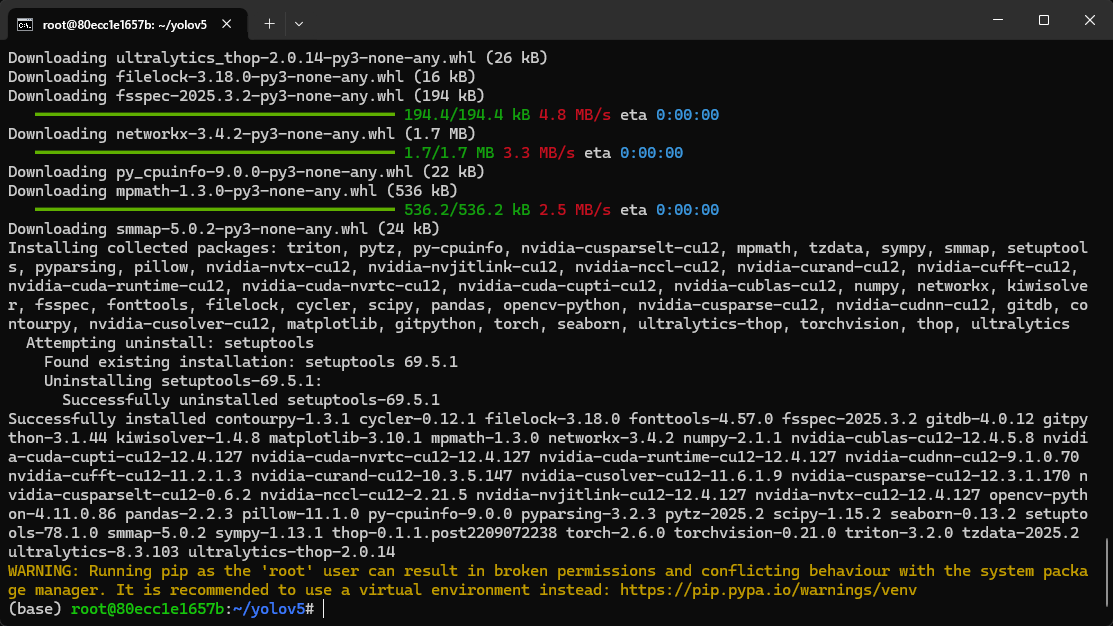
xxxxxxxxxxcd yolov5pip install -r requirements.txt
This part of the file contains a lot of content, please be patient
Preparing training data
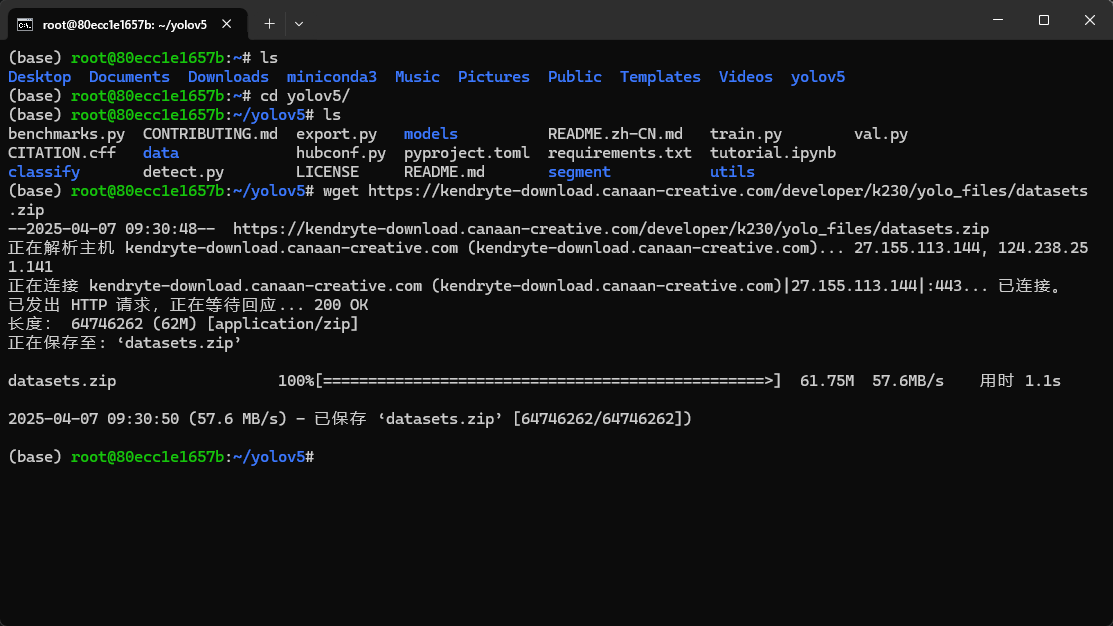
Here we use the training set officially provided by Canaan Technology as sample data
Please download the sample dataset provided. The sample dataset contains classification, detection and segmentation datasets for three types of fruits (apple, banana and orange). Unzip the dataset to
yolov5the directory and use itfruits_clsas the dataset for the fruit classification task.
We execute the following code
xxxxxxxxxxwget https://kendryte-download.canaan-creative.com/developer/k230/yolo_files/datasets.zip
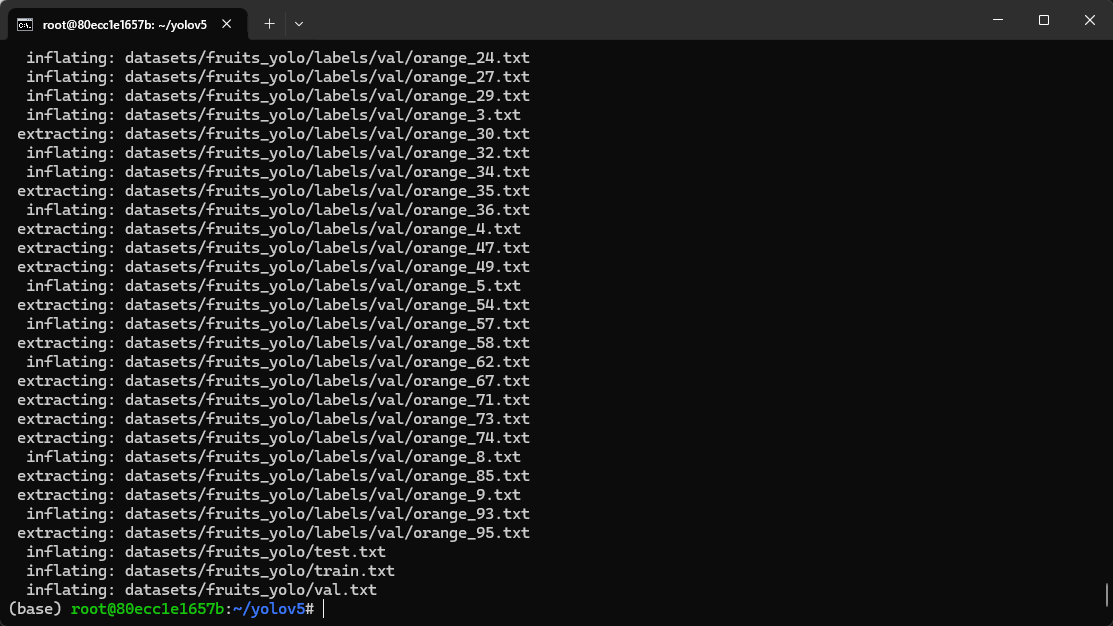
xxxxxxxxxxunzip datasets.zip
Use YOLOv5 to train a fruit classification model
yolov5Execute the command in the directory and useyolov5to train three types of fruit classification models:
We enter the yolov5 directory (~/yolov5 in the example)
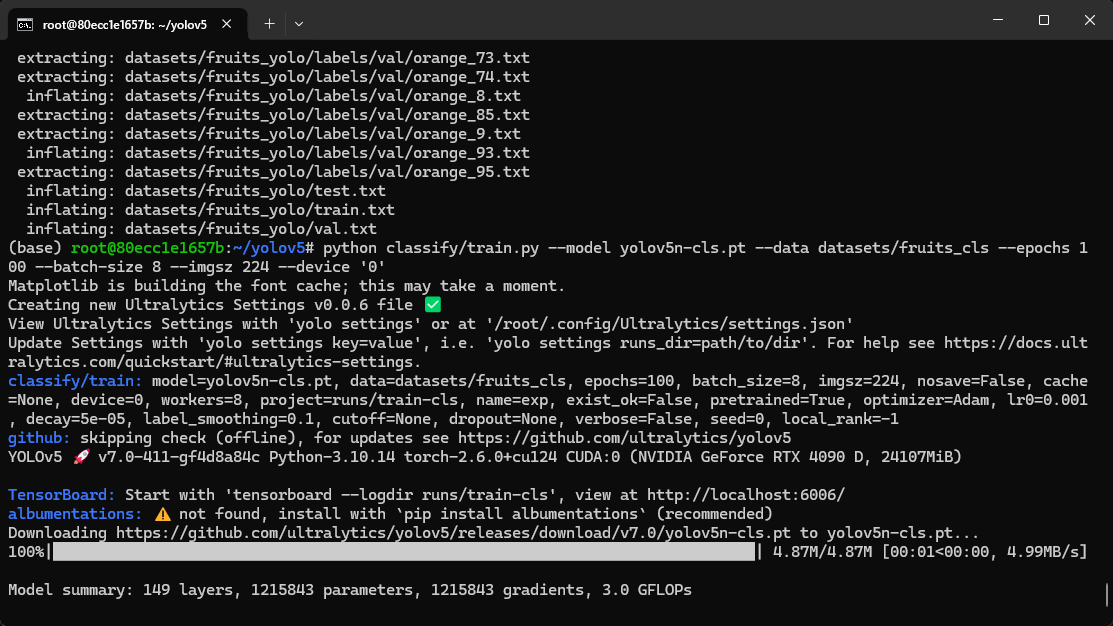
Execute the following code to start training
xxxxxxxxxxpython classify/train.py --model yolov5n-cls.pt --data datasets/fruits_cls --epochs 100 --batch-size 8 --imgsz 224 --device '0'
If an interface similar to the one below appears, it means that training has started.
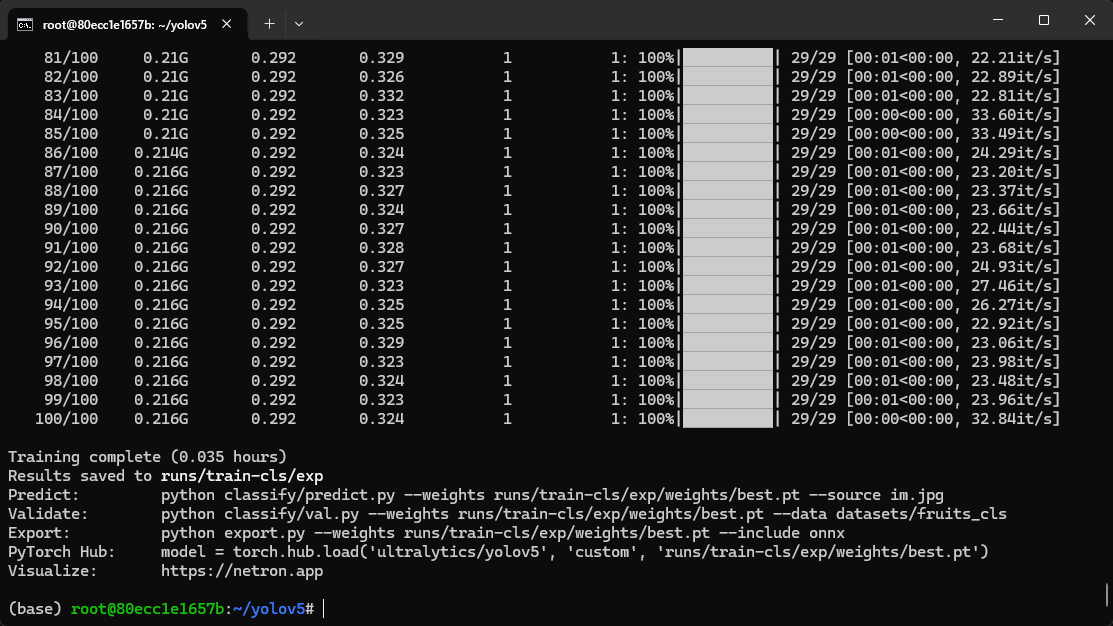
After the training is successfully completed, the output is as follows
Convert the trained model to a kmodel that can be recognized by K230
The model we trained with yolov5 is best.pt with the suffix pt
In order to use it on K230, we need to convert it into a model in kmodel format
Download the conversion tool
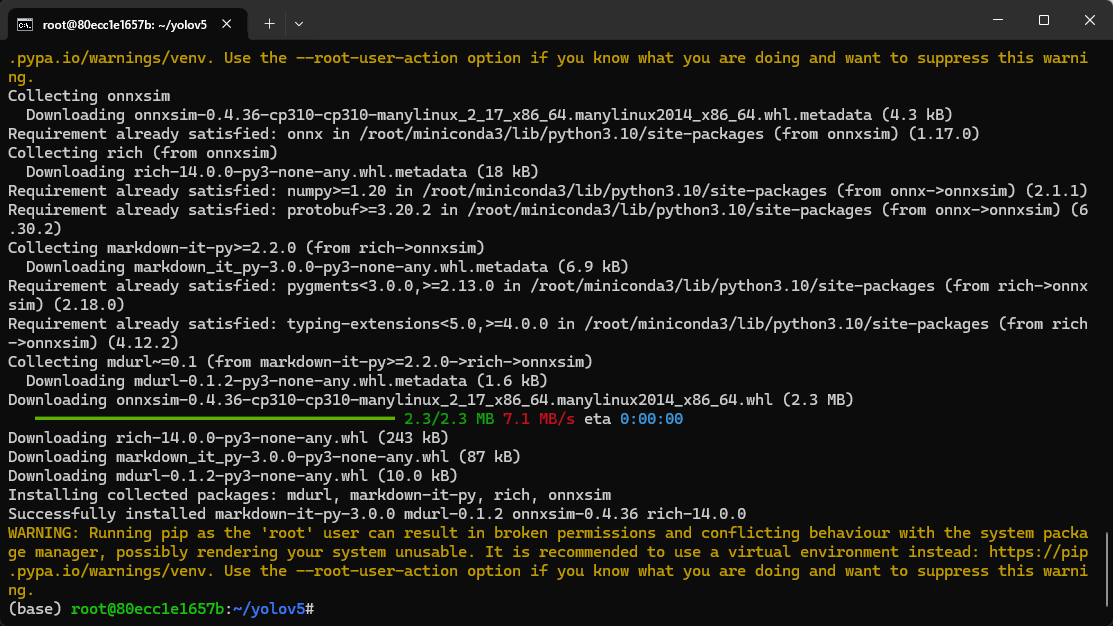
Execute the following code to install the required tools
xxxxxxxxxxsudo apt-get install -y dotnet-sdk-7.0pip install --upgrade pippip install nncase==2.9.0pip install nncase-kpu==2.9.0pip install onnxpip install onnxruntimepip install onnxsim
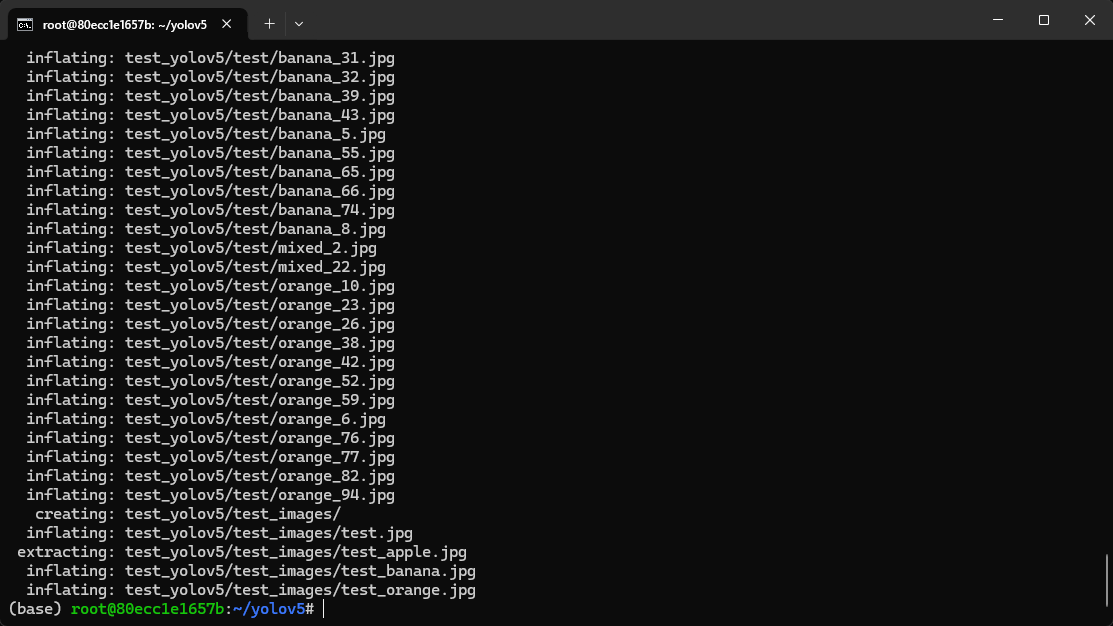
Download the script tool and test_yolov5.zipunzip the model conversion script tool to yolov5the directory;
xxxxxxxxxxwget https://kendryte-download.canaan-creative.com/developer/k230/yolo_files/test_yolov5.zipunzip test_yolov5.zip
Start model format conversion
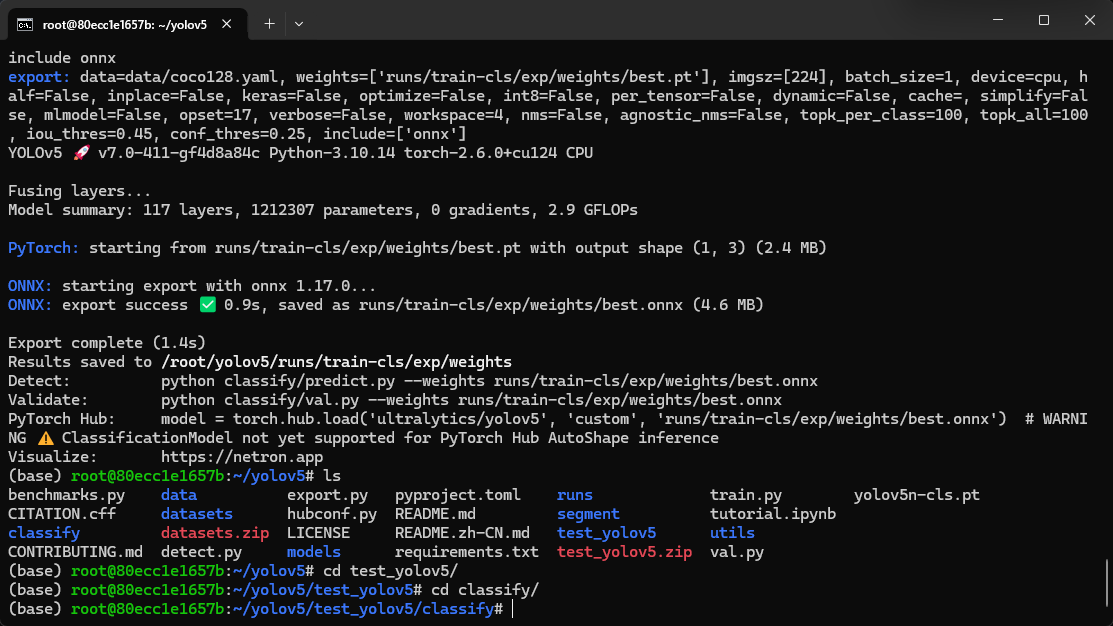
Step 1: Convert pt format to onnx format
xxxxxxxxxxpython export.py --weight runs/train-cls/exp/weights/best.pt --imgsz 224 --batch 1 --include onnx
Note that "runs/train-cls/exp/weights/best.pt" here is the path of the pt model we trained.
If the previous steps are done exactly as the tutorial, then the path here does not need to be modified
Step 2: Enter the test_yolov5/classify directory
xxxxxxxxxxcd test_yolov5/classify
Execute model conversion instructions
xxxxxxxxxxpython to_kmodel.py --target k230 --model ../../runs/train-cls/exp/weights/best.onnx --dataset ../test --input_width 224 --input_height 224 --ptq_option 0
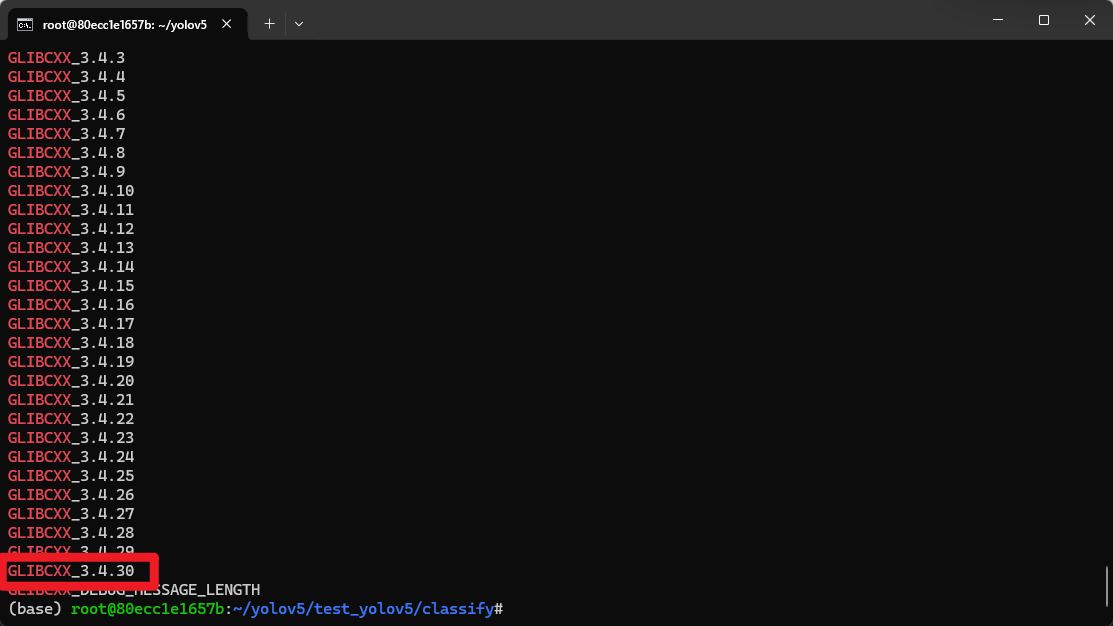
Note: An error may occur at this time: RuntimeError: /root/miniconda3/bin/../lib/libstdc++.so.6: version `GLIBCXX_3.4.30' not found (required by /usr/lib/dotnet/host/fxr/7.0.19/libhostfxr.so): Success
Solution:
Check if GLIBCXX_3.4.30 exists
xxxxxxxxxxstrings /usr/lib/x86_64-linux-gnu/libstdc++.so.6 | grep GLIBCXXIf there is one in the output, it means that the file is not really missing, but the version of libstdc++ in the virtual environment is lower than the version of the libstdc++ library in the system.
At this point we only need to execute the following command
Delete the libstdc++.so.6 file in the virtual environment (or rename it to another name, here we rename it to libstdc++.so.6.old)
xxxxxxxxxxmv /root/miniconda3/bin/../lib/libstdc++.so.6 /root/miniconda3/bin/../lib/libstdc++.so.6.oldThen create a soft link and let the libstdc++.so.6 called by the virtual environment point to the libstdc++.so.6 that comes with the system.
xxxxxxxxxxln -s /usr/lib/x86_64-linux-gnu/libstdc++.so.6 libstdc++.so.6
After the conversion command is completed, the output is as follows

WARNING can be ignored here
The generated model is in the directory ~/yolov5/runs/train-cls/exp/weights
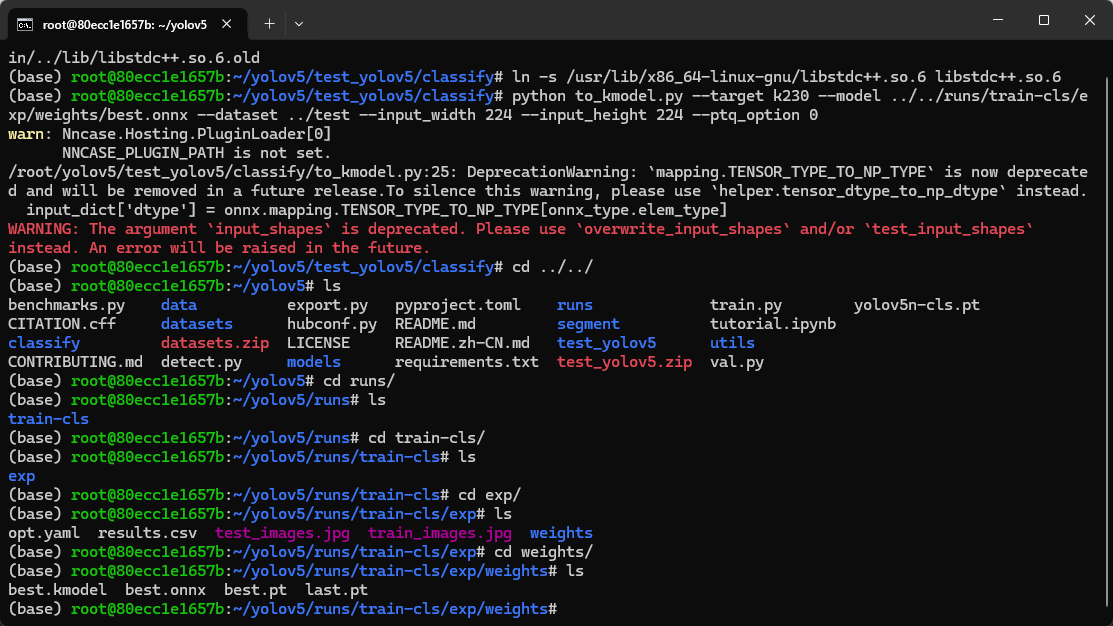
The name is best.kmodel
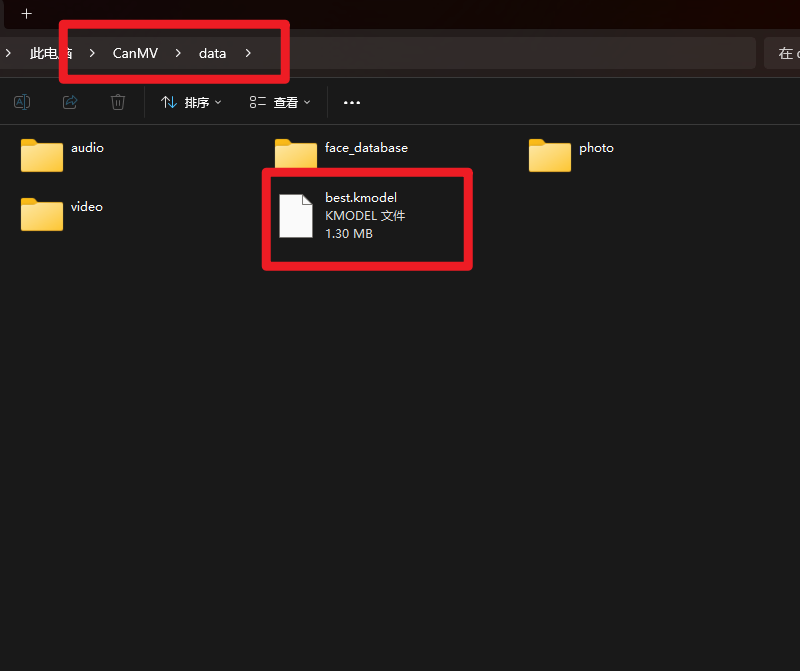
We copy this best.kmodel to the data directory of our K230
Then open CanMV IDE, copy the following code and click Run
xxxxxxxxxxfrom libs.PipeLine import PipeLine, ScopedTimingfrom libs.YOLO import YOLOv5import os,sys,gcimport ulab.numpy as npimport imageif __name__=="__main__": rgb888p_size=[1280,720] display_size=[640,480] # 模型路径 Model path kmodel_path="/data/best.kmodel" labels = ["apple","banana","orange"] confidence_threshold = 0.5 model_input_size=[224,224] # 初始化PipeLine Initialize PipeLine pl=PipeLine(rgb888p_size=rgb888p_size,display_size=display_size,display_mode="lcd") pl.create() # 初始化YOLOv5实例 Initialize the YOLOv5 instance yolo=YOLOv5(task_type="classify",mode="video",kmodel_path=kmodel_path,labels=labels,rgb888p_size=rgb888p_size,model_input_size=model_input_size,display_size=display_size,conf_thresh=confidence_threshold,debug_mode=0) yolo.config_preprocess() try: while True: os.exitpoint() with ScopedTiming("total",1): # 逐帧推理 Frame-by-frame reasoning img = pl . get_frame () res = yolo . run ( img ) yolo . draw_result ( res , pl . osd_img ) pl . show_image () gc . collect () except Exception as e : sys.print_exception ( e ) finally : yolo.deinit ( ) pl . destroy ()
Let's test the effect
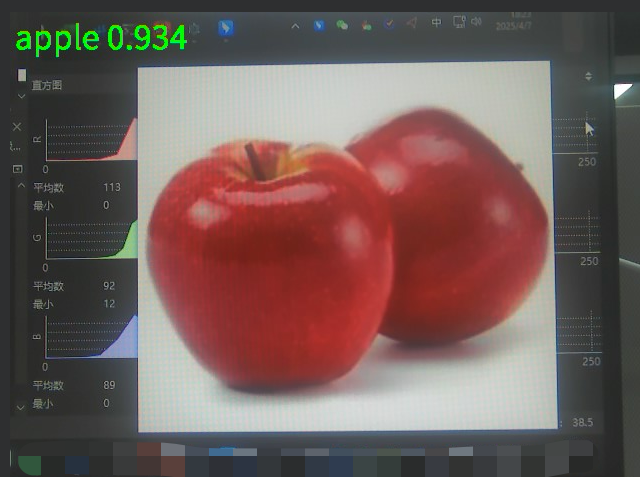
Identify Apples
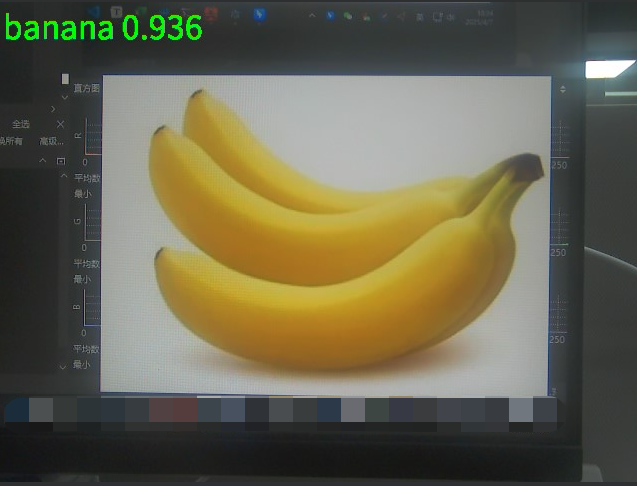
Identify bananas
Identify oranges
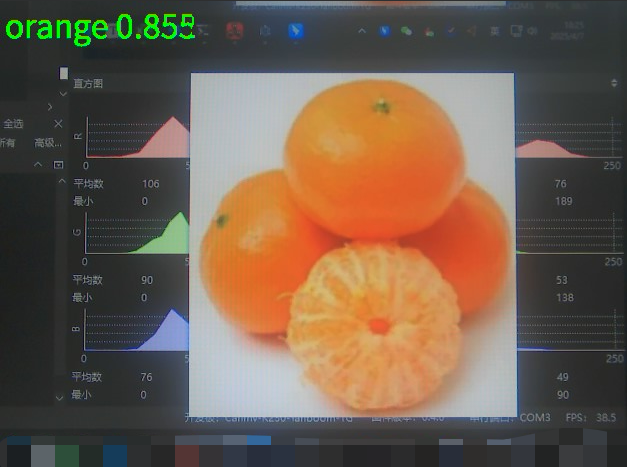
You can see that this routine can run successfully.
Other considerations
- Environment configuration, Yolov5 environment dependencies, and model conversion tools only need to be downloaded once, and no re-download is required for subsequent training
- If the speed of pip download is much lower than the actual network bandwidth, please check whether the pip mirror source is configured.
- The model trained with the current dataset may identify non-banana objects other than oranges/apples as bananas. This is normal. If a more accurate model is needed, a training set with a larger amount of data can be prepared for training.