Welcome to RPi5 CSI Wide-Angle Camera repository
Use tutorial
Raspberry Pi Wide-Angle Camera use tutorial
1.You need to connect camera to Raspberry Pi board.
2.You must to install a new operating system before use camera, which can can identify if the camera module is connected. The simplest method is download Raspbain system from Raspberry Pi website, and install it to new SD card.
Regardless of the version of the Raspbian system you are using, I recommend that you update the system with the following command:
sudo apt-get update
sudo apt-get upgrade
3.Enable camera options
3.1)You need to input: sudo raspi-config to enter the following interface:
3.2)You need to choose “Interfacing Options”, press the “Enter” key of your keyboard to enter the configuration.
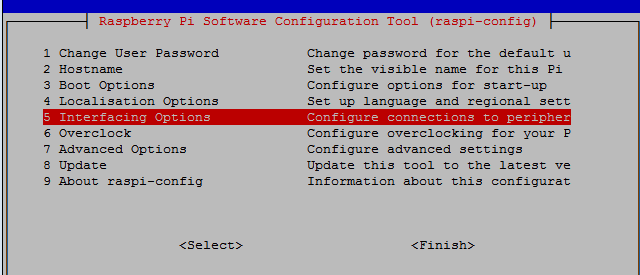
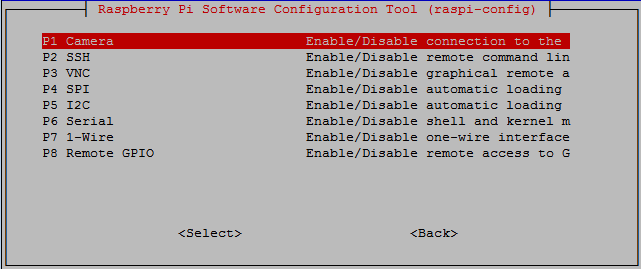
3.3)You need to choose “P1 Camera”, press the “Enter” key of your keyboard to start camera functions.
3.4) You need to choose “Yes”.
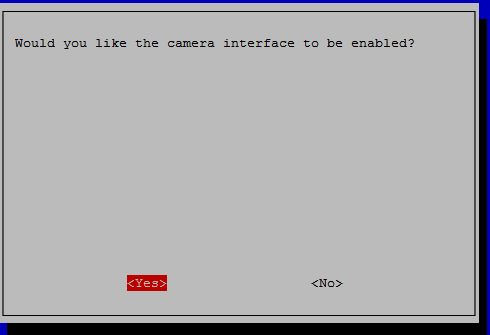
After the above steps, the camera function of Raspberry Pi has been turned on.
4. Use camera
Method 1:You can use Raspberry Pi official original camera by system command
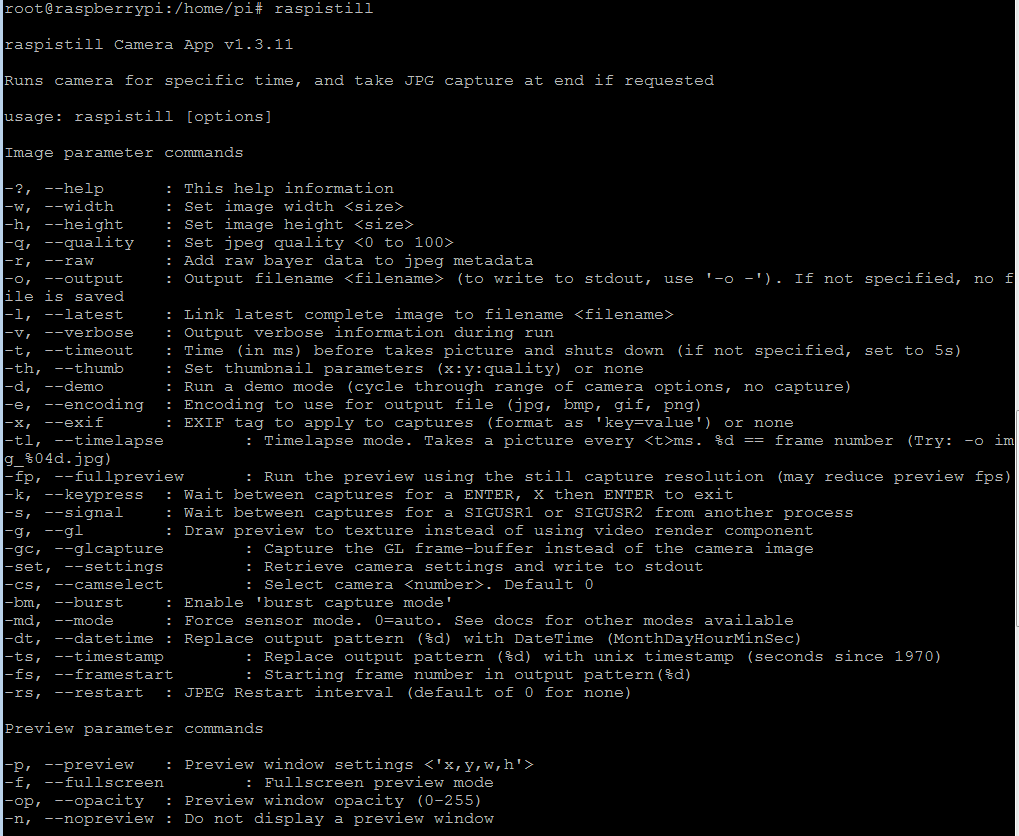
raspistill -------This command is to get the static image
The picture below shows the parameter information about the command displayed directly by the command raspistill.
raspivid -------This command is to get the video information
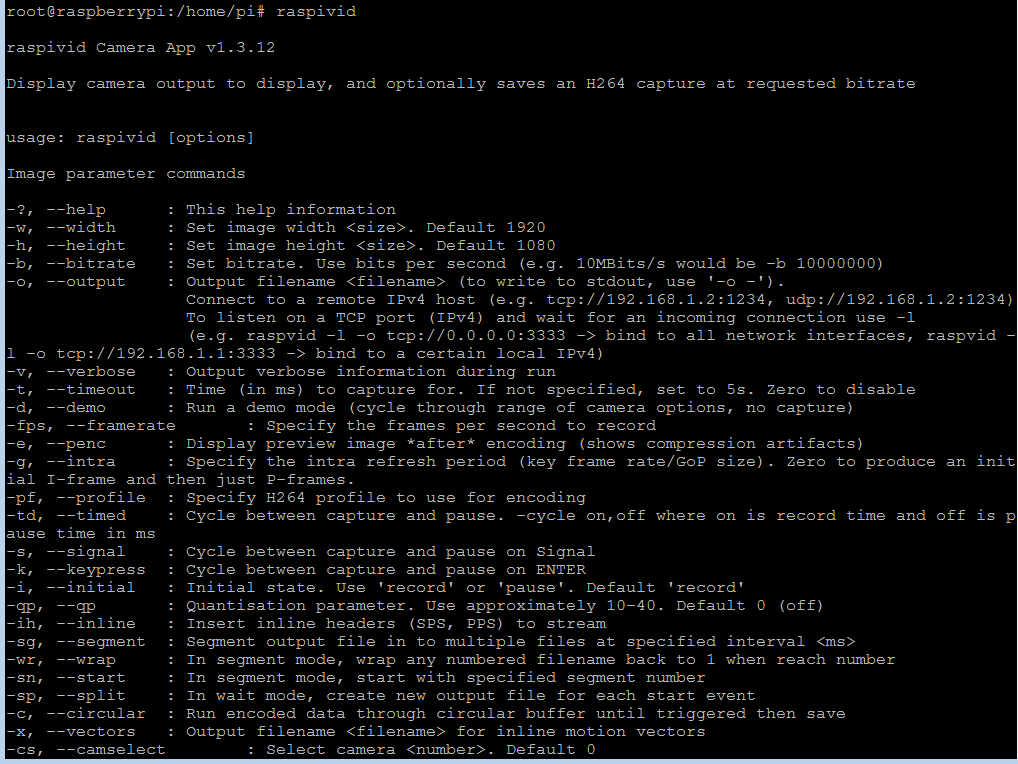
Raspistill related commands:
1.After a delay of 1.1 seconds (in milliseconds), take a photo and name it image.jpg
raspistill -t 1000 -o image.jpg
2. Take a photo of custom size and frame rate
raspistill -t 1000 -o image.jpg -w 640 -h 480 -q 5
3. Set embossed style image effects
raspistill -t 1000 -o image.jpg -ifx emboss
4. Get a photo and send it to a standard output device (such as a monitor)
raspistill -t 1000 -o
Raspivid related commands:
1. Shoot a video: The default is video length is 5s, resolution is 1920*1080, frame rate: 17
raspivid -o myvideo.h264
2. Take a video: resolution is 640*480, time is 10s
raspivid -o myvideo.h264 -t 10000 -w 640 -h 480
Note: raspivid outputs an uncompressed H.264 video stream. In order to allow our normal video player to play, you need to install the gpac package.
apt-get install -y gpac
Then use the MP4Box application in the gpac package to convert the H.264 format video stream to 10 frames per second MP4 format video.
MP4Box -fps 10 -add myvideo.h264 myvideo.mp4
Method 2: You can transfer the video which captured by the Raspberry Pi to the web page.
2.1 You need to log in to the WinSCP software and transfer the master.zip file to the pi directory of the Raspberry Pi.
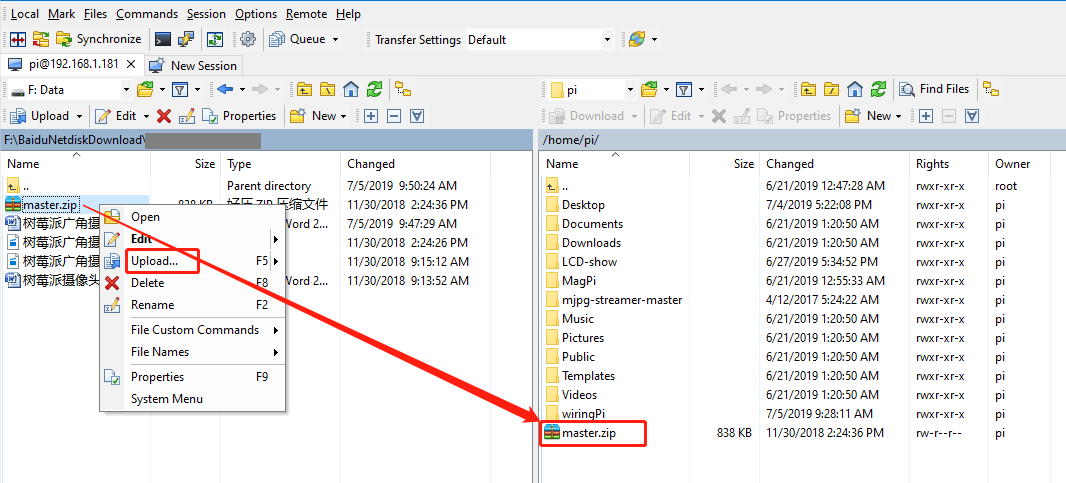
2.2 You should input: #unzip master.zip
(This command to unzip mater.zip)
After complete unzip, input ls you can see migp-streamer-master folder. As shown in the figure below.

2.3 Compiling this project requires cmake: perform the following command to install download.
(apt-get is a networked installation, so you need make Raspberry Pi successfully connect to the network.)
You should input:
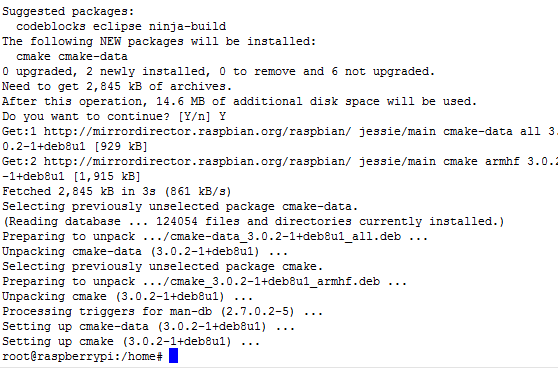
#sudo apt-get install cmake
A prompt will appear when installing, you need to enter Y.
After completion, As shown in the figure below.
2.4 You need to install library
You should input:
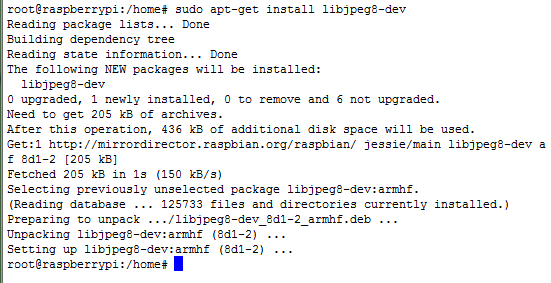
#sudo apt-get install libjpeg8-dev
After completion, As shown in the figure below.
2.5 Compiling
You need to enter: /home/pi/mjpg-streamer-master/mjpg-streamer-experimental/
cd /home/pi/mjpg-streamer-master/mjpg-streamer-experimental/
You need to enter:
ls

And you need to run the following command directly
#make clean all
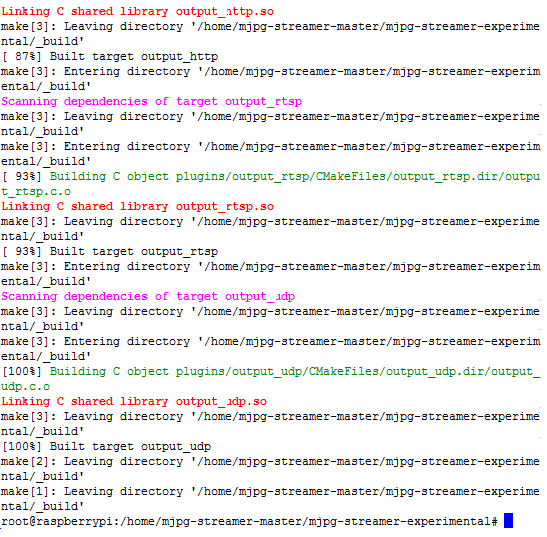
You can wait for the compilation to complete, you can see the interface shown below.
7. Restart system
You need to input: sudo reboot to reboot system
Plug in the camera and restart the system.
8. After rebooting, enter the system.
You need to enter the mjpg-streamer-experimental directory by command:
cd /home/pi/mjpg-streamer-master/mjpg-streamer-experimental/
And use the following command to start the Raspberry Pi Official Original Camera:
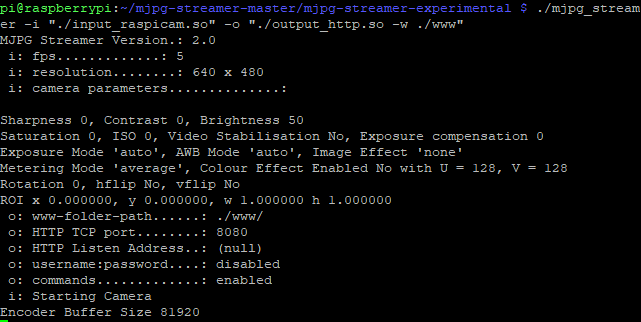
#./mjpg_streamer -i "./input_raspicam.so" -o "./output_http.so -w ./www"
(Note:Raspberry Pi special camera includes: Raspberry Pi night vision camera, Raspberry Pi official original camera, Raspberry pie wide-angle camera)
If you want to modify the resolution of the captured video,you need to input the following command:
#./mjpg_streamer -i "./input_raspicam.so -x 320 -y 240 -fps 10" -o "./output_http.so -w ./www"
Some cameras will report an error when executing this command. If they do not return to the command prompt and display "Starting Camera", it means success.
As shown in the figure below, the camera is successfully turned on:
9. Test results
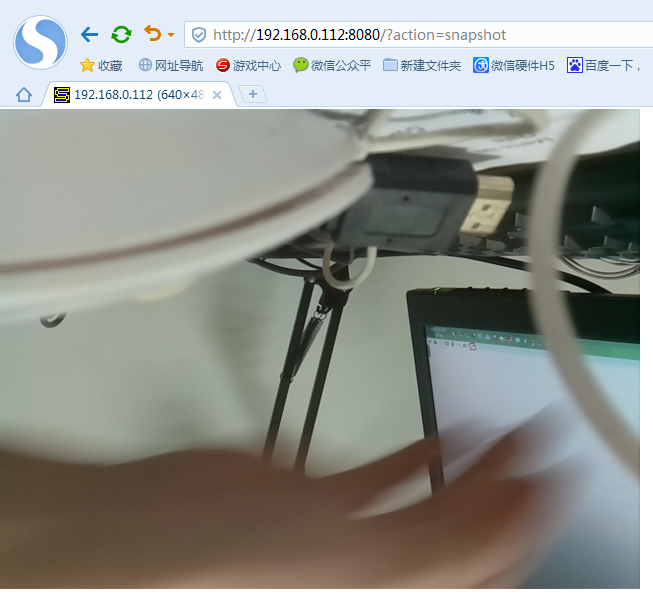
View the image, open the browser on the PC side, you need to enter the following URL to see the static screenshot:
http://<RaspberryPi IP>:8080/?action=snapshot
My URL is:http://192.168.0.112:8080/?action=snapshot
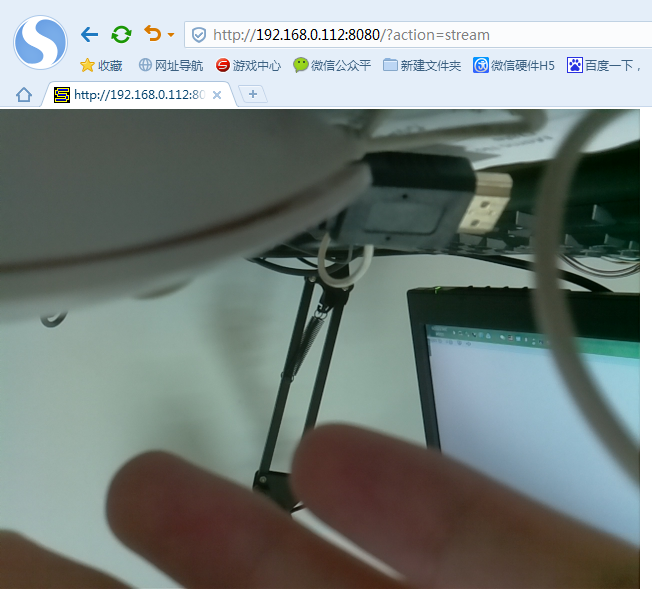
You should input the following URL to see the dynamic image:
http://<RaspberryPi IP>:8080/?action=stream
My URL is:http://192.168.0.112:8080/?action=stream
You can also use the following URL:
http://<RaspberryPi IP>:8080/javascript_simple.html
PS: When using the RaspiCamera dedicated camera, the dynamic image screen will have a transmission delay, about 1.4 frames / sec. It is recommended to use static capture.
Note: After running the camera web service, it will occupy the camera, causing other camera commands to fail. Please kill the process before running other camera commands.
Enter command to view camera progress number:
ps a
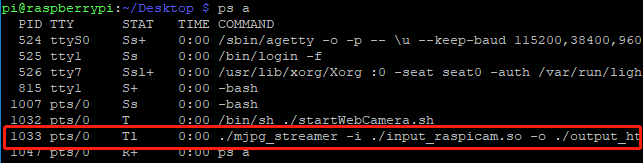
Kill the program's PID process number:
sudo kill -9 1033