Welcome to Jetson Nano Metal Case repository
Jetson NANO metal case for A02/B01 installation step
1.1 Install the four-wire button on the POWER hole of the metal case bottom box, and install the two-wire button on the RESET hole, as shown below.

1.2 Remove the screws on the core board above the Jetson Nano board, remove the antenna of the wireless network card, and then install the wireless network card, as shown below.

!Note: Ensure two antennas of the wireless network card are on the left and right sides of Jetson Nano board. It is convenient for the back installation, do not place it on the same side.
As shown below.

1.3 Install the Jetson NANO board into the bottom box of the metal casing, and complete the wiring of the two buttons.
The up and down red and black wires of the POWER button are inserted into the two rightmost pins on the Jetson Nano board,
The left and right red and black wires of the POWER button are inserted into the two leftmost pins on the Jetson NANO board.
The wires of the RESET button is inserted into the two pins on the right side of the yellow jumper cap on the Jetson NANO board.

1.4 Reassemble the core board as it is, and correctly insert the TF card adapter board into the TF card slot of the jetson Nano board. When inserting, you need to ensure press gently to fully insert the adapter board.
!! Note when operating the TF card adapter board, be carefully. When removing it, first press to ensure that the adapter board has completely ejected and then remove it, you can not pull it out directly, otherwise it will easily damage the TF card slot.

1.5 Install the Jetson Nano into the metal bottom box. Adjust the cable, and fix the Jetson Nano and TF card adapter board to the bottom box with screws (!Note: if the TF card is not inserted tightly, the screw holes cannot be matched one by one)

1.6 Fix the GPIO adapter board to the metal bottom box with screws, as shown below.

1.7 Fix the wireless network card antenna on the metal box, and connect the cooling fan to the Jetson Nano board.

1.8 Connect the 40PIN cable, Ensure to align each pin and connect the 40PIN pin on the Jetson Nano board with the 40PIN pin on the adapter board.

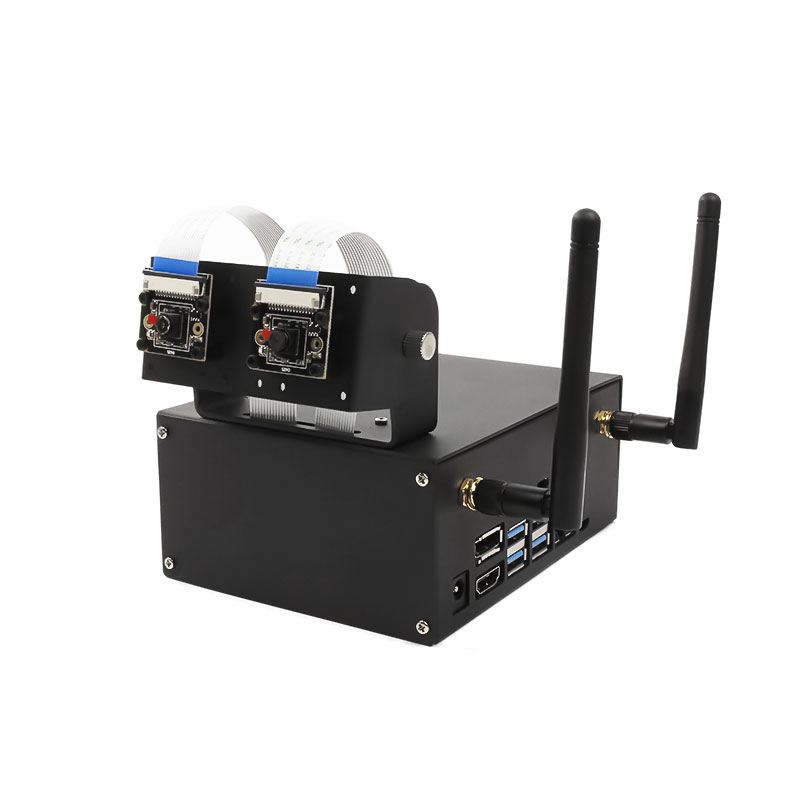
1.9 Fix the camera bracket (lower part) on the top cover of the metal case.

1.10 Fix the camera to be installed on the camera bracket (upper part).

1.11 Install the camera bracket, and insert the camera cable through the hole of the top cover, and correctly insert it into the camera interface of the Jetson Nano board.


1.12 Cover the metal box and fix it with screws to complete the installation.