Welcome to RDK X3 Camera repository
Camera usage
mini camera
1.Identify camera
The development board provides 1 MIPI CSI interface (interface 2), which can realize the access of MIPI camera. The camera module is connected to the development board through a 24pin different-sided FPC cable. Note that the blue sides of the cable are inserted into the connector.
Note: It is strictly forbidden to plug and unplug the camera when the development board is not powered off, otherwise it is very easy to burn the camera module
wiring diagram:
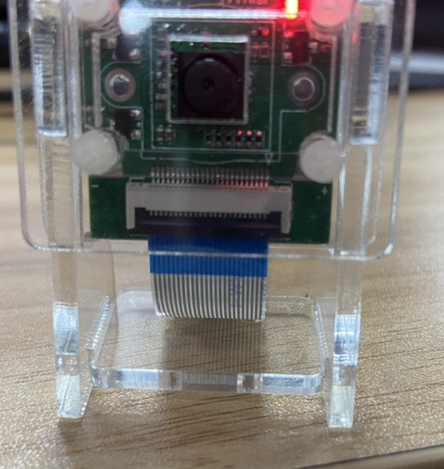
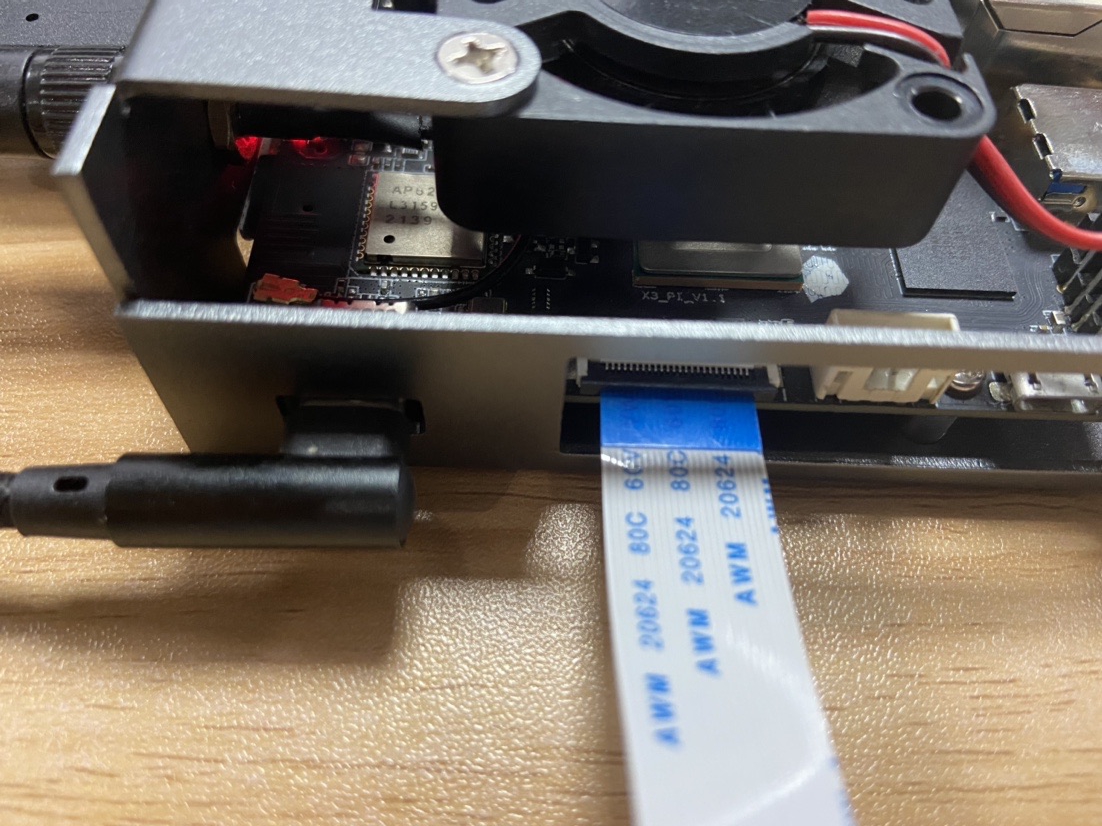
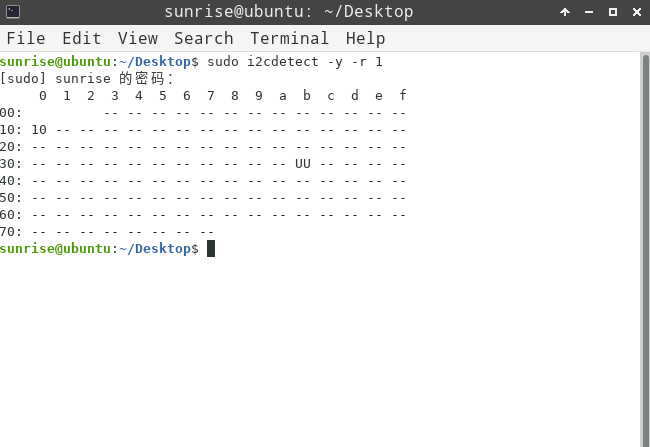
After the installation is complete, the user can use the i2cdetect command to confirm whether the I2C address of the module can be detected normally. If it cannot be detected, the user needs to check whether the FPC cable connection is normal. When the I2C address is successfully detected, the log print is as follows:
sunrise@ubuntu:~# sudo bash -c "echo 1 > /sys/class/vps/mipi_host0/param/snrclk_en"sunrise@ubuntu:~# sudo bash -c "echo 24000000 >sunrise@ubuntu:~# sudo i2cdetect -y -r 1
2.Install
You can use the following command to install the C language development package of RDK X3:
xxxxxxxxxxsudo apt updatesudo apt install hobot-sp-cdev
After the installation is successful, the corresponding header files will be installed in the /usr/include directory, the library files will be installed in the /usr/lib directory, and the sample programs will be installed in /app/media_cdev and /app/bpu_cdev directory
xsunrise@ubuntu:~$ ls /usr/include/sp_*/usr/include/sp_bpu.h /usr/include/sp_codec.h /usr/include/sp_display.h /usr/include/sp_sys.h /usr/include/sp_vio.hsunrise@ubuntu:~$ ls -l /usr/lib/libspcdev.so /usr/lib/libhb_dnn.so-rw-r--r-- 1 root root 10280 Oct 31 2022 /usr/lib/libhb_dnn.so-rw-r--r-- 1 root root 212056 Oct 31 2022 /usr/lib/libspcdev.sosunrise@ubuntu:/app$ tree bpu_cdev/ media_cdev/ -L 1bpu_cdev/├── go.sh├── include├── README.md└── srcmedia_cdev/├── decode2display├── rtsp2display├── vio2display├── vio2encoder└── vps
Notice! ! ! If the camera cannot be found after rebooting, please execute bpu_cdev/go.sh once. This script is used to reset and start the camera
3.Preview camera video
This sample code completes opening the mipi camera to obtain video data and display it in real time through HDMI
Environmental preparation:
- Power on Sunrise X3, and the green LED indicator goes out. Users can log in via one of the remote logins introduced in various ways to connect to the device;
- Connect the mipi camera supported by RDK X3, the connection of MIPI camera can refer to the first point
- Connect the development board and monitor via HDMI cable
Connection Diagram:
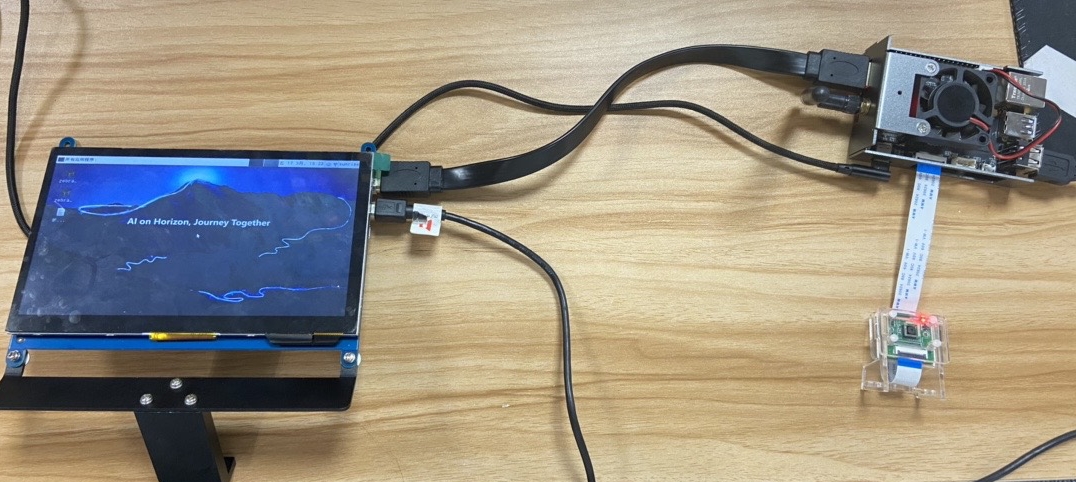
Enter the command to run the code in the terminal:
xxxxxxxxxxsunrise@ubuntu:~$ cd /app/media_cdev/vio2displaysunrise@ubuntu:/app/media_cdev/vio2display$ sudo makesunrise@ubuntu:/app/media_cdev/vio2display$ sudo ./vio2display
expected result:
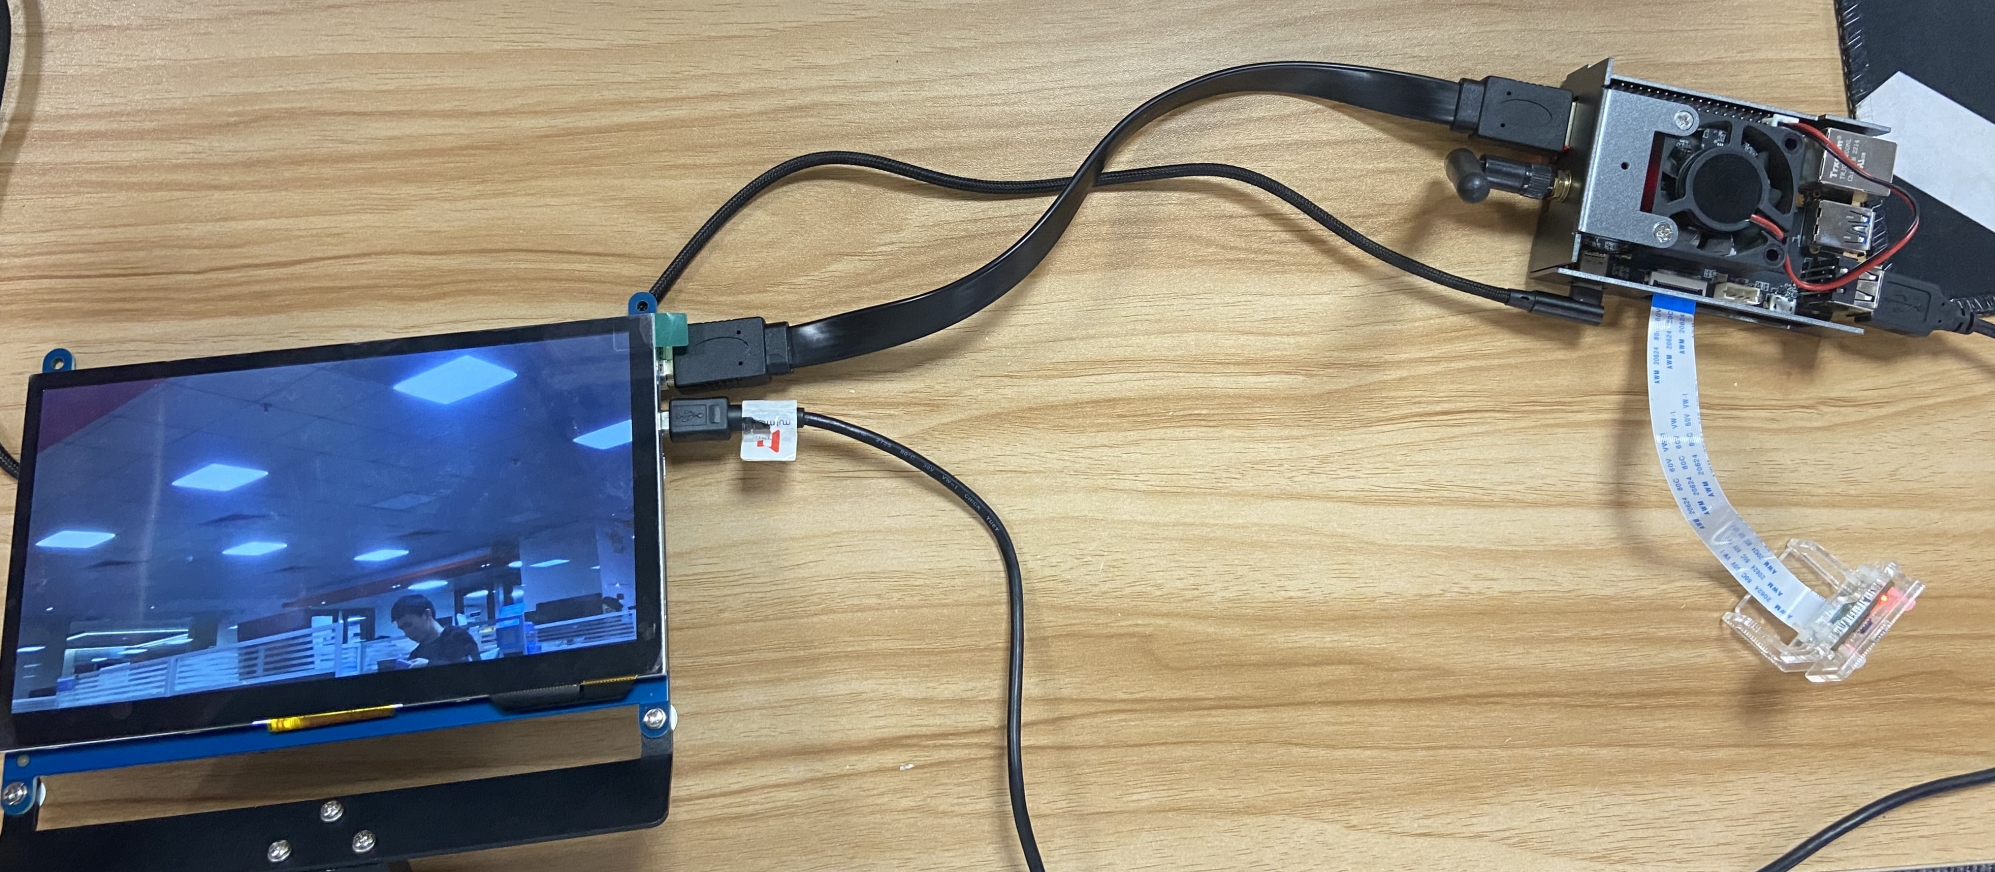
The make command completes the compilation of the program, and the ./vio2display command executes the program. After the program runs correctly, the monitor connected to the HDMI of Sunrise X3 will display the real-time images captured by the MIPI camera
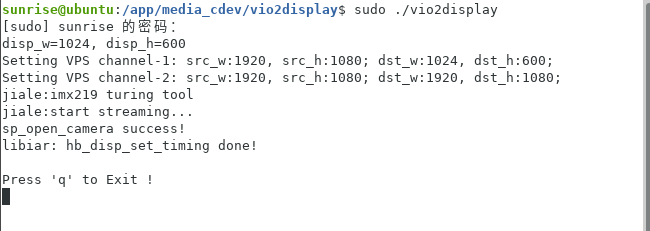
Effect demo picture:
4.Fcos target detection algorithm based on mipi camera
In this example, we will implement the following content:
- Load the
fcosimage target detection algorithm model on the RDK X3 (80 categories of target detection based on COCO dataset training) - Render the detection results to the image
- Output the image data to the display through hdmi, learn how to use the Display function of the horizon hobot_vio module
Environmental preparation:
- Connect the camera module to the MIPI CSI interface of the development board through the FPC cable, the connection of the MIPI camera
- Connect the development board and monitor via HDMI cable
Enter the following command in the terminal:
xxxxxxxxxxsunrise@ubuntu:~$ cd /app/ai_inference/03_mipi_camera_sample/sunrise@ubuntu:/app/ai_inference/03_mipi_camera_sample$ sudo python3 ./mipi_camera.py
expected result:
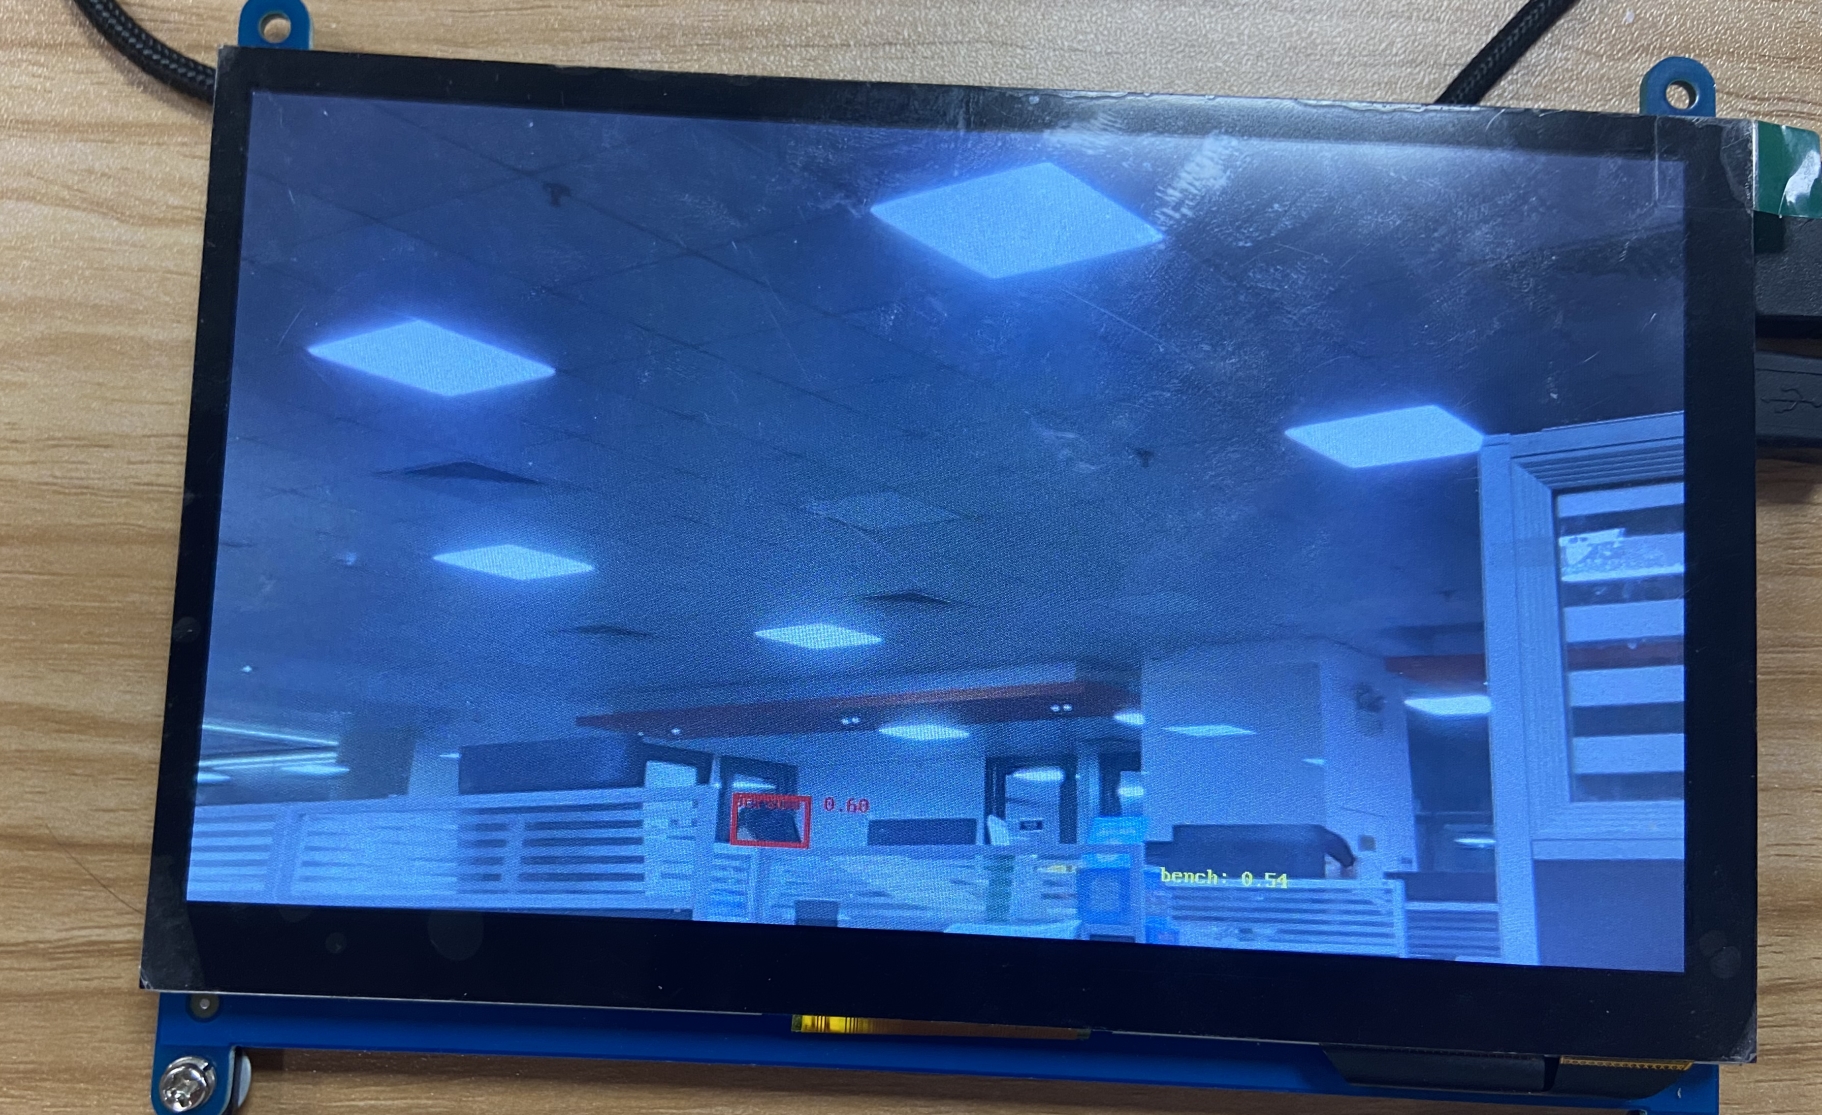
After the program is executed, the command line will output the version information of the DNN module, the Sensor initialization information and the result output of the visual detection algorithm (target type, confidence), as shown below:
xxxxxxxxxxsunrise@ubuntu:/app/ai_inference/03_mipi_camera_sample$ sudo python3 ./mipi_camera.py[C][15441][05-03][13:55:12:959][configuration.cpp:51][EasyDNN]EasyDNN version: 0.3.5[BPU_PLAT]BPU Platform Version(1.3.1)![HBRT] set log level as 0. version = 3.13.27[DNN] Runtime version = 1.8.4_(3.13.27 HBRT)[HorizonRT] The model builder version = 1.5.2match sensor:f37bus_num 2bus_type 0sensor_name f37reg_width 8sensor_mode 1sensor_addr 0x40serial_addr 0x0resolution 1080start linear mode, sensor_name f37, setting_size = 3teddy bear is in the picture with confidence:0.8569, bbox:[ 424 336 1018 986]cup is in the picture with confidence:0.6162, bbox:[ 962 707 1187 951]vase is in the picture with confidence:0.7287, bbox:[1303 636 1518 1012]...
Physical renderings:
5.Fcos target detection algorithm based on MIPI camera (Web display)
The goal of this example:
- Load the
fcosimage target detection algorithm model on the RDK X3 (80 categories of target detection based on COCO dataset training) - Read video images from a MIPI camera (F37), learn how to use the Camera function of the horizon hobot_vio module
- Display the test results on the web
Start the web_service service:
Before using the web display, make sure the board is in the same network segment as the personal PC, and the PC can ping the IP of the board.
Execute the following command to start the web service:
xxxxxxxxxxcd /app/ai_inference/05_web_display_camera_sample/sudo sh ./start_nginx.shsudo python3 ./mipi_camera_web.py
Matters needing attention:
If the following error is reported when running start_nginx.sh, it means that port 80 of tcp is already occupied.
- Caused by repeated execution of
start_nginx.sh, this situation does not need to be dealt with - There is already a httpd service running on the device, you need to find and end the process occupying port
80, execute the commandlsof -i:80, get the process information and its PID occupying the port, and usekill -9 PIDJust end the process
View the display effect on the web
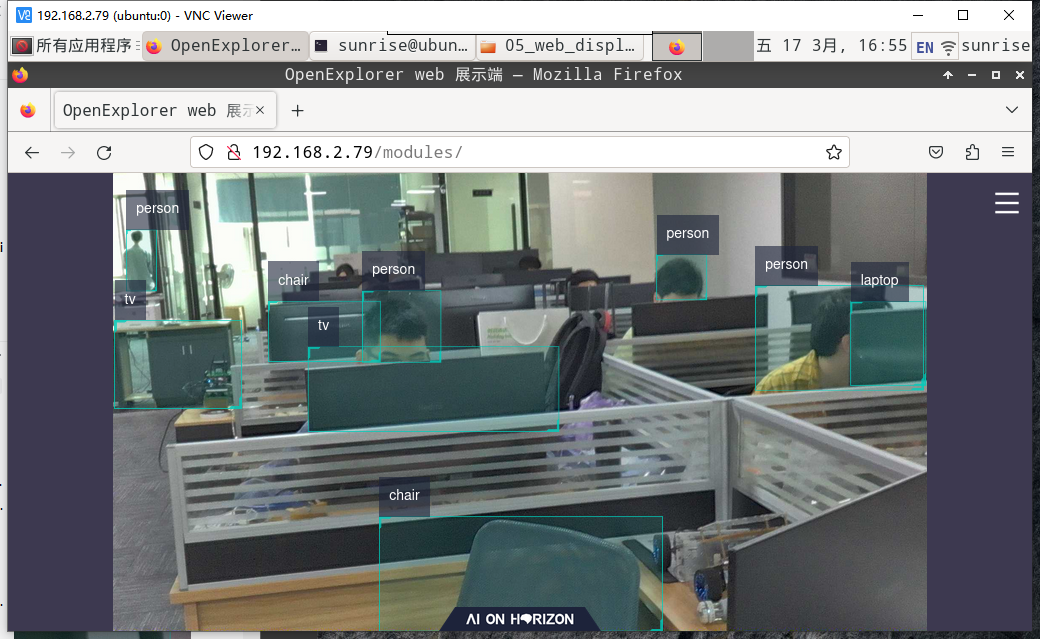
Open a browser on your x3 pie and write your own ip address in the address bar to view the model detection results in real time.
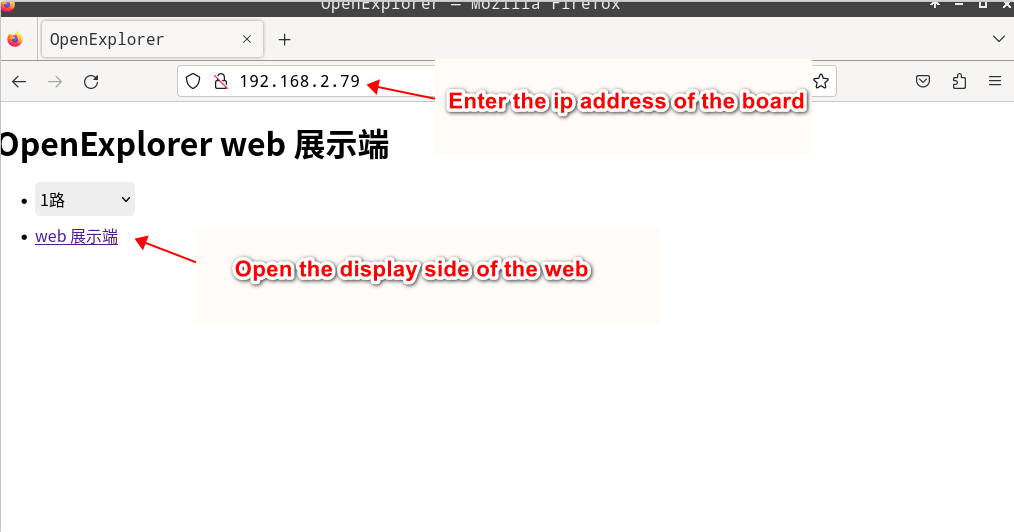
Effect demo picture: