Welcome to Infrared Seeking Light Module repository
Infrared seeking_light module
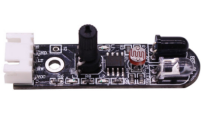
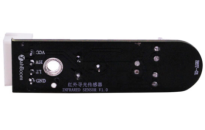
1.Description of Pin
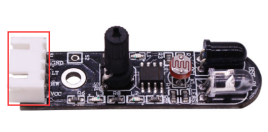
1-1 Position of Pins
The anti-reverse socket is used here, and it can be connected by cable or DuPont wire.
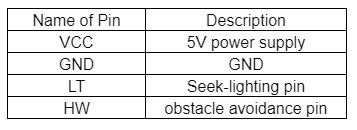
2. Infrared tube
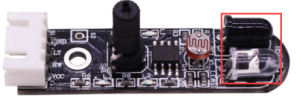
2- 1 Position of infrared tube

2-2 Schematic
The basic principle of the infrared sensor is to use the reflective nature of the object. Within a certain range, if there is an obstacle, the infrared rays will encounter obstacle and will be reflected to reach the sensor receiving pin.
3. Photoresistor
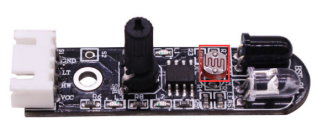
3-1 Position of Photoresistor

3-2 Schematic
The photoresistor is a resistor made by utilizing the photoconductivity of the semiconductor to change the resistance value according to the intensity of the incident light. The incident light intensity, the resistance is reduced, the incident light is weak, and the resistance is increased. If there is light, the level of the pin connected to the photoresistor becomes high level.
4.Indicator light L1
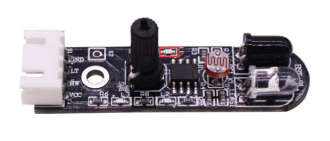
4-1 Position of indicator light L1

4-2 Schematic
When there is obstacle, the indicator light L1 will light up and the port level is LOW.
When there is no obstacle, the indicator light L1 will light off and the port level is HIGH.
5.Indicator light L2
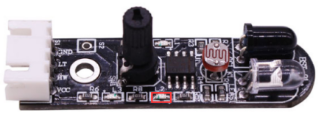
5-1 Position of indicator light L2

5-2 Schematic
When there is light, the indicator of the seeking-light module will light off and the port level is HIGH.
When there is no light, the indicator of the seeking-light module will light on and the port level is LOW.
6.Indicator light L3

6-1 Position of indicator light L3

6-2 Schematic
L3 is the power indicator. When the module is powered normally, the L3 indicator will be light on.
7.MCU
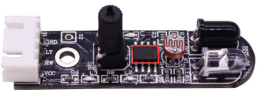
7-1 Position of MCU

7-2 Schematic
8.Adjustable resistor
This module possess an adjustable resistor.
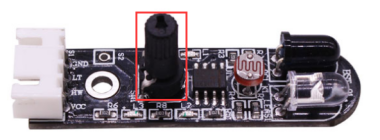
8-1 Position of Adjustable resistor
In the case of infrared obstacle avoidance or light-seeking experiments, it is necessary to adjust the potentiometer of the infrared light-seeking module to optimize the sensitivity of the sensor.
The debugging method is as follows:
8-1) Adjusting the potentiometer [SW1] on the module so that the infrared light tube [LEAS1] infrared receiving tube [RC1] is less than 10cm away from the obstacle, the LED light [L1] lights up; otherwise, the LED light [L1] is off.
8-2) Adjusting the potentiometer [SW1] of the module so that the LED light [L2] is illuminated under normal indoor illumination. When the light of the flashlight is illuminated on the photoresistor [K1], the LED light [L2] is off.
Hardware connection: (The definition of the pin can be changed in the program by yourself)
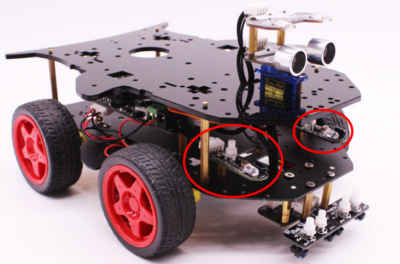
This module is suitable for some robots and smart car. We will provide Arduino, Raspberry driver source code.
! ! ! Note
In order to avoid the influence of sunlight on infrared light, the experiment needs to be carried out in an indoor environment without strong light.

