Welcome to EAI X3 Pro LiDAR repository
1.Preparation
Preparation
1. Install SDK
Unzip YDLidar-SDK-master.tar.xz in the source code folder to get YDLidar-SDK-master.
Input following command:
mkdir buildcd buildcmake ..make -j4sudo make install2. Create a new workspace and compile function packages
Take the creation name ydlidar_ws as an example. Input following command:
xxxxxxxxxxmkdir ydlidar_wscd ydlidar_wsmkdir srccd srccatkin_init_workspace
Copy the decompressed ydlidar_ros_driver-master function package to the ydlidar_ws/src directory.
Then, in the directory of ydlidar_ws, use catkin_make to compile,
xxxxxxxxxxcd ~/ydlidar_wscatkin_make
After the compilation is passed, add the path of the workspace to .bashrc.
xxxxxxxxxxsudo gedit ~/.bashrc
Copy the following content to the end of the file.
xxxxxxxxxxsource ~/ydlidar_ws/devel/setup.bash --extend
3. Bind lidar port name
Open the terminal, input the following command:
xxxxxxxxxxcd ~/ydlidar_ws/src/ydlidar_ros_driver-master/startupsudo chmod 777 initenv.shsudo bash initenv.shThen, re-plug the lidar wiring and enter the command ll /dev/rplidar in the terminal.

The above content indicates that the binding is successful. The end is not necessarily 0 and changes according to the order in which the devices are inserted.
4. Test Lidar
Save and exit.
Reopen a terminal and enter the following statement to open the lidar.
xxxxxxxxxx#x3/x3pro雷达roslaunch ydlidar_ros_driver X3.launch#4ros雷达roslaunch ydlidar_ros_driver TG.launchView lidar data with rostopic tool.
xxxxxxxxxxrostopic echo /scan
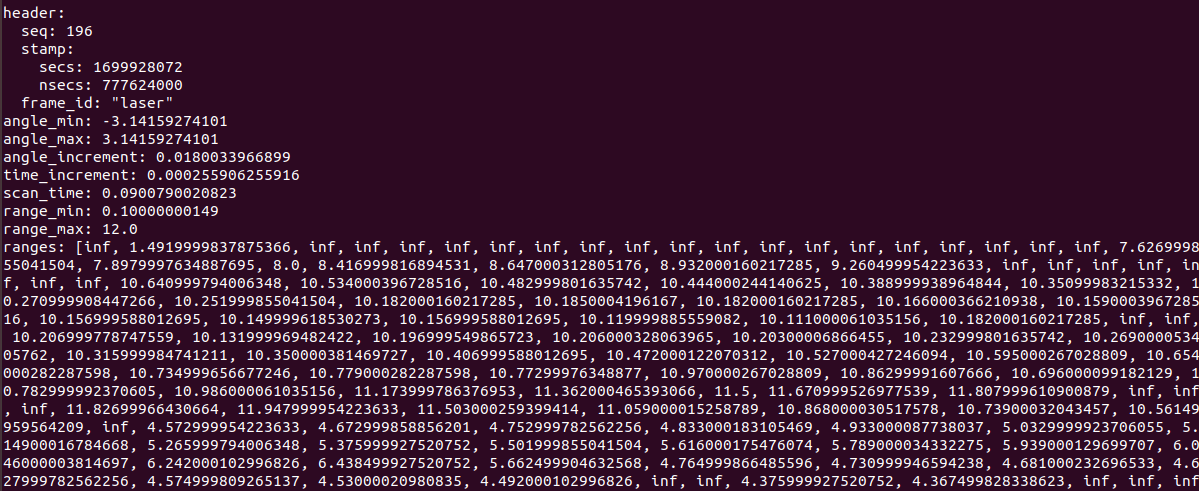
ctrl c closes the terminal that just drove the lidar.
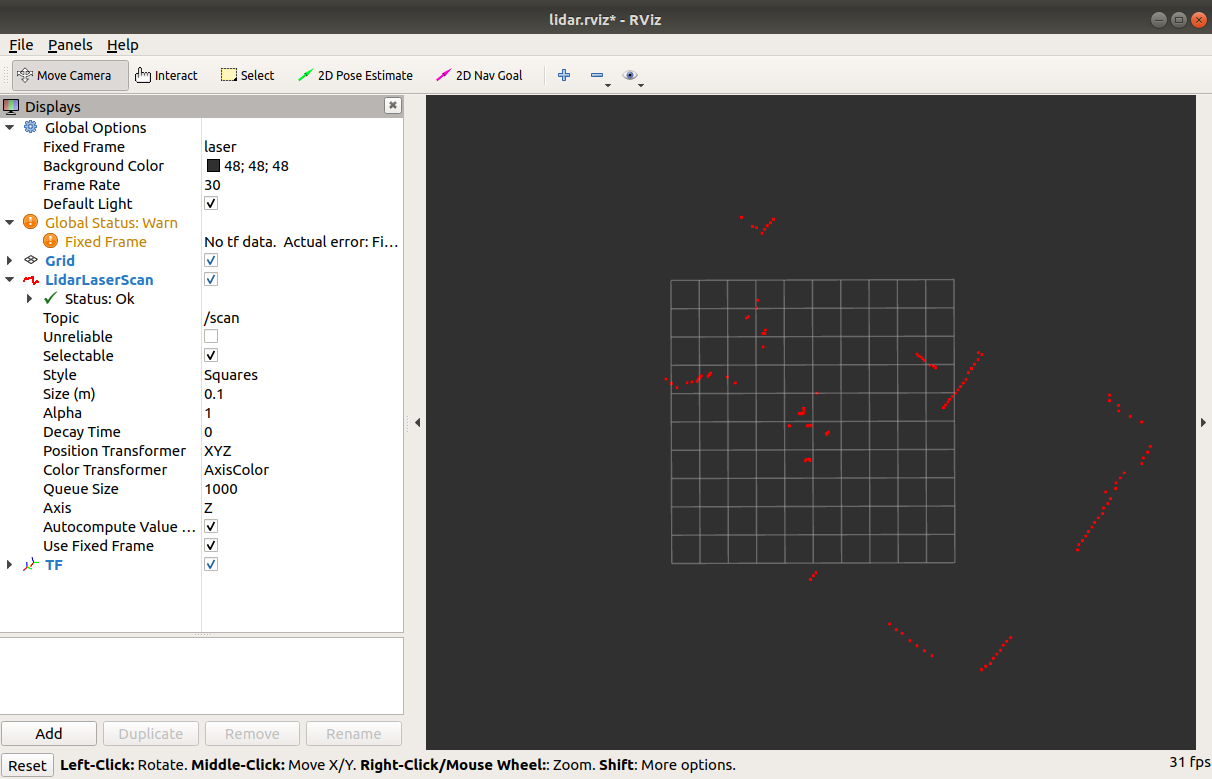
Then enter the following statement in the terminal to drive the radar, and open rviz to display the point cloud.
x
#x3/x3pro lidarroslaunch ydlidar_ros_driver x3_lidar_view.launch#4ros lidarroslaunch ydlidar_ros_driver 4ros_lidar_view.launch