Welcome to USB Industrial Grade AI Vision Camera repository
6.Face recognition
Face recognition
1.Overview
wiki:http://wiki.ros.org/opencv_apps
Source code:https://github.com/ros-perception/opencv_apps.git
Most of the code was originally taken from:https://github.com/Itseez/opencv/tree/master/samples/cpp
Functional package:~/software/library_ws/src/opencv_apps
The topic subscribed by this function package is [/image]. What we have to do is to open the camera node, write a topic that converts the camera topic into a [/image] node, and publish the [/image] topic.
Turn on the camera and publish the path of the node of the [/image] topic:
~/yahboomcar_ws/src/yahboomcar_visual/scripts/pub_image.py
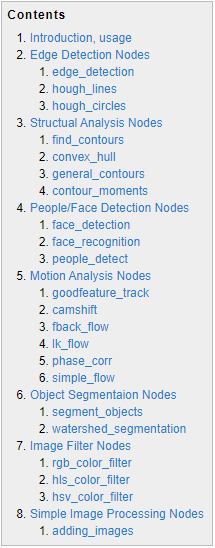
The opencv_apps program provides various nodes that internally run the functions of opencv and publish the results to a ROS topic. When using the opencv_apps program, you only need to run a launch file according to your own business needs, so that you no longer have to write program codes for these functions.
ROS Wiki has related node analysis, topic subscription and topic publishing of the corresponding node, introduction of related parameters, etc. See the ROS WiKi for details.
2. Use
Code path: ~/yahboomcar_ws/src/opencv_apps/launch
- Start the camera
xxxxxxxxxxroslaunch yahboomcar_visual opencv_apps.launch img_flip:=false
img_flip parameter: whether the image needs to be flipped horizontally, the default is false.
The [usb_cam-test.launch] file opens the [web_video_server] node by default, and you can directly use the [IP:8080] web page to view images in real time.
- Start up Opencv.apps function
xxxxxxxxxxroslaunch opencv_apps face_recognition.launch # face recognition
The debug_view for some functions is turned off. If no screen appears, you can view the effect in the following two ways.
xxxxxxxxxxThe reason for closing debug_view is that it will generate errors on the terminal, but the actual effect has not been affected.
- Local view screen
Enter the following command and select the corresponding topic to see the effect.
xxxxxxxxxxrqt_image_view
- LAN viewing screen
In the same local area network, enter IP+port (8080) in the browser, for example:
xxxxxxxxxx192.168.2.150:8080 #IP refers to the host IP address
3. Face recognition display
This case is based on autonomous training and real-time recognition by collecting images of people in real time, and the steps are slightly complicated.
| Parameter | Type | Default | Analyze |
|---|---|---|---|
| ~approximate_sync | bool | false | Subscribe to the topic [camera_info] to get the default coordinate system ID, otherwise use the image information directly. |
| ~queue_size | int | 100 | Queue size for subscribing topics |
| ~model_method | string | "eigen" | Face recognition method: "eigen", "fisher" or "LBPH" |
| ~use_saved_data | bool | true | Load training data from ~data_dir path |
| ~save_train_data | bool | true | Save training data to ~data_dir path for retraining |
| ~data_dir | string | "~/opencv_apps/face_data" | Save training data path |
| ~face_model_width | int | 190 | Width of training face images |
| ~face_model_height | int | 90 | Training face image height |
| ~face_padding | double | 0.1 | Filling ratio of each face |
| ~model_num_components | int | 0 | The number of components of the face recognizer model (0 is considered unlimited) |
| ~model_threshold | double | 8000.0 | Face recognition model threshold |
| ~lbph_radius | int | 1 | Radius parameter (for LBPH method only) |
| ~lbph_neighbors | int | 8 | Neighborhood parameters (only for LBPH method) |
| ~lbph_grid_x | int | 8 | Grid x parameter (only for LBPH method) |
| ~lbph_grid_y | int | 8 | Grid y parameter (only for LBPH method) |
| ~queue_size | int | 100 | Image subscriber queue size |
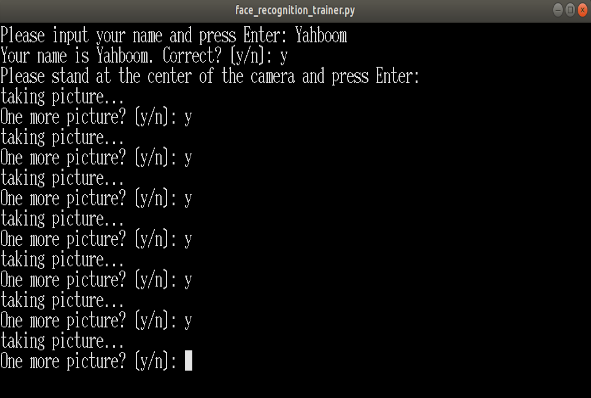
Operation steps:
- First, enter the character’s name after the colon in the picture below: Yahboom
- Confirm name: y
- Then place the face in the center of the image and click OK.
- Add a photo in a loop: y, click to confirm.
- To end image collection, enter: n and click Confirm.
- Close the launch file and restart.
If you need to enter the recognized identifications, cycle through steps 1 to 5 until all identified persons have been entered, and then proceed to step six.
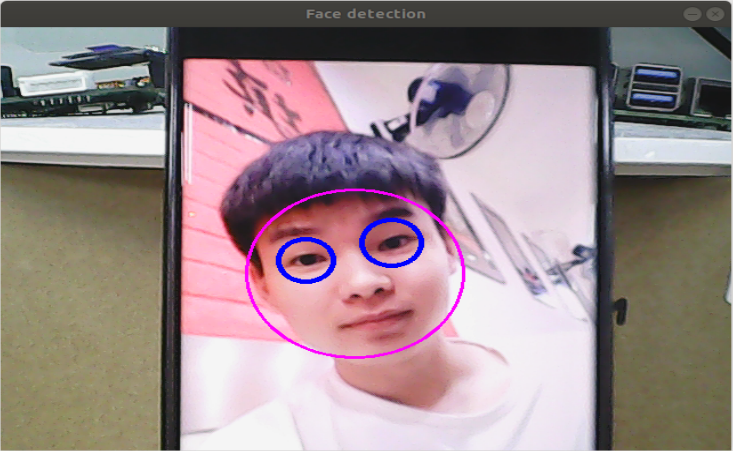
Step 3: Ensure that faces can be recognized
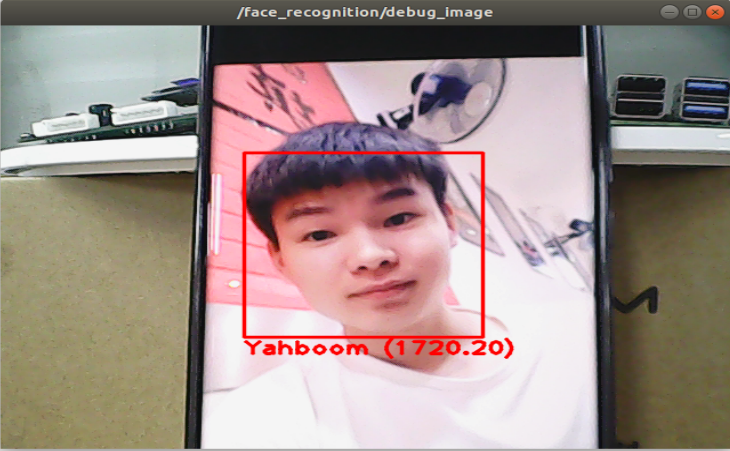
Final recognition effect