Welcome to Game Handle repository
ROSMASTER M3 Pro Car Control Tutorial
Controller control of M3Pro
I. Experimental Environment
Three-mode handle
M3pro(Mandatory)
Ii. Experimental Procedures
Note
This tutorial needs to be used in conjunction with a X3PLUS . It cannot run without a M3Pro
This tutorial's test environment takes 2.4G as an example!
The handle supports continuous transmission function. If you find it shaking when pressing the button, please turn off the corresponding button's continuous transmission function as per the manual
Before testing, ensure that the handle receiver is connected to the motherboard or PC, and switch the handle to DINPUT (Long press FN+SELECT for 3 seconds)
The indicator light showing a constant green color indicates that the handle has been successfully paired
Before the experiment starts, it is necessary to ensure that the car and the computer are under the same local area network. The DOMAIN_ID must be kept consistent with that of the car The factory default is 30
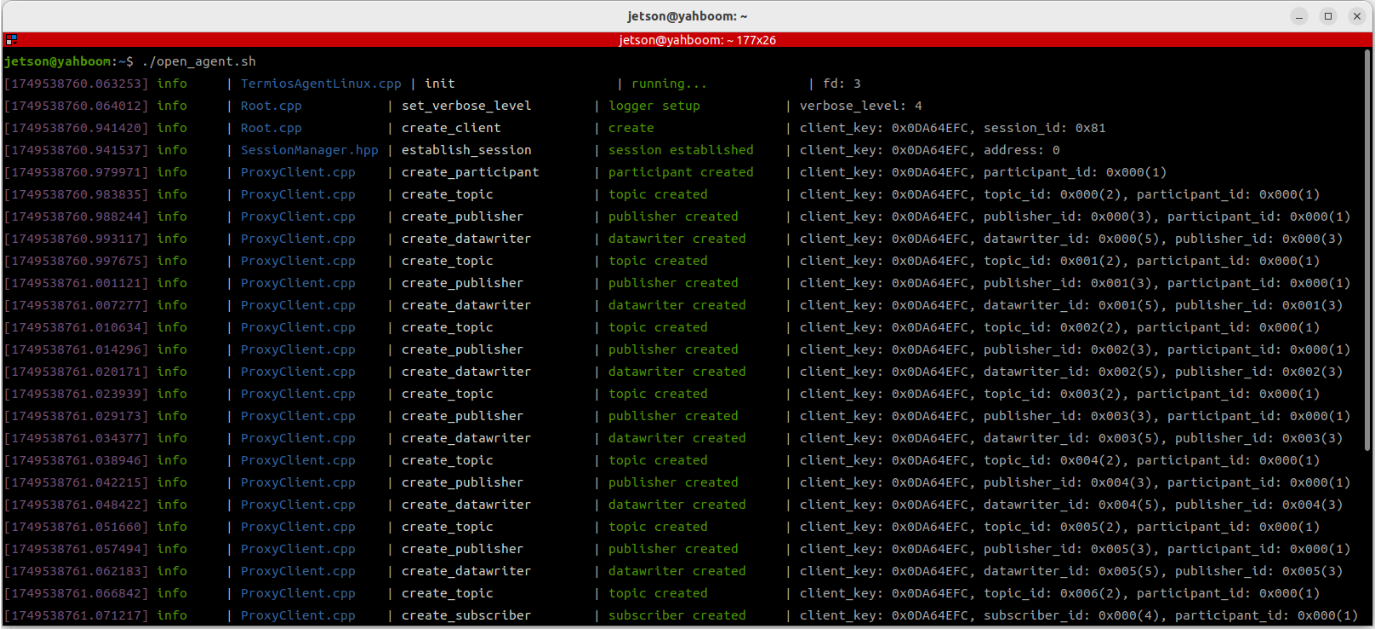
Start the car agent on the M3pro end/Start the large program at startup
2.First, insert the USB receiver of the wireless gamepad into the main controller (Jetson, Raspberry Pi). Open the terminal and enter the following command(s). If js0 is displayed, this refers to the wireless gamepad.
In special cases, you can also check the changes in the device list by comparing the two states: with the wireless gamepad USB receiver connected and disconnected. If there is a change, the altered entry is the target device; otherwise, the connection has failed or the device cannot be recognized.
Note: If a mouse or keyboard is connected, they may also be recognized as js devices. However, the program only identifies js0. Therefore, if multiple js devices appear, connect the gamepad receiver first, then connect other devices.
When the gamepad is successfully connected, its indicator light remains solid lit; a flashing light indicates the connection is disconnected.
ls /dev/input/js0
As shown in the figure, it indicates that the handle receiver has been recognized.
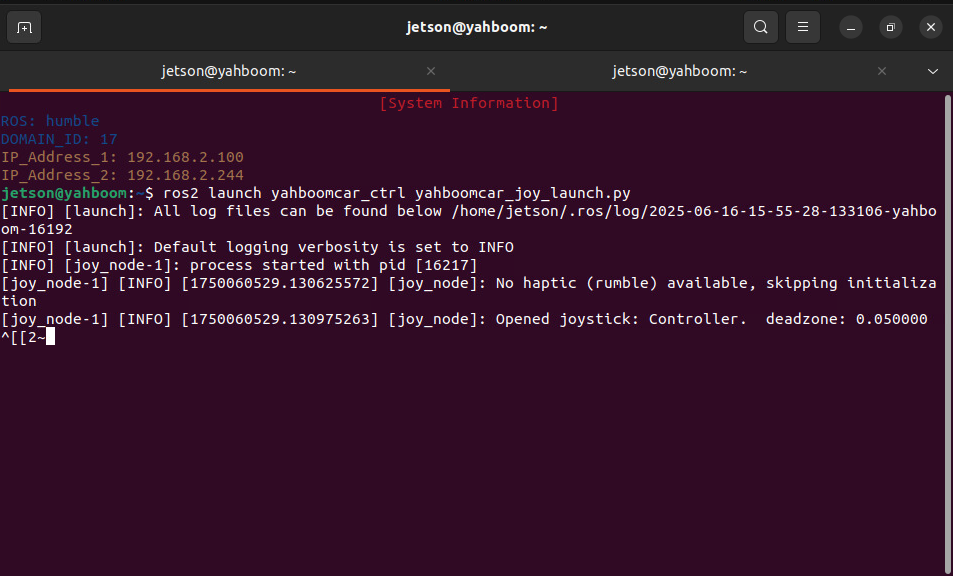
Open the terminal and run the handle node:
Raspberry PI and Jetson Nano versions need to enter Docker in advance
xxxxxxxxxxros2 launch yahboomcar_ctrl yahboomcar_joy_launch.py
Open another terminal and run the robot handle control node
xxxxxxxxxxros2 run yahboomcar_ctrl yahboom_joy_M3Pro
Iii. Button Control Instructions
| Gamepad Action | Function |
|---|---|
| Left Joystick Up/Down | Robot Car Moves Forward/Backward Straight |
| Left Joystick Left/Right | Robot Car Moves Left/Right Straight |
| Right Joystick Left/Right | Robot Car Rotates Left/Right |
| START Button | Exit Sleep Mode |
| Left Stick Press | Adjust X/Y Axis Linear Velocity |
| Right Stick Press | Adjust Angular Velocity |
| D-pad Up | No.4 Servo Moves Upward |
| D-pad Down | No.4 Servo Moves Downward |
| D-pad Left | No.3 Servo Moves Downward |
| D-pad Right | No.3 Servo Moves Upward |
| Button X | No.1 Servo Moves Left |
| Button B | No.1 Servo Moves Right |
| Button Y | No.2 Servo Moves Upward |
| Button A | No.2 Servo Moves Downward |
| L1|LB Button | No.6 Servo Gripper (Tighten) / No.5 Servo Rotate Right |
| L2|LT Button | No.6 Servo Gripper (Loosen) / No.5 Servo Rotate Left |
| R1|RB Button | Switch Light Effects |
| R2|RT Button | Control Unlock |
| SELECT Button | Switch Control Between No.6 / No.5 Servo |
Iv. Source Code Analysis
Source code path
jetson orin nano, jetson orin NX mainframe:
xxxxxxxxxx/home/jetson/yahboomcar_ws/src/yahboomcar_ctrl/yahboomcar_ctrl/yahboom_joy_M3Pro.py
jetson nano, Raspberry PI mainframe:
You need to enter docker first
xxxxxxxxxxroot/yahboomcar_ws/src/yahboomcar_ctrl/yahboomcar_ctrl/yahboom_joy_M3Pro.py