Welcome to ROS USB Handle repository
1. Install jupyterLab
1. Introduction of JupyterLab
JupyterLab is an interactive development environment. It is the next generation of Jupyter notebook. It integrates more functions, supports plug-in extensions, and can run operations through web pages.
2. Start up root user
The root user is required to install jupyterlab, but the root user of the system does not have the password and cannot be switched by default, so we need to set the password for the root user before using the root account.
Note: You need to remember this password.
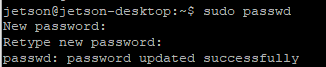
2.1 Input the following command to set the password for the root user, and then enter the same password twice.
sudo passwd
2.2 Input the following command to switch to root user
sudo su

As shown in the figure above, it means that we have switched to the root user.
3. Install JupyterLab
3.1 Input the following command to install ffi library
apt-get install libffi-dev

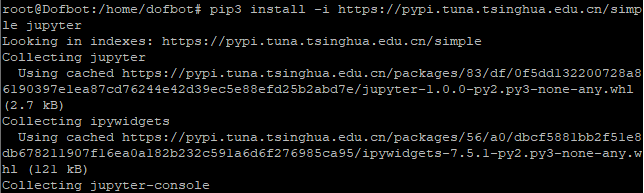
3.2 Input the following command to install jupyter
pip3 install -i https://pypi.tuna.tsinghua.edu.cn/simple jupyter
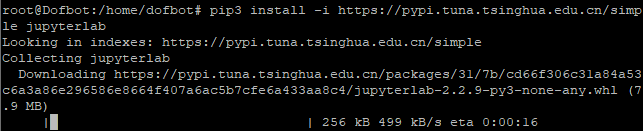
3.3 Input the following command to install jupyter lab
pip3 install -i https://pypi.tuna.tsinghua.edu.cn/simple jupyterlab
3.4 Switch back to normal user after installation is complete
su jetson

4. Configurate upyterLab
4.1 Input the following command to generate configuration file
jupyter notebook --generate-config

4.2 Input the following command to generate the log in password for jupyterlab.
ipython
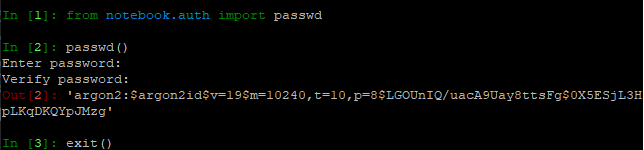
In [1] input command: from notebook.auth import passwd
In [2] input command: passwd()
Then, input the same password twice and press Enter to confirm.
The system will output the cipher text of the password and copy the entire cipher text. The cipher text generated by each password may be different. Please copy the actual output cipher text.
In [3] input command: exit()
4.3 Compile the configuration file of jupyter
nano ~/.jupyter/jupyter_notebook_config.py
Add the following at the end
c.NotebookApp.ip = '0.0.0.0'
c.NotebookApp.open_browser = False
c.NotebookApp.password = cipher text
c.NotebookApp.port = 8888
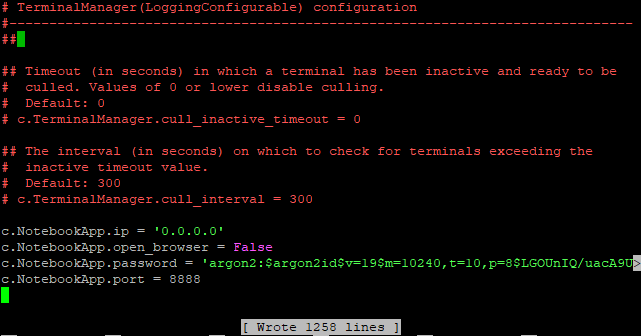
Finally, press Ctrl+S to save and press Ctrl+X to exit.
5. Install jupyterlab Plug-in
5.1 Input the following command to install nodejs and npm
sudo apt install nodejs npm

5.2 Install jupyter widgets, due to it need to download and compile, the running time is longer, and there may be errors.
if there is an error, run this command again.
sudo jupyter labextension install @jupyter-widgets/jupyterlab-manager

5.3 Input the following command to install statusbar widgets
sudo jupyter labextension install @jupyterlab/statusbar

5.4 After above steps, Jupyterlab has been installed.
6. Start up jupyterlab
6.1 Enter the directory where you want to run the code. Input the following command to create a test directory.
mkdir test
cd test

6.2 Open jupyterlab
jupyter lab
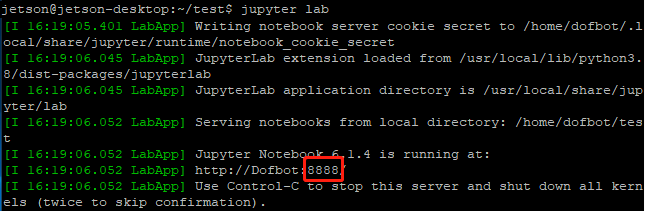
As shown above, the port number is the port number we need to access. The default is the port number pointed to by c.NotebookApp.port in the jupyter configuration file in the previous step. If you open another jupyterlab service, the port number will be automatically +1, so that we can distinguish different jupyterlab services.
7. Remote access to jupyterlab
7.1 If your DOFBOT is connected to the same LAN as the PC network via WIFI, we can log in directly on the PC-side Google Chrome or other browser (DOFBOT IP address): 8888 to DOFBOT's Jupyter Lab,
for example: http://192.168.2.102:8888
192.168.1.244 is my DOFBOTIP address. You need to input your own IP address.
As shown below:
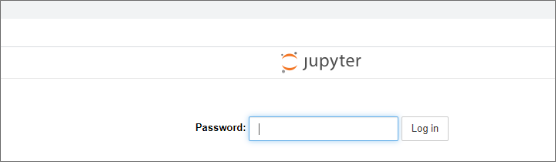
2) Input password. If you use image we provided, password is yahboom.
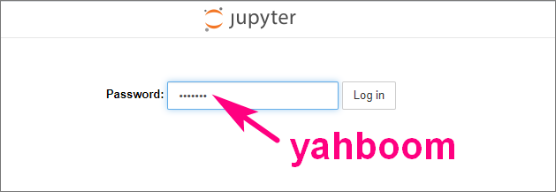
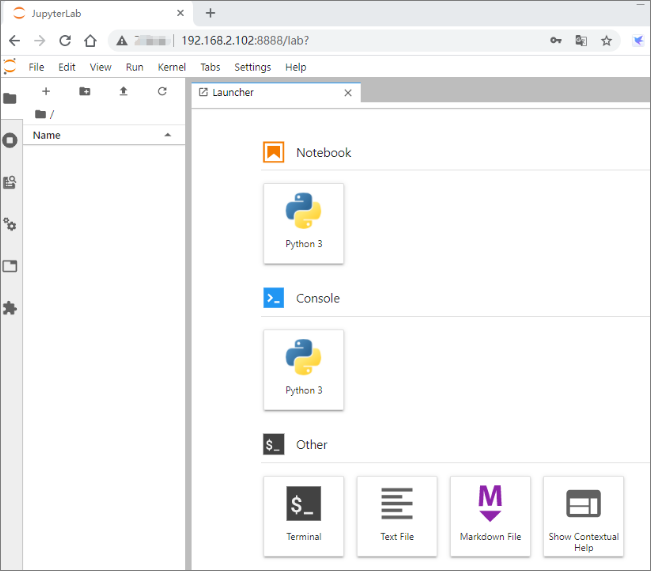
7.2 When you seeing the following interface,which means that the successfully remote log in to JupyterLab, and you can create a new Python3 program in here.
8. Exit JupyterLab
Press Ctrl+C twice on the terminal to exit JupyterLab.