Welcome to ROS USB Handle repository
4.Control Jetbot
Using of the handle
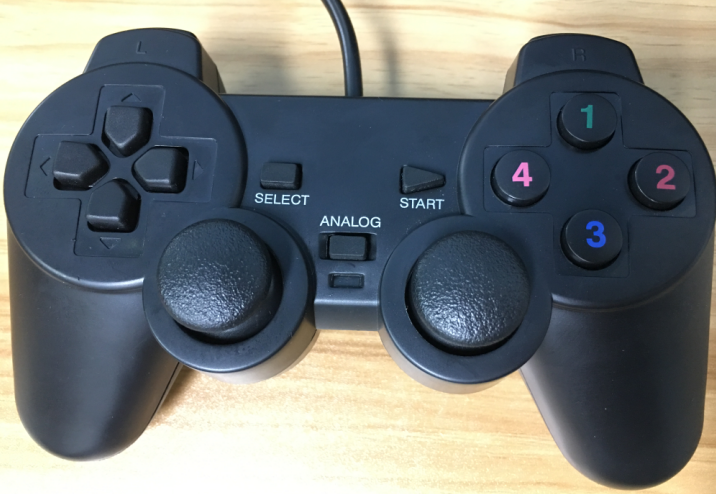
1. Handle key test
First of all, we open the http://html5gamepad.com webpage, and connect your Handle to your computer.
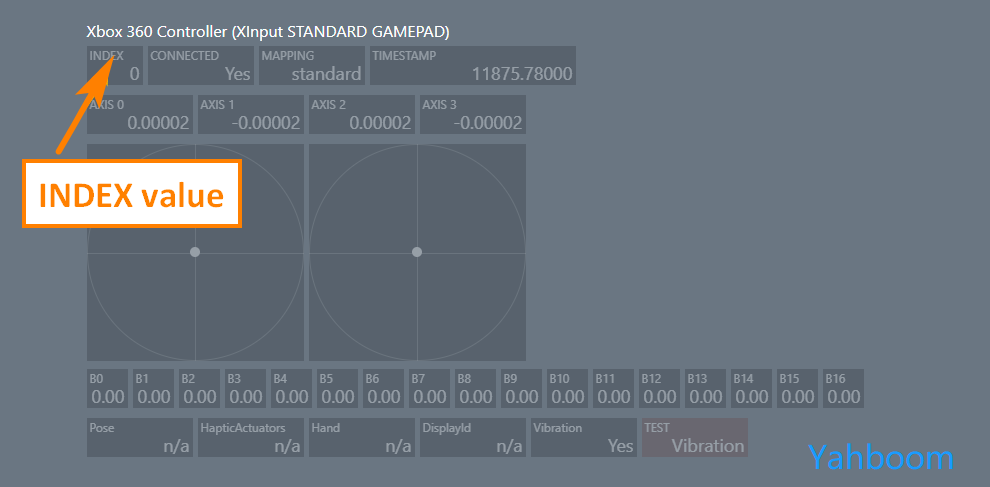
Because maybe your PC computer can not only connect a handle, so the default value of the index of the handle you connect is not 0, so we need to go to this page to view the handle we are currently using. The index can be used correctly.
After entering the webpage, the button on Handle must be pressed to trigger the detection and recognition.
The handle displays the corresponding handle information. The following is the detection interface of my handle. When we press the button of the handle, the corresponding button will also be pressed. We can view the mapped value of the currently pressed button and then call it into the corresponding function in our program.
2. The handle controls the omnidirectional movement
In this example, we will remotely control Jetbot using a gamepad controller connected to the web browser machine.
First, we need to create an instance of the 'Controller' widget, which we will use to drive our Jetbot. The "Controller" widget accepts an "index" parameter that specifies the number of controllers.
This is useful if you have multiple controllers, or if some gamepads appear as multiple controllers. In order to properly use your handle to control, we need to set the index value tested by the handle test page mentioned above:
Set the index value in the following code:

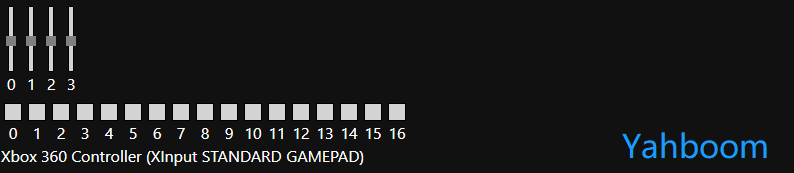
After executing the above code, the handle key map shown in the figure below will be displayed:
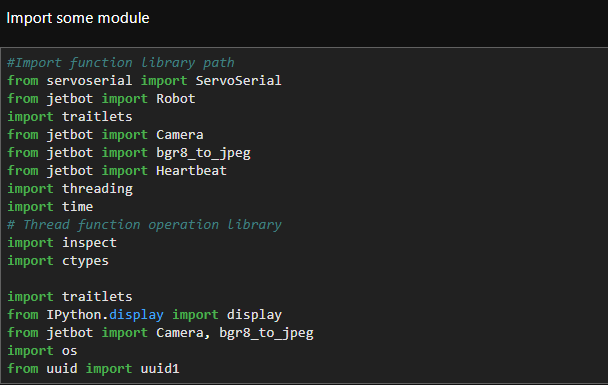
Then, import the corresponding module package. Code as shown below:
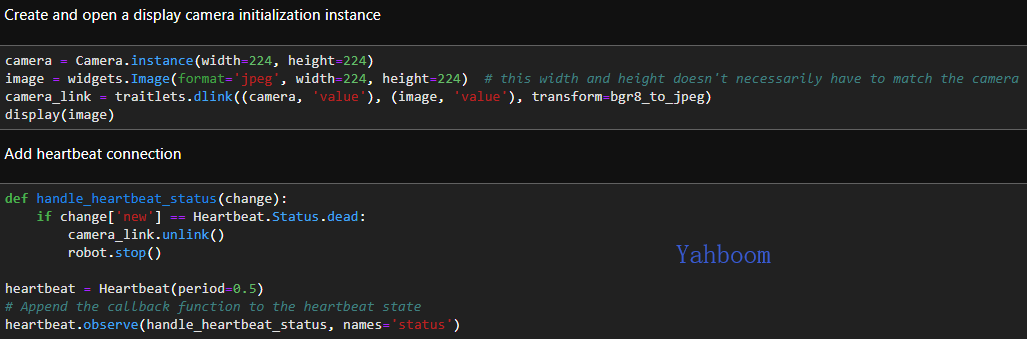
Then, execute the code for the next two cells, create and open the display camera initialization instance and add a heartbeat connection:
Code as shown below:
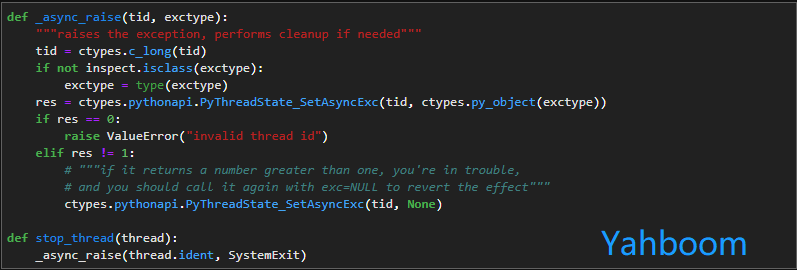
Because we have to perform other operations after the corresponding control of the handle, we need to introduce some operations of the thread here, run the following code to create a method to actively stop the process:
Code as shown below:
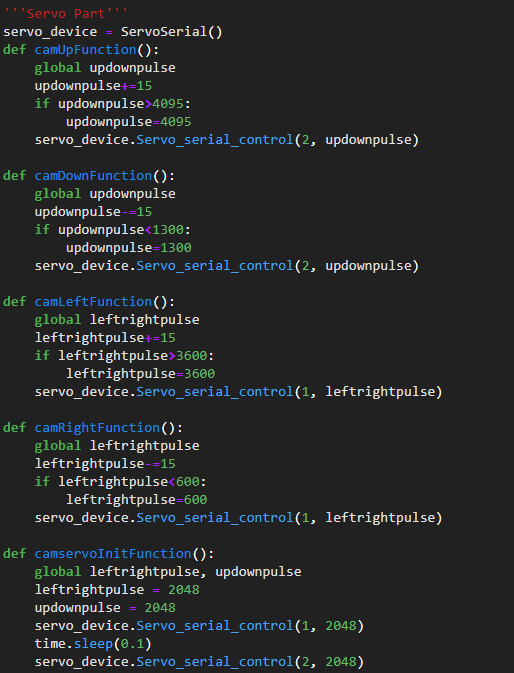
Create a method to detect the button action to control the motion of the PTZ camera up, down, left, and right:
Code as shown below:
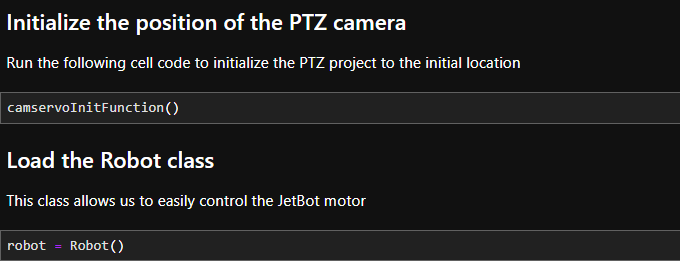
Initialize the PTZ camera position and create an instance that controls the Jetbot motion:
Code as shown below:
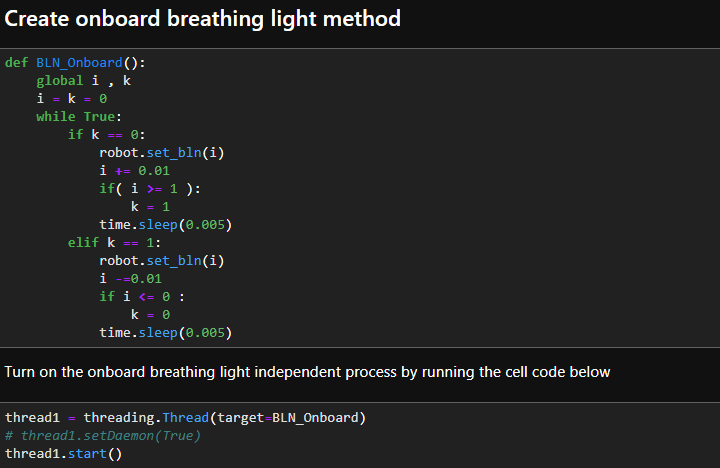
In order to increase the visual effect of the point, we open a thread to make the on board LED light under the LOGO realize the breathing light effect:
Code as shown below:
Create a handle rocker to control the Jetbot motion in real time:
Code as shown below:
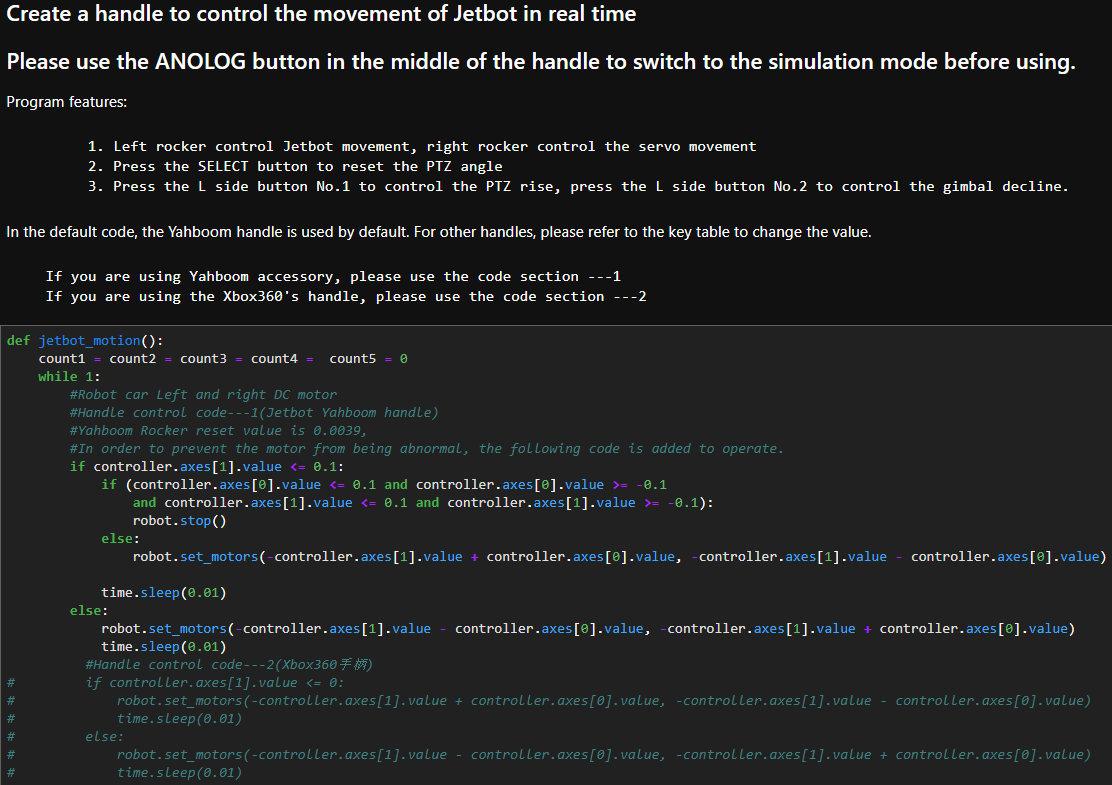
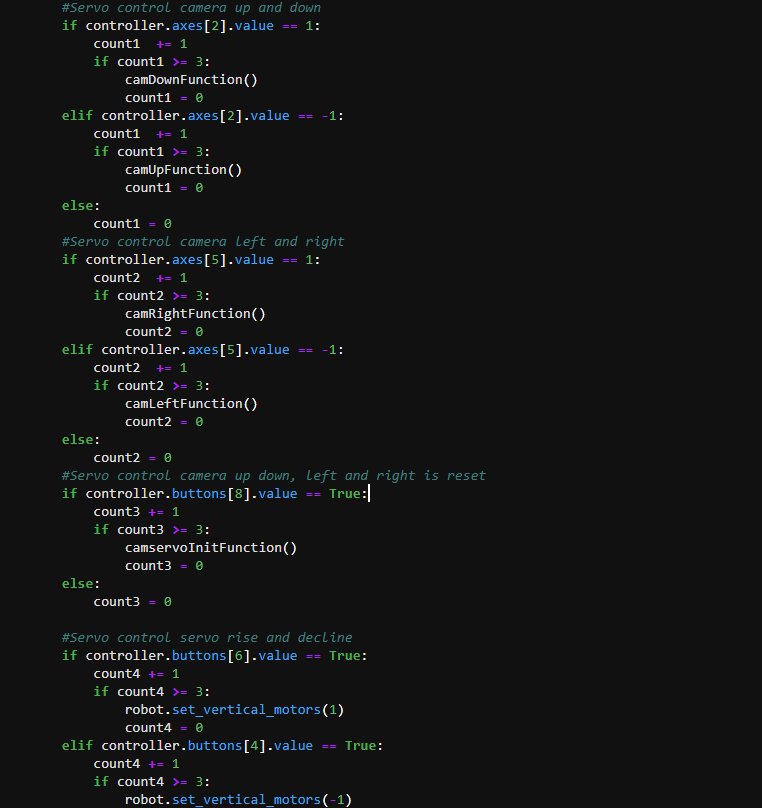

After running the following code, you can open the handle to control the independent process of Jetbot motion in real time:

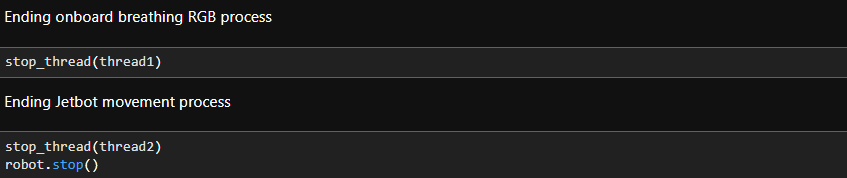
If you need to modify the functions or extend other modules after running the above code, you can actively terminate the two threads that have just been opened.
After the extension, if you want to re-open the thread, you can re-open the thread in the code unit block that opens the thread by running it again.
The corresponding complete source code is located at:
/home/jetbot/Notebook/10.Using of Handle/Handle control.ipynb