Welcome to SLAM LiDAR repository
9.APP Mapping and Navigation
APP Mapping and Navigation
1.Android users search "ROSRobot" in Play Store to download APP.
2. iOS users search "ROSRobot" in App Store to download APP.
This workspace contains the entire function package in rplidar_ws. If you need to transplant it to your own motherboard, you need to copy all the function packages to the src of the workspace for compilation, and install the relevant environment.
Note: This course uses Rosmaster-X3 as an example. Users need to modify it according to their own motion model. Different from the handheld lidar mapping content, this mapping adds odom data, so in the user’s own motion model, Odom data is also required.
1.APP mapping
1.1 start up
Start lidar and camera
roslaunch yahboomcar_nav laser_usb_bringup.launch # laser + yahboomcar + usb_cam
Start mapping function
xxxxxxxxxxroslaunch yahboomcar_nav yahboomcar_map.launch use_rviz:=false map_type:=gmapping
Start converting lidar data to point cloud nodes and nodes such as rosbridge
xxxxxxxxxxroslaunch yahboomcar_nav laser_app.launch
1.2 Usage
After the robot is started, click APP
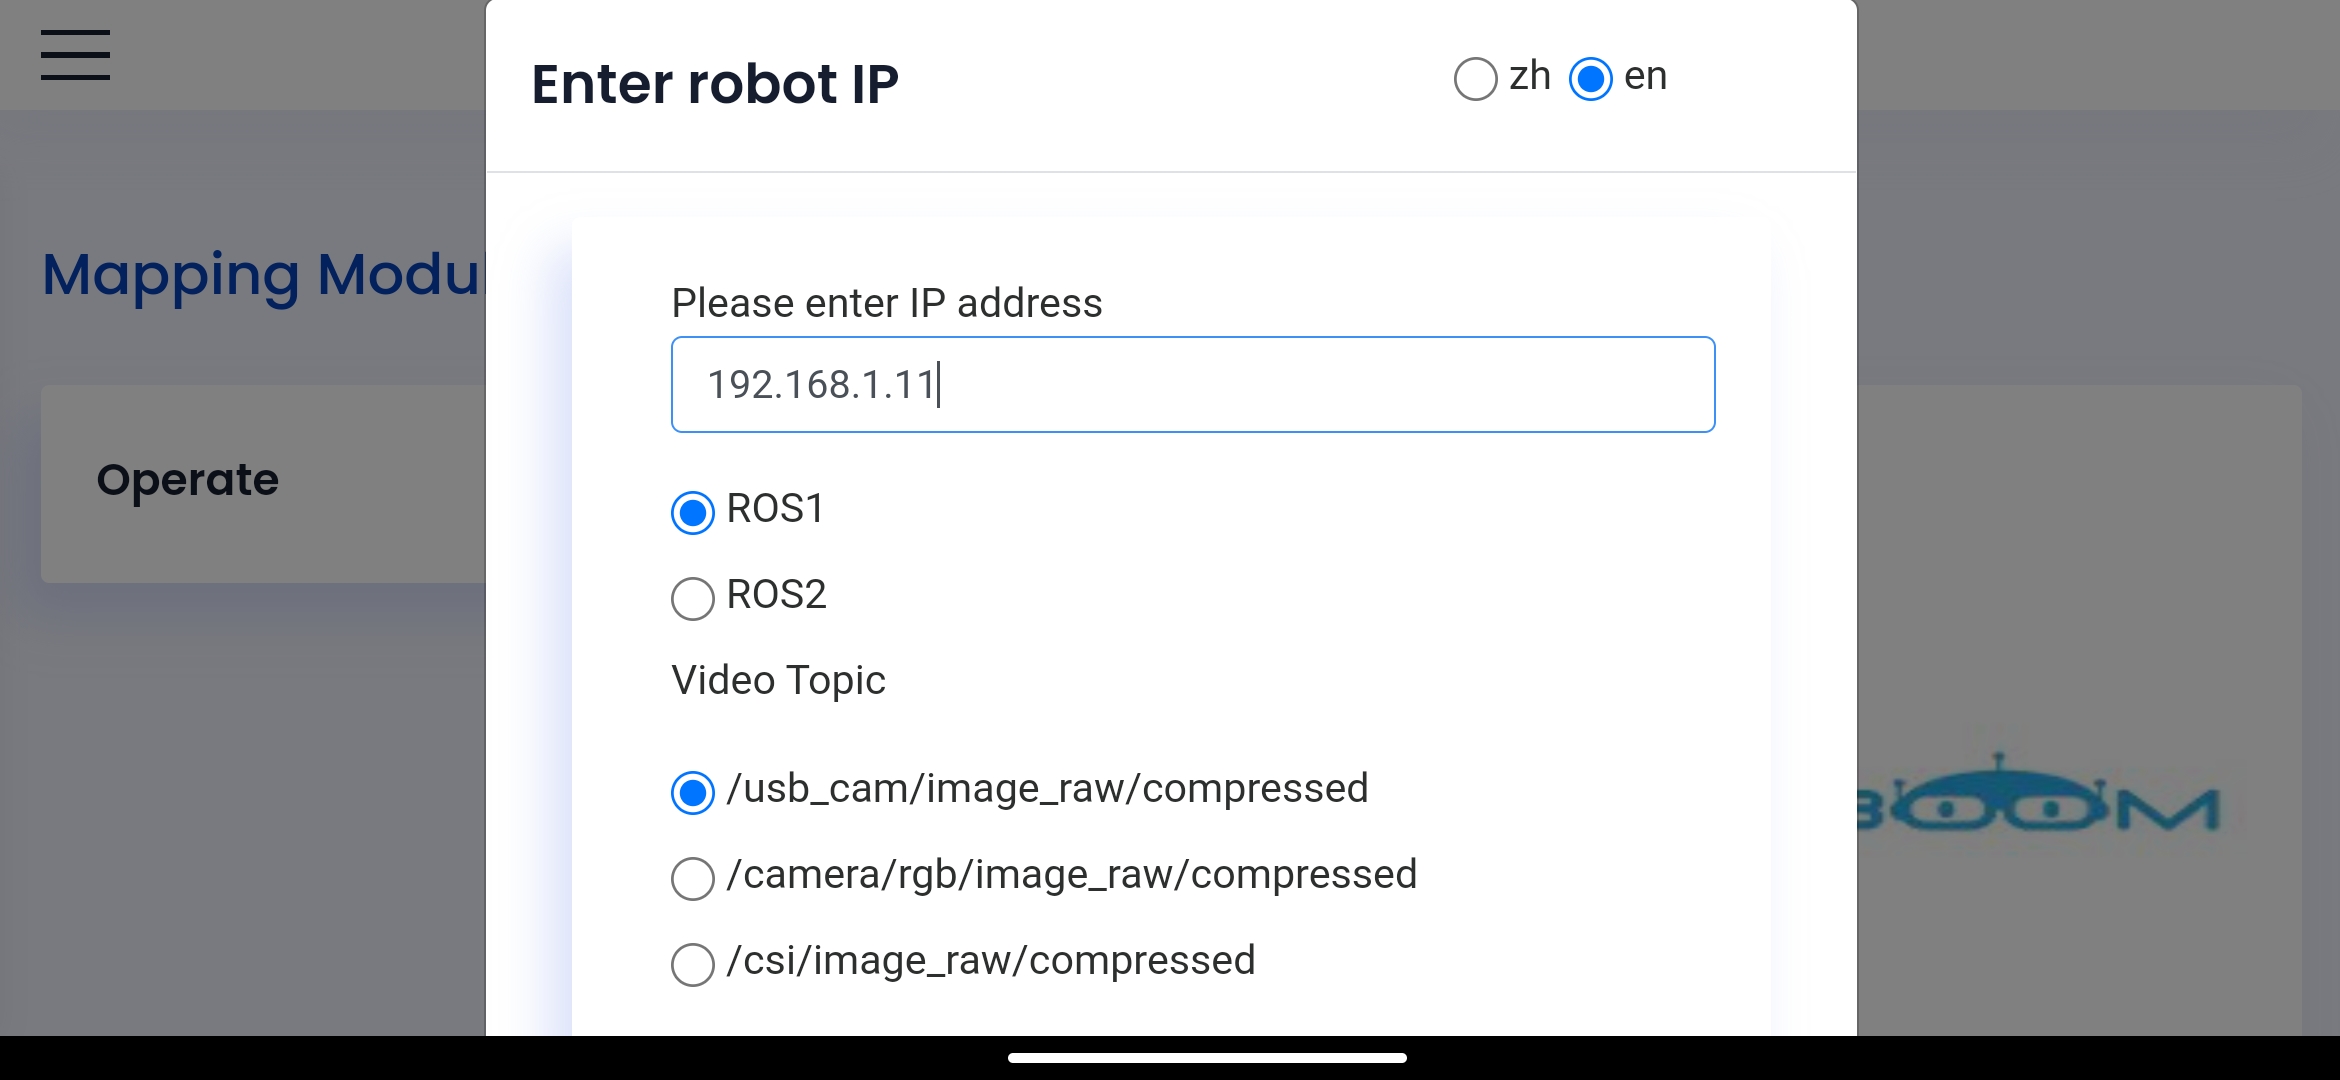
To ensure that the mobile phone and the robot are in the same LAN, enter the robot [IP] in the input box, select ROS1 by default, select 【en】 as the default language, and click [Connect] to log in.
Enter the IP displayed on the OLED of the car, and the lidar scanning map will appear after the connection is successful, as shown in the figure below:
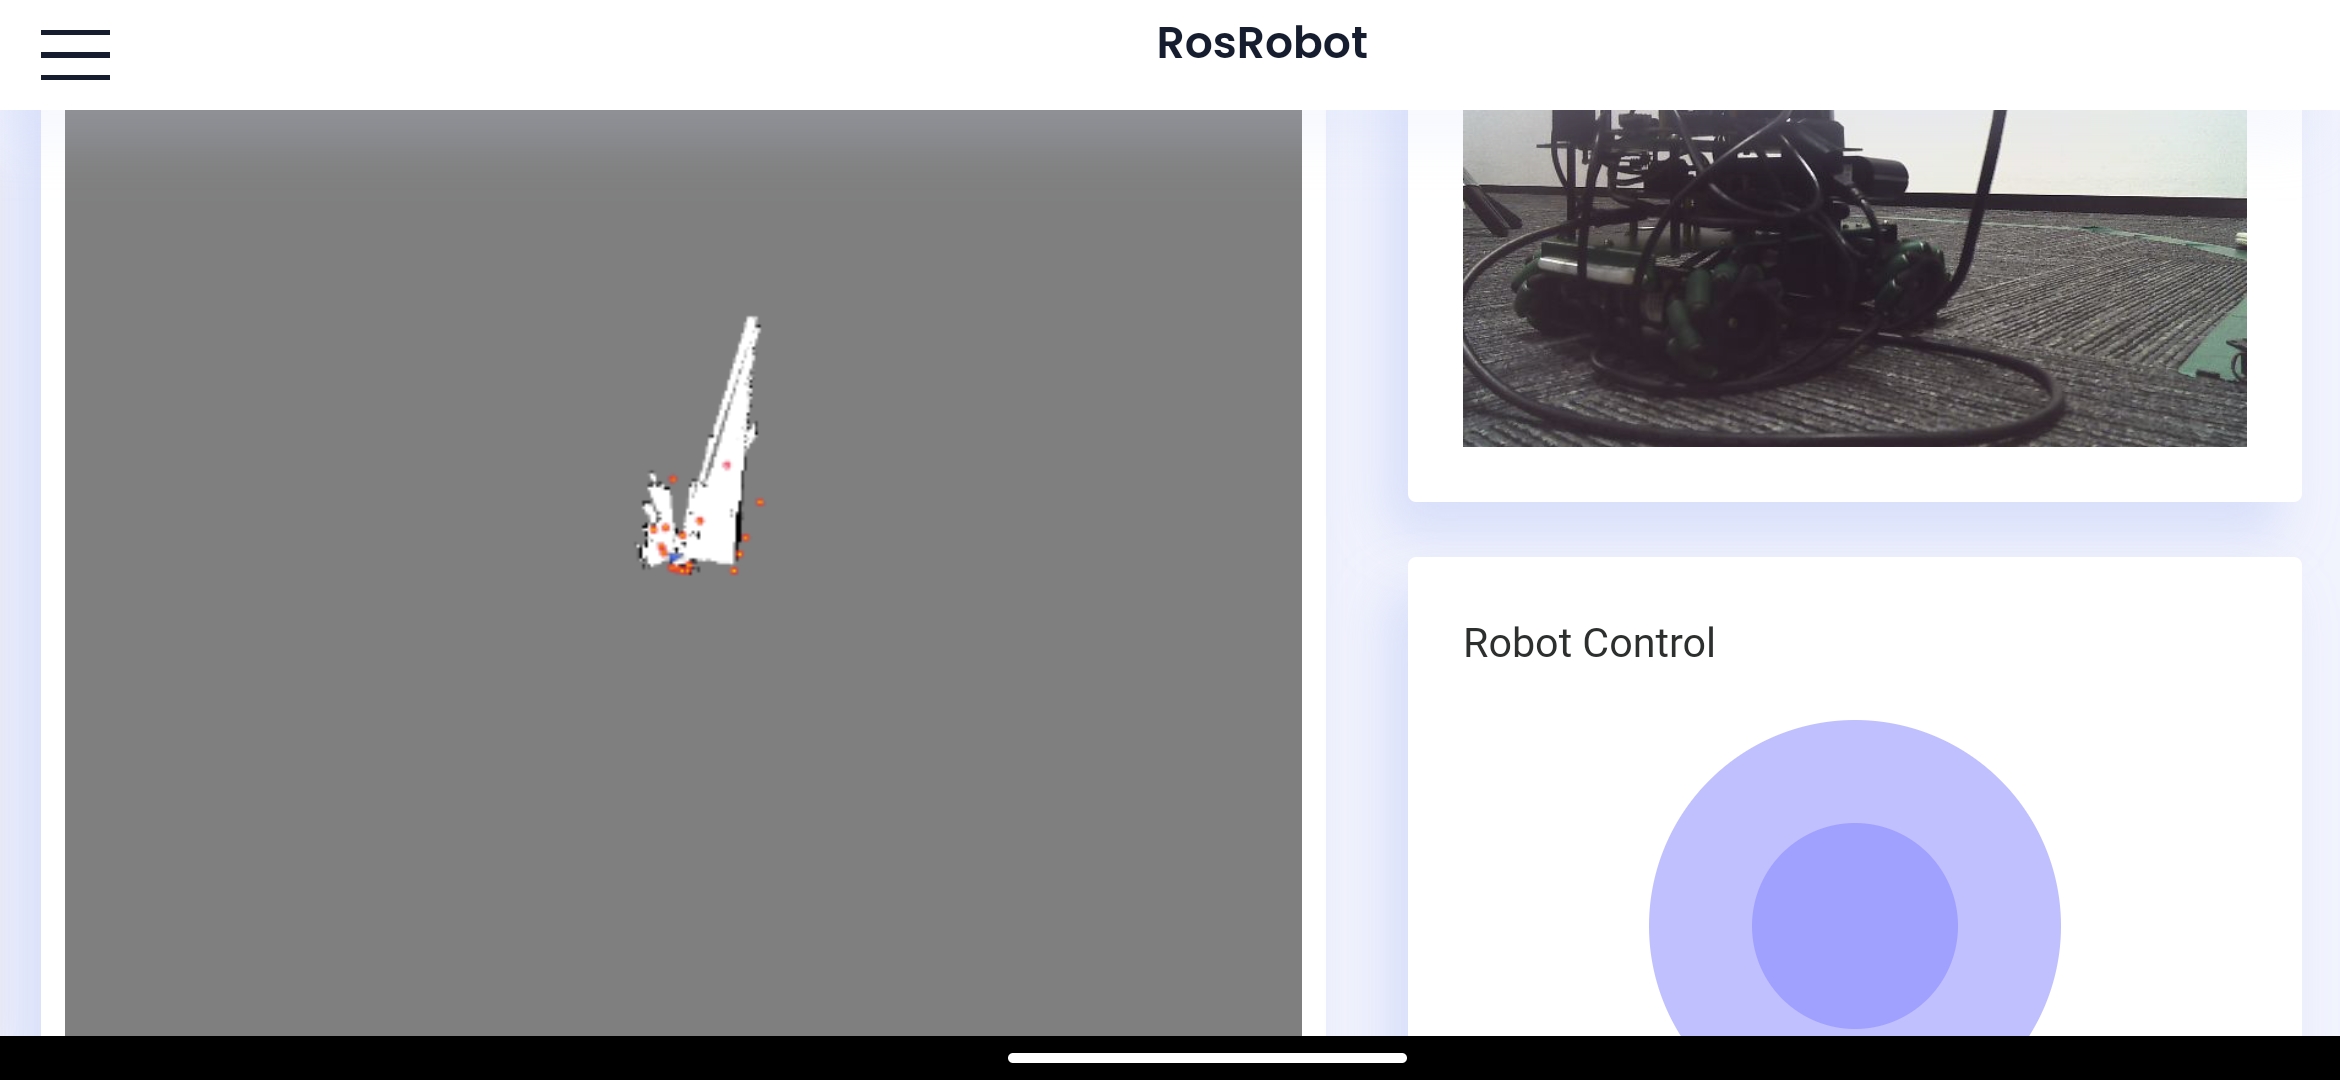
At this time, slide the joystick in the lower right corner. When sliding the joystick, the slower the speed, the better the effect (especially the rotation speed), and control the robot to move until the map is created.
1.3 Save map
When the map is created, click the Save Map button
Click on the top of the input box, enter the name [house] to save the map, and click [Submit] (English only, no symbols), and save the map.
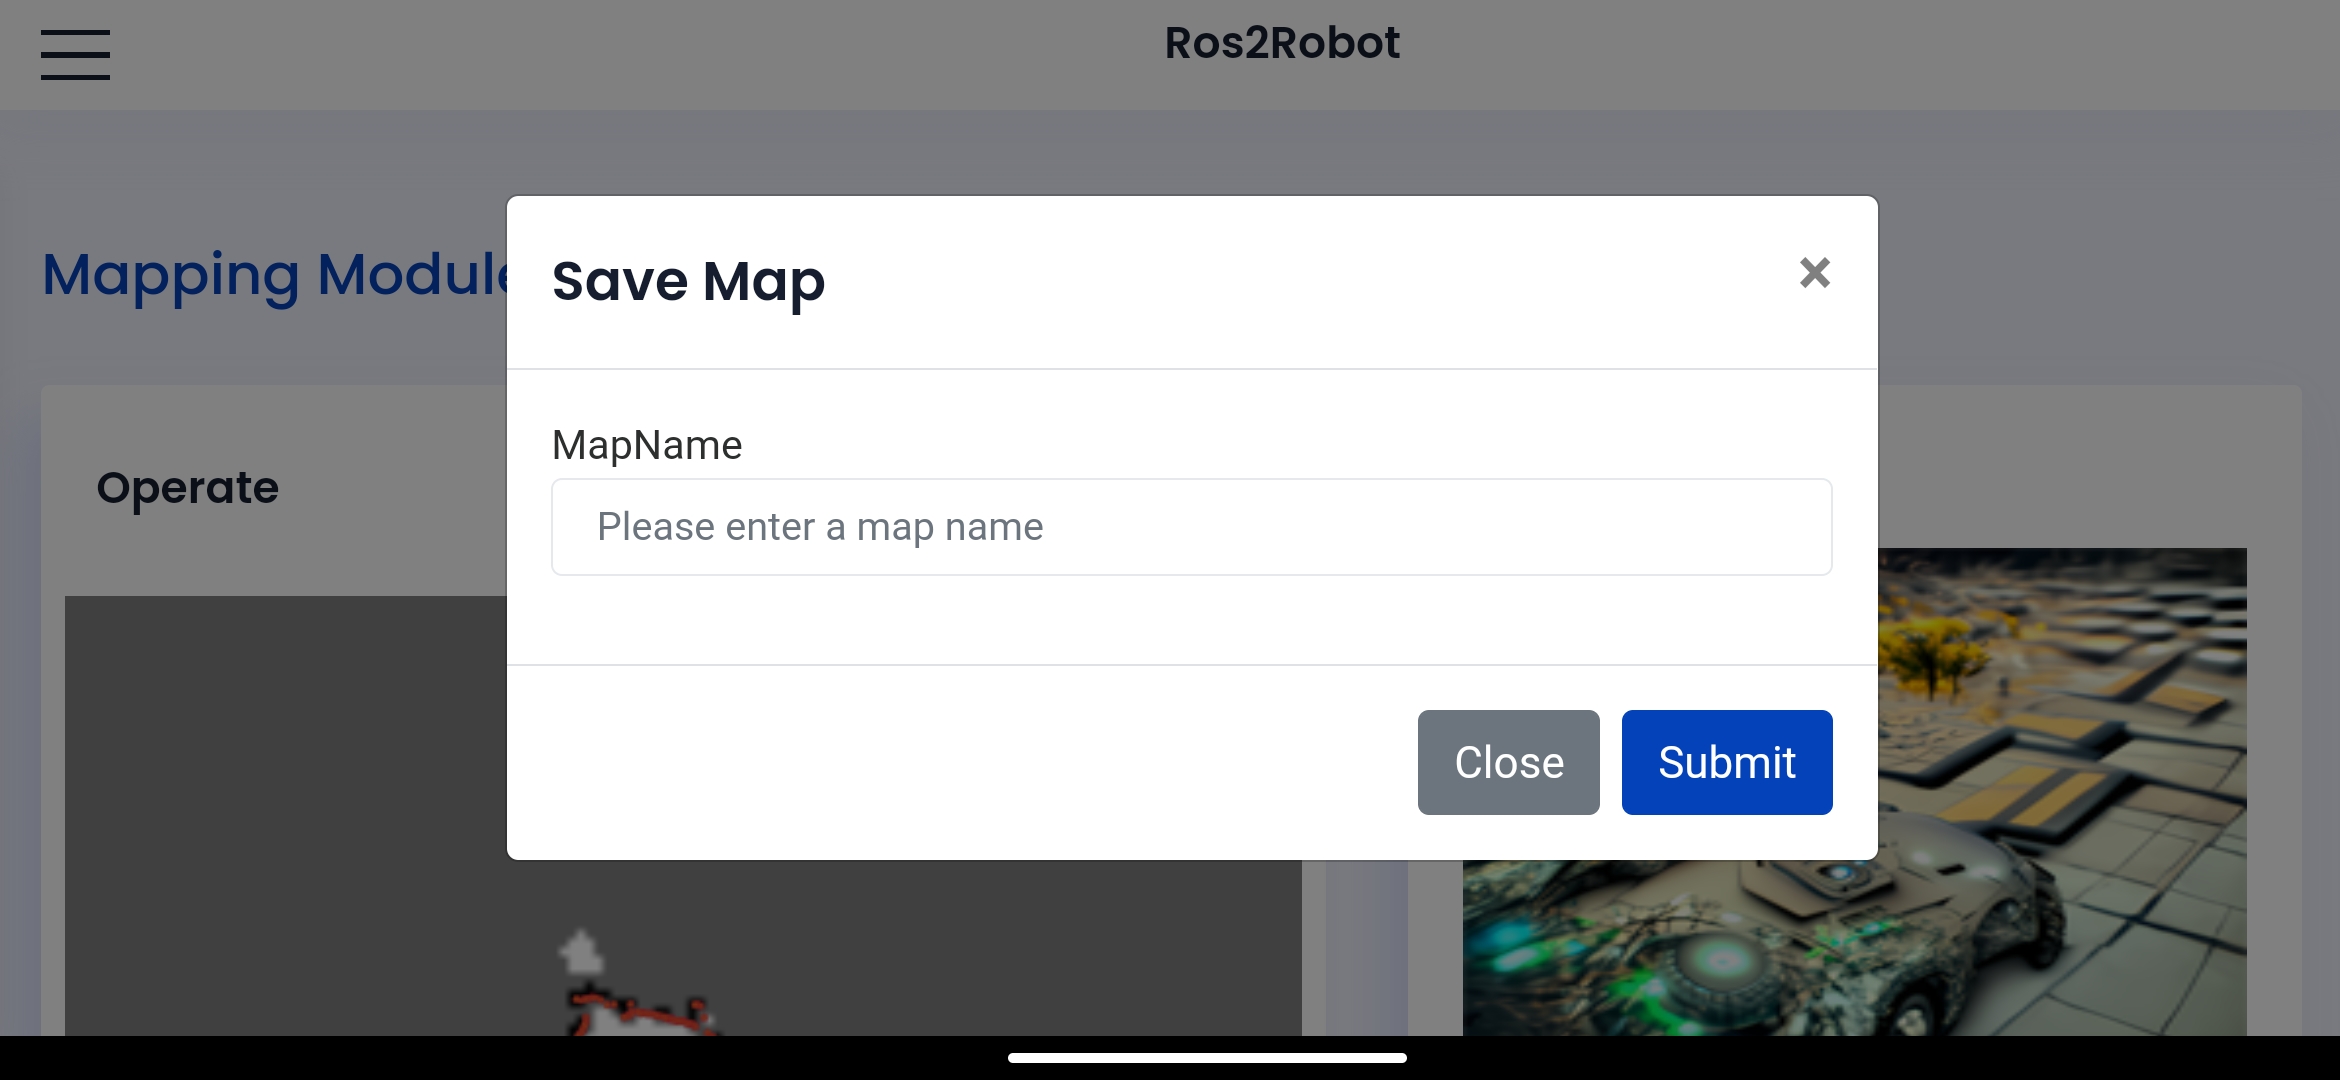
The directory for saving the map is as follows:
xxxxxxxxxx~/rplidar_ws/src/yahboom_nav/maps
2.APP Navigation
2.1 start up
Start the driver command (robot side). For the convenience of operation, this section takes [mono + laser + RosMaster] as an example. [laser + RosMaster] cannot set the camera screen.
xroslaunch yahboomcar_nav laser_usb_bringup.launch # mono + laser + yahboomcar
Start the navigation and obstacle avoidance function (robot side)
xxxxxxxxxxroslaunch yahboomcar_nav yahboomcar_navigation.launch use_rviz:=false map:=house
- use_rviz parameter: whether to open rviz.
- map: map name, load the map file named [house].
Start converting lidar data to point cloud nodes and nodes such as rosbridge.
xxxxxxxxxxroslaunch yahboomcar_nav laser_app.launch
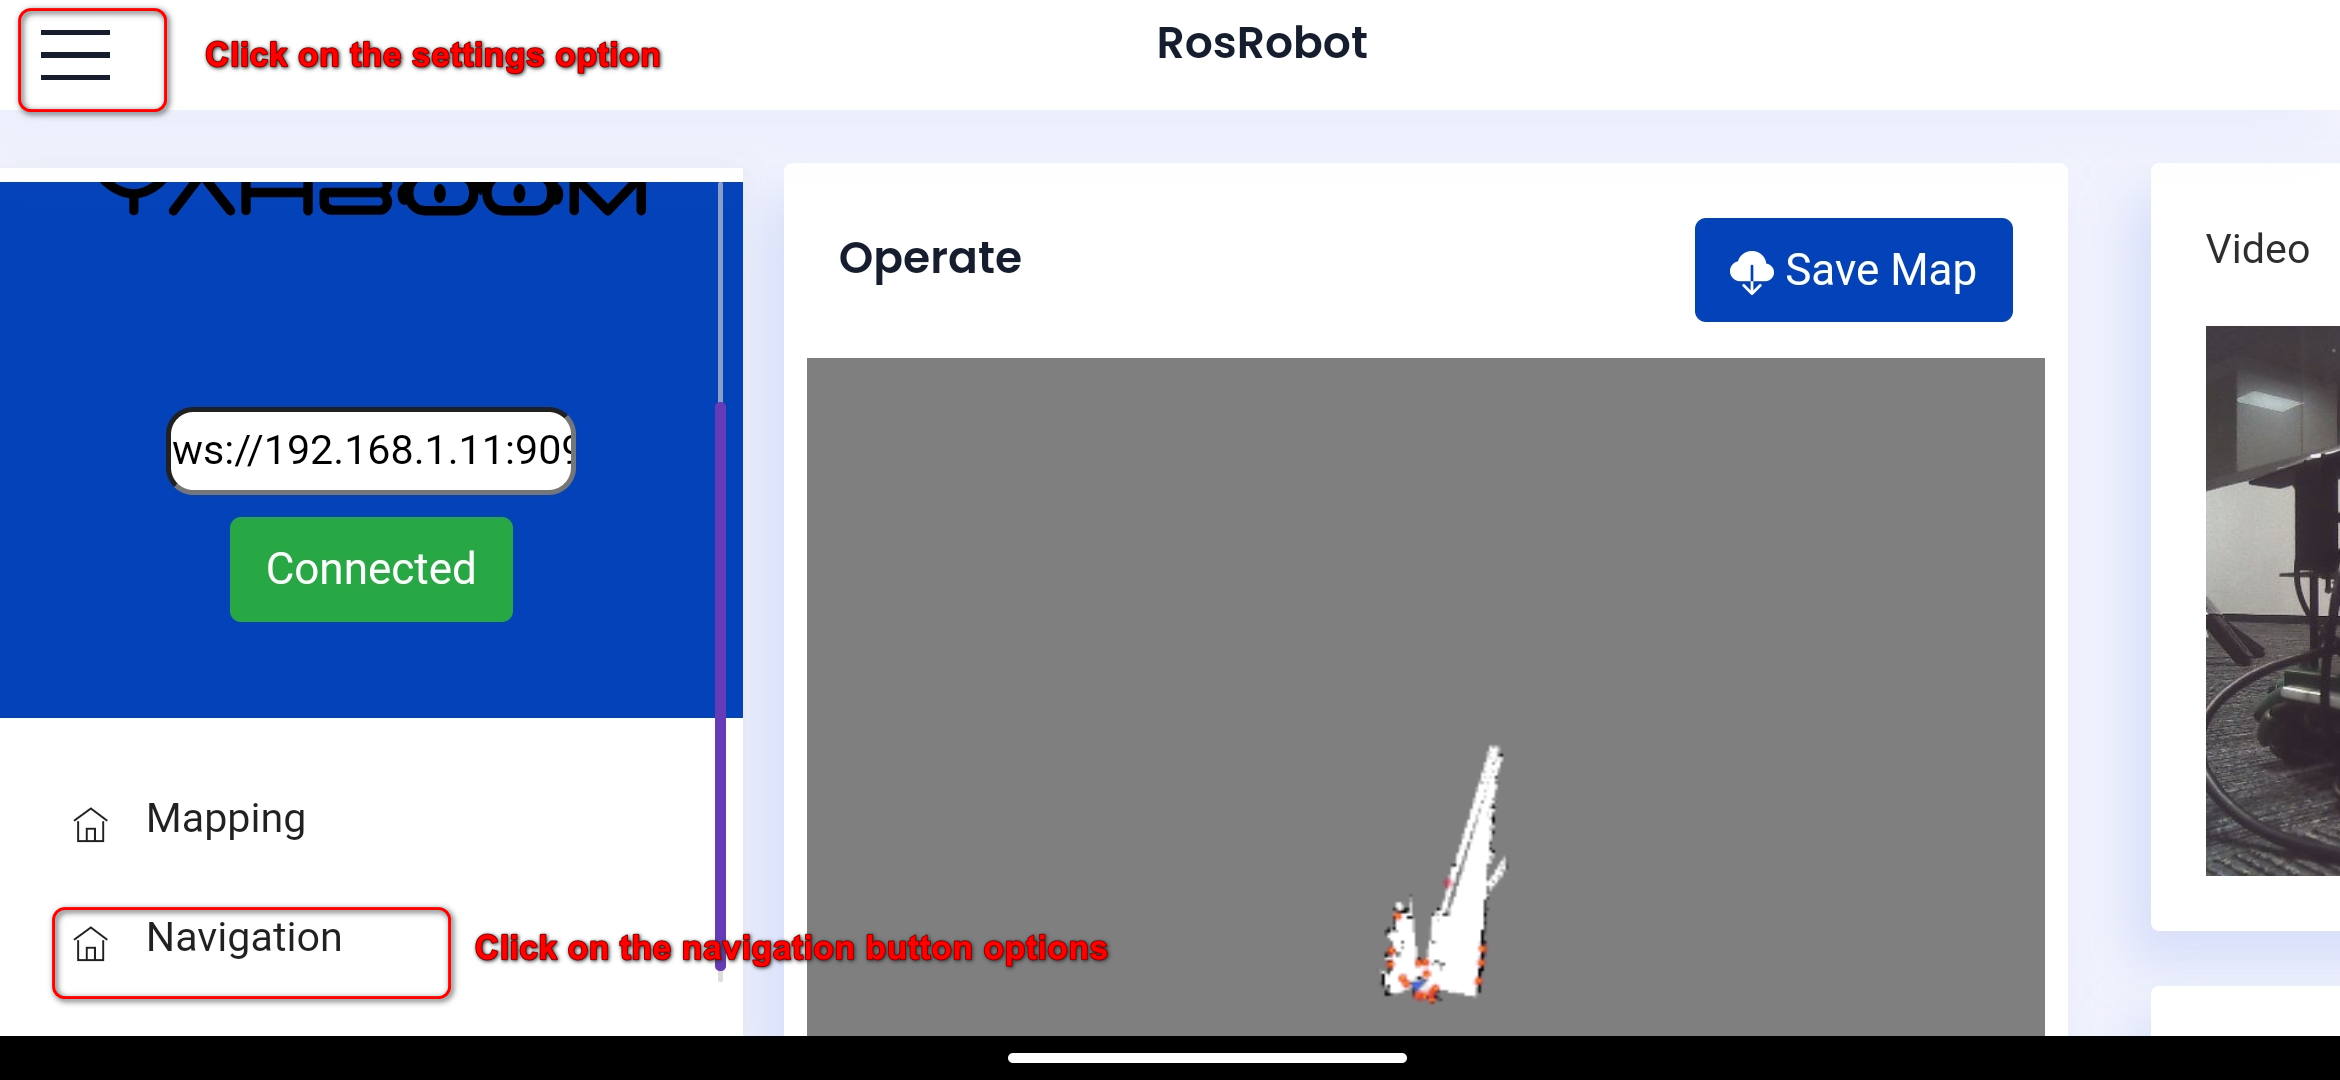
The login method is the same as above. After login, you will directly enter the map building interface. At this time, you need to click the Settings button to open the menu bar and drop down to select the navigation. Click the navigation button to enter the navigation interface.
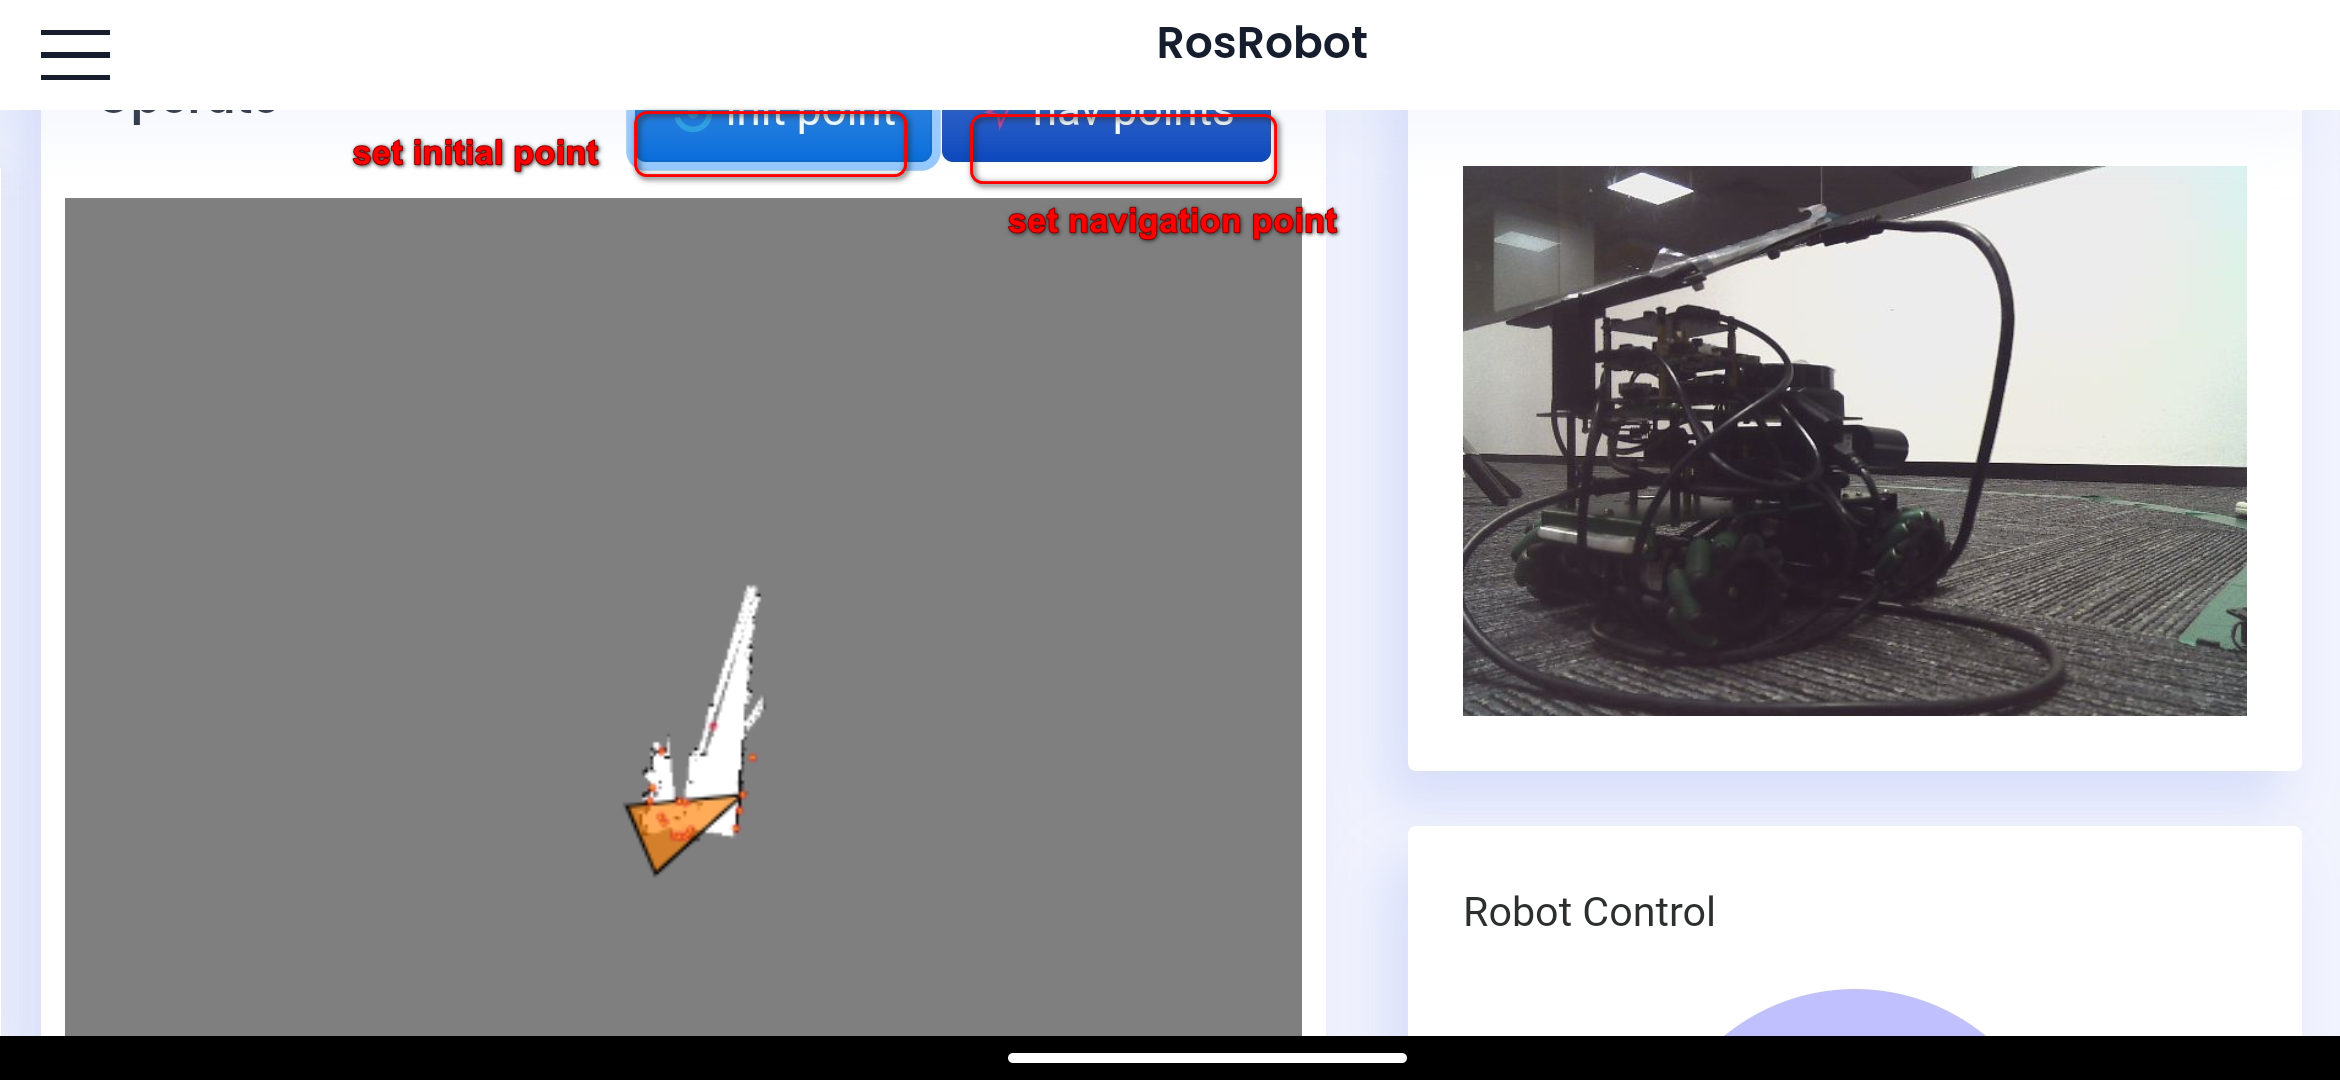
Click Set Initialization Point to enter the interface for setting initialization point.
Because the origin of the robot is not consistent with the current location of the robot when it is building the map, the scanned points do not coincide with the map. At this time, we need to set the initial pose of the robot. First, click the Set Initialization Point button, select the approximate position of the robot on the map, and keep sliding to the approximate pose of the robot without releasing it. Make the scanned points coincide with the map as much as possible.
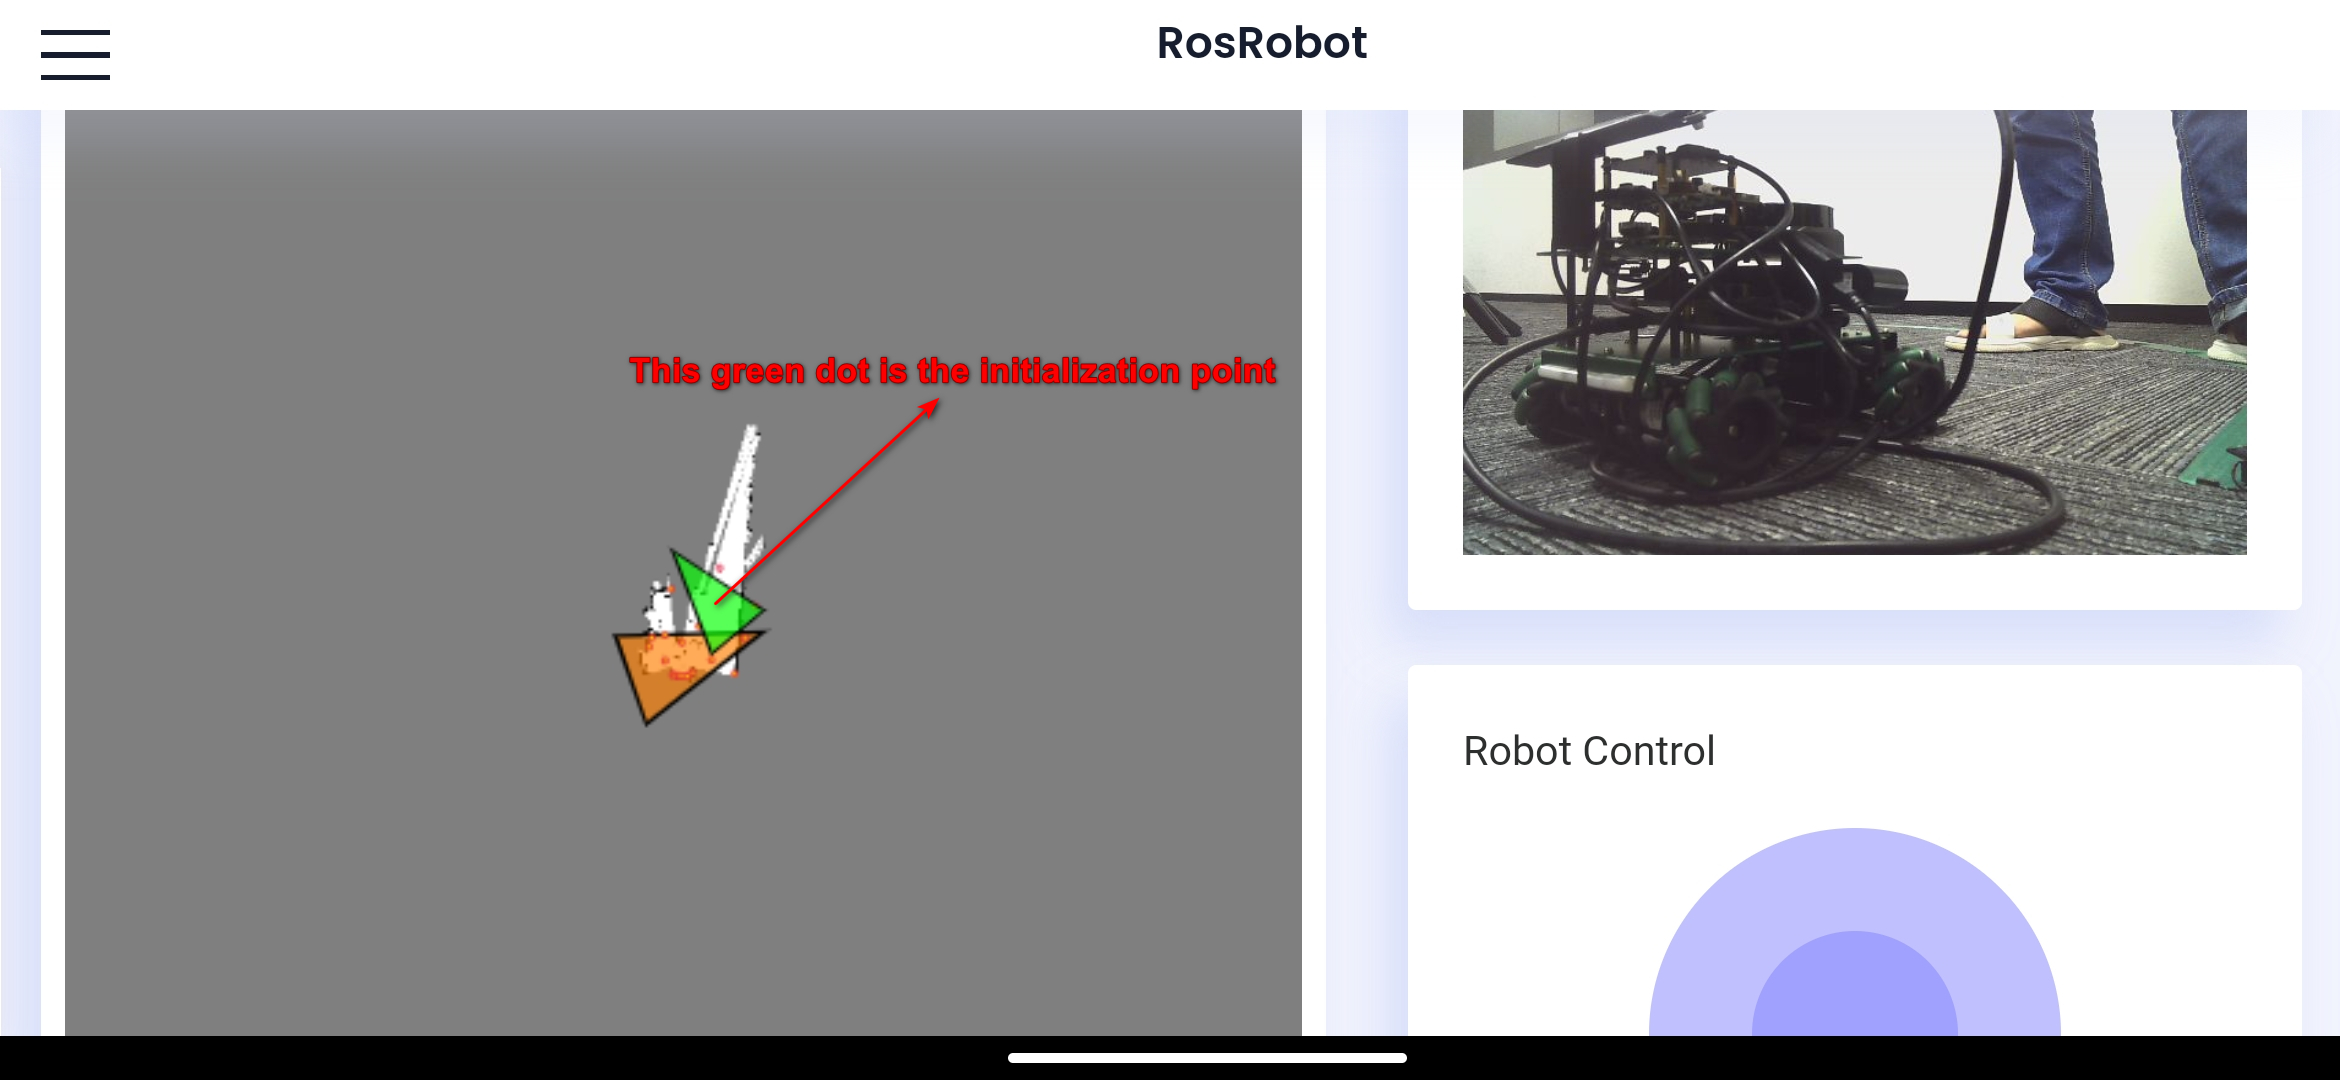
Click the Set Navigation Point button to enter the navigation interface.
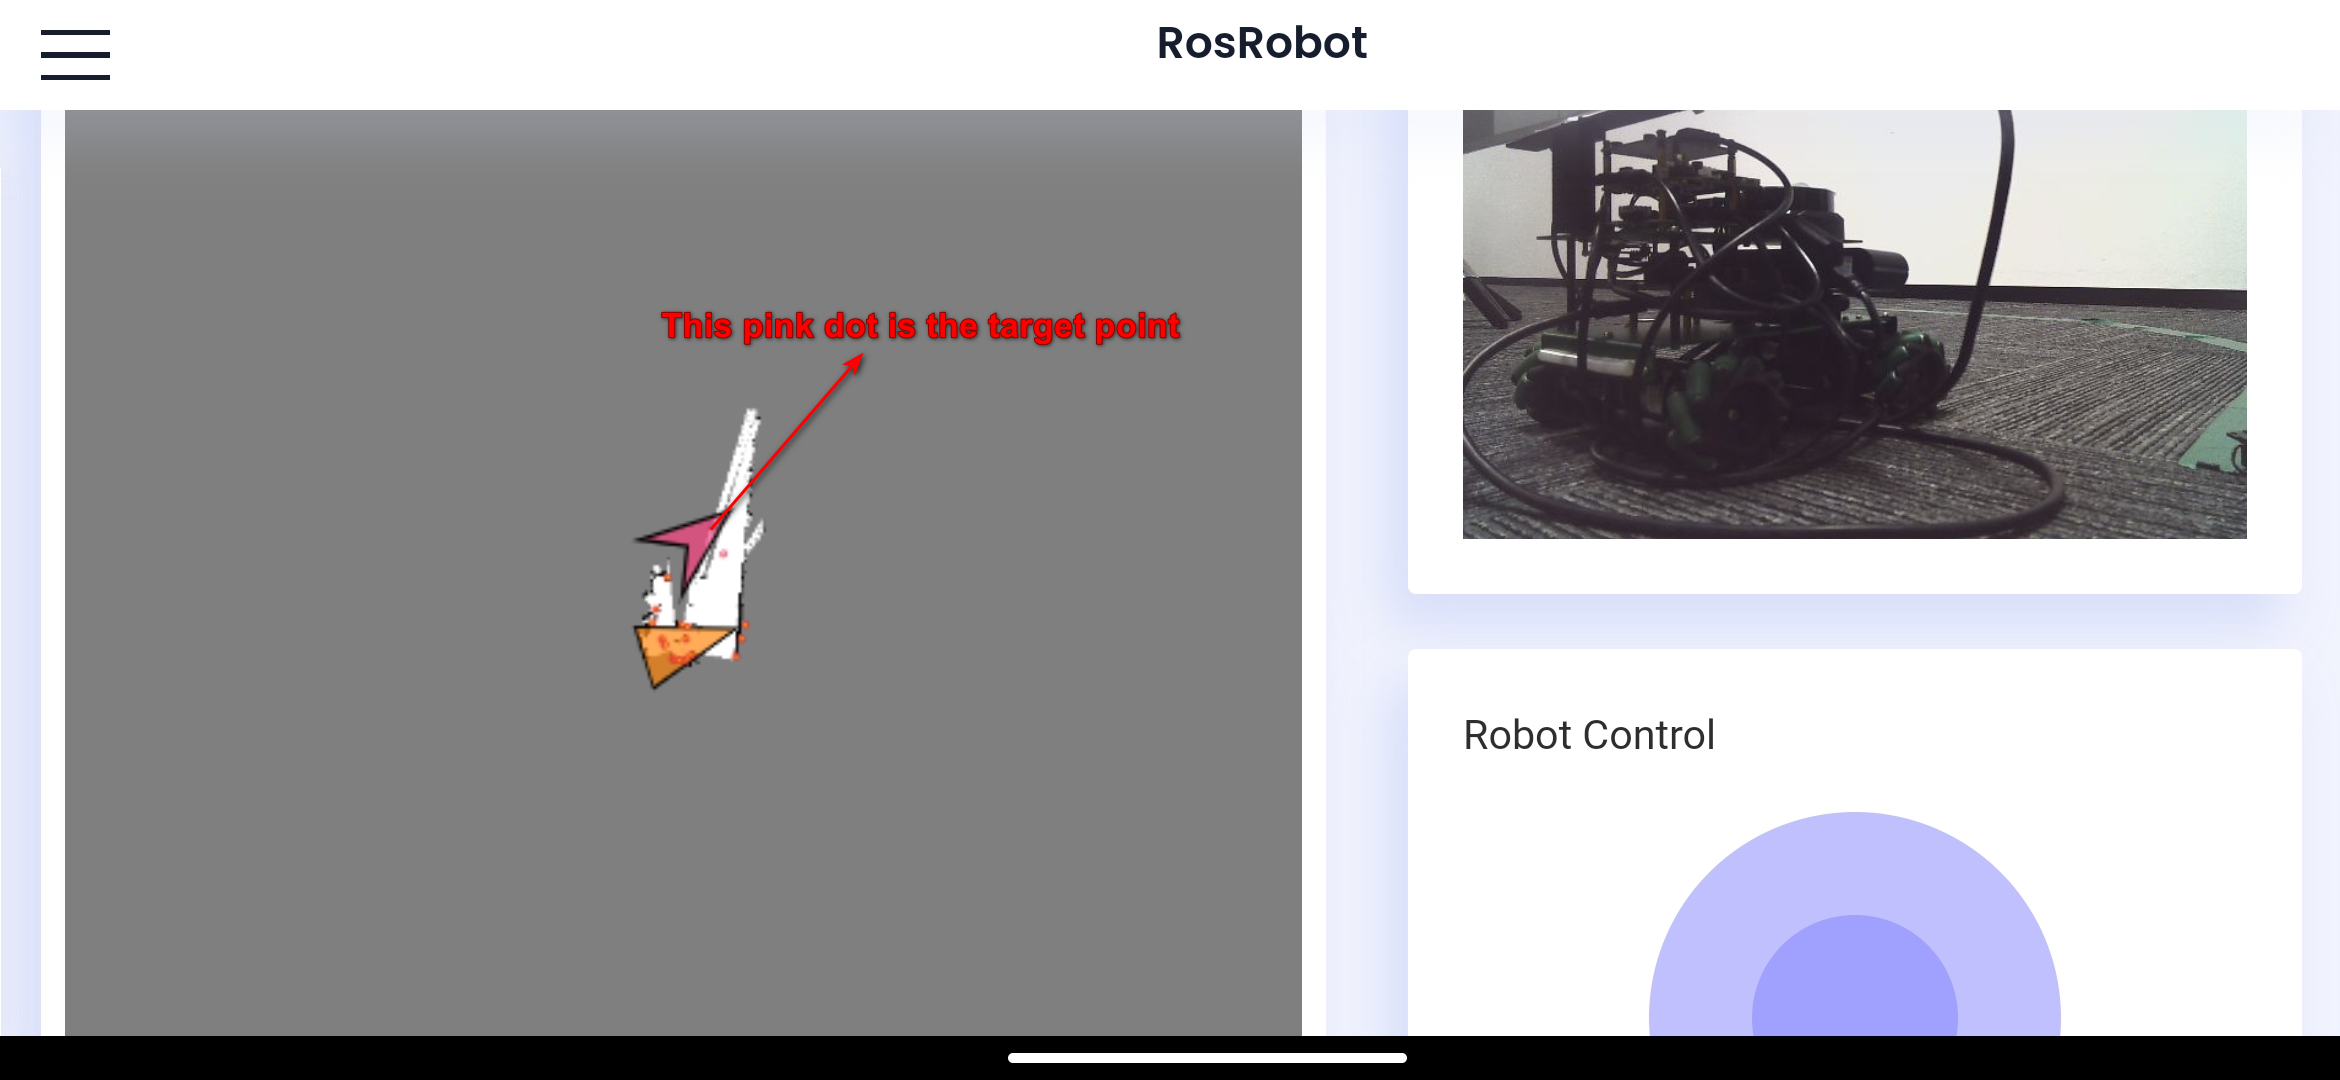
Select the target position of the robot on the map, do not release it, continue sliding towards the posture that the robot wants to maintain, and once released, the robot will move towards the target position.