Welcome to Tiny:bit Robot Car repository
当製品の日本語版マニュアル資料は、こちらからご取得ください。
7.5 WiFi camera control(Tinybit Plus)
First person visual gameplay
First person visual gameplay1. Experiment preparation2. Experimental installation3. Microbit building block import and simple instructions3.1 Open the programming website3.2 New project3.3 Add camera building blocks3.4 Add the building blocks of the car3.5 Introduction to the main building blocks4. Experimental results5. Expansion: STA mode connection
1. Experiment preparation
- tinybit car
- microbit
- wifi camera
2. Experimental installation
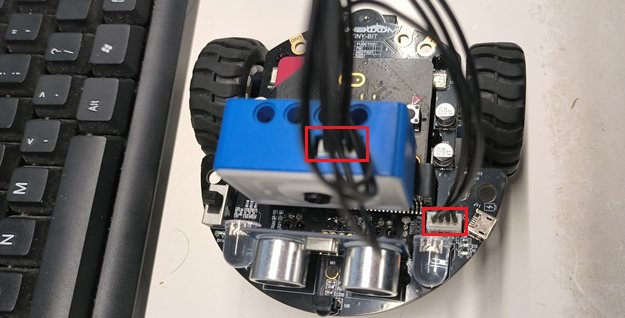
Connect the camera to the car as shown below
3. Microbit building block import and simple instructions
3.1 Open the programming website
https://makecode.microbit.org/#
3.2 New project


3.3 Add camera building blocks
The URL of the camera block:

3.4 Add the building blocks of the car
The URL of the car building blocks:
1.https://github.com/YahboomTechnology/Tiny-bitLib.git

3.5 Introduction to the main building blocks
After the above building blocks are successfully introduced, the results as shown below will be displayed.

- Serial port initialization building block This is used to define the pins for serial port communication and communication with wifi camera. The default baud rate is 115200 and cannot be changed.

- Set the size of the serial port receiving buffer This building block is used to define the size of a packet of data that can be transmitted transparently, such as
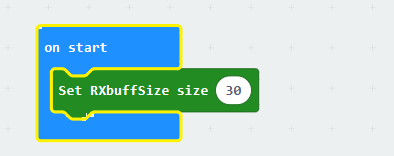 This defines the maximum size of a packet to be 30 characters. If it is exceeded, the data reception will be incomplete. This value cannot be less than 25, otherwise the IP information will also be incomplete
 - Building block for obtaining transparent transmission data This building block is mainly used to obtain the information sent by the host computer to the microbit, and transmit it as an intermediate information through the wifi camera
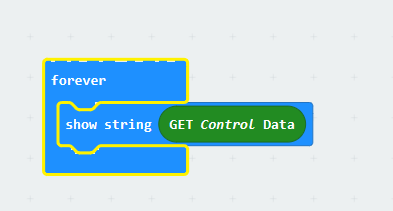
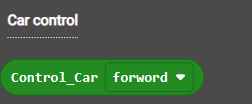
- Building block controlled by the car This building block is mainly used to receive the instructions sent by the app and transmit them to the car.
- You can know the function of other building blocks by looking at their names. How to use them can be found in the source code provided in this tutorial, which will not be explained in this tutorial. Open the source code method provided by the tutorial
Open the URL https://makecode.microbit.org/# in the browser
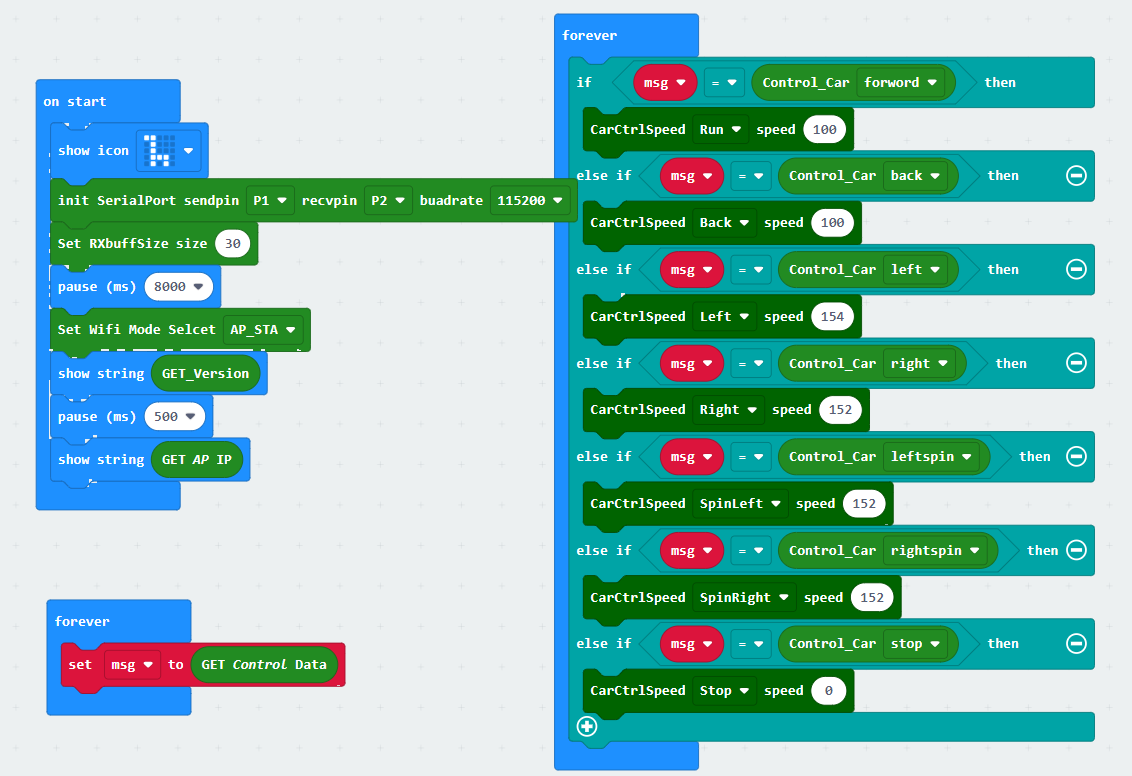
Then drag the microbit-wifi_tinybit_AP.hex file provided in this experiment into the browser that opens the URL, and the program diagram of the source code of this project will automatically open.
4. Experimental results
After powering on, wait until the microbit screen no longer displays anything before you can control and connect the app. The initial display is an icon. After successful startup, its firmware version number will be displayed, and finally the hotspot will be displayed. The default IP address of AP mode is "ap_ip:192.168.4.1". (This tutorial recommends using the simple spontaneous hotspot AP mode to connect. To connect to WIFI using STA mode, you can see the expansion of STA mode connection below)
Download APP: For Android, please use the browser to scan the QR code below to download and install YahboomCam. For Apple, please use the camera to scan the QR code to enter the App Store to download and install. Or search for "YahboomCam" or "YahboomCam" in the App Store to find "YahboomCam" .

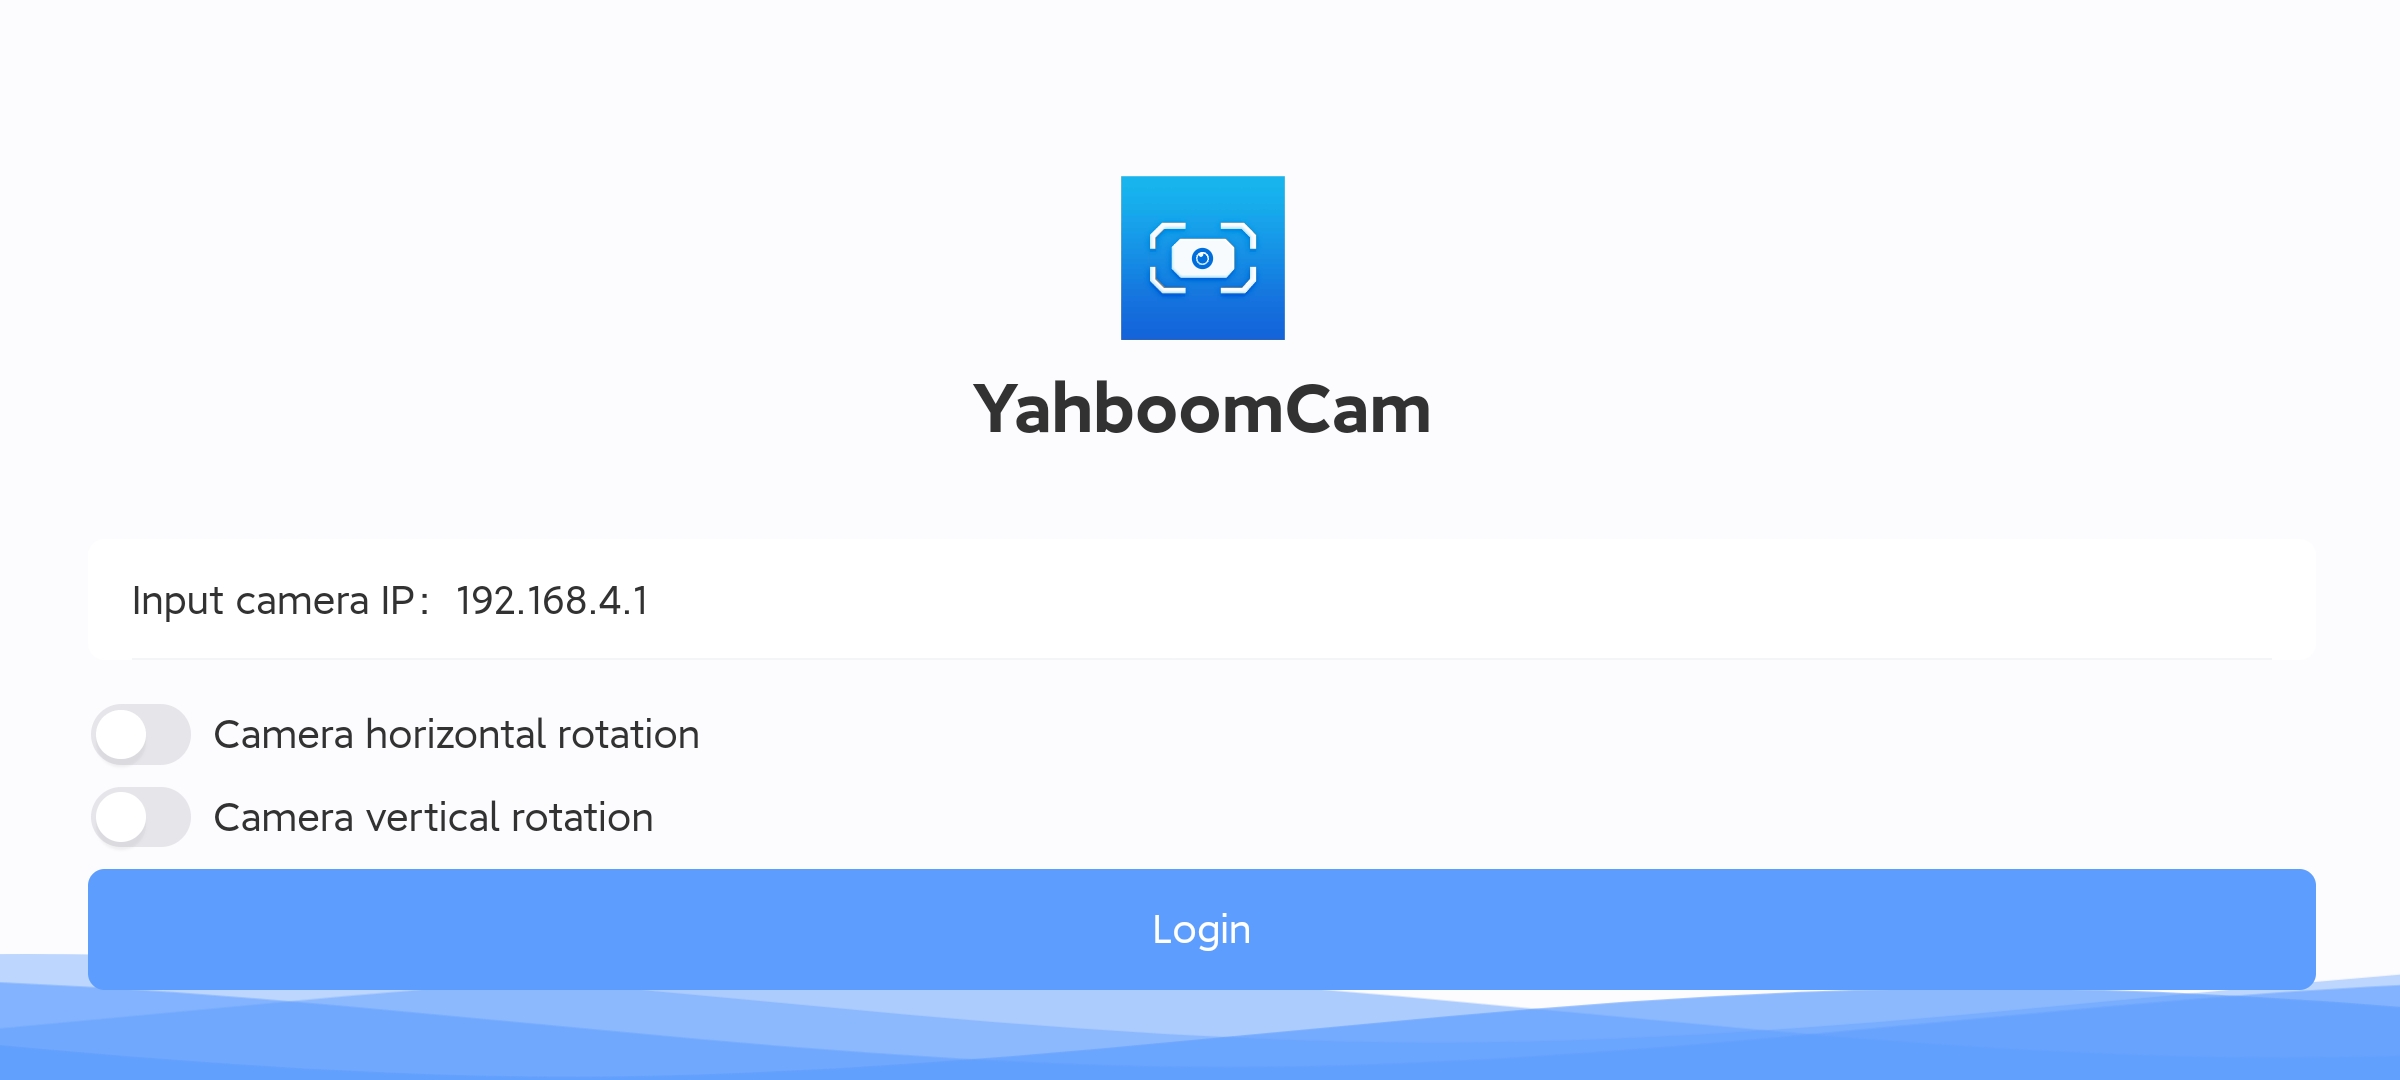
Use your mobile phone to connect to the hotspot (the default hotspot name is Yahboom_ESP32_WIFI, there is no password). Open YahboomCam, enter the camera IP and fill in the default IP address 192.168.4.1 displayed by the microbit, and then click Login.
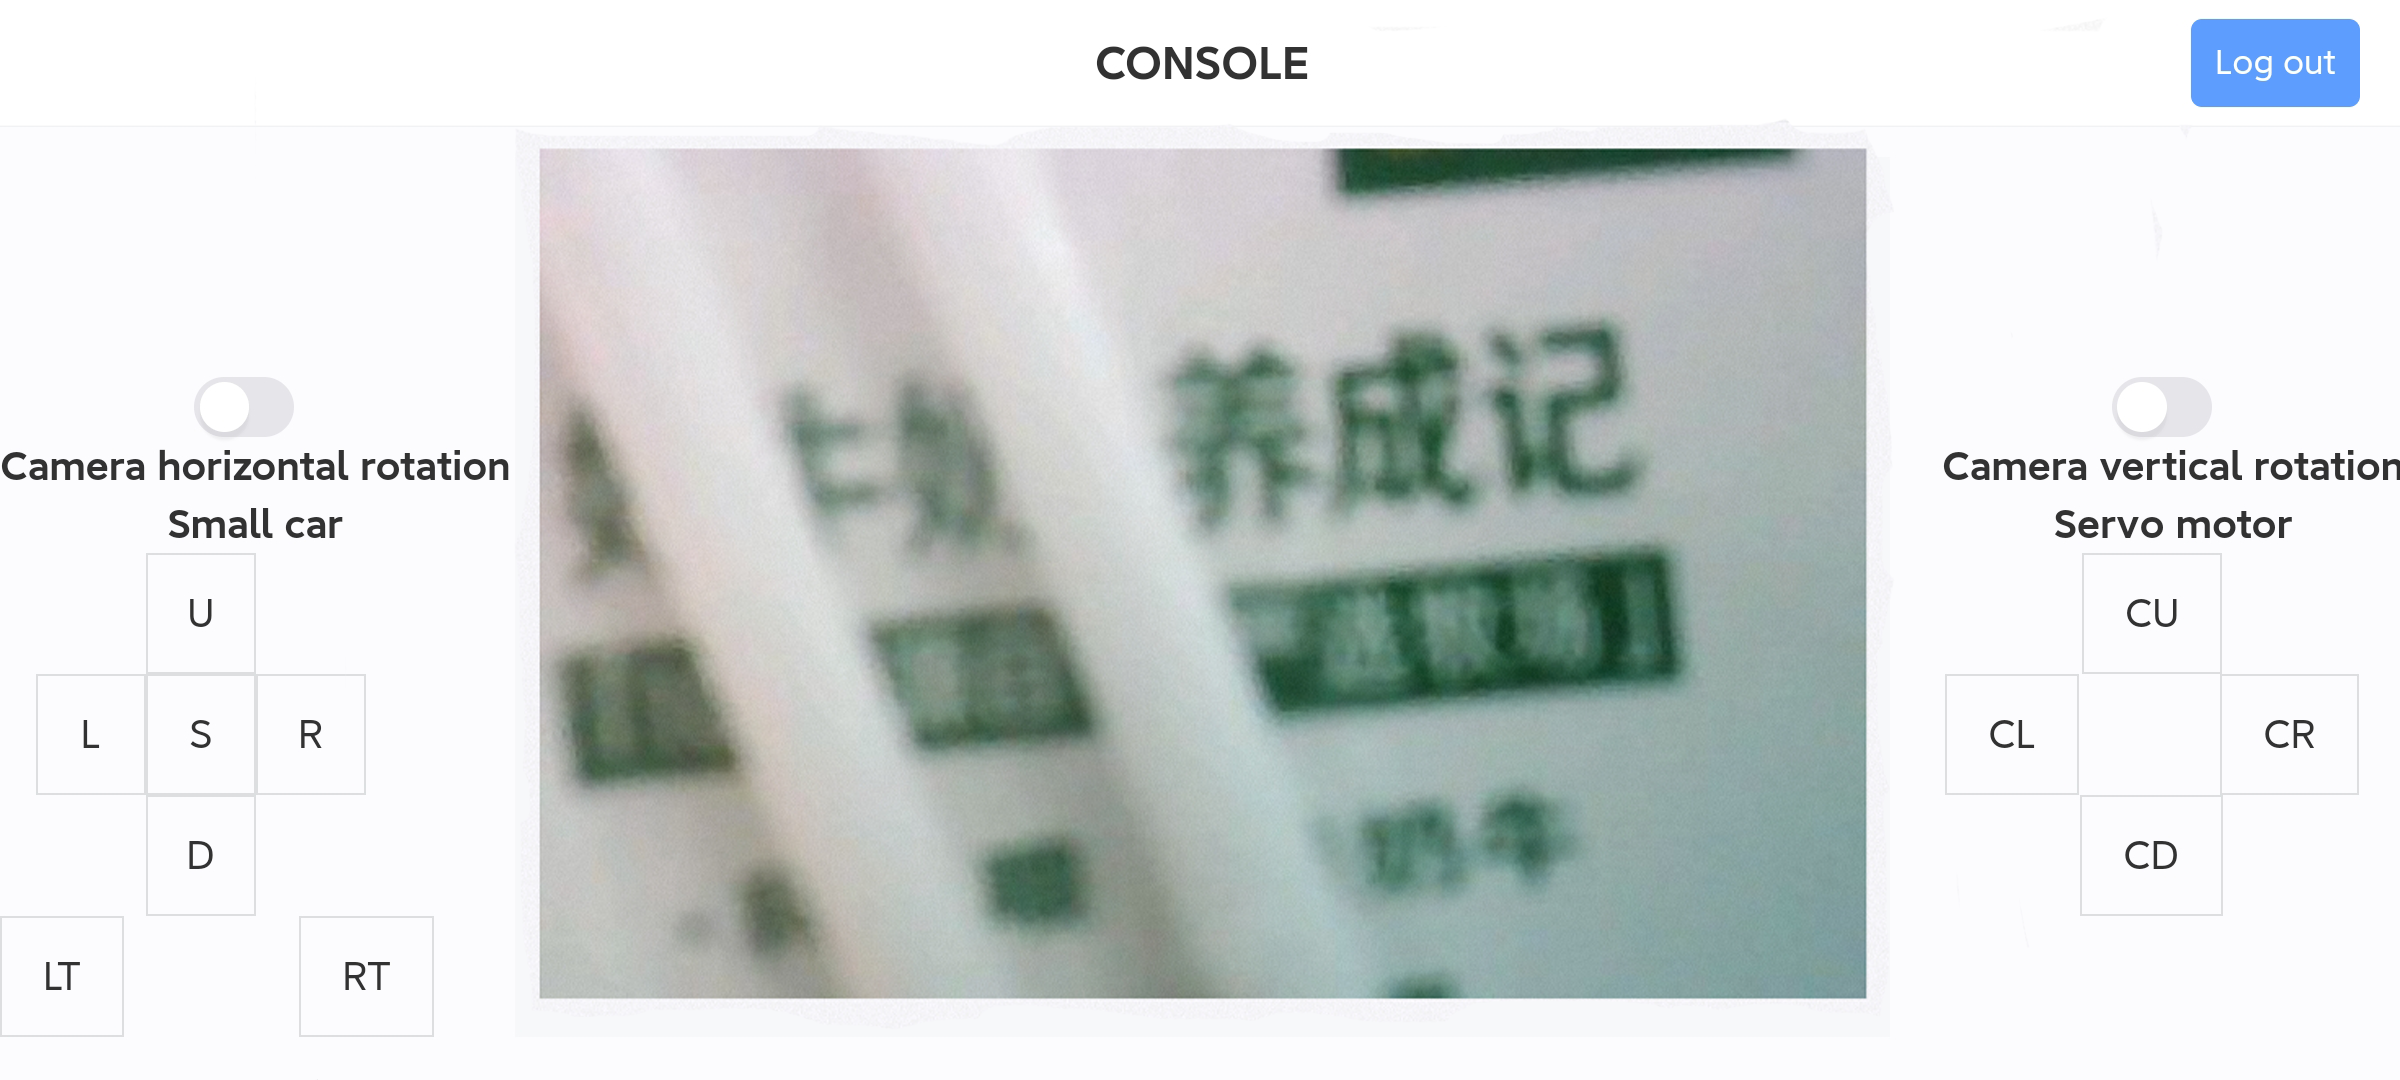
The page after logging in is as follows. By clicking the control button on the interface, you can remotely control the car, move forward, backward, turn left, turn right, etc. (the car cannot be controlled by the steering gear), and the real-time picture of the camera is also displayed. In the app page, you can control the camera through the camera horizontal and vertical control switches.
5. Expansion: STA mode connection
Open the URL https://makecode.microbit.org/# in the browser
Then drag the microbit-wifi_tinybit_STA.hex file provided in this experiment into the browser that opens the URL, and the program diagram of the source code of this project will automatically open.
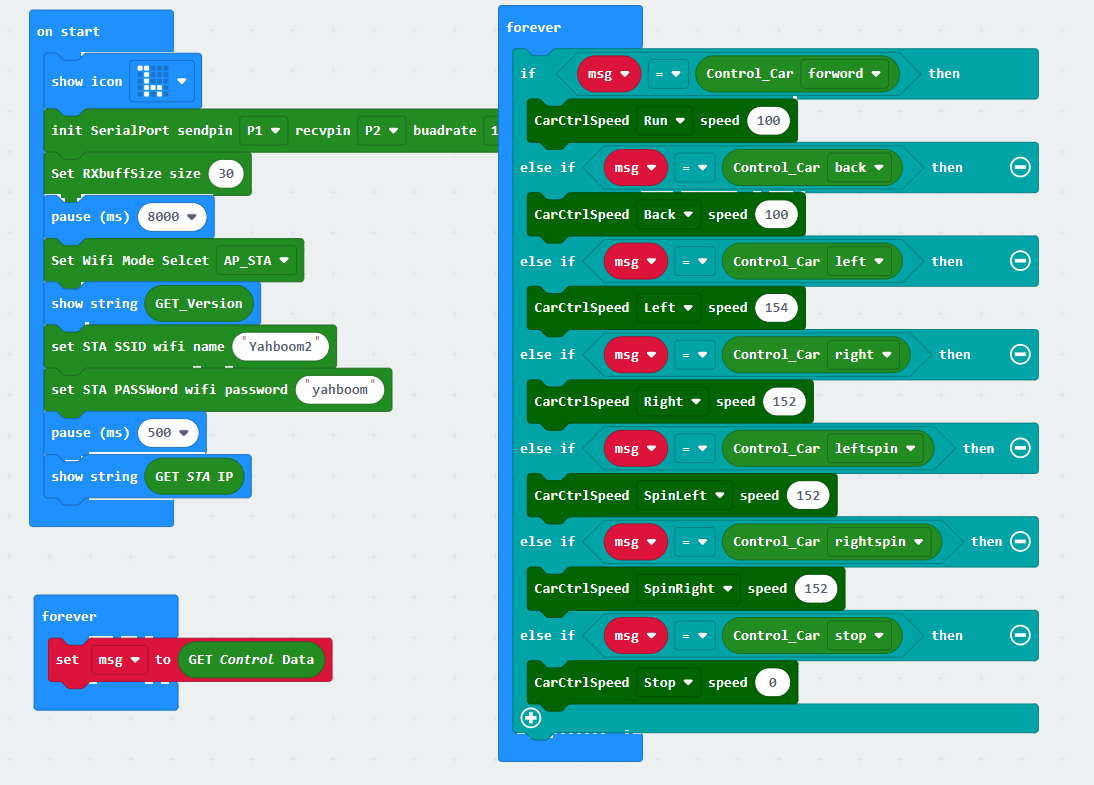
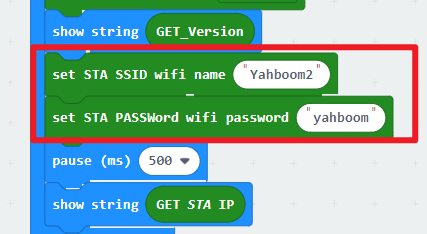
Set the name and password of the WiFi you want to connect to. The name and password of the WiFi must be filled in correctly according to the WiFi you want to connect to. Otherwise, there will be no way to correctly connect to the WiFi and display the IP address. If the connection is successful, the IP address of sta_ip: 192.168.x.x will be displayed. If the connection is unsuccessful, sta_ip: null will be displayed. You need to check whether the WiFi name and address filled in the program are correct.
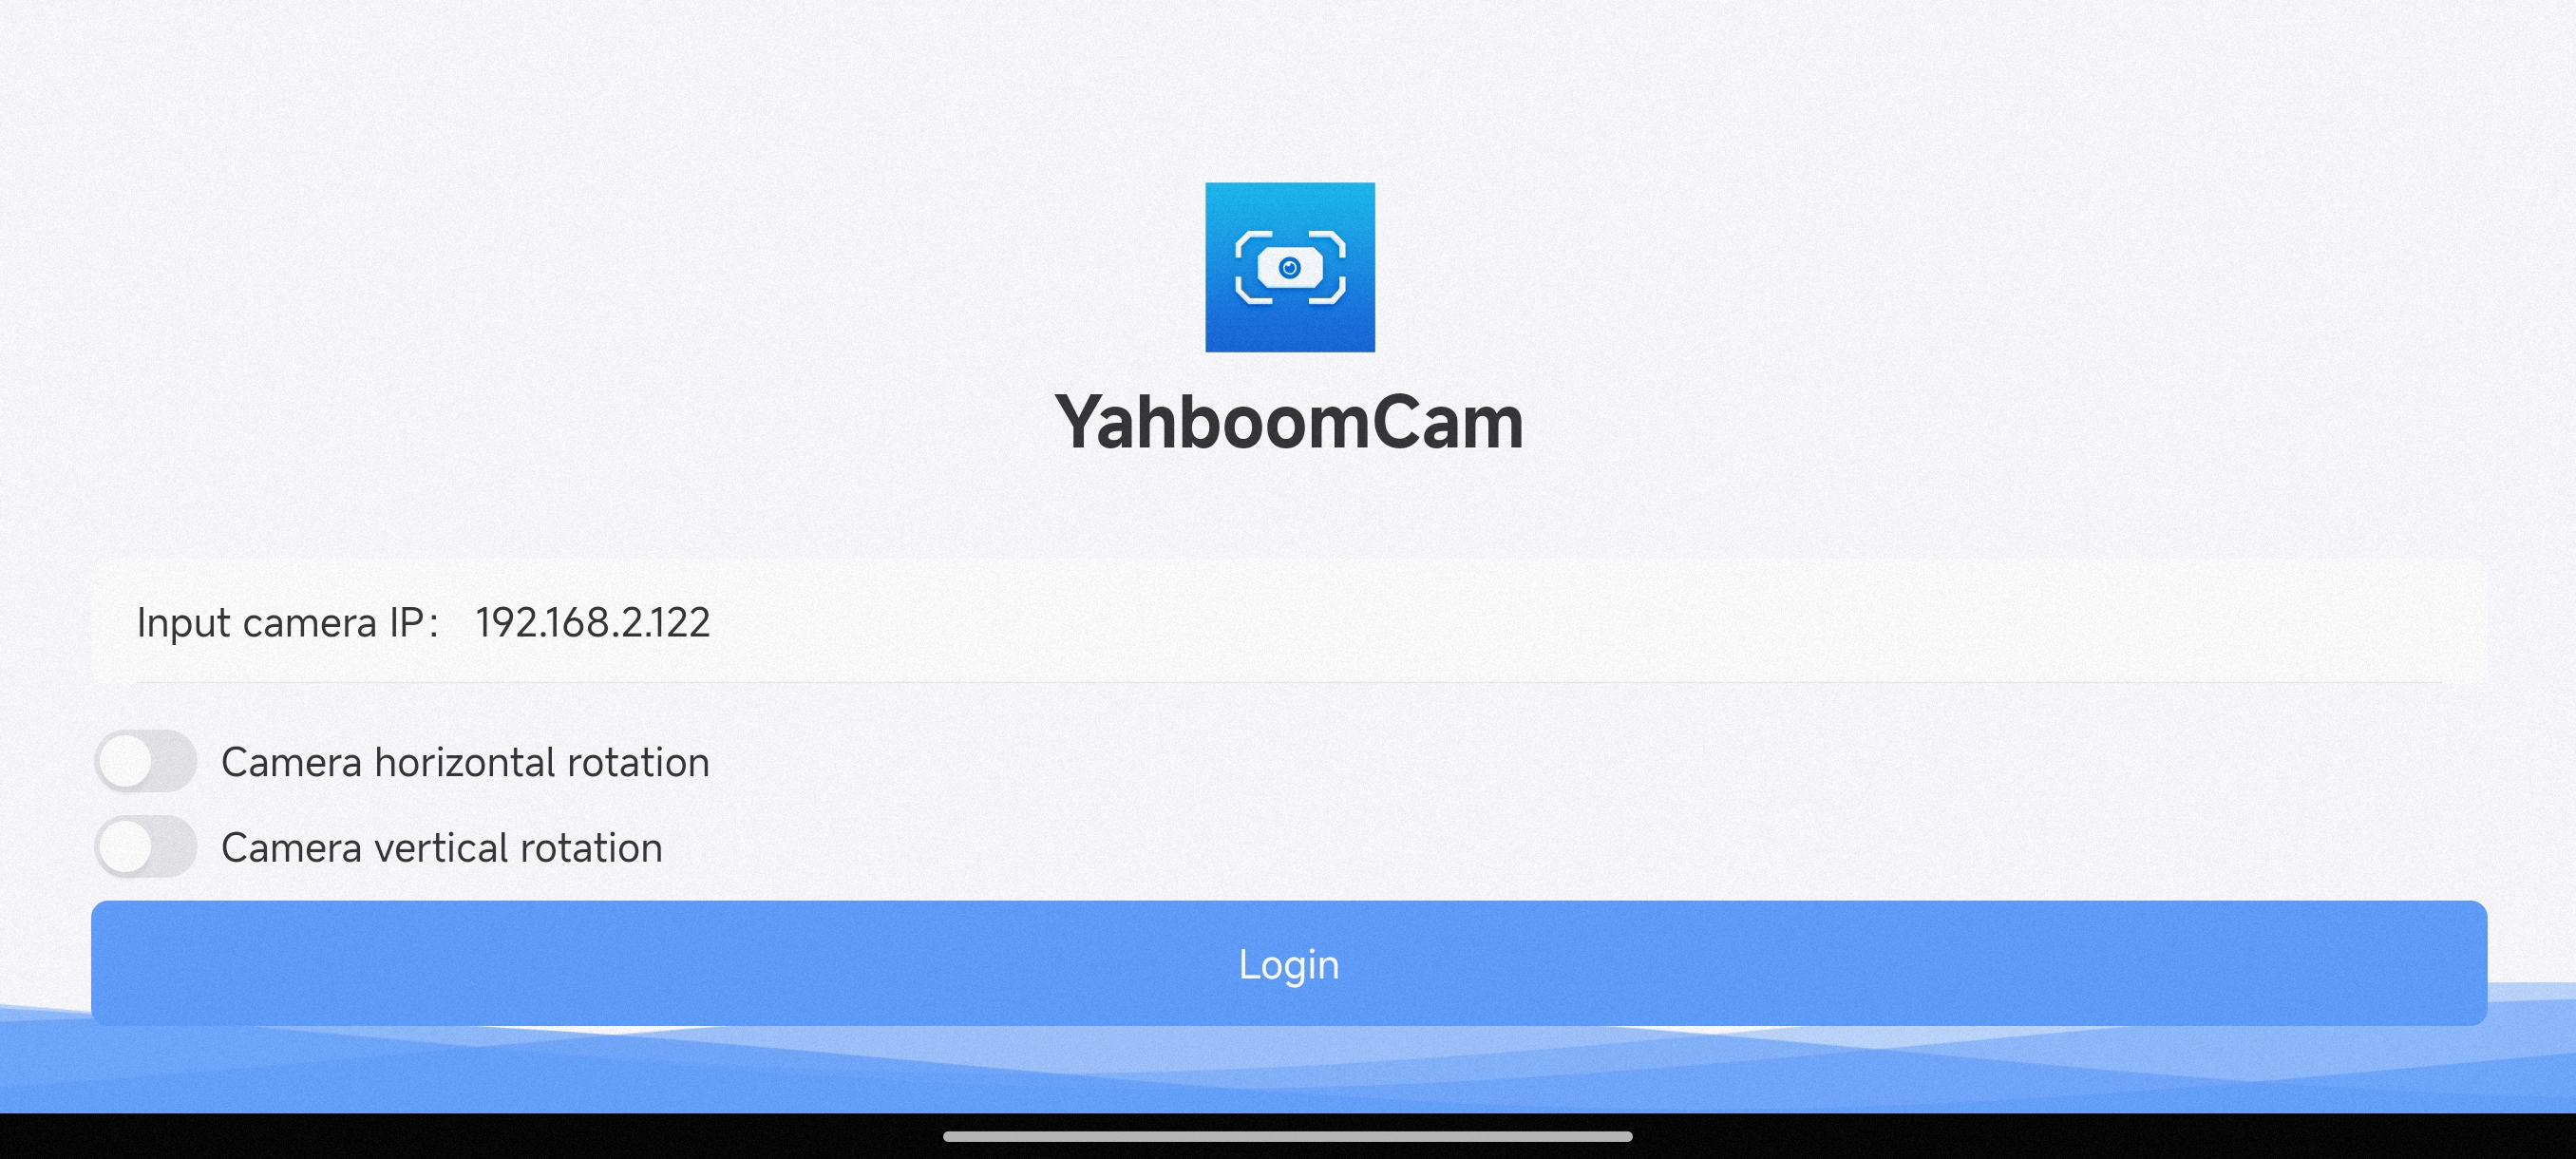
Connect your phone to the WIFI set above and make sure the phone and robot are connected to the same WiFi. Open YahboomCam, enter the camera IP and fill in the sta_ip address displayed by the microbit (pay attention to the content displayed by the microbit. After you see 1, 9, and 2 passing by continuously, the IP address is being displayed), and then click to log in. (The IP in the picture is only an example, the specific IP is subject to the microbit display)
After logging in, you can see the following page. By clicking the control button on the interface, you can remotely control the car, forward, backward, turn left, turn right, etc. (the car cannot be controlled by the steering gear), and the real-time picture of the camera It is also displayed on the app page, and the camera can be controlled through the camera's horizontal and vertical control switches.