Welcome to Tiny:bit Robot Car repository
当製品の日本語版マニュアル資料は、こちらからご取得ください。
3.1 LED light
1.Preparation
1-1.The position of the LED lights in the robot car
1-2.Learn about the principle of LED
Programming method:
Mode 1 online programming: First, we need to connect the micro:bit to the computer by USB cable. The computer will pop up a USB flash drive and click on the URL in the USB flash drive: http://microbit.org/ to enter the programming interface. Add the Yahboom package: https://github.com/YahboomTechnology/Tiny-bitLib to program.
Mode 2 offline programming: We need to open the offline programming software. After the installation is complete, enter the programming interface, click【New Project】, add Yahboom package: https://github.com/YahboomTechnology/Tiny-bitLib, you can program.In the picture shown below, the two white squares circled by the red wire frame are the colorful lights on the Tiny-bit.
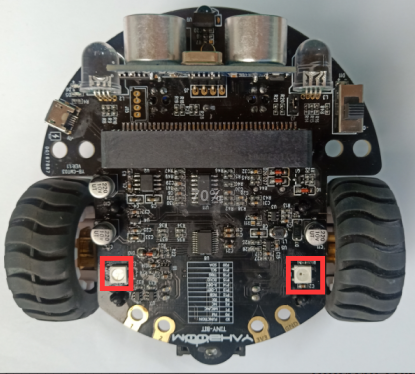
Principle: LED light (red, green, blue) are packaged in the LED module. We can mix different colors(256*256*256) by controlling the brightness of the three LEDs.
2.Learning goal
2-1.Learn how to use RGB lights graphically program building blocks
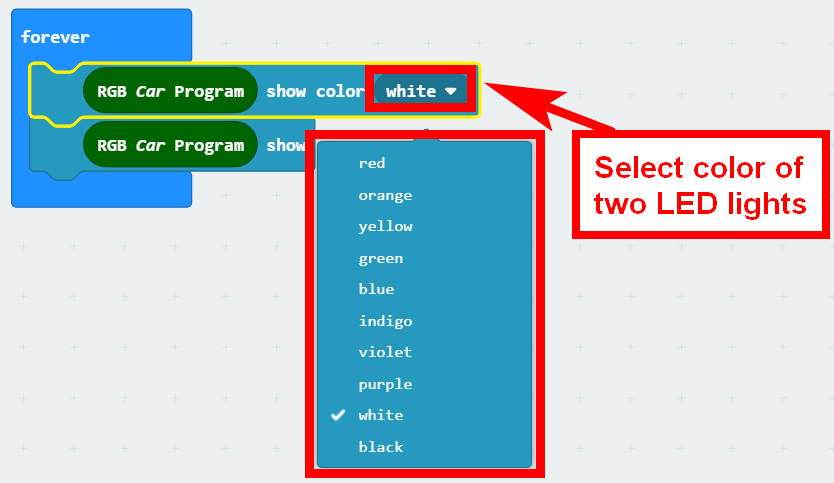
2-2.We will make two LED lights of Tiny-bit light up white by programming.
3.Search for block
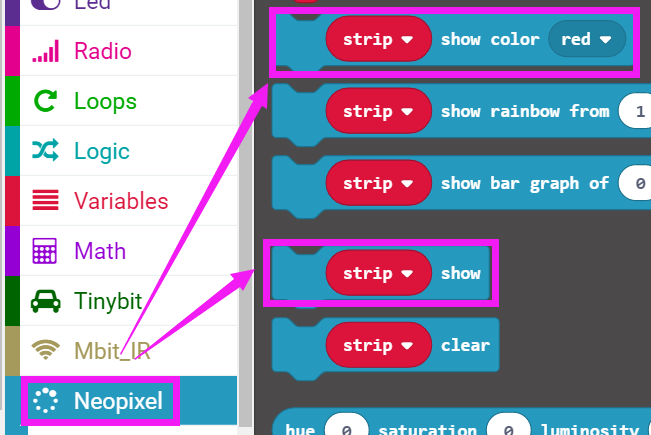
The following is the location of the building blocks required for this programming.
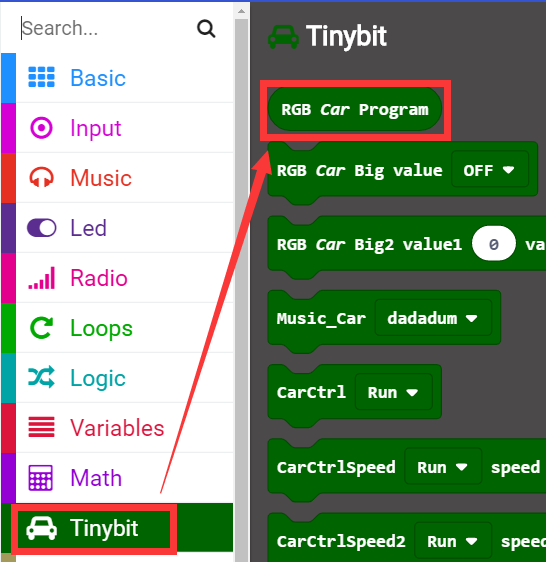
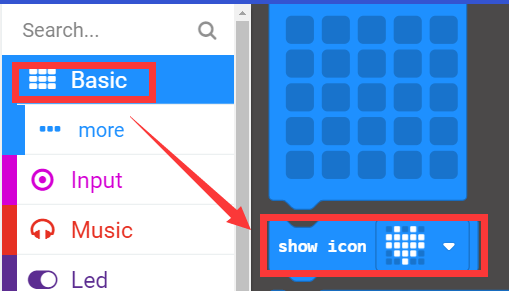
4.Combine block
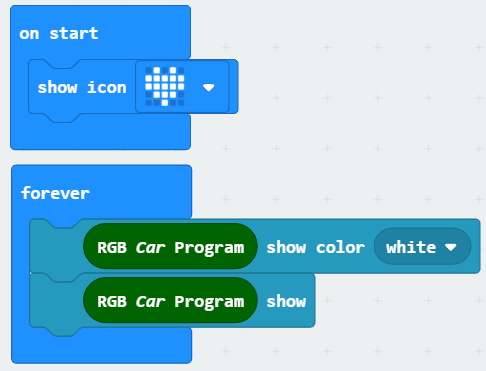
The summary program is shown below:
5.Experimental phenomena
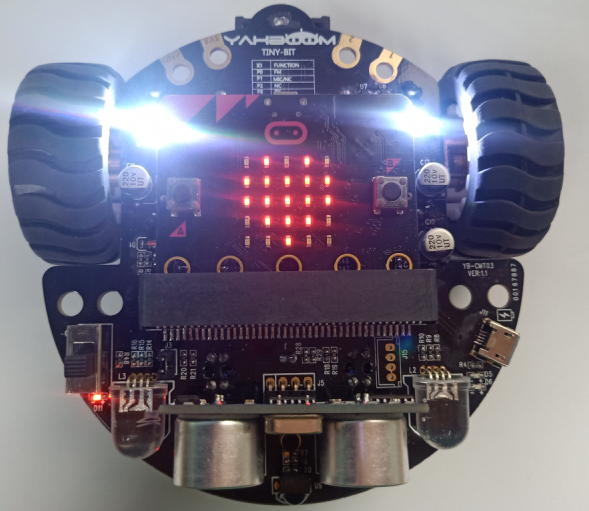
After the program is downloaded, we can see that a micro:bit board will display a heart pattern on the dot matrix. Two LED lights will be lit white, as shown below.