Welcome to Pico Robot Car repository
2.2 Build environment
2.2 Build the development environment
1. Windows software environment configuration
In order to facilitate the development of Pico boards using MicroPython on the computer, it is recommended to download Thonny IDE, you can go to the official website to refer to the official website to install the method explained https://thonny.org/, here we go directly to the Pico Robot supporting materials -> Appendix -> thonny-window installation package Obtain the installation package file thonny-3.3.3.exe and double-click to install it. The following are the installation steps.
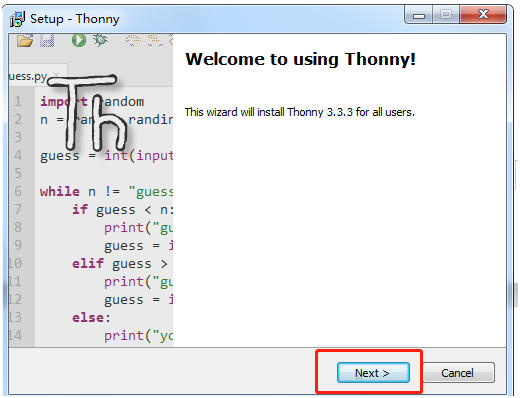
1. Open the installation package and click Next.
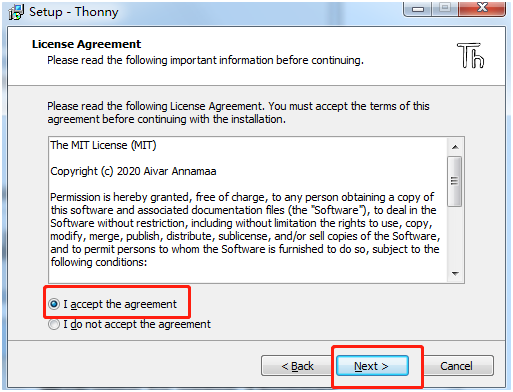
2. Agree to the agreement and click Next.
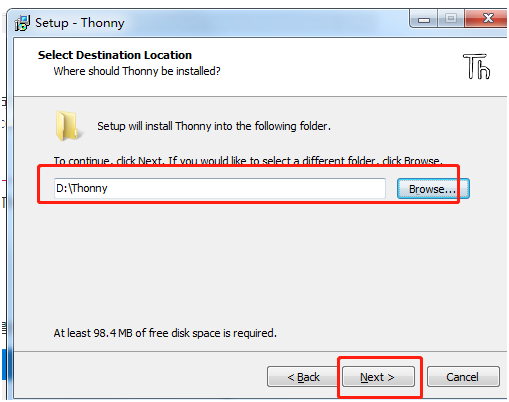
3. Here, choose the path you want to install.
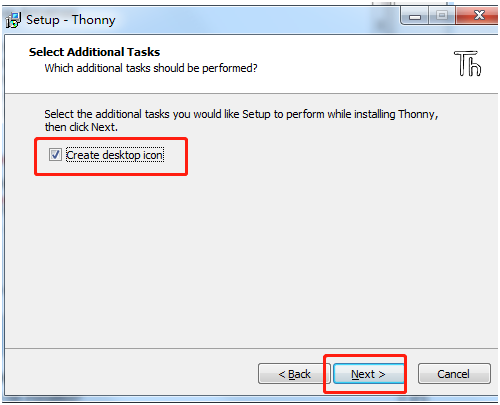
4. The tick here is to install desktop icons, and you can leave it unchecked.
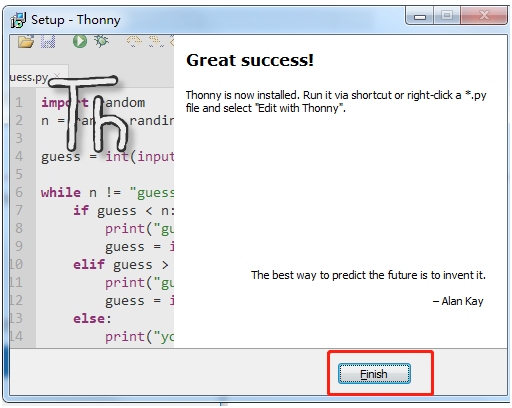
5. When the installation is complete, click Finish.
6. Open the software and select the language you want.

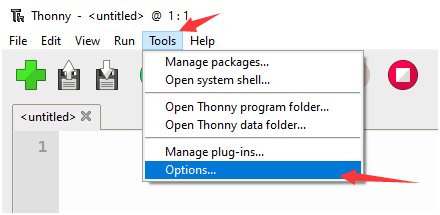
7. Connect Pico to the computer (do not press the button), select Tools -> Options... -> Interpreter.
Note, if you have not flashed MicroPython before, please flash the firmware according to chapter 2.1
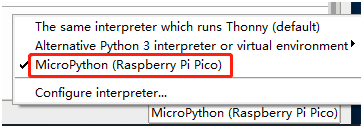
8. Click to select MicroPython (Raspberry Pi Pico) in the lower right corner.
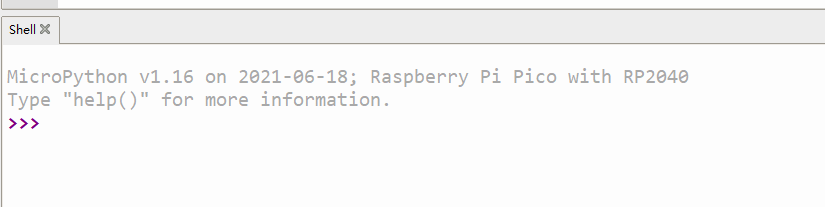
9. After confirmation, you can see that the information of Pico will be displayed on the command line interface. Now you can enter the MicroPython program here to control pico.
2. Raspberry Pi software environment configuration
If you want to control Pico on the Raspberry Pi, please refer to this configuration step. The current Raspberry Pi system comes with Thonny IDE, but if Thonny is not updated to the latest version, there is no Pico support package. If this is the case, you need to update Thonny to the latest v3.3.3 version.
Open a terminal and enter the following command to update thonny.
sudo apt upgrade thonnyAfter the update, you can use the following steps.
1. Then open Thonny IDE (click the Raspberry logo -> Programming -> Thonny Python IDE).
2. Select Tools -> Options... -> Interpreter.
3. Select MicroPython (Raspberry Pi Pico) and ttyACM0 port.
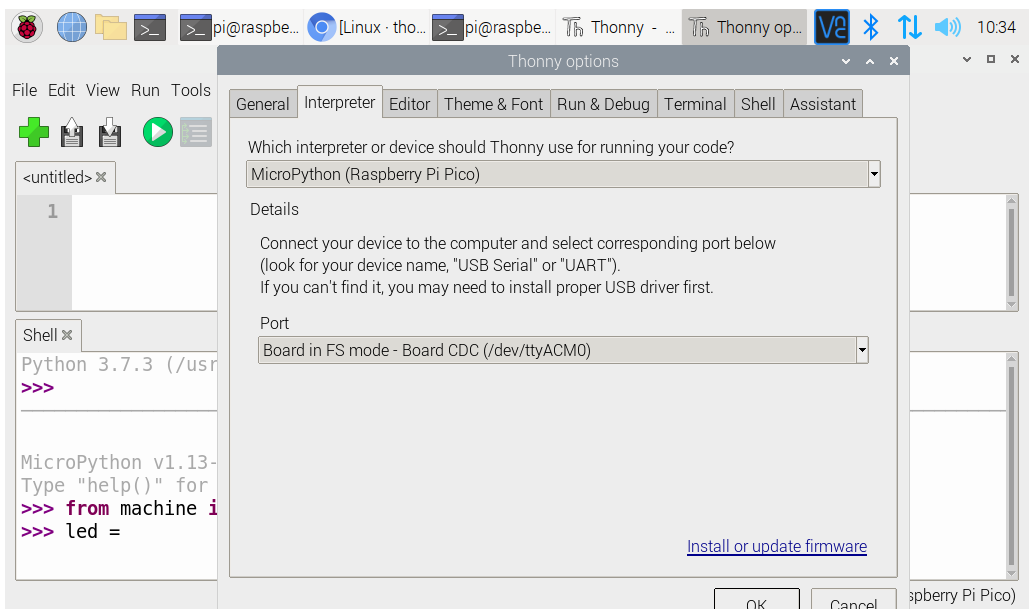
4. Click OK, the same as in the Windows environment, you can see that the Pico information will be displayed on the command line interface, and now you can enter the MicroPython program here to control the pico.