Welcome to Pico Robot Car repository
5.5 Edge detection
5.5 Edge detection
Note: The tracking sensor will be affected by light, please run the program in an indoor environment without sunlight to reduce the interference of sunlight on the tracking sensor. And keep the indoor light enough when tacking.
Note: Motor speed is affected by battery power. For this course, when the battery power is high (the power value is above 26000), if the battery power is not enough, we need to charge battery in time or modify the motor speed in the code.
1. Learning Objectives
In this course, we will learn that how to make Pico robot realize edge function.
2. the use of hardware
We need use tracking sensor, OLED, RGB light on Pico robot.
The car can be placed on a table without obstacles to run. When the edge of the table is detected, the car will automatically retreat.
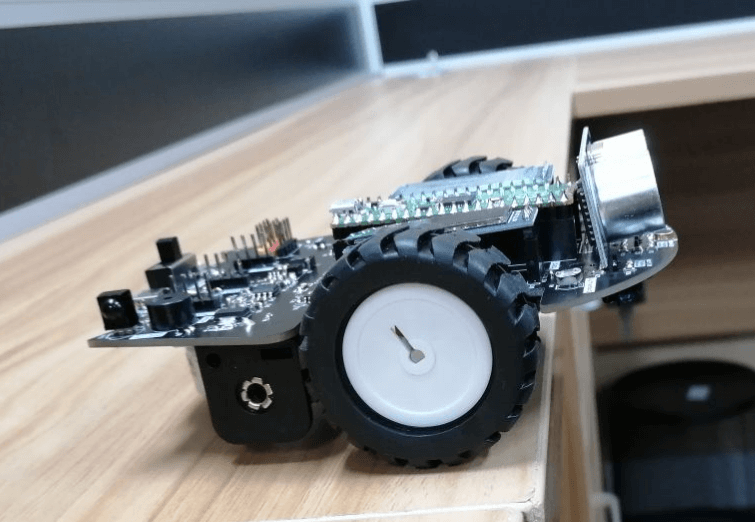
In the program, we judge the data value received by each line-following sensor. When the bottom is a cliff, because the line-following sensor receiving tube cannot receive the light returned by the transmitting tube, the value is 0, which is the same as identifying black.
The results are divided into three different situations to determine the running state of the car, so as to realize the edge detection of the car.
3. About code
Code path: Code -> 3.Robotics course -> 5.Edge detection.p
x
from machine import Pin, I2Cfrom pico_car import pico_car, ws2812b, SSD1306_I2Cimport time
Motor = pico_car()num_leds = 8 # Number of NeoPixels# Pin where NeoPixels are connectedpixels = ws2812b(num_leds, 0)# Set all led offpixels.fill(0,0,0)pixels.show()#initialization oledi2c=I2C(1, scl=Pin(15),sda=Pin(14), freq=100000)oled = SSD1306_I2C(128, 32, i2c)#Define the tracking sensor, 1-4 from left to right#recognize that black is 0 and white is 1#Tracing_1 Tracing_2 Tracing_3 Tracing_4# 2 3 4 5 Tracing_1 = machine.Pin(2, machine.Pin.IN)Tracing_2 = machine.Pin(3, machine.Pin.IN)Tracing_3 = machine.Pin(4, machine.Pin.IN)Tracing_4 = machine.Pin(5, machine.Pin.IN)
while True: #Four channel tracking pin level status # 0 0 0 X if Tracing_1.value() == 0 and Tracing_2.value() == 0: for i in range(num_leds): pixels.set_pixel(i,255,0,0) oled.text('Cliff', 0, 0) Motor.Car_Back(150,150) time.sleep(0.5) Motor.Car_Right(150,150) time.sleep(0.5) #time.sleep(0.08) #Four channel tracking pin level status # X 0 0 0 elif Tracing_3.value() == 0 and Tracing_4.value() == 0: for i in range(num_leds): pixels.set_pixel(i,255,0,0) oled.text('Cliff', 0, 0) Motor.Car_Back(150,150) time.sleep(0.5) Motor.Car_Left(150,150) time.sleep(0.5) #time.sleep(0.08) else: Motor.Car_Run(100,100) for i in range(num_leds): pixels.set_pixel(i,255,255,255) oled.fill(0) pixels.show() oled.show()#In other cases, the trolley keeps the previous trolley running
from pico_car import pico_car, ws2812b, SSD1306_I2C
Use pico_car, ws2812b, SSD1306_I2C of pico_car to encapsulate the motor driver, RGB light, and OLED library.
import time
The "time" library. This library handles everything time related, from measuring it to inserting delays into programs. The unit is seconds.
from machine import Pin, I2C
The machine library contains all the instructions that MicroPython needs to communicate with Pico and other MicroPython-compatible devices, extending the language of physical computing, using the Pin and I2C libraries here.
Motor = pico_car()
Initialize the motor drive.
pixels = ws2812b(num_leds, 0)
Initialize RGB lights, we have 8 RGB lights, here num_leds is set to 8.
pixels.fill(0,0,0)
Set all lights to 0,0,0, that is, turn off all lights, the parameters are (red, green, blue), and the color brightness is 0-255.
pixels.show()
Display the set lights.
pixels.set_pixel(i,255,0,0)
Use a for loop to set all car lights to red.
i2c=I2C(1, scl=Pin(15), sda=Pin(14), freq=100000)
Set the IIC 1 pin to SCL 15, SDA 14, and the frequency to 100000.
oled = SSD1306_I2C(128, 32, i2c)
Initialize the size of the OLED to 128*32, and pass in the IIC parameters set earlier.
oled.text('Cliff', 0, 0)
Set the OLED to display 'Cliff' at position 0,0.
oled.show()
Display the set OLED content.
oled.fill(0)
Clear the settings and prepare for the next display.
Motor.Car_Run(100,100)
Control the car to move forward, the speed is set to 100, the parameters are (left motor speed, right motor speed), and the speed range is 0-255.
Motor.Car_Back(255,255)
Control the car to back up.
Motor.Car_Left(255,255)
Control the car to turn left.
Motor.Car_Right(255,255)
Control the car to rotate right.
Tracing_1 = machine.Pin(2, machine.Pin.IN)
Initialize pin 2 as the pin of line tracking sensor 1 and set it as input.
Tracing_1.value()
The Tracing_1.value() function is used to detect the level of the corresponding port.
4. Experimental Phenomenon
After the code is downloaded, the car will move forward normally.
When the tracking sensor 1 and 2 detect the edge, RGB light will become red and car will reverse and turn right, and the OLED displays "cliff". When the tracking sensor 3 and 4 detect the edge, RGB light will become red and car will reverse and turn left, and the OLED displays "cliff". In normally, RGB light will keep white, and the car keeps moving forward.
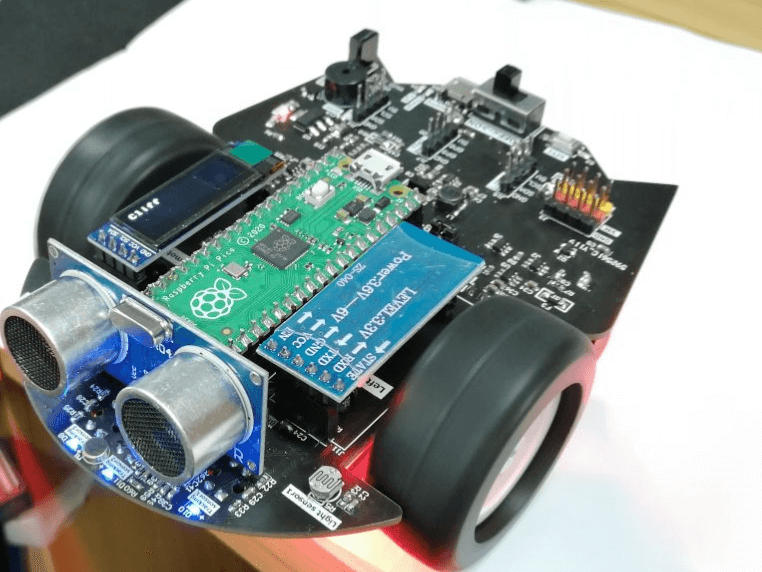
If it is unable to stop in time when running, you can improve the stability by adjusting the speed of the car.