Welcome to WLR722 LiDAR repository
1. PC Software View Lidar
PC Software View Lidar
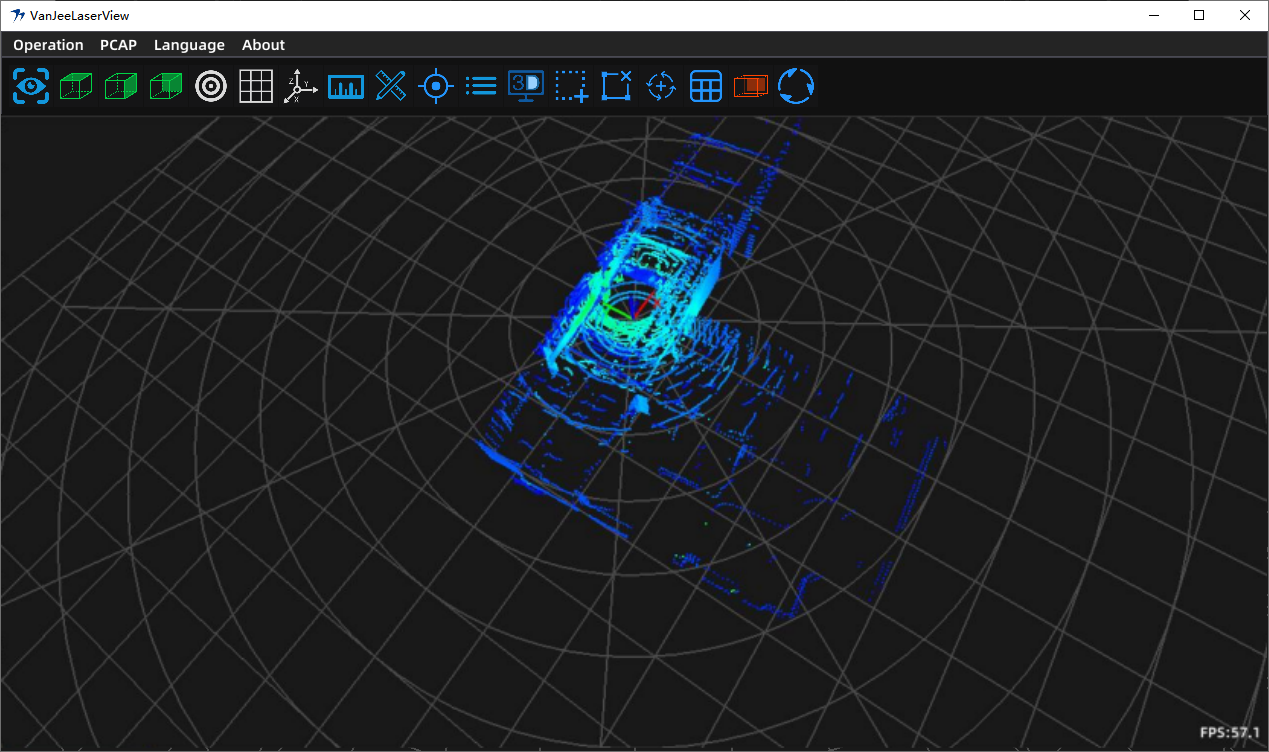
On a Windows computer, after connecting the lidar, run VanJeeLaserView_722.exe from the [VanJeeLaserView_722] file in the [Attachments] folder to view the lidar point cloud data.
Computer Connecting to Lidar
Connect the lidar to the lidar adapter cable, making sure to align the raised and recessed parts of the interface to avoid inserting it backwards and damaging the interface. Then power the lidar adapter cable's power port, and connect the Ethernet port to the Windows computer's Ethernet port.
Windows Computer Ethernet Network IP Settings
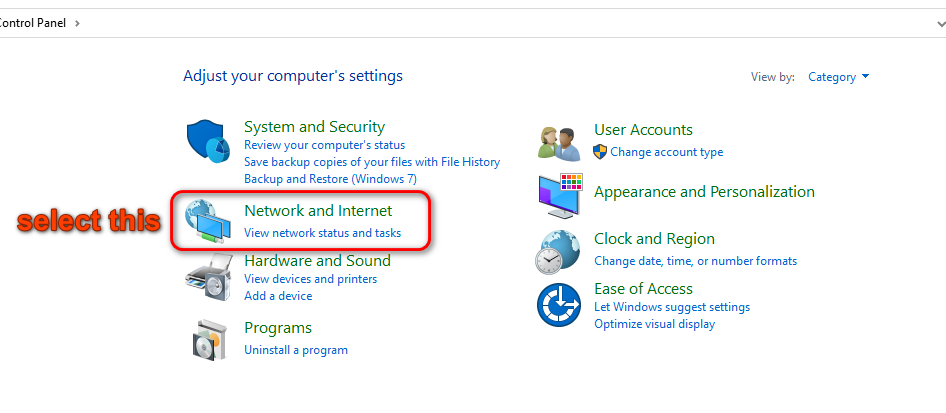
The default Ethernet IP of the lidar is 192.168.2.88, so the computer's Ethernet IP needs to be set to the static IP 192.168.2.88. The setting steps are as follows,
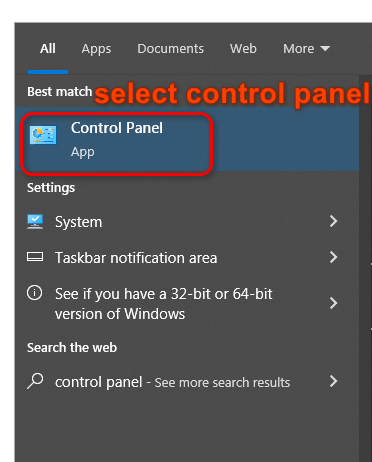
Search bar search
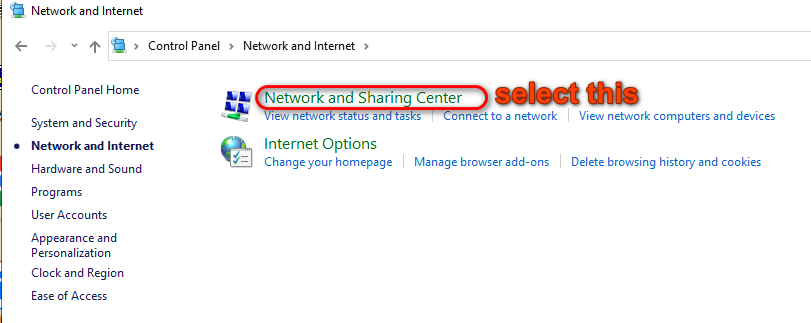
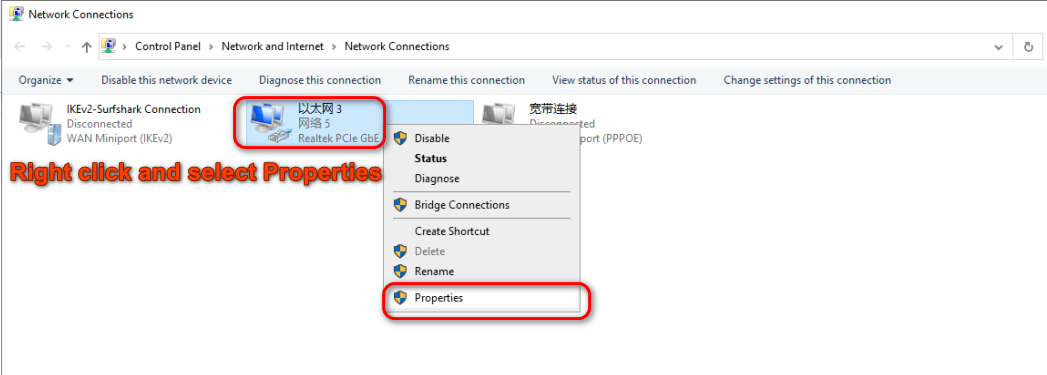
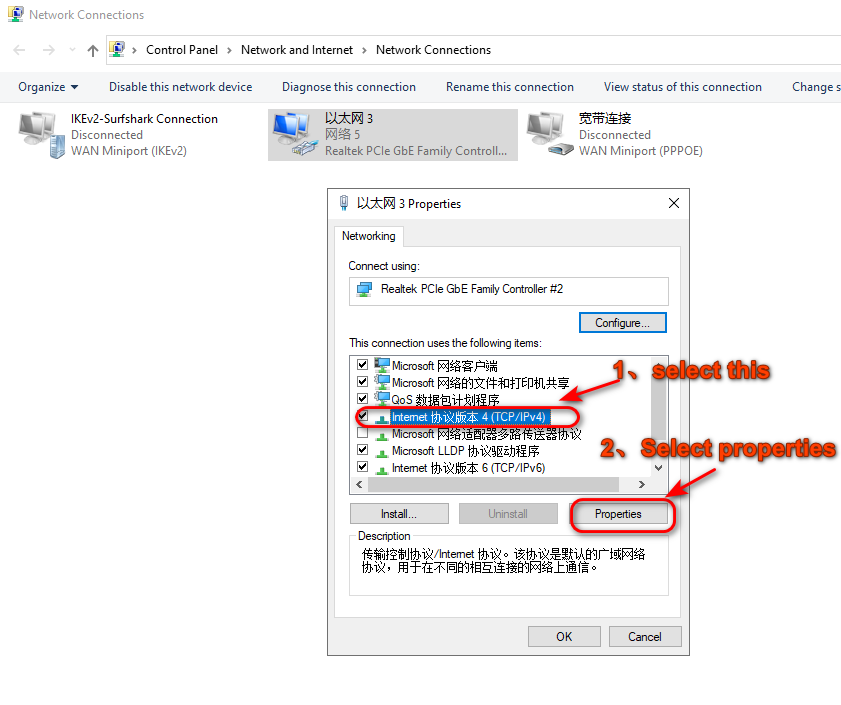
Select Use the following IP address, fill in:
IP address:
192.168.2.88Subnet mask:
255.255.255.0Default gateway:
192.168.8.1(According to your router's actual IP)
Preferred DNS server:
xxxxxxxxxx114.114.114.114Alternate DNS:
8.8.8.8(optional)
Click OK -> OK again, close all windows.
To verify if it takes effect, open a new CMD and enter:
xxxxxxxxxxipconfig
If the following content appears, it indicates success,
xxxxxxxxxxIPv4 Address. . . . . . . . . . . : 192.168.2.88Subnet Mask . . . . . . . . . . . : 255.255.255.0Default Gateway . . . . . . . . . . : 192.168.8.1
Starting VanJeeLaserView_722.exe to Connect to Lidar
After the network settings are complete, turn off the firewall, then double-click VanJeeLaserView_722.exe. If it runs successfully, the following screen will appear.
Switch Language
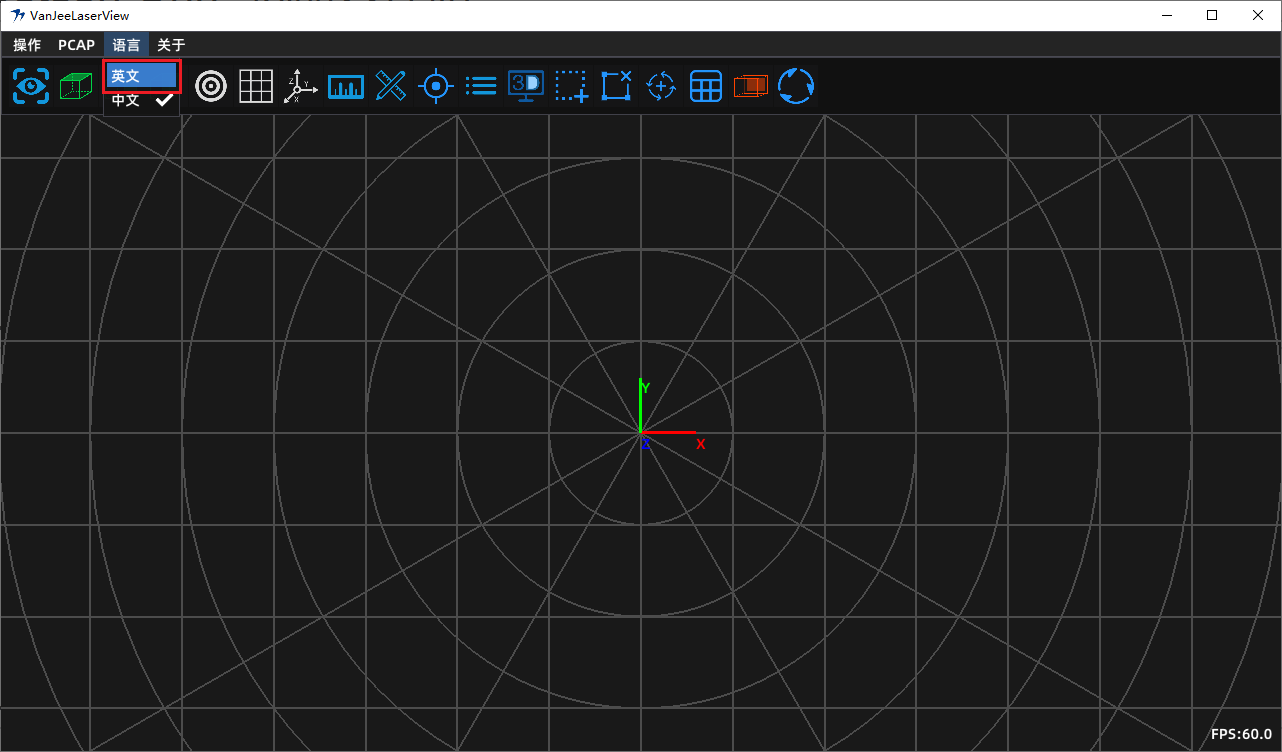
Click [Operation] - [Connect],
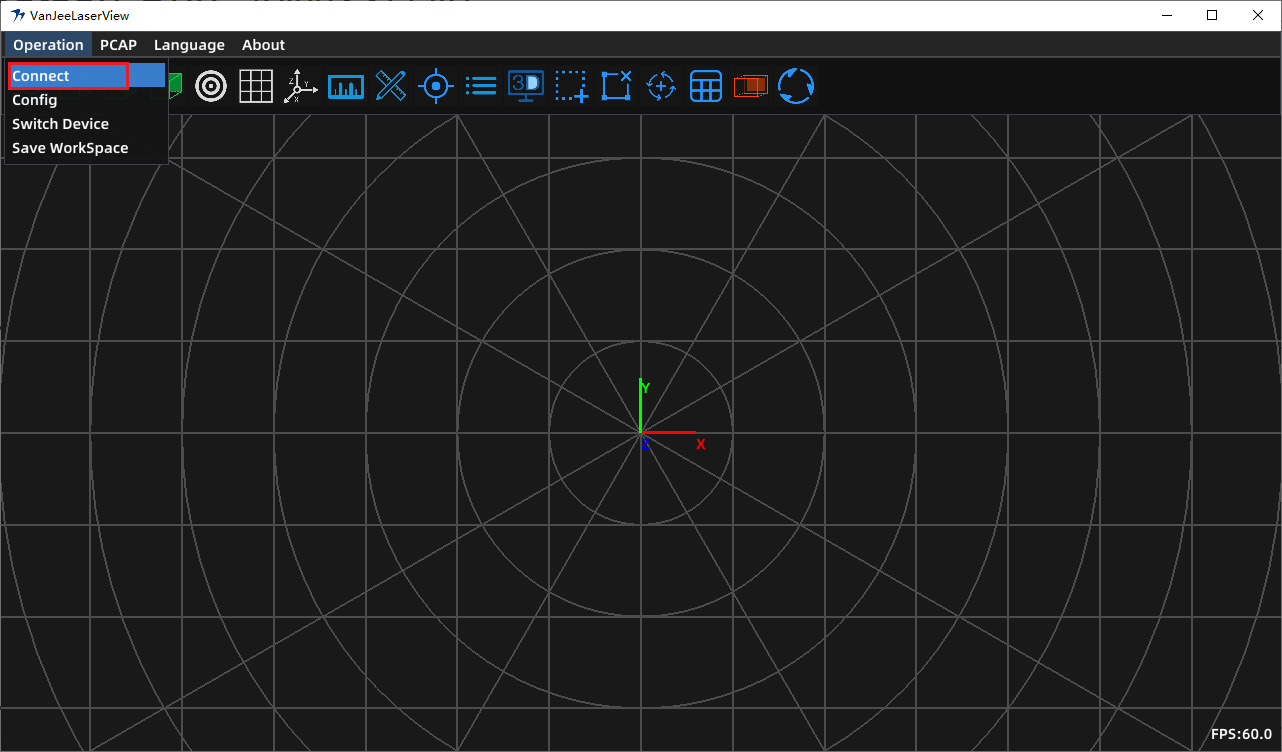
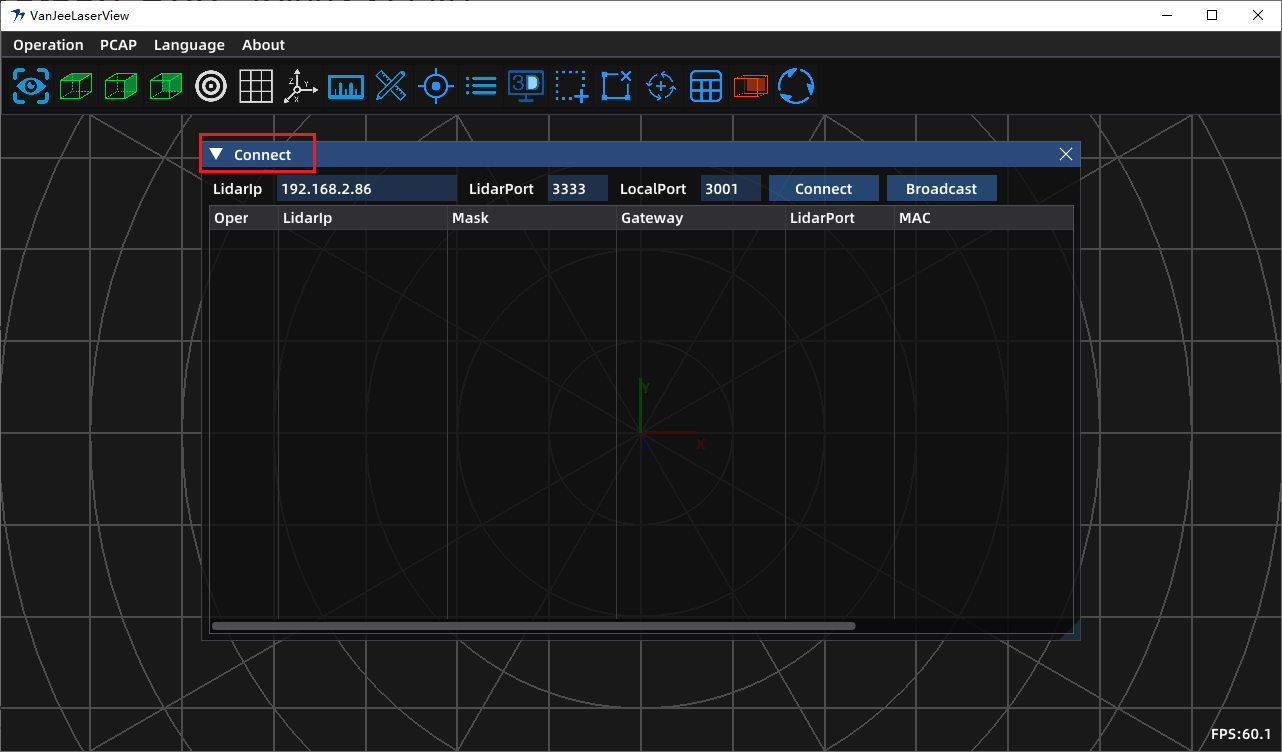
The network connection popup will appear as shown in the figure. Click Connect, and you can see the real-time point cloud. When you don't know the device IP, you can click Broadcast to find devices in the LAN,