Welcome to WLR722 LiDAR repository
2. Cartographer 3D Mapping
Cartographer 3D Mapping
Based on the first lesson - Cartographer 2D Mapping, this lesson explains how to use the lidar for Cartographer 3D mapping. Before starting this lesson, you need to transplant the [cartographer Source Code] from the [Attachments] into the src directory of your workspace, then go back to the workspace directory and compile.
Starting Mapping
Terminal 1: Enter the following command to start the lidar,
xxxxxxxxxxros2 launch vanjee_lidar_sdk start.py
Terminal 2: Enter the following command to start recording the lidar point cloud and imu data packets,
xxxxxxxxxxros2 bag record -o ~/carto_test /rslidar_points /vanjee_lidar_imu_packets
Terminal 3: Enter the following command to start rviz display,
xxxxxxxxxxros2 launch yahboomcar_nav display_map_launch.py
Terminal 4: Enter the following command to start Cartographer mapping,
xxxxxxxxxxros2 launch yahboomcar_nav cartographer_3d_launch.py
The rviz interface will display as follows,
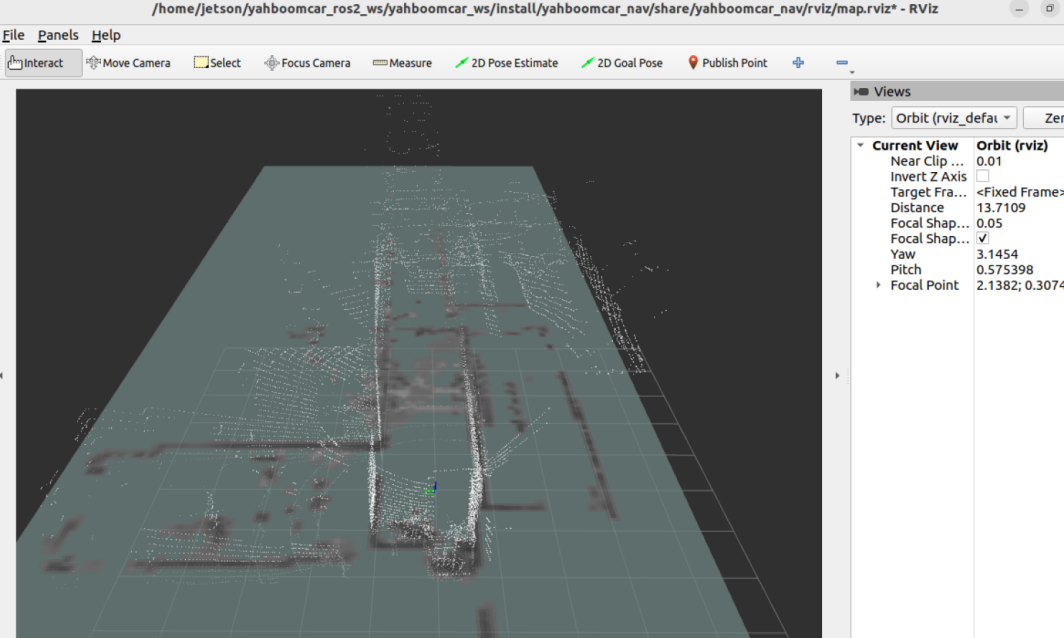
Slowly move the lidar, the point cloud will move accordingly, and the grid map will update as well.
Saving the Trajectory
If you no longer need mapping at this point, enter the following command in Terminal 5 to save the trajectory,
xxxxxxxxxxros2 service call /write_state cartographer_ros_msgs/srv/WriteState "{filename: '/home/jetson/mymap.pbstream', include_unfinished_submaps: true}"
Note: Modify /home/jetson/mymap.pbstream here to the path where you need to save the trajectory.
Then, in Terminal 2, press CTRL C to stop recording the data packet. The data packet will be saved in the terminal directory, containing a .db3 file and a metadata.yaml file.
Starting to Build the 3D Point Cloud Map
Press CTRL C in all previous terminals to close the processes, then open a new terminal and enter the following command to start building and saving the 3D point cloud map,
xxxxxxxxxxros2 launch yahboomcar_nav assets_writer_my_robot.launch.py pose_graph_filename:=/home/jetson/mymap.pbstream bag_filename:=/home/jetson/carto_test/carto_test_0.db3Modify the parameters pose_graph_filename and bag_filename to the path saved in the previous step. After running, it will look like the following figure,
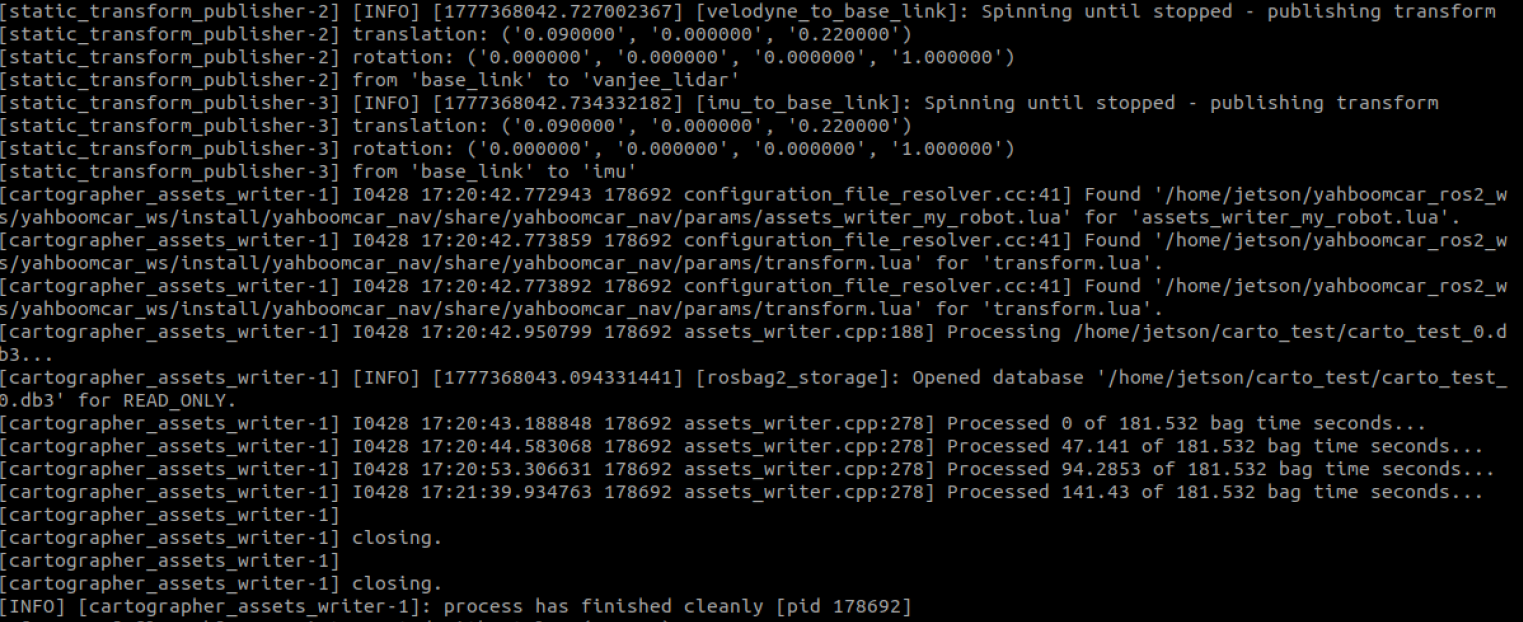
Wait for the message "process has finished cleanly [pid 178692]" to appear in the terminal, which indicates the completion of the 3D point cloud mapping.
Viewing the Point Cloud Map
In the path where the data packet was saved, two additional files will be generated: one is .pcd and the other is .ply. You can use the pcl_viewer tool to view the .pcd file. The command to install pcl_viewer is,
xxxxxxxxxxsudo apt install ros-humble-pcl-ros -y
Replace "humble" here with your ros version.
Then, in the graphical interface, open a terminal in the path where the data packet was saved and enter the following command to view the point cloud map,
xxxxxxxxxxpcl_viewer carto_test_0.db3_point_cloud.pcd
Replace the pcd file here with the actual generated pcd filename. The tutorial example is carto_test_0.db3_point_cloud.pcd. After opening, it will look like the following figure,
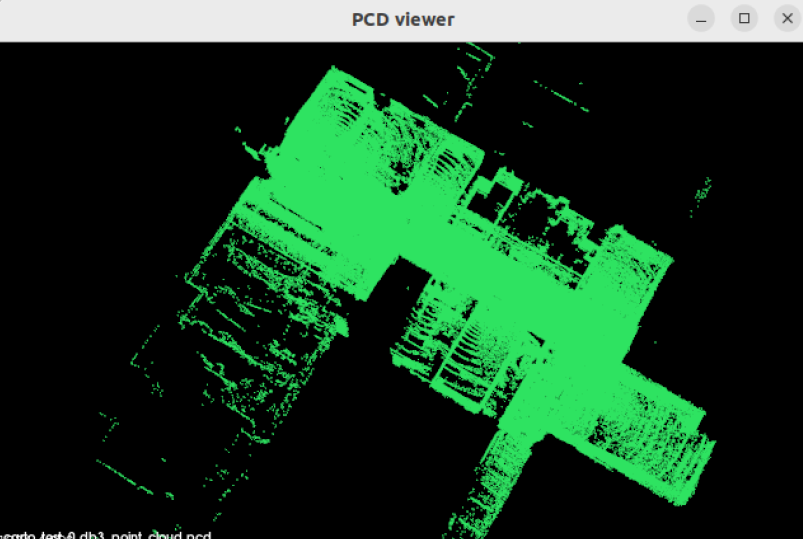
The pcd file loading takes time, please wait patiently.
Mapping Parameter Table
This section mainly explains the mapping parameter table for 3D point cloud reconstruction: assets_writer_my_robot.lua. This file is located in the yahboomcar_nav directory,
xxxxxxxxxxyahboomcar_nav/params/assets_writer_my_robot.lua
The parameter table contents are as follows:
-- Copyright 2016 The Cartographer Authors---- Licensed under the Apache License, Version 2.0 (the "License");-- you may not use this file except in compliance with the License.-- You may obtain a copy of the License at----      http://www.apache.org/licenses/LICENSE-2.0---- Unless required by applicable law or agreed to in writing, software-- distributed under the License is distributed on an "AS IS" BASIS,-- WITHOUT WARRANTIES OR CONDITIONS OF ANY KIND, either express or implied.-- See the License for the specific language governing permissions and-- limitations under the License.
VOXEL_SIZE = 5e-2
include "transform.lua"
options = {  tracking_frame = "vanjee_lidar",  pipeline = {        {            action = "min_max_range_filter",            min_range = 0.3,            max_range = 70.,        },        {            action = "write_ply",            filename = "point_cloud.ply",        },        {            action = "write_pcd",            filename = "point_cloud.pcd",        },    },}return options