Welcome to Raspbot repository
6.1 Driver camera
Path:
/home/pi/Yahboom_project/Raspbot/3.AI Vision course/01.Drive camera/Drive camera.ipynb
Common API functions used by OpenCV:
1. cv2.VideoCapture()
cap = cv2.VideoCapture(0)
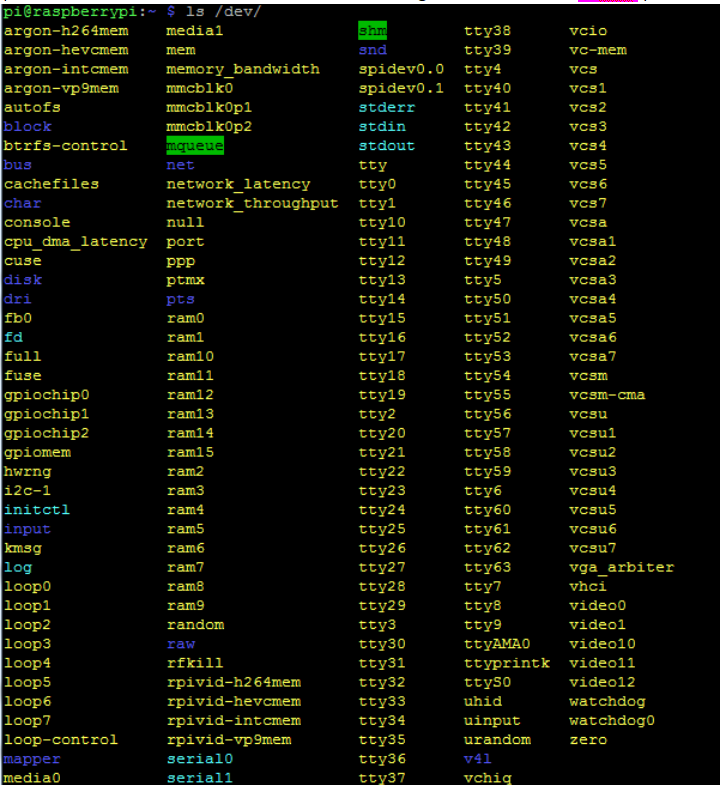
The parameter in VideoCapture () is 0, which means Raspberry Pi video0.
(Note: You can view the current camera through the command ls/dev/ )
VideoCapture("…/1.avi"), This parameter indicates that if the path of the video file is entered, the video is opened.
2.cap.set()
Camera parameters common configuration methods:
capture.set(CV_CAP_PROP_FRAME_WIDTH, 1920); # Width
capture.set(CV_CAP_PROP_FRAME_HEIGHT, 1080); # Height
capture.set(CV_CAP_PROP_FPS, 30); # Frame
capture.set(CV_CAP_PROP_BRIGHTNESS, 1); # Brightness 1
capture.set(CV_CAP_PROP_CONTRAST,40); # Contrast 40
capture.set(CV_CAP_PROP_SATURATION, 50); # Saturation 50
capture.set(CV_CAP_PROP_HUE, 50); # Hue 50
capture.set(CV_CAP_PROP_EXPOSURE, 50); # Visibility 50
Parameter explanation:
#define CV_CAP_PROP_POS_MSEC 0
// Calculate the current position in milliseconds
#define CV_CAP_PROP_POS_FRAMES 1
// Calculate the current position in frame
#define CV_CAP_PROP_POS_AVI_RATIO 2 // Relative position of the video
#define CV_CAP_PROP_FRAME_WIDTH 3 // Width
#define CV_CAP_PROP_FRAME_HEIGHT 4 // Height
#define CV_CAP_PROP_FPS 5 // Frame rate
#define CV_CAP_PROP_FOURCC 6 // 4 Character encoding
#define CV_CAP_PROP_FRAME_COUNT 7 // Video frames
#define CV_CAP_PROP_FORMAT 8 // Video format
#define CV_CAP_PROP_MODE 9
// Backend specific value indicating the current capture mode.
#define CV_CAP_PROP_BRIGHTNESS 10 // Brightness
#define CV_CAP_PROP_CONTRAST 11 // Contrast
#define CV_CAP_PROP_SATURATION 12 // Saturation
#define CV_CAP_PROP_HUE 13 // Hue
#define CV_CAP_PROP_GAIN 14 // Gain
#define CV_CAP_PROP_EXPOSURE 15 // Exposure
#define CV_CAP_PROP_CONVERT_RGB 16
// Mark whether the image should be converted to RGB.
#define CV_CAP_PROP_WHITE_BALANCE 17 // White balance
#define CV_CAP_PROP_RECTIFICATION 18 // Stereo camera calibration mark (note: only support DC1394 v2)
3.cap.isOpened()
Return true indicates open camera successful and false indicates open camera failure
4.ret,frame = cap.read()
cap.read () reads the video frame by frame. ret and frame are the two return values of the cap.read () function.
ret is a Boolean value, if the read frame is correct, it will return true, If the file has not been read to the end, it returns False.
Frame is the image of each frame, which is a three-dimensional matrix.
5.cv2.waitKey(n)
n represents the delay time, if the parameter is 1, it means a delay of 1ms to switch to the next frame of image.
If the parameter is too large, such as cv2.waitKey (1000), it will freeze because of the long delay.
The parameter is 0, such as, cv2.waitKey (0) only displays the current frame image, which is equivalent to video pause.
6.cap.release() and destroyAllWindows()
Call cap.release () to release the video.
Call destroyAllWindows () to close all image windows.
About Code
Since our entire tutorial runs in JupyterLab, we must understand the various components inside.
Here we need to use the image display component.
1.Import library
import ipywidgets.widgets as widgets
2.Set Image component
image_widget = widgets.Image(format='jpeg', width=600, height=500)
3.Display Image component
display(image_widget)
4.Open camera and read image
image = cv2.VideoCapture(0) # Open camera
ret, frame = image.read() # Read camera data
5.Assignment to components
#Convert the image to jpeg and assign it to the video display component
image_widget.value = bgr8_to_jpeg(frame)
import cv2 import ipywidgets.widgets as widgets import threading import time #Set camera display component image_widget = widgets.Image(format='jpeg', width=600, height=500) display(image_widget) # display camera component |
#bgr 8 to jpeg format
import enum
import cv2

def bgr8_to_jpeg(value, quality=75):
return bytes(cv2.imencode('.jpg', value)[1]) |
image = cv2.VideoCapture(0)        # Open camera

# width=1280
# height=960
# cap.set(cv2.CAP_PROP_FRAME_WIDTH,width)  # set width of image
# cap.set(cv2.CAP_PROP_FRAME_HEIGHT,height)  # set height of image

image.set(3,600)
image.set(4,500)
image.set(5, 30)  # set frame
image.set(cv2.CAP_PROP_FOURCC, cv2.VideoWriter.fourcc('M', 'J', 'P', 'G'))
image.set(cv2.CAP_PROP_BRIGHTNESS, 40)  #set brightness -64 - 64  0.0
image.set(cv2.CAP_PROP_CONTRAST, 50)   #set contrast -64 - 64  2.0
image.set(cv2.CAP_PROP_EXPOSURE, 156)  #set exposure value 1.0 - 5000 156.0

ret, frame = image.read()     # read camera data
image_widget.value = bgr8_to_jpeg(frame) |
while 1: ret, frame = image.read() image_widget.value = bgr8_to_jpeg(frame) time.sleep(0.010) |
image.release() #After using the object, we need to release the object, otherwise when we use the object again, the system will prompt that the object be occupied, making it unusable . |
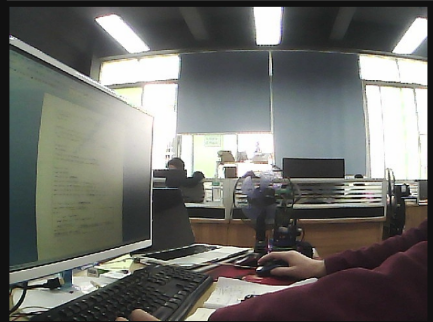
The camera screen is shown below: